Followers

Wednesday, August 12, 2020

Wryn Rock Slimline Shaker Card

Hi all,

Are you ready for a new post?
Today I am showing my new slimline shaker card with this fun digital stamp from Tiddly Inks, called Wryn the rocker.

I have printed the digi onto Perfect Colouring paper and have started colouring...
inspired by my own little rocker in the house.


Skin : E00, E11, E04, R20, R22


Hair : YR21, YR12, E23, E57, E59


Skirt : B05, B28, B39


Shirt& stockings : BG23, BG49, BG78


Boots : E29, E18, E08


Guitar : E97, E99, N8, N10

The image was ready to be fussy cut ...


Behind the image I have added a rotating mechanism. This die is fun as you do not have anything popping out on the other side 


 Time to assemble to whole card..
I have cut a piece of white cardstock (17 x 21cm) and scored it on 8.5 cm to create the card base .


The slimline die was cut twice, one time out of special cardstock, and one time out of foam.

I have put a piece of acetate in between ..in this way the shaker was easy to create.
I have passed  a anti static pouch onto the acetate ..just to make sure not everything sticks to the acetate.

Slim postage die : Whimsy 
Musical notes : Marianne Design
Letters : I -crafters 
Stitched rectangle : MFT 
Rotating mechanism : Impronte D'autore 


When you move the shaker, the mini pearls and mini musical notes diecuts will move..
And if you touch the coloured image it seems she is a real rocker that moves forward and backwards.


The letters were cut out of blue green foam and black card stock.

Hope you have enjoyed my "rocker" post..see you next post! 
Thanks for visiting the blog.
Hugs Blankina

Wednesday, August 5, 2020

The Littles Happy Fall

Hi all. 
Today I'm sharing my colouring on a card I made featuring The Littles Playing in the Leaves from Stamping Bella. 


First I stamped the image onto Perfect Colouring paper with Memento Tuxedo Black ink. 


As always, my skin colours are E00, E11 and E04. 
These images are very small and I don't do cheek colour on them. 


Hair: E50, E51, E53, E55. 


To give the leaves an autumnal feel I used oranges, reds, yellow, greens
Red - R32, R35, R37
Green - YG11, YG13, YG17
Orange - YR12, YR16, YR18
Yellow - Y11, Y15, Y38


For the grass I used a contrasting green to the leaves - 
G20, YG11, YG21, YG23, YG25


Dress - BG01, BG53, BG45, BG57
Scarf - YR14, YR16, YR18
I applied a little bit of white gel pen for highlights. 


To create the clouds I used my copics instead of inks. 
First I used B01 and a stencil to draw the lines for the clouds. 


Then with B00 I coloured out further from the line


I brought colour out even further with B000 and then I brushed over it with the colourless blender to soften the lines. 


Finally I expanded the grass area before cutting the image out using a pierced rectangle die. 


Thanks for dropping by today. I hope you're inspired to take out your markers and colour. 
Have a great day
Sandie
xXx

Sunday, July 26, 2020

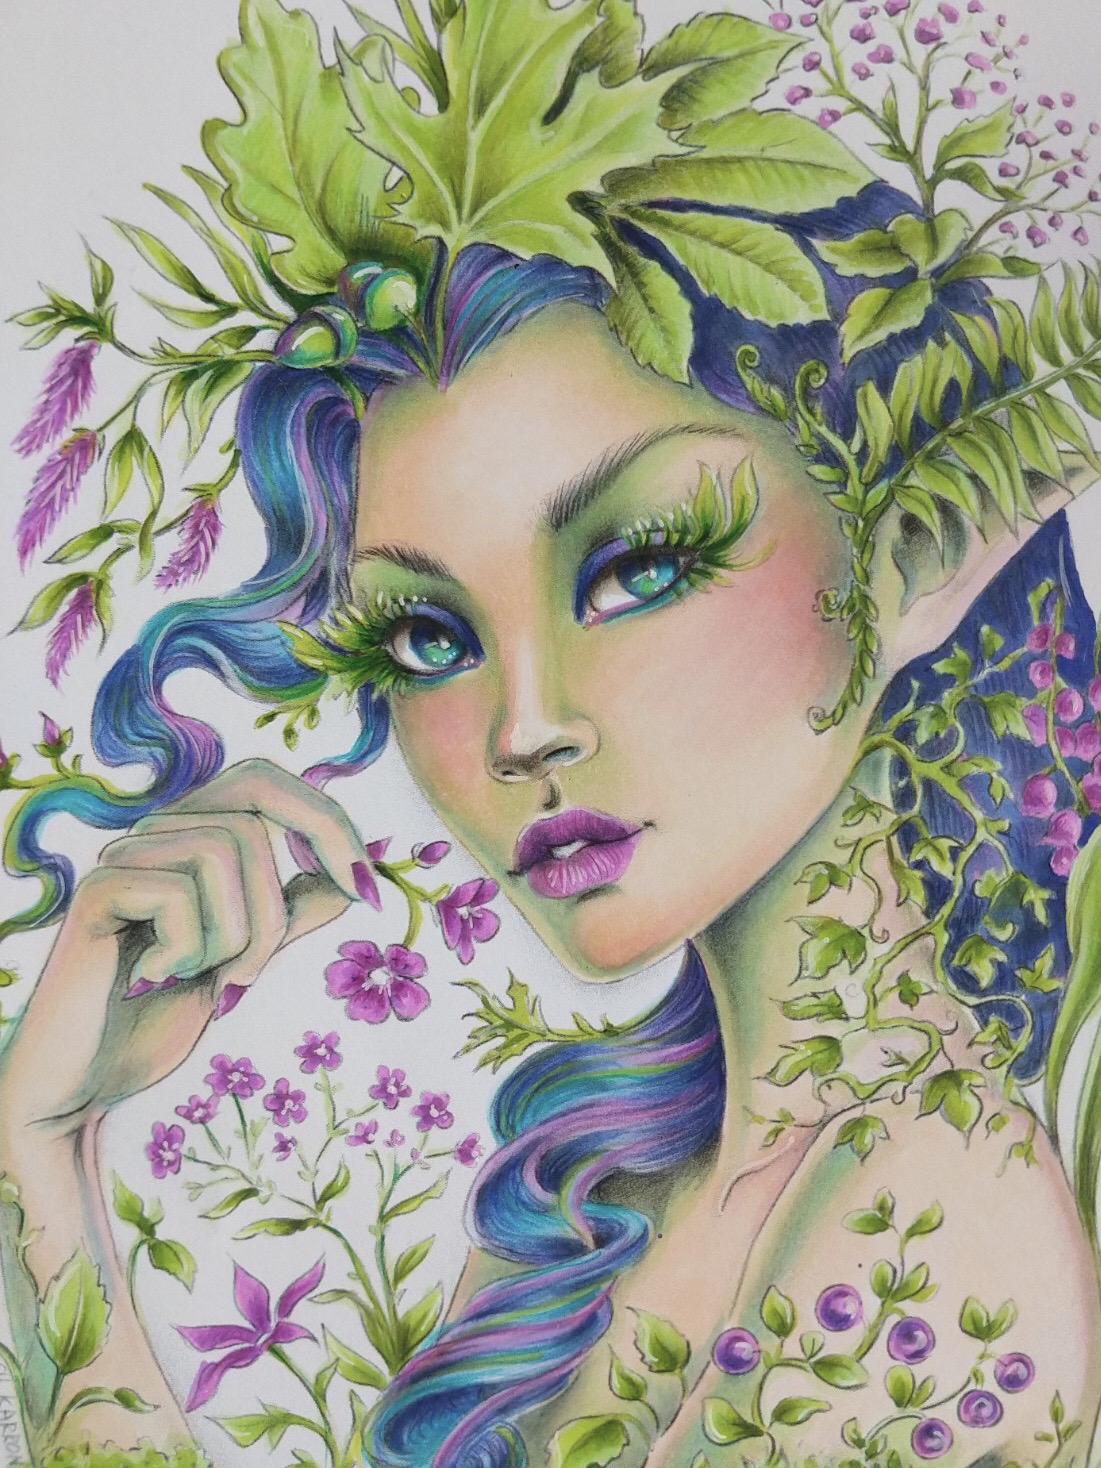
Forest Fairy in Copic Markers and Coloured Pencils

Colouring can by very invigorating and it helps me to relax. This time I have used a greyscale colouring sheet by Christine Karron.


1st layer of the skintone is E50.


Add BG01 as shadow.


Add YG11 as well.  


Add E00 on top of the BG01/YG11.
Blend all layers together with E000. 


1st layer in the eyes is BG01.


Use W3 for shading the eyes. I also used YG11 in her eyes and on her eyelashes. 


Eye: add some B63 for more depth, 
use V04 on her lips,
1st layer in her hair is B66.


Use some B69 for more depth in her hair and add some V05 on her lips. 


Her face still looks a bit pale, so I decided to add some R21 on het cheeks and nose. 
Add shading in her hair with B69.


Her hair can look a bit dull So I decided to add some extra  V04, BG01 ad YG11. 


Blend the layers of hair together with the B63. 


Use  YG11 on all the leaves and V04 on all the flowers and berries. .


Add more depth to the flowers with V06 and more shading in the leaves with YG13.


For the darkest shadows I use V09 in the flowers and B69 for the leaves.  


Blend all layers together. 


When the colours get dull I add some more of the darkest colours to let them pop again. 


I also use some coloured pencils for more depth. Use a white marker for highlights. 

Have a fun day and I will see you back next month.

Greetz
Miranda

Wednesday, July 22, 2020

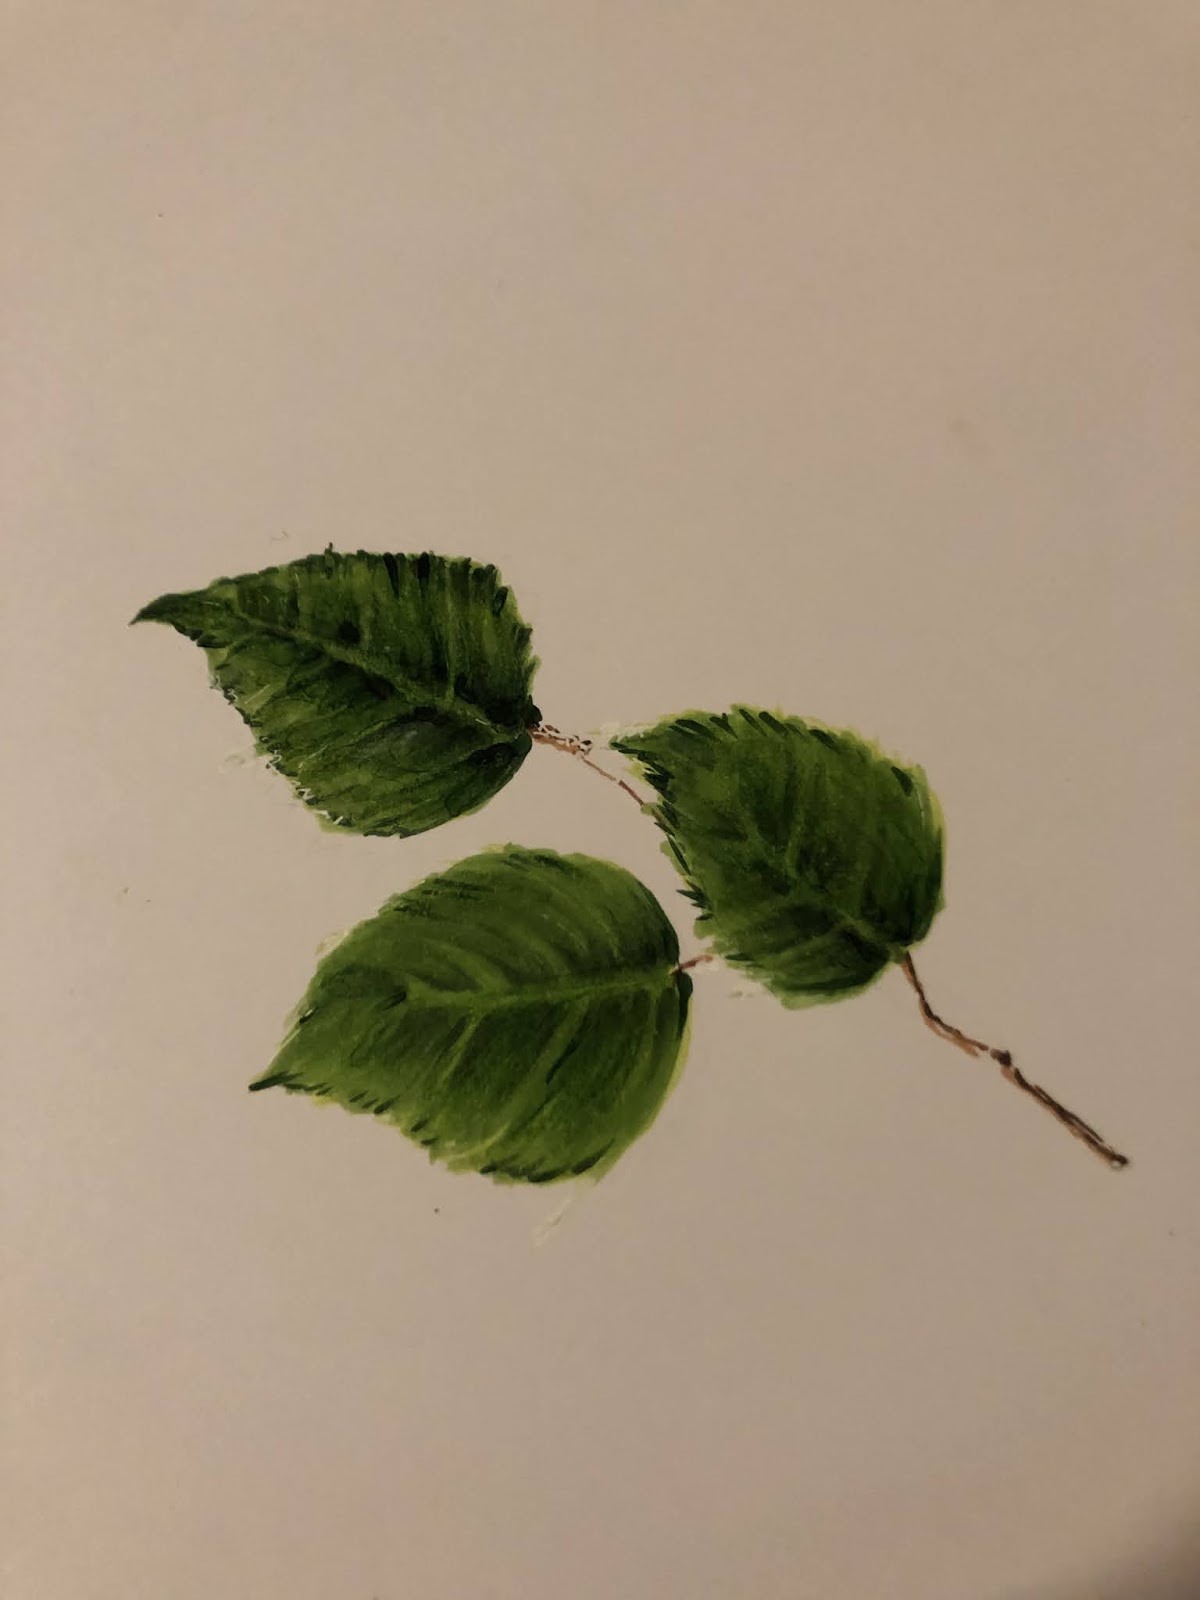
Green Leaves Cicci

Hi Copic Lovers
Cicci  here posting! 
I hope you all have a great summer
I'm going to show you, how I did this green leaves. 
Summer and lots of green colors outside and I love it!!
Its the best time over the year!
I hope you try this tutorial together with me

Copic Markers I have used is
YG03 
YG17
G28
G29
G20 
G24
Y02

Step 1
Draw some leaves 

Step 2
Use YG03 and leave some area that you don't color 
That area makes the lines in the leaf


Step 4
Add  YG17

Step 5
Add G29

Step 6
Blend with YG17

Step 7
Blend with YG03

Step 8
Add G28

Step 9
Add and blend with G24

Step 10
Now its time to color the lines.
I used Y02
You can use an other yellow if you like the lines darker or lighter

Step  11
Blend and color with G20 over the lines that you colored with the yellow markers
'

Step  12
Add more of G29

Step 13
Add and make some details with G28
Go over the leave again and blend until you are happy with the results
Use G20 and YG03 for blending

DONE!


Have a wonderful summer and welcome again anytime you like!

Hugs and Smiles
 from us here at Copic Europe Blog


Saturday, July 18, 2020

Long Red Hair and Video


Hello everyone! It's Delphine here today to share a colouring video and card featuring an image just released at Tiddly Inks, called Batty 4 U. It can be used for Halloween of course, but works for other occasions too!

Here is my finished card:


The printed paper comes with the image - I merged the digi paper and image in Microsoft Word just as you would do when combining 2 images and printed my image. I coloured it in Copics and stamped a sentiment at the end.

You can see the colouring process in the video below:


Here i a close up on the finished image:


Skin: E50, 51, 53, V22
Hair: E09, 79, YR21, 24, 27
Orange Clothes: BV13, YR04, 07
Grey Clothes: BV20, 22, 25
Bat / Black: N4, 6, 8

For the skin, I chose the E50s which are great for a pale yellowish complexion and seemed great for a gothic image.
For the hair, I started with my darkest colour and really followed the direction of the hair making long lines. I used a very light colour at the end in the highlights with just one touch of colour to keep it light.


Thanks for stopping by today! Hugs,
Delphine xx