Followers

Sunday, April 28, 2019

Time for Mermaids

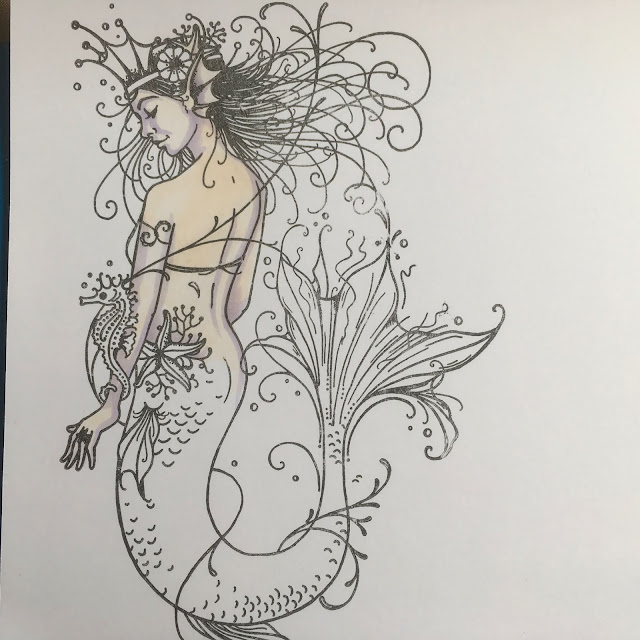
Hi everyone!! It's Virginia here with a new tutorial for Copic Marker Europe. Today I'm going to show you how I colour hair in an unrealistic way. As usual, I give you really simple ideas but, at least for me, obtaining good results.


Although in Spain is still cold and wet, I'm thinking of summer and holiday so, as you can imagine, I'm thinking of mermaids.


I've used a Tiddy Inks stamp to decorate a wooden letter. It is a present for my daughter's friend, whose name is 'Lucía'. Here you have the step by step video tutorial. 


The Copic Colours I've used are:

Skin: RV21-E13-E21-E00-E000
Tail: RV69-RV66-RV52-RV00
Hair: BG18-BG15-BG13-BG11
Fishes: E25-E35-E33-E31
Bikini: YR27-YR24-Y13

That's all. I hope you like my project. I'll be really glad if I can help you.

See you!!


Friday, April 26, 2019

Under the sea

For today's post I've created an under the seascape with Copic Markers. 


Start with making a background on Transotype Synthetic Paper. 
Pick out a few nice colours (Various Ink) like  BV00, BG75, BG49 and BG45.  Add a few drops of ink on your paper and add some pure alcohol, so the ink can flow freely on the paper. Add some more drops when needed and use a mini blending tool to create structure. 
Finally I also used some gold foil. 


I will use the gorgeous stamps by Pink Ink Designs. The stamps have a lot of fine details and I decided to stamp the images straight to the background, so I don't have to cut out all those tiny hairs. I also stamp the images on a sheet of Perfect Colouring Paper.  


I always start with a layer of E50. 


Add some shadow with BV00.


Add the E00 over the BV00 to get a warm skintone. 
And blend all layers together with E000. 


I am not satisfied with the result so far, so I keep adding  E00 and E000 to enhance the colours.  


For the darkest shadow I add W3 and W5. 


The mermaid's body will be rosy purple, start with BV00 and R22. 


Add R29 for more shadow in the rosy red parts.


And use BV02 for more shadow in the purple parts. .


I use the R20 to blend the BV00 and R22 together. 


Blend the BV02 and the BV00 together using the BV01. 
Use the R24 to blend R29 and R22 together.  


Use the R20 and R22 to add some spots on the tail and the body.


I will use the same colours for the fish. 
For this cute little fish I used BG45, BG49, BV04 , BV02, R22 and R24.


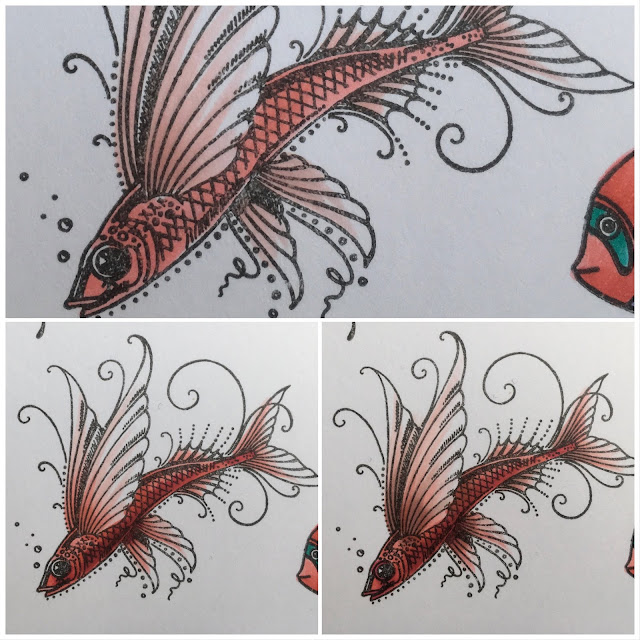
This beautiful fish will get 1 colour, R20, R22, R24 and R29.


And for these lovelies  I use R20, R22 and R24. 
And for the cute fish at the bottom BG02, BG45, BV00 and BV02.

After I cut out all the images and glued them down on my background I decided to add some coloured pencils.  

And this is the end result. 
Used a Copic Multiliner to make the hairs and swirls a tiny bit darker. 


Have a fabulous day,
see you next month.

Miranda

Monday, April 22, 2019

Colouring a Galaxy Eye!

Hello Copic Lovers!

Cicci here today posting a tutorial with an eye.
It's a long one today so I hope you stick with me to the end.

Step 1
First I draw a sketch for the eye
Step 2
Add the middle with B39 and leave some
 white for the highlights
 Step 3
Add Y02
 Step 4
I blend a little from the B39 with FY1
just a little so you don't get too much dark colours
 in the orange
 Step 5
Add FYR1
 Step 6
 Add RV06
Step  7
BG0000
Step  8 
Add FBG2 
Step 9
 BV08
Step 10
V04
Step 11
Blend with RV52 
Step 12
Add some dots with V05
Step 13
 Add FB2 
Step 14
 Make some dots with RV69
Step 15
Add FYR1
Step 16
Blend from the dark blue with BG05
Step 17
Add B28
Step 18
Add some green
YG06
Step 19
Blend and add Y04 
Step 20
Add B29 around in a circle but leave some white area 
Step 21
Blend and add BG13 
Step  22
Add V04 on the blue parts and blend a little
I also made some dots with a White Posca pen
Step 23
Now I add V09 in the same way I did with B39
Around the whole eye and 
leave some white for the highlights
Step 24
Continue to add V09 
Step 25
Blend withV04
Step 26
Add more V09
Step 27
Blend with V05
Step 29
Add some more white dots with a Posca pen


Thank you for watching
and Welcome to Copic Europa Blog whenever you feel like it!!

Have  a Wonderful Day
From us at Copic Europa blog

Sunday, April 21, 2019

Copic classes - Italy


First of all, Happy Easter to you all.

I am happy to announce new dates of our European Copic Coloring Programme Classes  in Italy.

In MAY we have scheduled the following ECCP classes: 

in MILANO (MI)
4th of May class 1


in ROME (Borgata Finocchio) 
8th of May


in ROME (near metro San Giovanni ) 
13 th May class 4 for those who have already done 1,2,3 


in ROME (near metro San Giovanni ) 
19th of May class 1


in ROME ( near metro San Giovanni  )
19th of May class 2 for those who have already done class 1


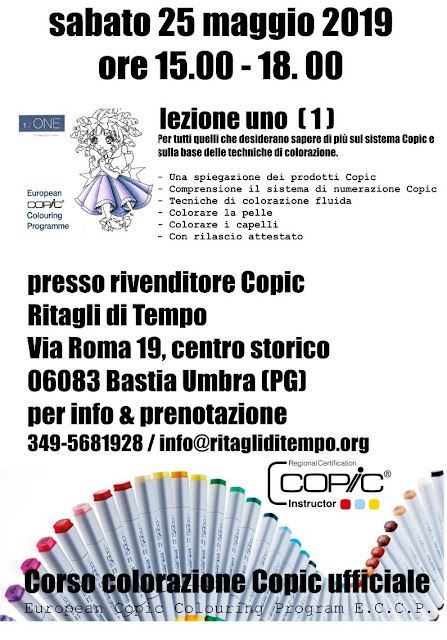
in BASTIA UMBRA  (PG) near Assisi
25th of May


I am looking forward to meeting you.
Please contact the Copic retailers for details 
and to book the class you are interested in.

On each poster you can find the telephone number and/ or e-mail.

Each class is held by an official Copic Instructor,
you will receive a Copic Certificate,
learn new techniques, get to know your markers better
and share a lovely time with other cardmakers / colourists.

Hugs, 
Anna Blankina