Followers

Thursday, October 31, 2019

colouring page

For today's post I have coloured a lovely colouring page by Selina Fenech. 


In this little photovideo you can see how I have coloured her and the numbers of the Copic markers that I have used.
Enjoy!!


see you next month

hugs
Miranda

Saturday, October 26, 2019

Colouring a Copper Robot

Hi all. Today I am sharing how I coloured a copper robot. The little robot I used is from Create a Smile Stamps set called Same Frequency. 


I stamped it onto my favourite paper for colouring,which is Perfect Colouring Paper by Holtz using Memento Tuxedo Black ink. 


The colours I'm using for the robot are E08, E37, E95, E97, E99. 
I start with E37 which is the darkest colour and just apply a little where I am going to have my darkest areas. 


Next I add some E99, dragging out the E37 


Again, I drag the colour towards the centre using E08, which adds a red undertone. 


Apply some E97 until you almost have all the image coloured. 


Finally, apply E95 to the remaining white space. 


You can keep going over the image using your colours until you are happy with the shading. To add more definition, go back with the E37 at the end. 


I used R14, R17 and R37 for the heart and buttons.  


On the flower pot - BG01, BG53, BG57 and BG07 
and the flowers/leaves I used the rest of the colours you see below. I also used BV000 to add a little shading to the eyes. 


And now he's ready to cut out and use on your card. 
I hope you like him, and you are inspired to take out your markers today. 
Sandie
xXx

Tuesday, October 22, 2019

Cicci Autumn

Hi Copic lovers!
Cicci here posting. I'm going to show you a different way to color with the markers. It's going to be lots of photos so I hope you stick with me to the end of this tutorial. I have not blended so much, more like added lots of copic markers colors, and see what happens. I have blended a little in the end.

Step 1
I start to color with B000 to make some threes and shadows for them.


 Step 2
I add W3


 Step 3
Add RV00


Step 3 
Add Y02


 Step 4
Add YG95


 Step 5
Add W3 again


 Step 6
Add a lot of YR09


 Step 7
Add YR02


Step 8
Add Y02 again


Step 9
Add YR07


Step 10
Add Y13


Step 11
Add E04

  
 Step 12
Add E07


Step 13
Add more Y02 
Blend a little


Step 14
Add E27


 Step 15 
Add some dark brown. You can use what you have, I have used E29


Step 16
Add B00 for some sky and Highlights


 Step 17
More of Y02


Step 18
YR04


 Step 19
Add FBG2


Step 20
Add E19


 Step 21
Add V05 V04 FRV1


Step 22
Add Y38


Step 23
Add E19


Step 24
Add R39


Step 25
Add RV55


Step 26
Add  YR04


 Step 27
Add V99


Step 28
Add and blend with B000


 Step 29
Add RV66 FRV1 FBG2


Step 30
Add more of FBG1


 Step 31 
Add and blend with B000


Step 32
Blend more with B00 and B000 add more yellow in the middle FY1


 DONE ;0)


Have a Wonderful day and see you in the end of november

Hugs and Smiles 
from us Here at Copic Europa blog


Friday, October 18, 2019

It's snowing!


Hello everyone! It's Delphine here today! I am completely in Christmas mood right now, so I'm sharing a Christmas scene today - I just like making these so much! 

For this tutorial, I'm using a cute stamp by Penny Black called Hopping By, my Copics of course and my Airbrush.


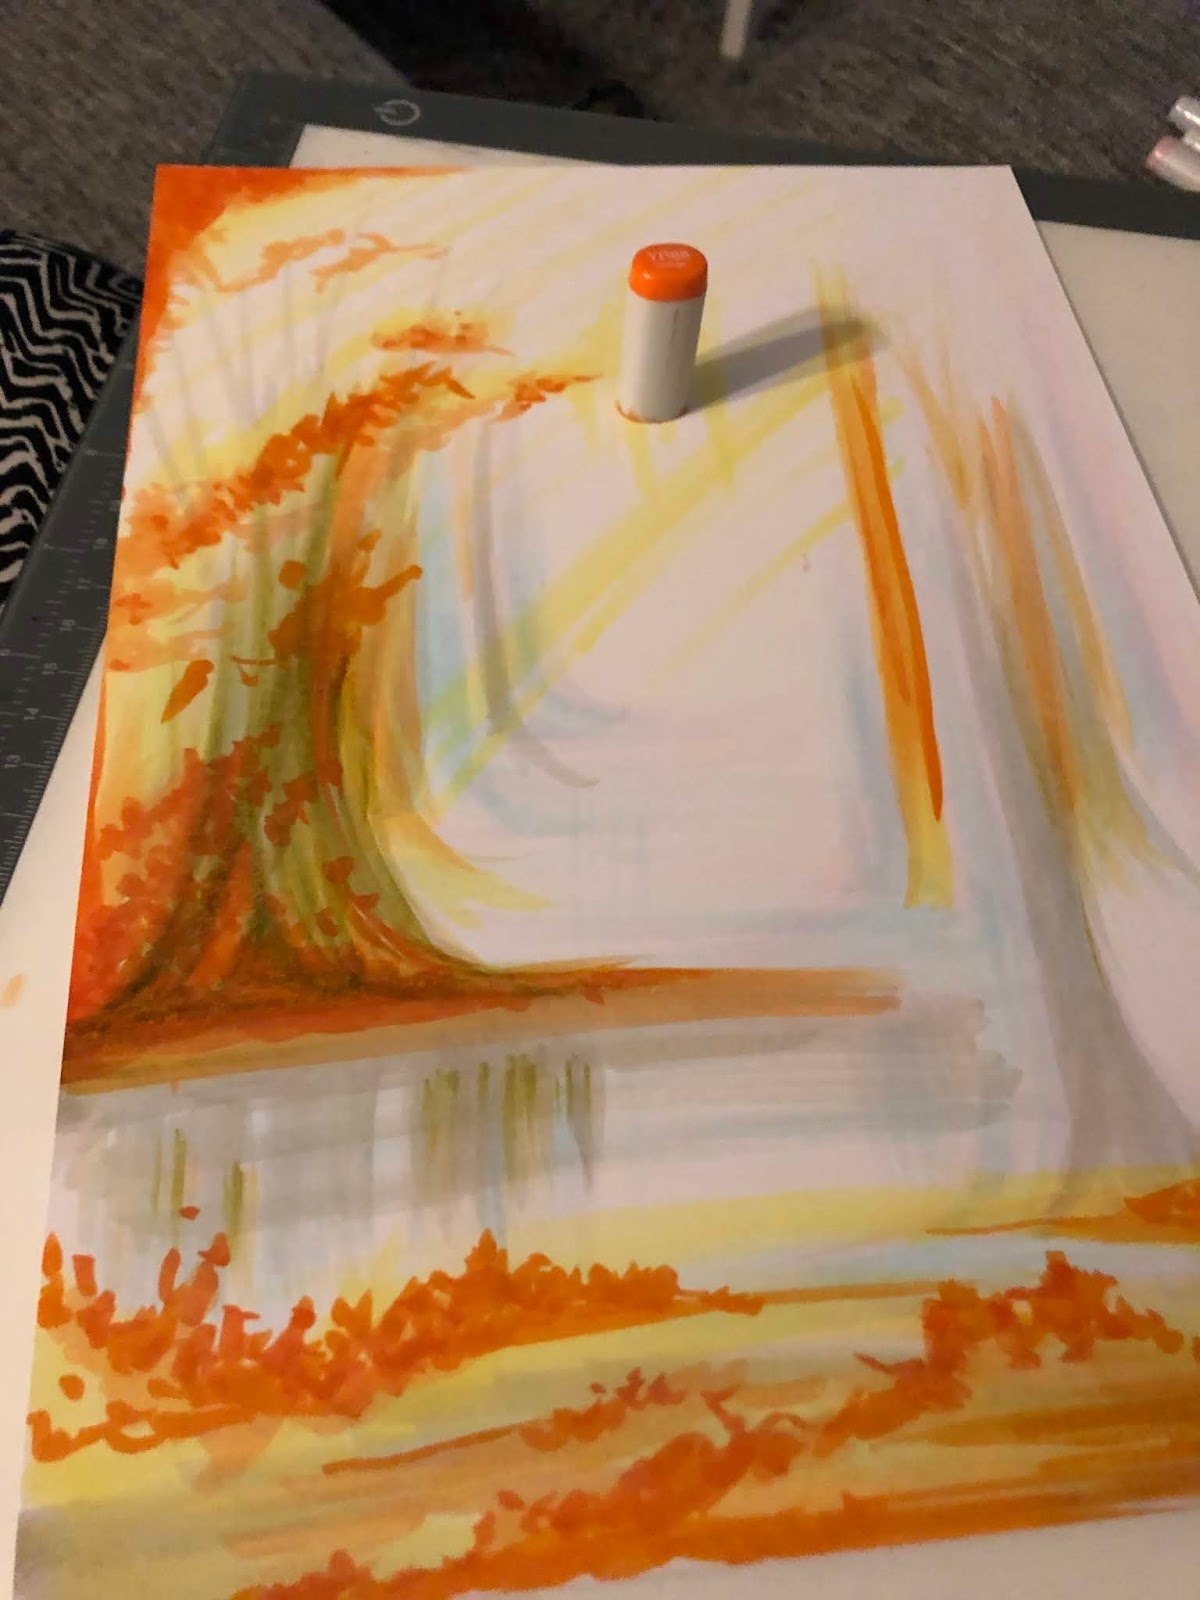
Step 1: I prepared my card for airbrushing. I stamped my rabbit in Memento Ink on my card, covered it with a blue mask, covered the edges of my card with washi tape and added a hill.


Step 2: I airbrushed my background, using RV66, RV55, V15 and RV11.


Step 3: I stamped trees and a branch (by Penny Black too) to add a bit of interest to my background.


Step 4: I then coloured my main image, the rabbit, in Copics.


Step 5: I added all the details that can make a difference :) I coloured the snow in Copics and added white acrylic paint to my trees and for snowflakes. 
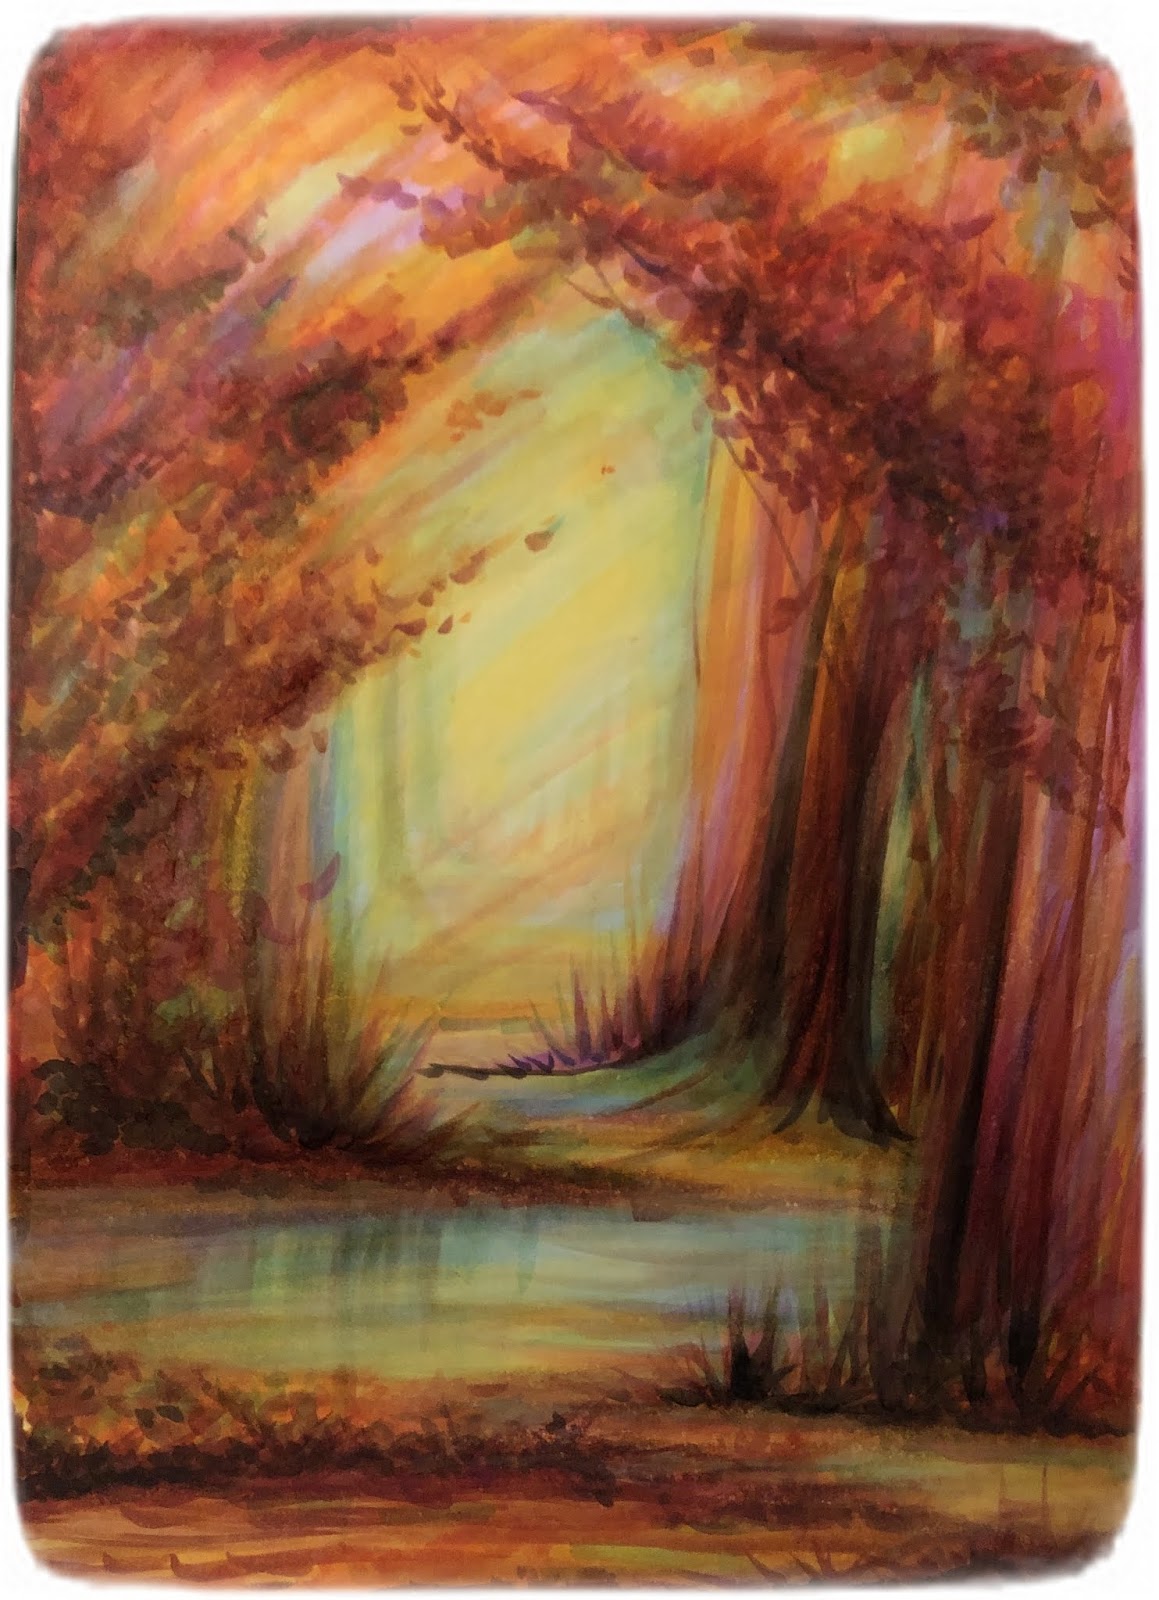
Here is a close up of my image and all the Copics I used:


Rabbit: E40, 41, 42, R20, W0, 1, 3, 5
Scarf: R35, 37, 39, W5
Presents: R35, 37, 39, YR00, 02, RV11
Tags: E40, 41
Background: RV11, 55, 66, V15


That's all from me today! Thank you very much for stopping by, have a great day! Hugs,
Delphine xx