Followers

Saturday, May 28, 2022

Sea You Soon - Little Mermaid Friends

 Hi Ladies!

It´s Helen here, and it's my turn to show you yet another image I have coloured.


This time it´s an image from Lili of the Valley - Little mermaid friends.
I just love Lili of the Valley. They are soo fun to colour and they make me colour in a more playful way.
I used Memento ink on Perfect Colouring Paper.


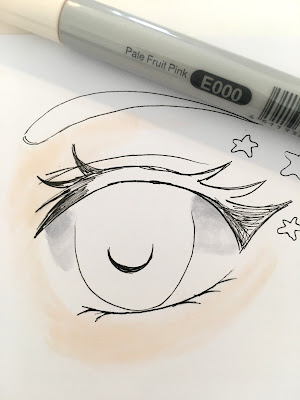
Started with my lightest skin tone to moisten the paper for finer transitions.


Then I went for my shadow tint, BV20, I layered E55 on top of the BV20 and moved on to my mid-tone, E53.


For their bodies I wanted to use the feathering technique. I used my lightest colours to fade them into each other, overlapping, blending, BG11 - R81.


Used BG11 - G16 - G02 for the first fishtail.


For the torso I used R81 - R89 - R85 - R83 for shading and roundness.


The second mermaid got a feathering of yellow and a grey-blue colour. Used Y00 - BG70 for the fading, blending.


To get some depth, shape and roundness I used Y00 - Y15 - Y11 for the torso and BG70 - BG75 - BG72 for the fishtail. And as you can see I used the tint of the torso on the edges of the fishtails.


The starfishes are soo small that I only used two tints, R00 - R22.


For the shells I used RV11 - BG70 - BG72.


For the clams I used BG70 - BG72 - B29.


Y32 - E99 - YR24 for hair.


V91 - V93 - V95 for hair.


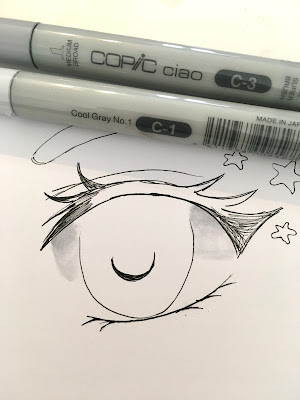
C5 and T5 for some shading.


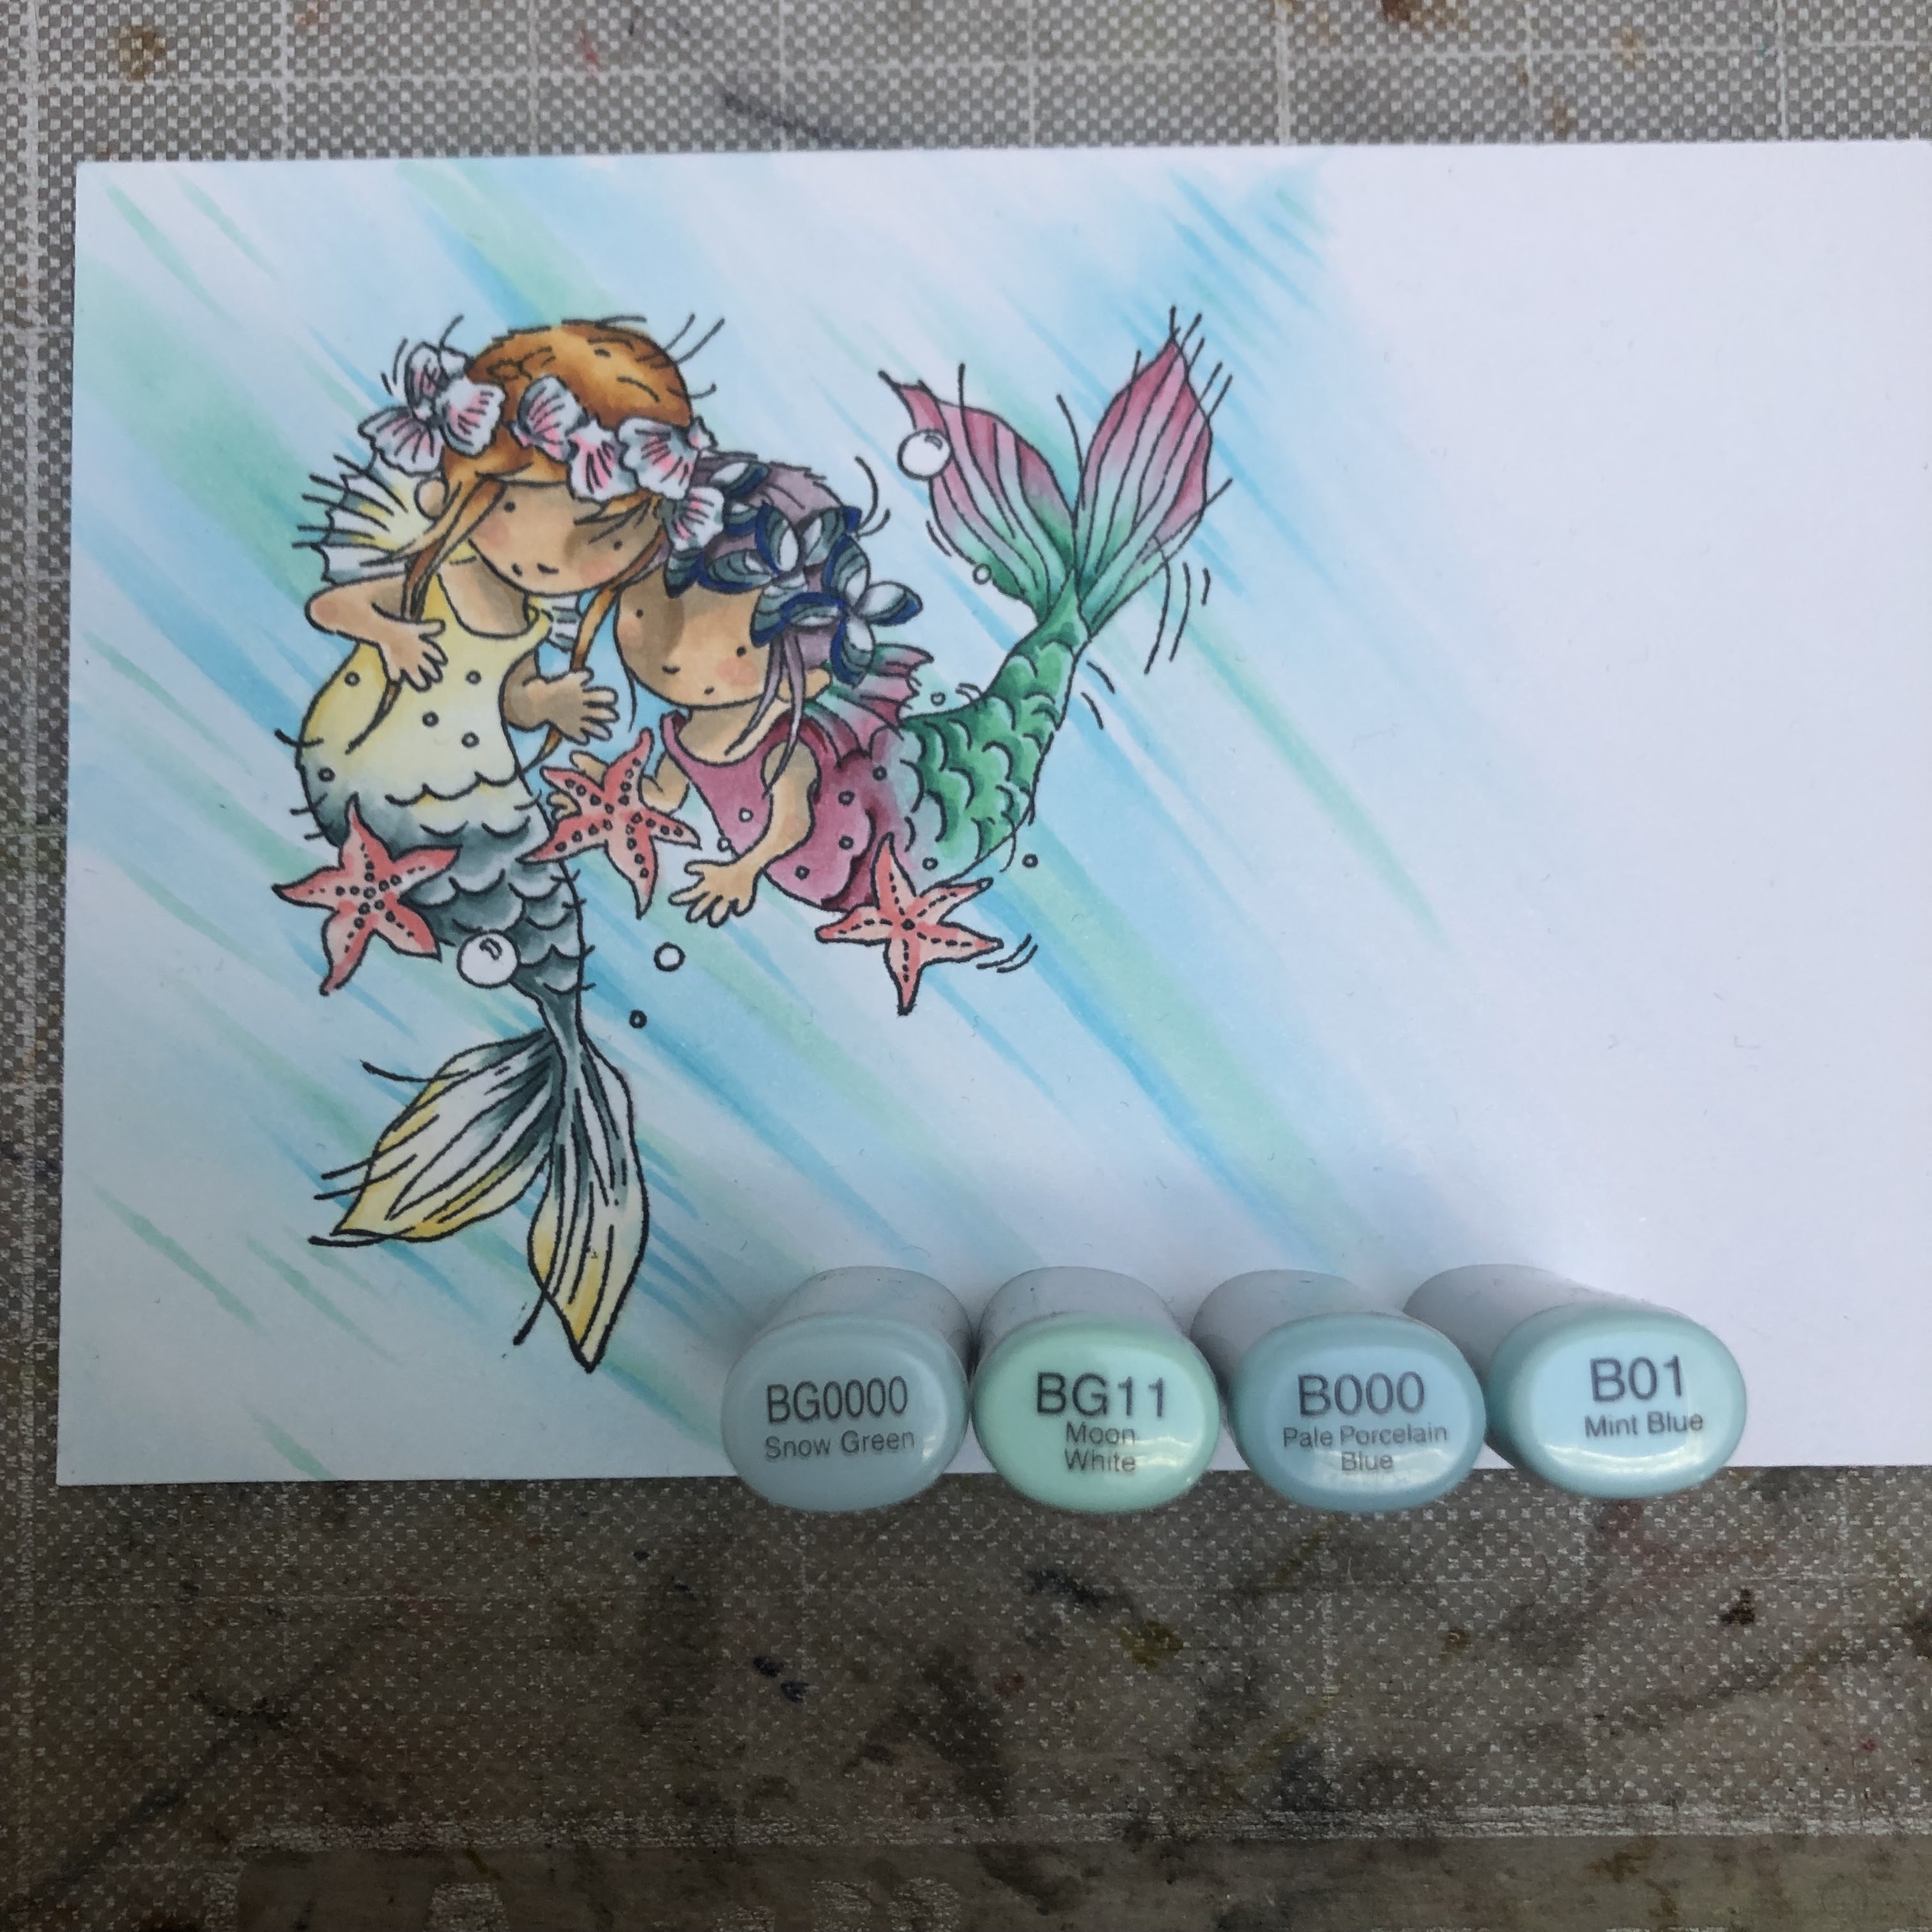
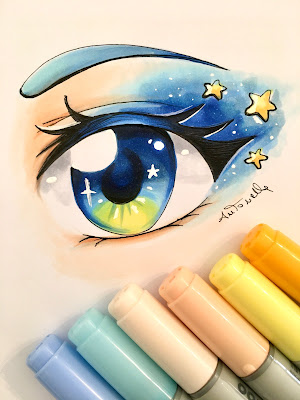
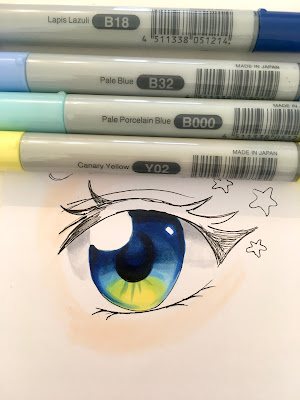
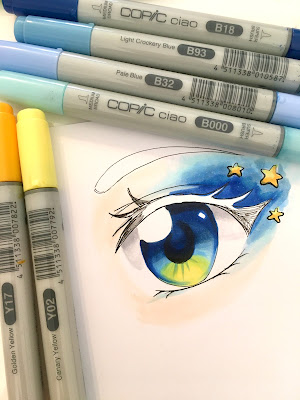
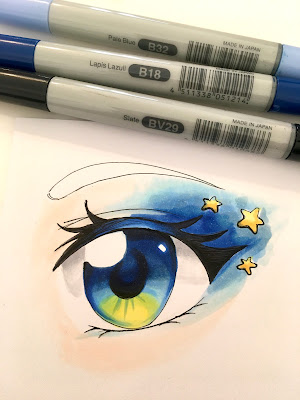
I didn´t want to put in colour for all the background so I just made flick marks with blue tints.
BG0000 - BG11 - B000 - B01, randomly. And it looks like light penetrating into the water.

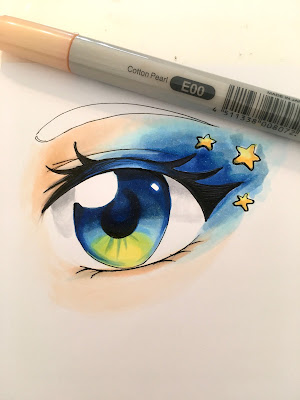
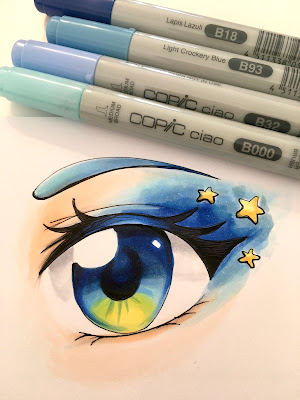
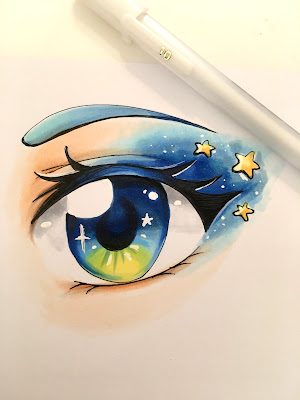
I ended up using some Gelly Roll Dark White pen for some highlights. 

Hope you enjoyed this post and we all want you to post your mermaids on Copic Marker Europe´s Facebook group for us all to enjoy.

Have a nice day!
Love
Helen

Sunday, May 22, 2022

Cicci Colors Dark Skin

Hi Copic lovers. Cicci here posting from Sweden and today I'm going to color some dark skin

Step 1
I started to make a sketch.


Step 2
Add a dark color
I used E15 and blend with E11


Step 3
Add E11


Step 4
Add E37 again and blend with E11


Step 5
Add E59


Step 6
Add more E37


Step 7
Blend with E15


Step 8
I have done all the steps once more, then I colored all over the face with E000


Step 9
Blend all over the face with E53


Step 10
Add E13


Step 11
Blend a lot with E11


Step 12
Add a little with E07 and blend with E11


Step 13
Add some yellow, I have used FY1


DONE!!

Have a great Day
HUGS and SMILES
Cicci

Friday, May 20, 2022

Aall & Create Copic Video


Hello everyone! It's Delphine here today to share a little Copic scene with Aall & Create stamps which I have fallen in love with recently. Here is my final card:


I used a character and a plant from The Gardener set #424. For the background I chose the Leaves #556 stamp which I die cut to suggest a bush, and on a die cut piece of paper I stamped a cloud from the Follow Rainbows #524 set. I coloured all my elements in Copics and you can see the whole colouring process below:

Here is a close up of my scene and recap of all the Copics I used:

Skin: E000, 00, 11, 25
Eyes: B60, 63, E43
Hair: E25, 59, YR23
Red: RV69, R35, R37, W7
T-Shirt: E43, 44
Pot: C7, E41, 43, 59, G28, RV66, 69, YG06
Leaf Background: C7, G28, YG03, 17
Sky: B000, RV00, 11
Cloud: B000, BV00, RV00

I aimed at having contrast on my character, hence the use of E25 on the skin, then going back to add more layers of colour for skin and hair and all the grey underlayers for the reds and greens.

Thanks for stopping by today, have a lovely day! Hugs,
Delphine xx

Wednesday, May 18, 2022

Blossom Panda

Hello Copic addicts !

Today is my turn to get you inspired by using Copic markers!

I would love to see you following me on my Instagram and Facebook.

Today I am sharing my colouring of the super cute Panda sleeping on blossom by Lee Holand .
I tried some unusual color combos for the blossoms RV 95,R37, RV 63 ,RV 52, RV 000.

I started with RV 95 in the middle of the blossoms.


Then I went over with R37.


I blended with RV 63.


Blended further away with RV 52 and RV000. The leaves are colored with G46 and G 43


I started coloring this cute panda 🐼 with C2 .


C5 where the darkest places should be.


I added C7 with strokes to add some fur texture.


Some more texture with 100


And I blended all with C2


I added some details with Copic multiliner cool gray 0.1 and black 0.05


For the tree I started with E 30


I added some E33.


Darkening with E37


At the end I blended all with E30.


That's all friends, I hope you are inspired! See you soon and happy happy crafting!
Rosi

Saturday, May 14, 2022

Eye (Manga version)

Hello everyone! For the month of May I decided to draw a detail of the face, that is an eye ...always remaining in manga style.


Here is the tutorial for you:


Draw the eye with Copic multiliner


C1 and C3 for the shadow of the sclera/white of the eye.


E000 for the complexion.


Y02, B000, B32 and B18 for the pupil.


For eye makeup I used B000, B32 ,B93 and B18. Y02 and Y17 for the stars.


BV29, B18 and B32 for eyelashes.


I darken my complexion with E00.


B000, B32, B93 and B18 for the eyebrow.


I use a white gel pen for light points.


This is the end result, thanks for reading. 

Until next time
Antonella