Followers

Showing posts with label sky. Show all posts

Saturday, January 28, 2023

Snow Fairy

Hello, hello, hello!
Helen here today.
Hope you all have had a nice time since last month.
Up here, in the north, the light is beginning to come back, and that is what has inspired me for my coloring today. A cold, frosty morning in the middle of February. Even if I myself prefer the darkness...


The image is from a clear stamp set called Snow Fairies from Penny Black, by Mo Manning.


As always, I stamped my image with Memento Ink on Perfect Coloring Paper.


I sketched in the background with C0.


I wanted a dreamy look, right there, when the first sunlight strikes you in the morning, when the color in the sky turns, so I started with R0000 - BV0000 along the edges and in the middle I put in Y0000 - B0000.
C5 defines the bottom of the snow brink, the snow got some B0000 - B000 - Y0000 and the water got some Y0000 - R0000. The snowball got B0000 - B91 - B000.


I wanted more depth in the sky so in the bottom of the red I went in with R00 and yet another layer of the other colors in the sky.


Shadows in the right C2.
Shadows to the left BV20.
The birches got the first layer E40.
The water got B41.


Next layer for the birches are E42.


Then I went in with Y0000 - R0000.
C2 for branches, and I wanted the trees on the right to be soft.


To make the birches to the left pop and come closer to the front I went in with C3 - C5, just scribbled. I outlined the trees and on the right side of them I left a part that didn´t got the outline because I wanted it to look like the sunlight hits the stem there.
To the right the ground/snow got some BV0000 - BG000.


Made some shadow for the fairy and footprints with B41 - B45 - B95.
The water got some B45.


I struggled with the water. 
The shades is: B41 - B45 - B93 - B95 - B97.


The skin color I used is E000 - R00.


Shadows BV20.


On top of that BV20 I layered E33, blended it with E11 and blendet that with E00.


Made some smaller trees to the left and scribbled in some grass with C5.
And I wanted a harder, darker shadow to the left so I went in  with B45.


The first layer for the pants is E81.


Went in with my darkest (I thought) color for the pants, E87.
And as the sun doesn´t hit the pants in the front, they will be dark.


Blended it with E84 - E81 and for some details I used E89.
The buttons got Y20 - YR23.
The hat got the same colors as the pants.
And the wings got the same as the background and I added B72 for some parts.


Used some Gelly  Roller Dark White to get some snow on the branches and to define some grass.

I asked a friend about my coloring and she came back with "the sky should be lined horizontal and not vertical". But that´s exactly what makes it look dreamy. And - in real life there are no fairies so I guess we could color a sky vertical as well as horizontal...
What do you think?

Love
Helen

Friday, March 12, 2021

A Bright Birthday Card with Flowers and Fairies


Good morning,

How are you doing?
Today I would like to share my bright birthday card with flowers and fairies.
These sweet stamps are from Kraftin Kimmie Stamps, the flowers are from the set love bugs, the fairies are from the set fairy folk and the sentiment from party time sentiments.

I have used some wicked black hybrid ink to stamp some of the flowers onto perfect colouring paper.


The first centre flower was coloured with R 81, R 83, R 85, R 89


The right flower was coloured with RV 02, RV 04, RV 09


And later I have also added some R 39 for some more contrast


The left flower was coloured with R 02, R 05, R 17, R 59


The flower buds were coloured with Y 35, Y 38, YR 18


The petals of the  flowers are coloured.


Now I have stamped two fairies with wicked black hybrid ink.


The skin of the fairies was coloured with YR 000, YR 00, E 97, E 99, R 20, R 22


The dress of the right fairy was coloured with BV 00, Y 02, Y 15, Y 18


The hair of the fairy on the right was coloured with V 04, BV 08, BV 29


The dress of the left fairy was coloured with YG 00, YG 03, YG 95


Her necklace with V 04, BV 08


The hair of the left fairy was coloured with Y 35, Y 38, YR 18


The sky was coloured with B 000, B 00, B 12, B 05


On the wings I have added some glossy accents and when it was dry I have also added some little dots with a white gelly roll pen.
A happy birthday sentiment and some other layers of coloured paper to finish the card..
The "pearls" were made with some dreamy drops from Nuvo in the colour fairy wings :).
The slimline dies are from the new Crealies collection..


I hope I have inspired you to try some of these cheery Copic combos. 
Thanks for your visit see you next month!

Hugs Blankina

Saturday, September 12, 2020

Autumn Sunset Scene Slimline Card


 Hi all Copic friends,
The summer is slowly coming to an end and I get in the Autumn colours mood..
What about you? Do you love all those warm colours like me? 
The Copic family YR (yellow red) and the Copic Family E (earth tones) are just perfect.

Today I would like to show you my new slimline card in autumn colours of course using the pretty digital stamp called "Autumn" from Sweet November stamps.


I have printed the digital image and sentiment onto Perfect Colouring Paper with my printer, and afterwards I have used my slimline die from Mama Elephant to cut the shape.

Time to start colouring

 the skin..the scarf.....the cardigan..the gilet..the trousers..the bag ..the boots..


Of course one could stop at this point as the image is fully coloured but I wanted to create  a background too.

You could use stencils and or stamps to create a background or you can  just draw it yourself. But then you need some inspiration right?

As inspiration I have chosen a photo from my lovely holidays at the lake, it was just a guideline to make some kind of background :). 

Ofcourse first I start to draw some lines with light colour ( E 30 ) in this way  I can still add details or slightly change the scene in case I do not like it. 

When you use a pencil you should be aware that pencil covered by Copic will not erase that is why  I have decided to colour the scene directly with my Copic.

I know it is a bit scary but once you start it will get better .. and if you really don't like the result you can still fuzzy cut the image and put it onto design paper hi hi .

Please see my short video below of the colouring process of this card..


Here is the final result,
to complete the card I have added two leaves, cut with my I-crafter dies.

The top layer of the leaves was coloured with my Copic and on the green paper I have sprayed some distress mica spray  ..in this way some sparkle was added.


Hope you have enjoyed my post .

Please try to create your own background too, it is fun and as always practice..practice..practice.

Here are the Copic  colours I have used :

Skin : E 00, E 11, E 04, R 20, R 22

Hair : YR 21, E 99, E 19, E 18

Scarf : YR 14, YR 16, YR 09, E 18, E 15

Cardigan : YG 91, YG 93, YG 95, YG 99

Gilet : YR 23, YR 24, E 15

Boots : YR 23, YR 24, E 15, E 99

Trousers: E 11, E 15, E 18, YR 24, E 99

Bag : W 5, W 7, 100, YR 14, YR 18, YR 09

Background sky : BG 70, BG 72

Water : E 30, YR 0000, YR 000, YR 01, BG 70

Mountains : W 3, W 5, W 7

Glow from sunset : Y 35, Yr 000, YR 14, YR 16

Grass : E 30, YG 91, YG 93, YG 95, W 3, YG 99

Top layer leaves : YR 14, YR 16, YR 09

Thanks for your visit on the blog,

hugs Blankina

Tuesday, November 25, 2014

Warriors


Hello dear Copic-Fans,
today I show you a new artwork from the story I am currently
working on.

As always I start with a digital sketch.


Here you can see some WIPs


Scan 1 
Scan 2


Colours I used
E59, E53, E51, E43,E37,E33, E29, E21, E04, E00
W7,W5,W3,W1
BV60, BV31, BV29, BV25, BV23, BV20,BV00
Y35, Y28, Y26, Y21, Y11, Y00, Y000
YR61,YR20,YR01
B99,B95, B93, B91, B45, B01, B00
R59, R46, R22

Blue, Grey, Brown Multiliner
Copic Opaque White

Kind regards,
Yunu

Sunday, October 26, 2014

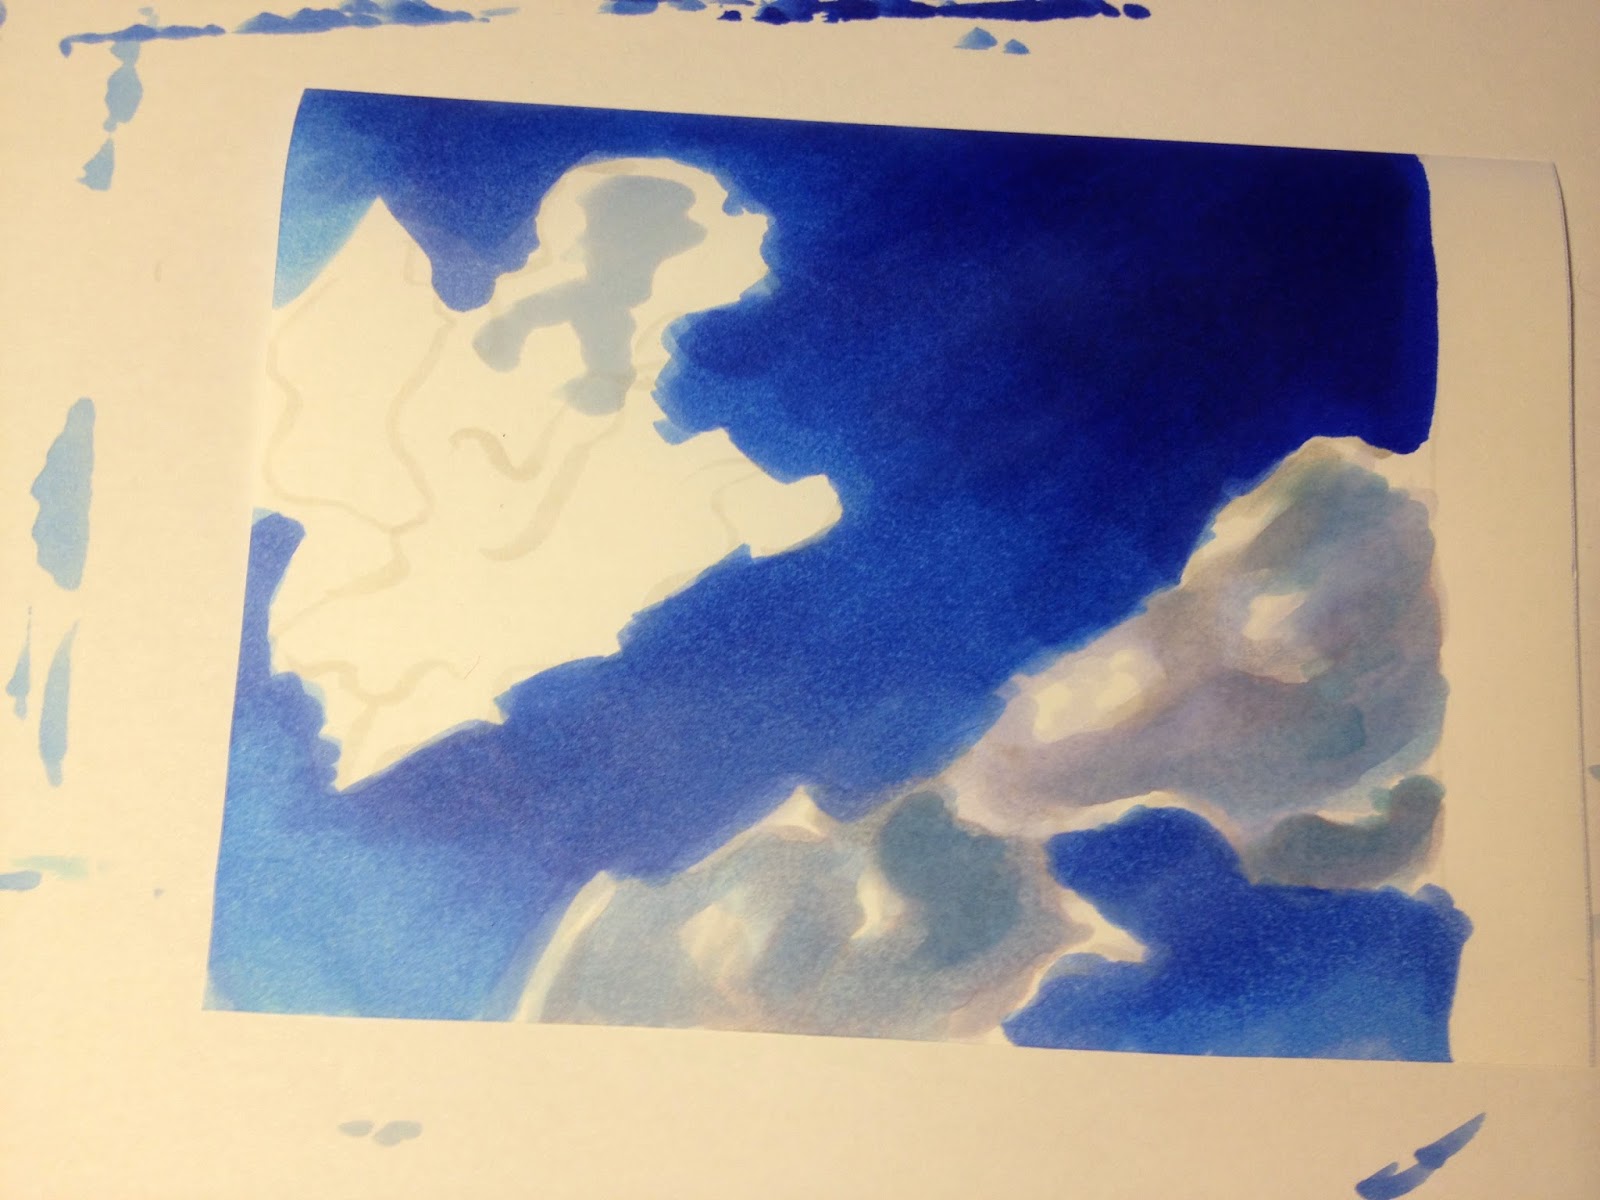
Tutorial: Skies


Hello,
this time I'll show you how to draw Skies.
First of all, keep some rules in mind. Otherwise it will be very difficult to draw a beautiful sky.

Rule #1: Know YOUR PAPER!
Copics behave variable on different paperand on some blending smoothly  is very difficult.

RULE #2: Choose a suitable paper!
Choose a paper which is not only suitable for mixing and blending colours 
but also can bear some layers.

Rule #3: Use Copic Sketch or Ciaos
Because of their brush nib they are more suitable for drawing fluffy clouds and smooth blending 

RULE #4: Know how to mic colours. If you're clueless, use the Copic Colouring Wheel.
It can be a great help


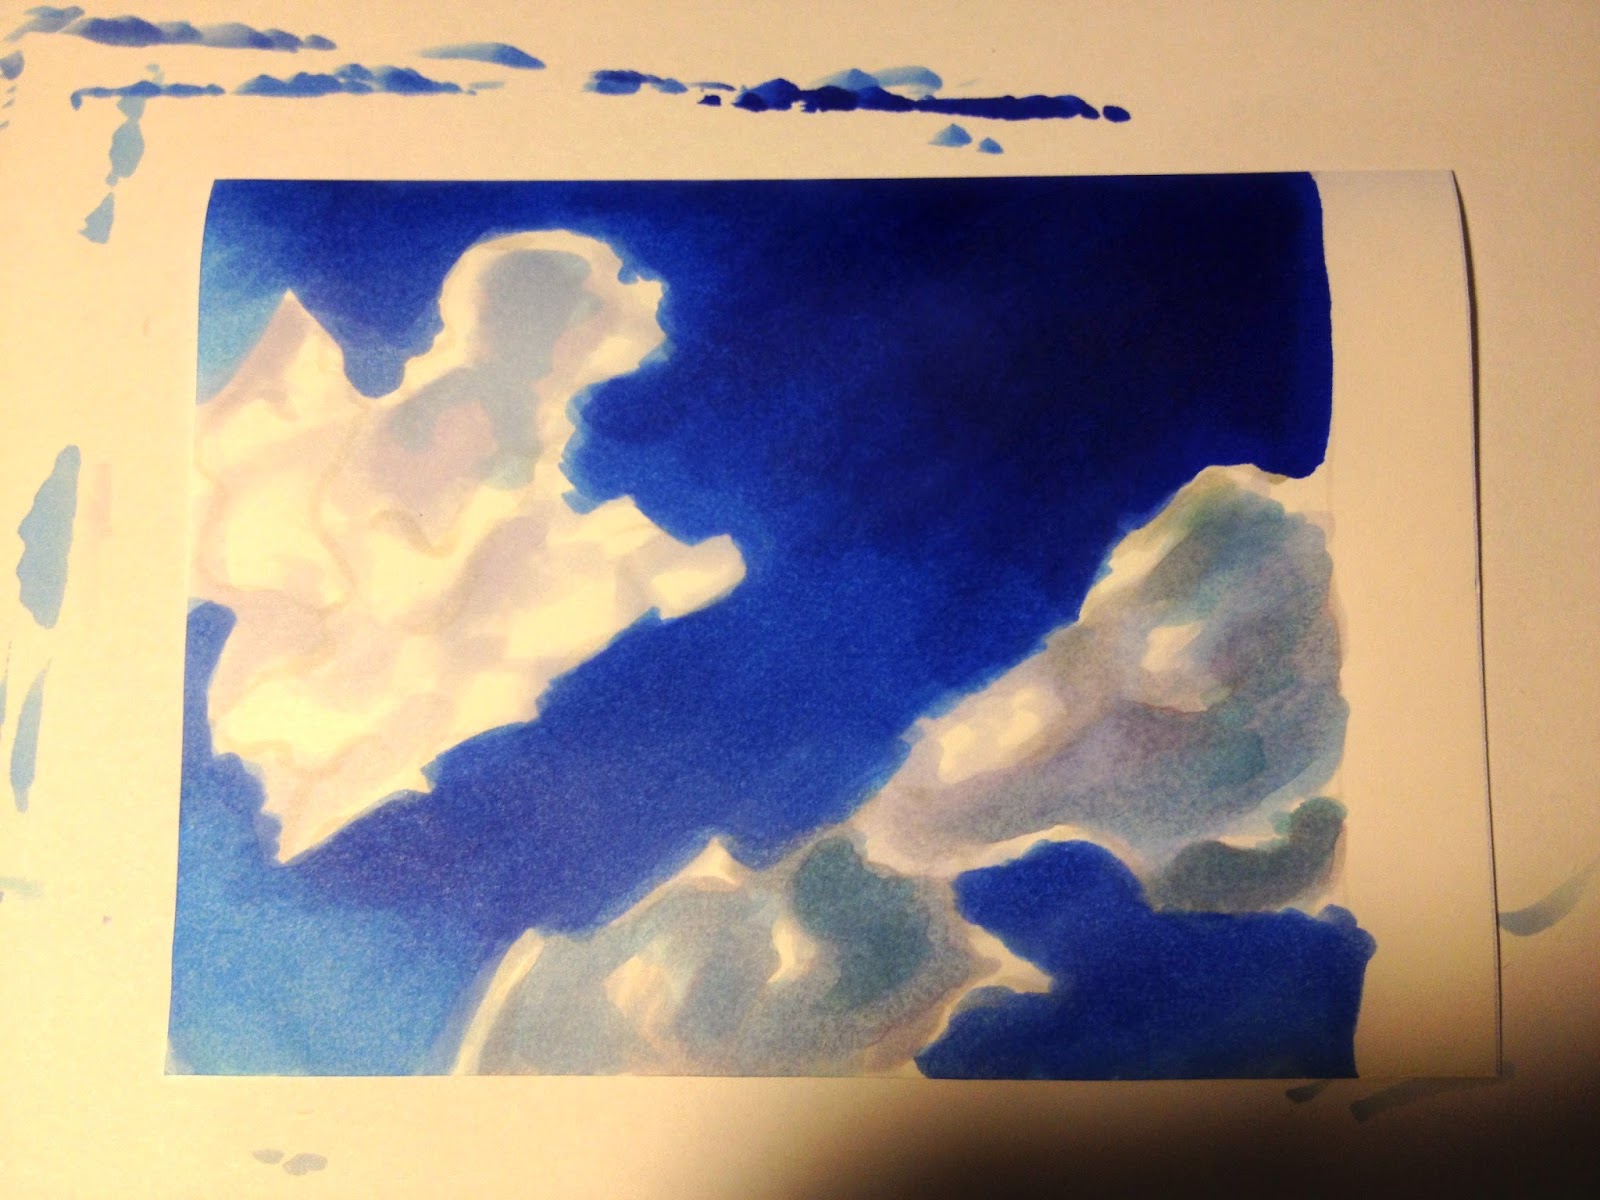
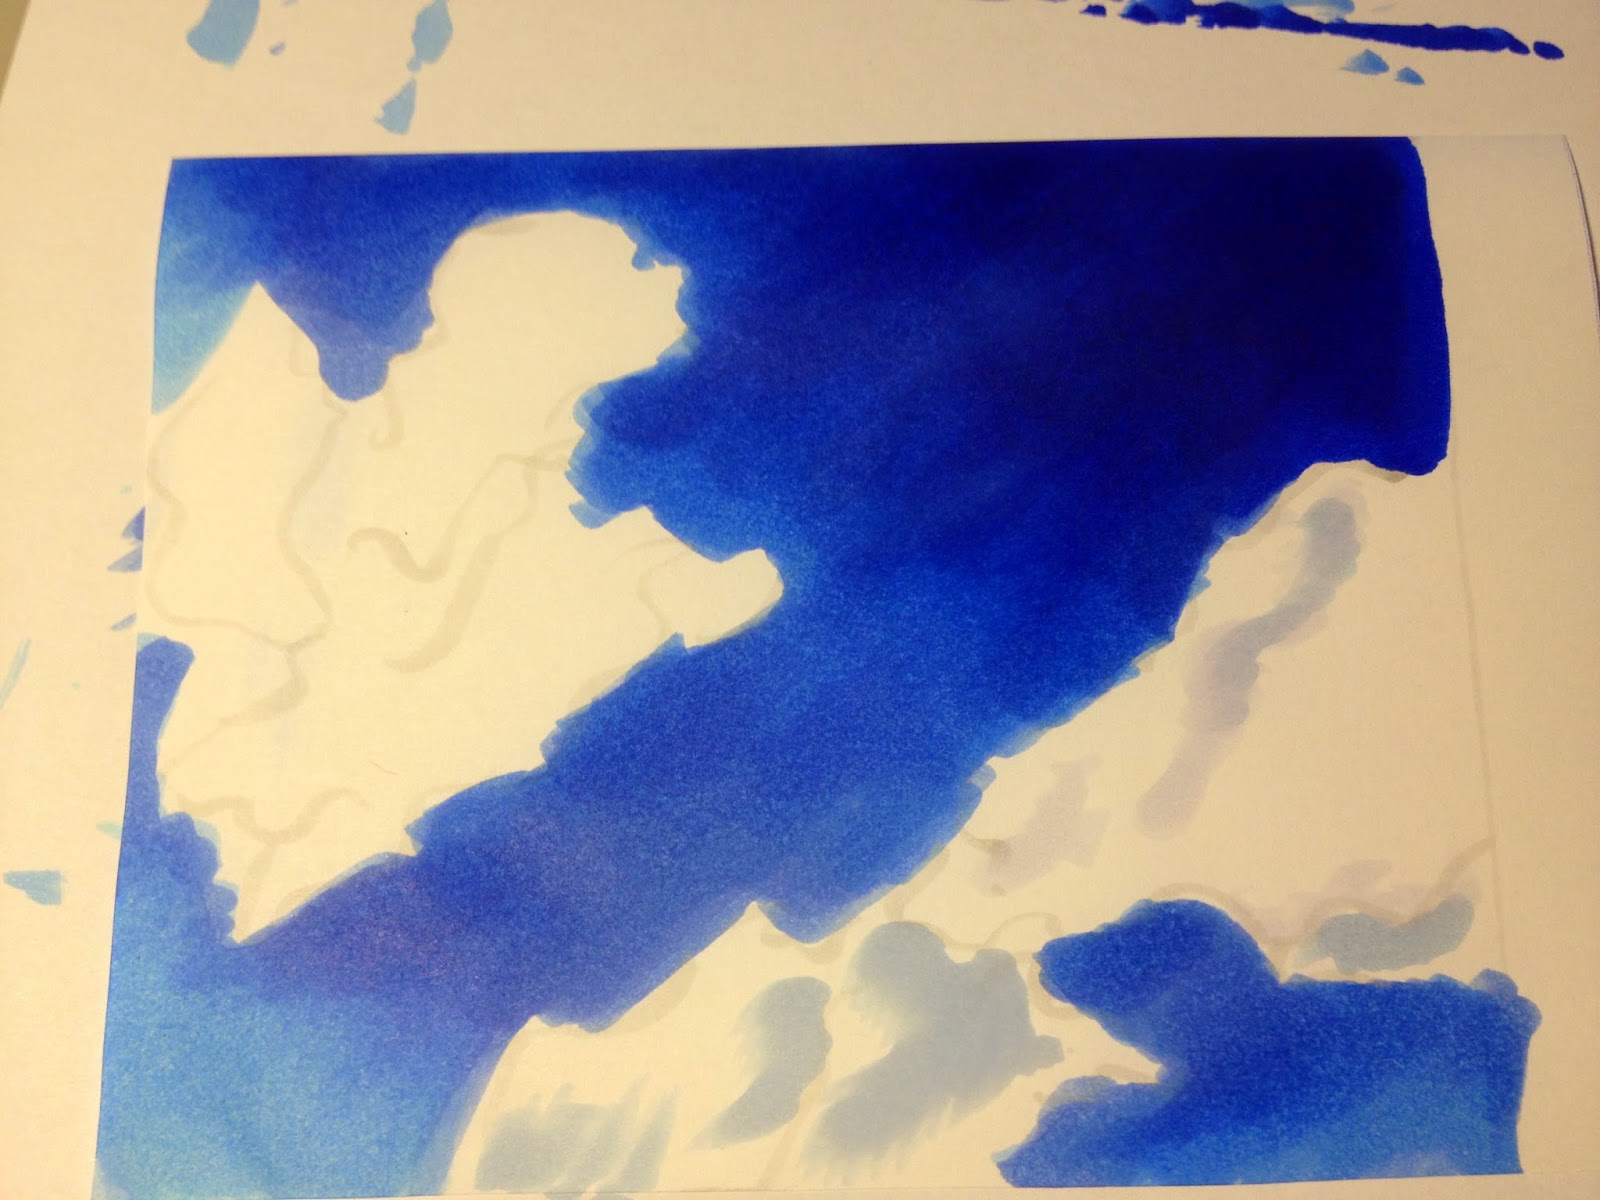
Let's start with the easiest Sky: A simple blue sky


1.Choose a paper suitable for colouring wide areas smoothly

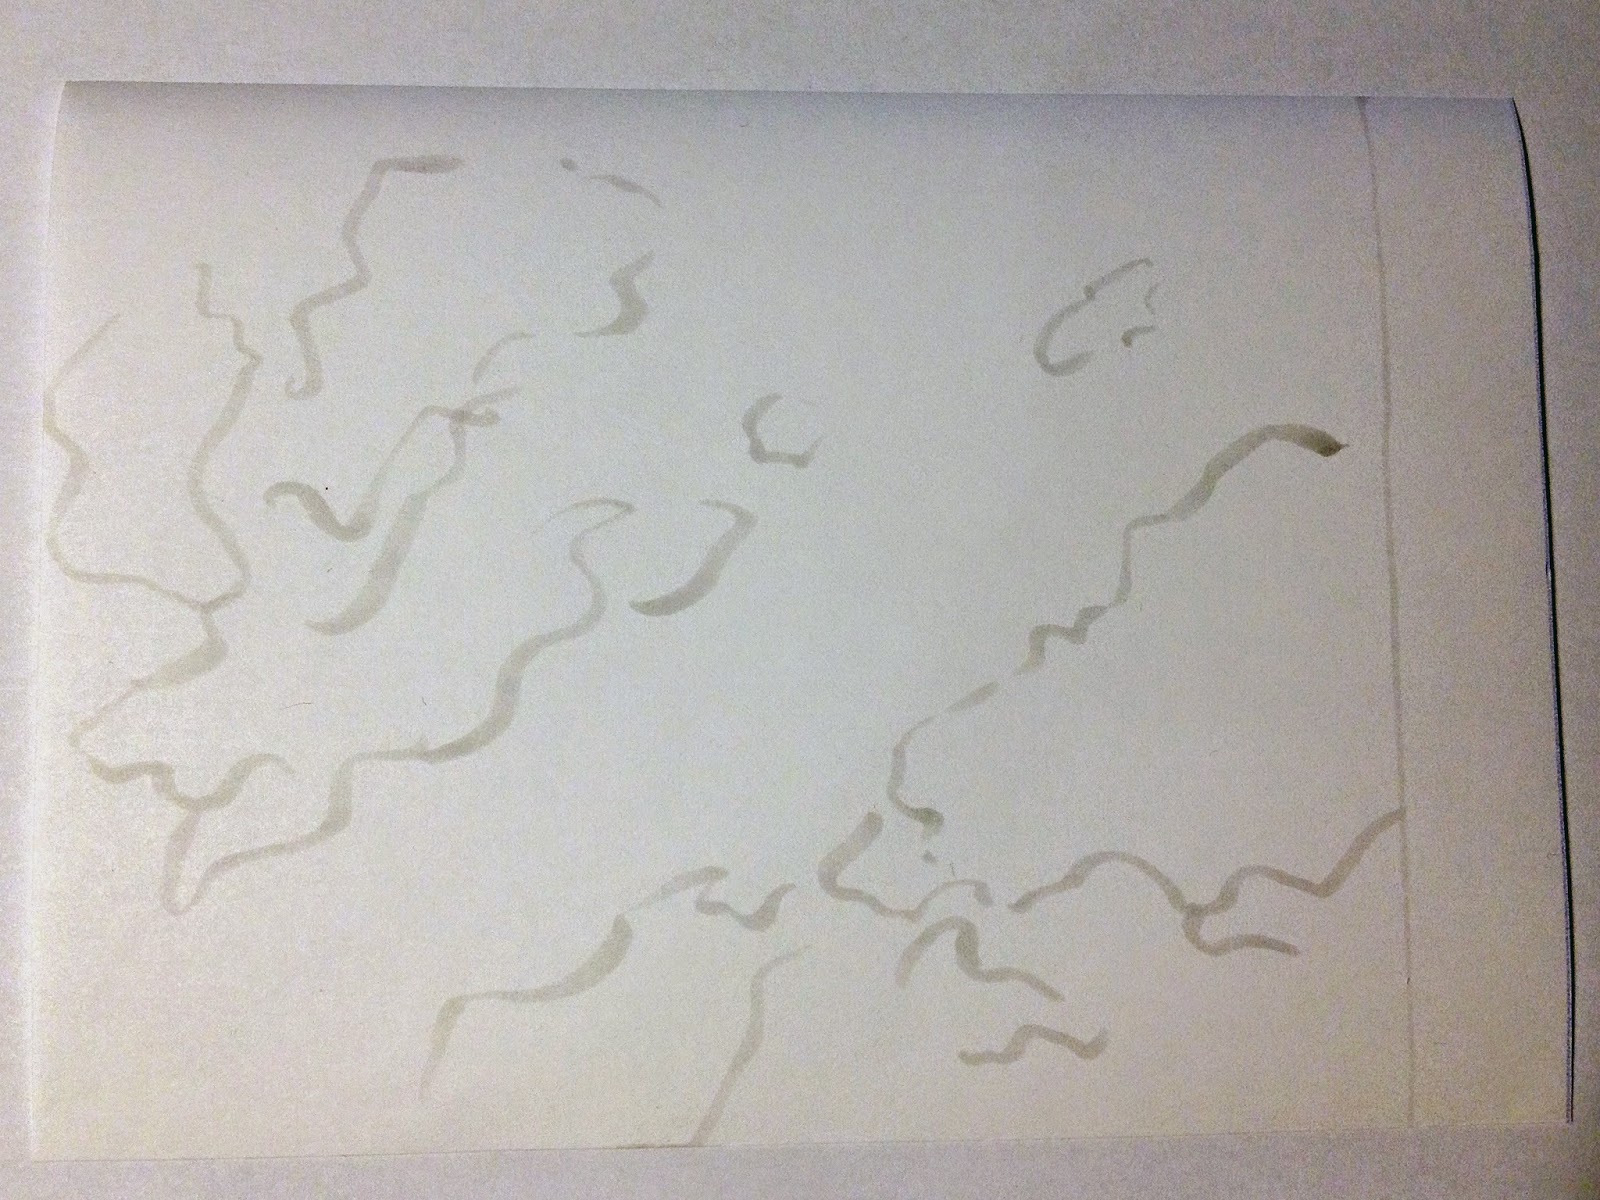
2.Roughly outline the clouds with a pale grey marker

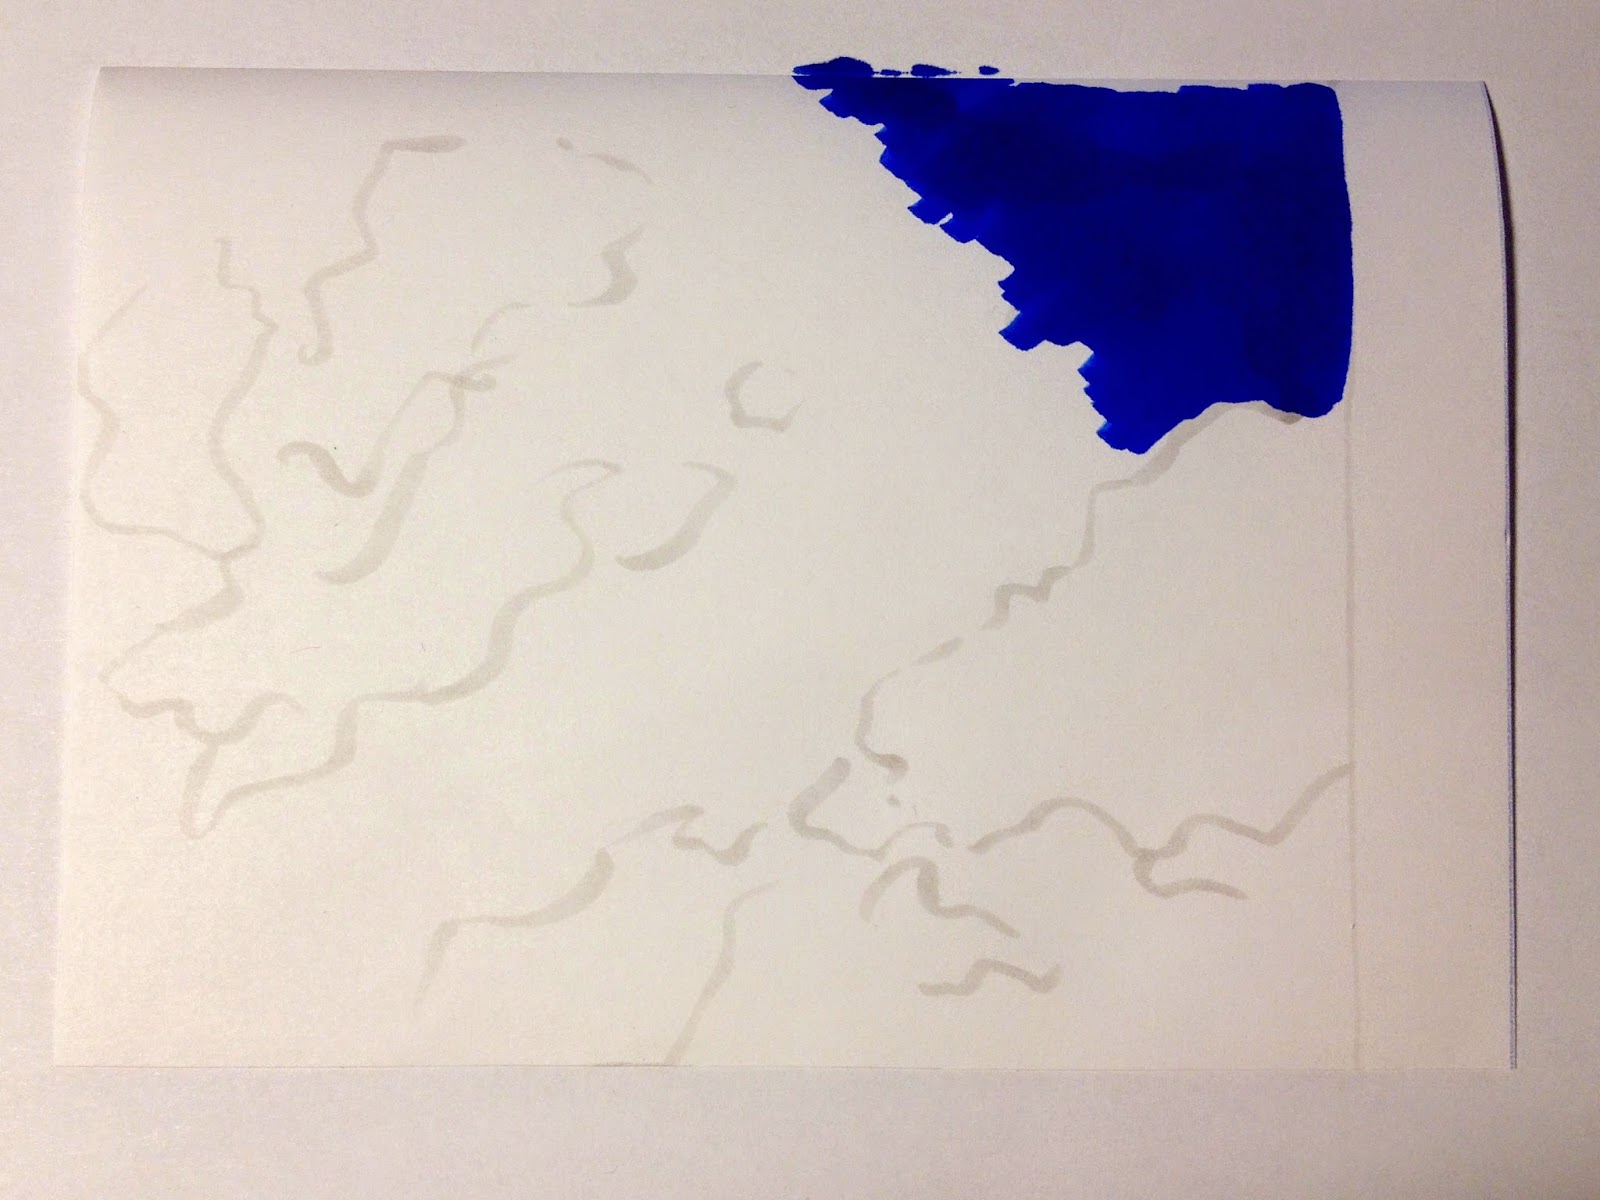
3. Begin to paint the background, starting with the darkest colour
and drawing in one direction 

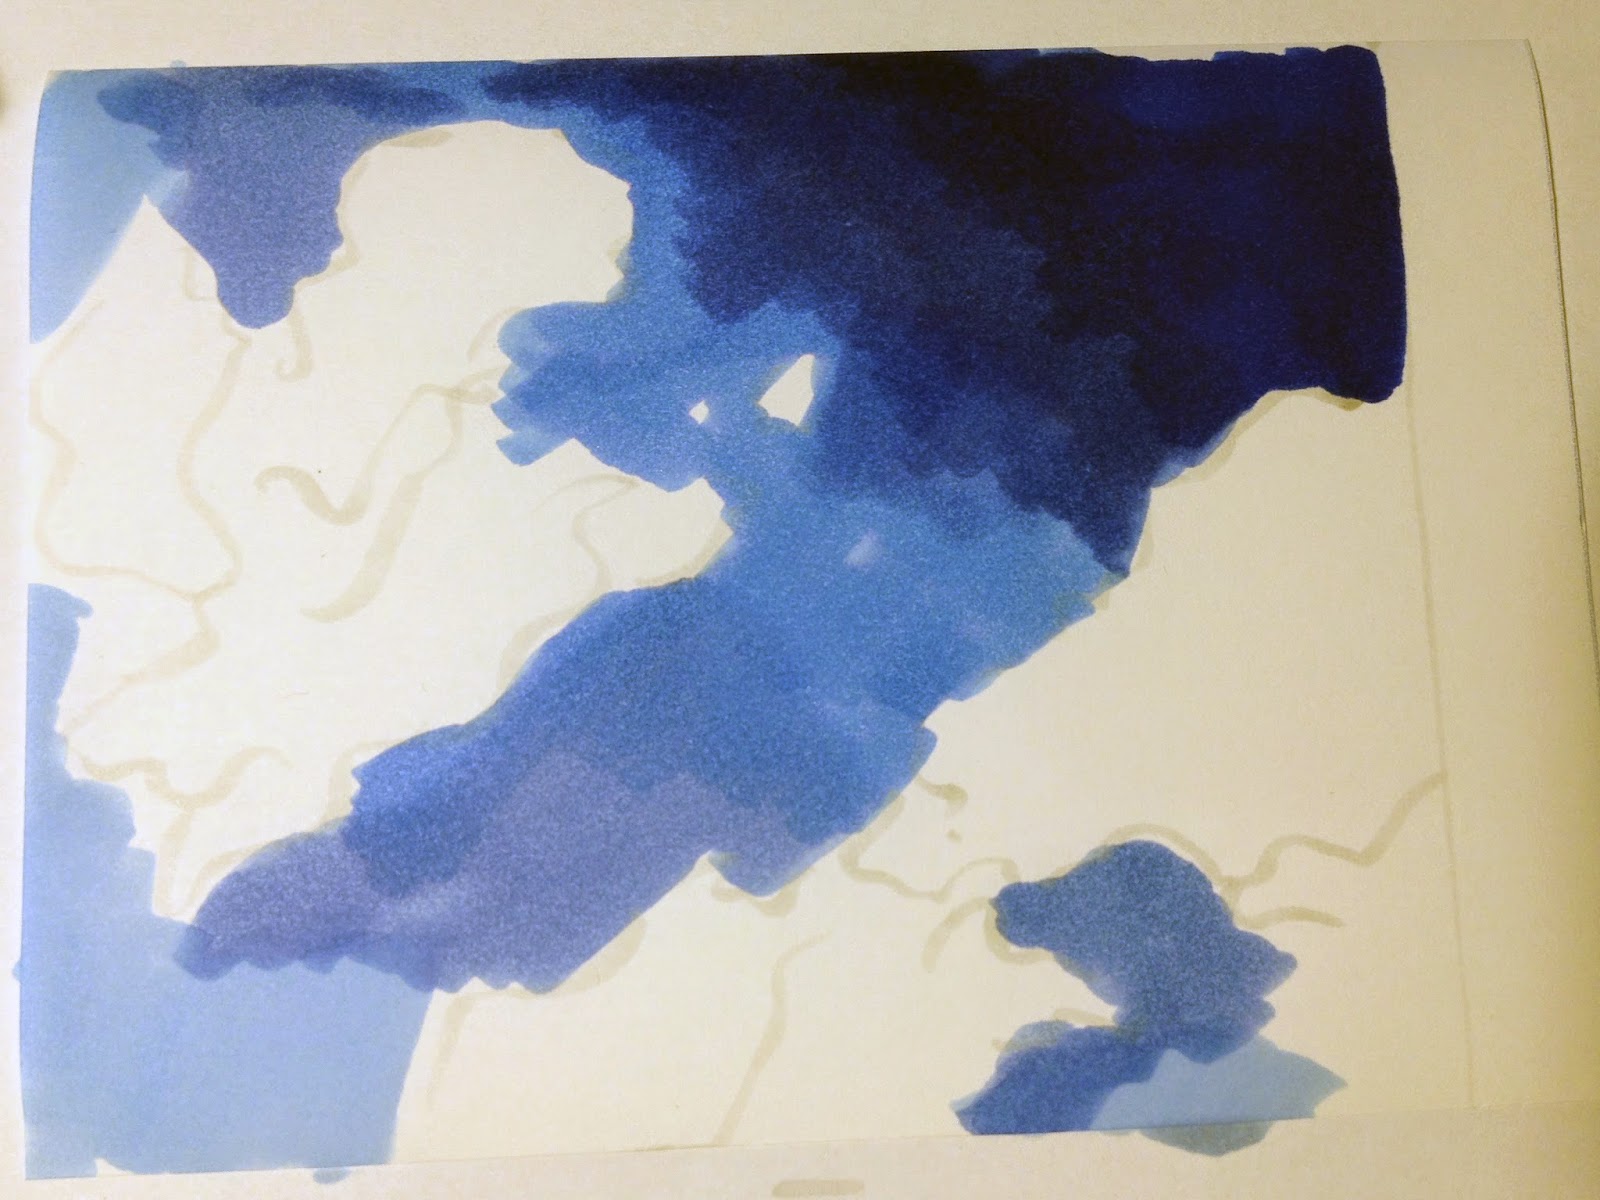
4. Mark the skies colour gradiation with different colours
while sparing the clouds
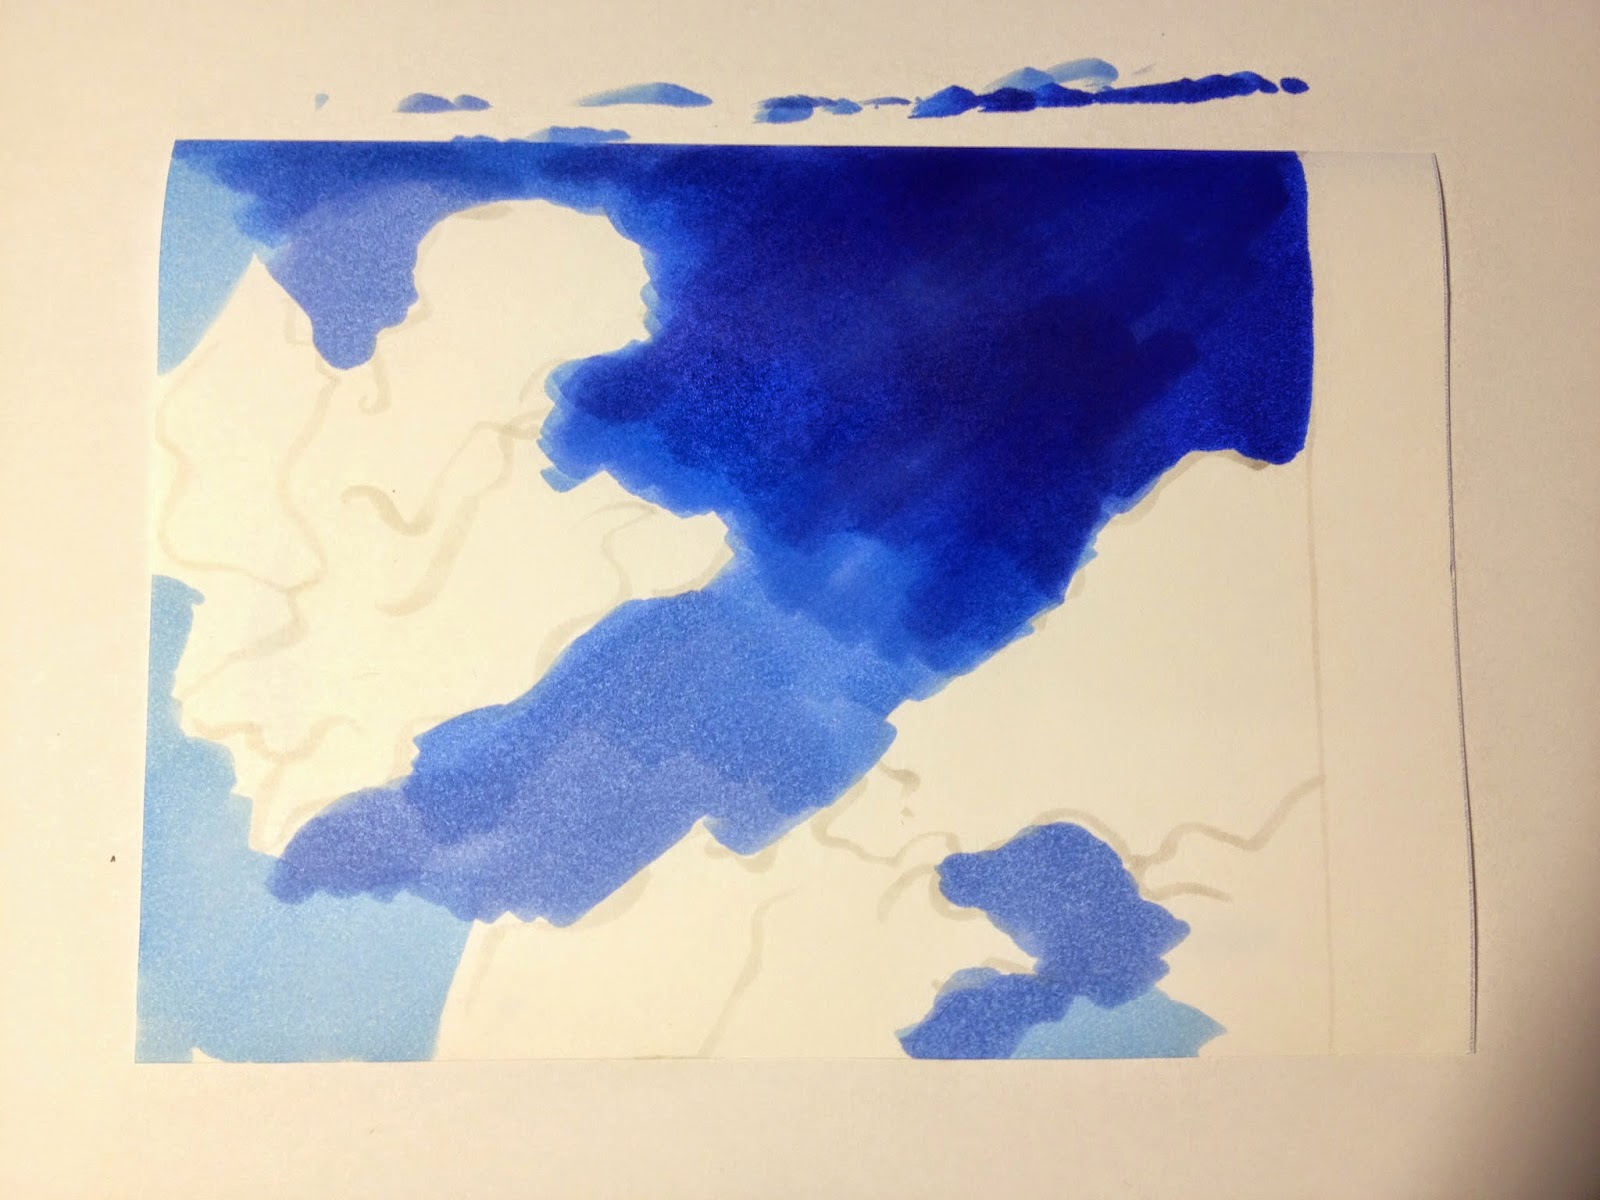
5. Start blending by mixing the colours

6. Once the background is finished, you can draw the clouds,
beginning with tagging the darkest areas.

7. Again mark the different colour gradations and apply the colour
in small circling strokes. Don't forget to spare some white areas!


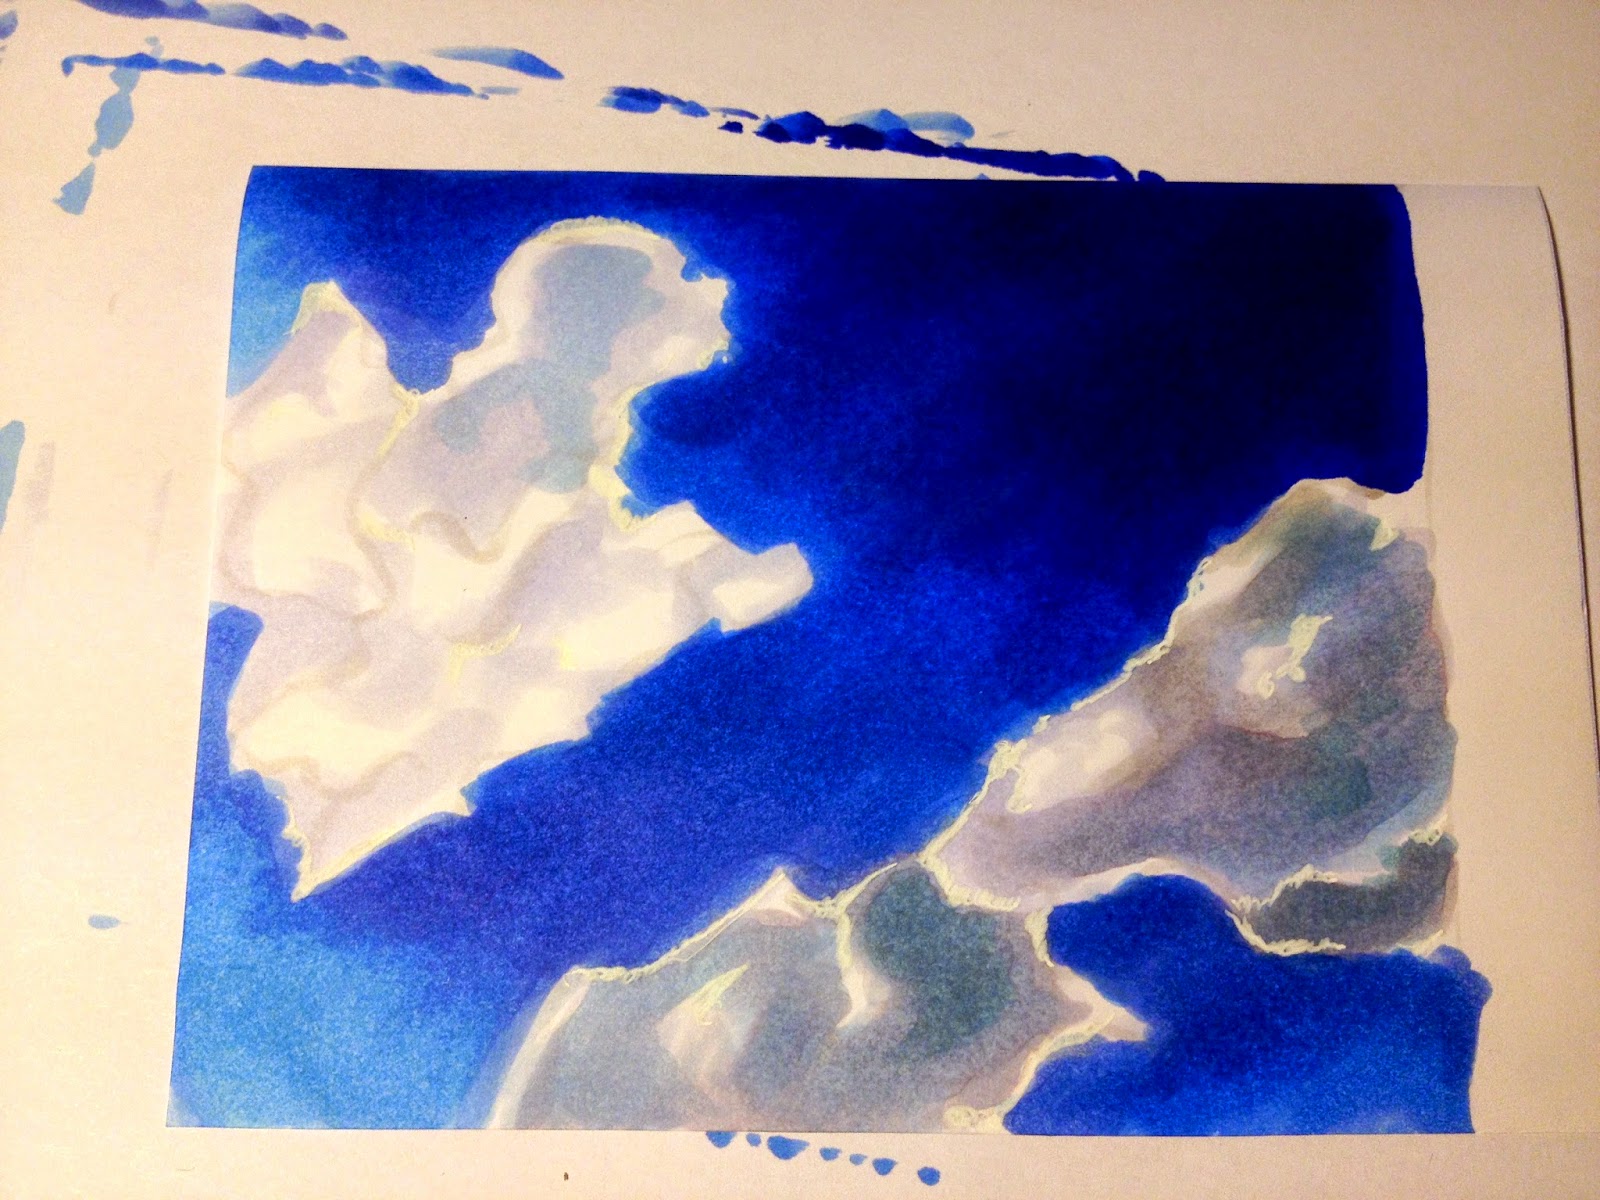
8. After blending the colours by mixing them, you can set some highlights
 with white gel pen, ink or opaque white


Hahnemühle Layout & Illustration Manga Paper
Sky: B32,B28, B26,B24,B23,B12,B00
Clouds: B91,B60,B41,BV20, N1 +White Gel Pen
 ---------

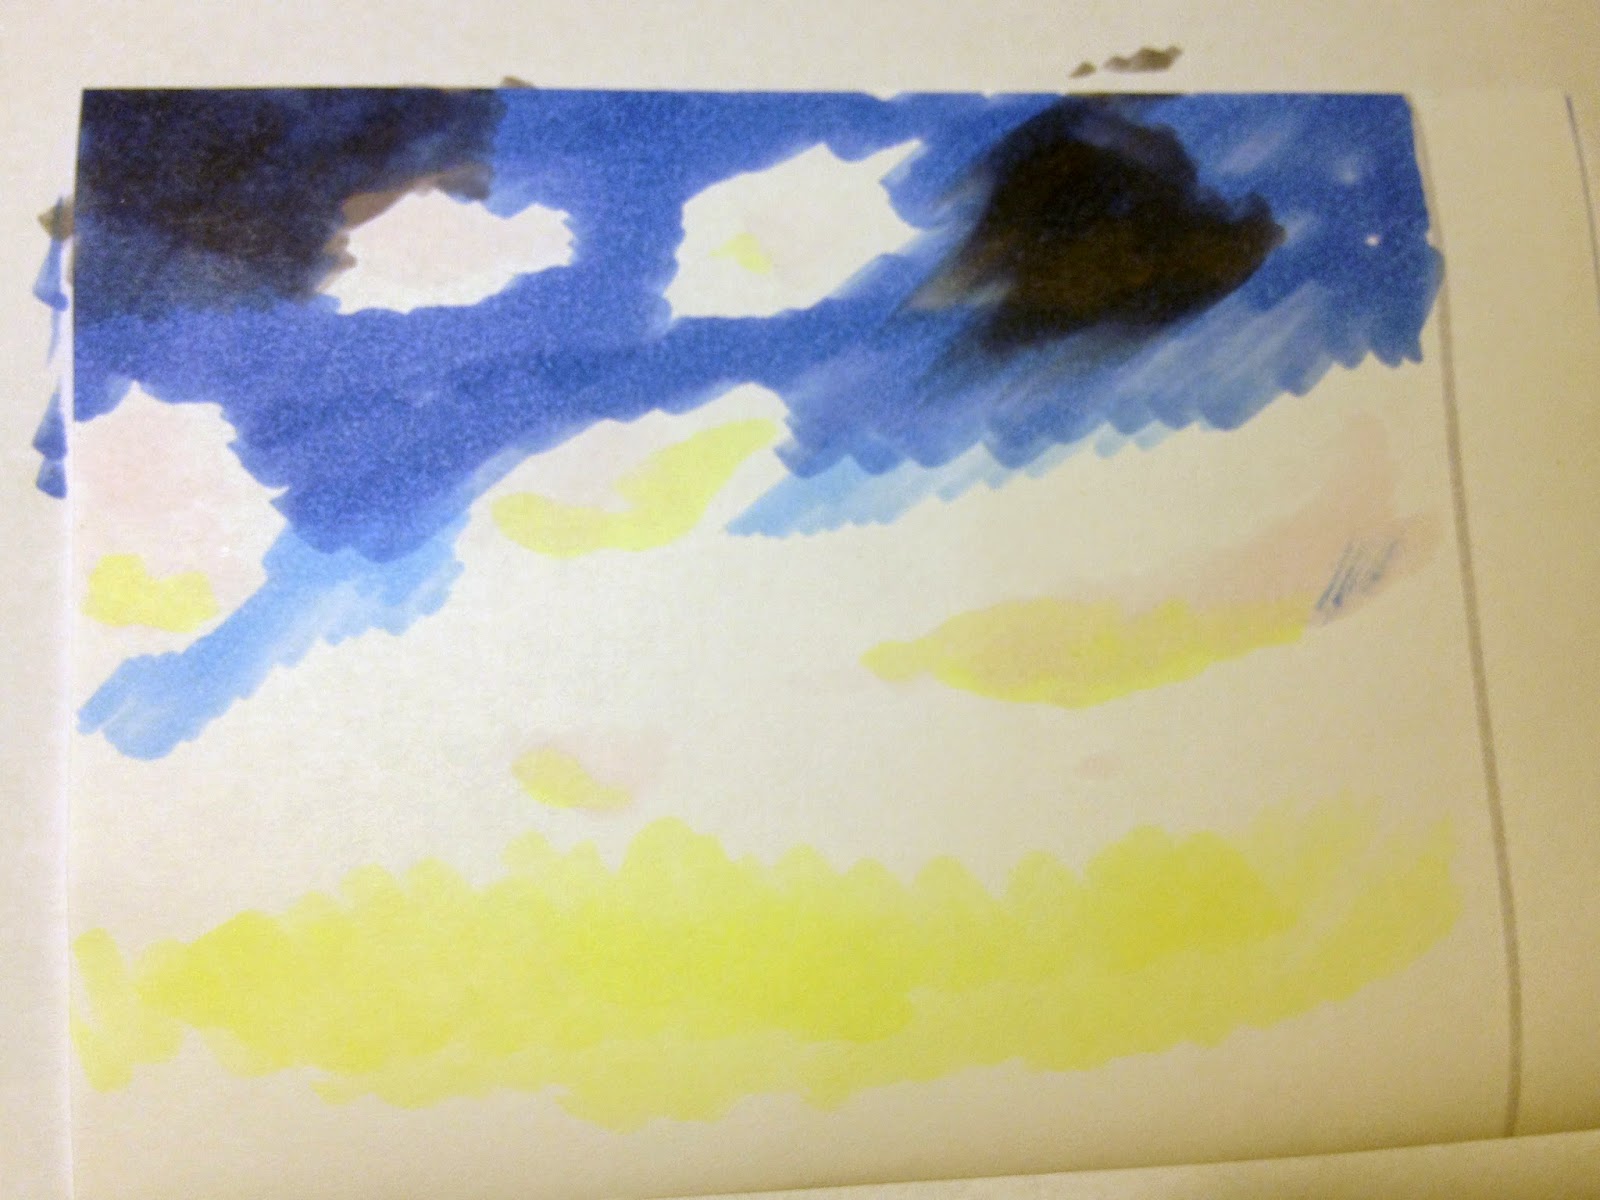
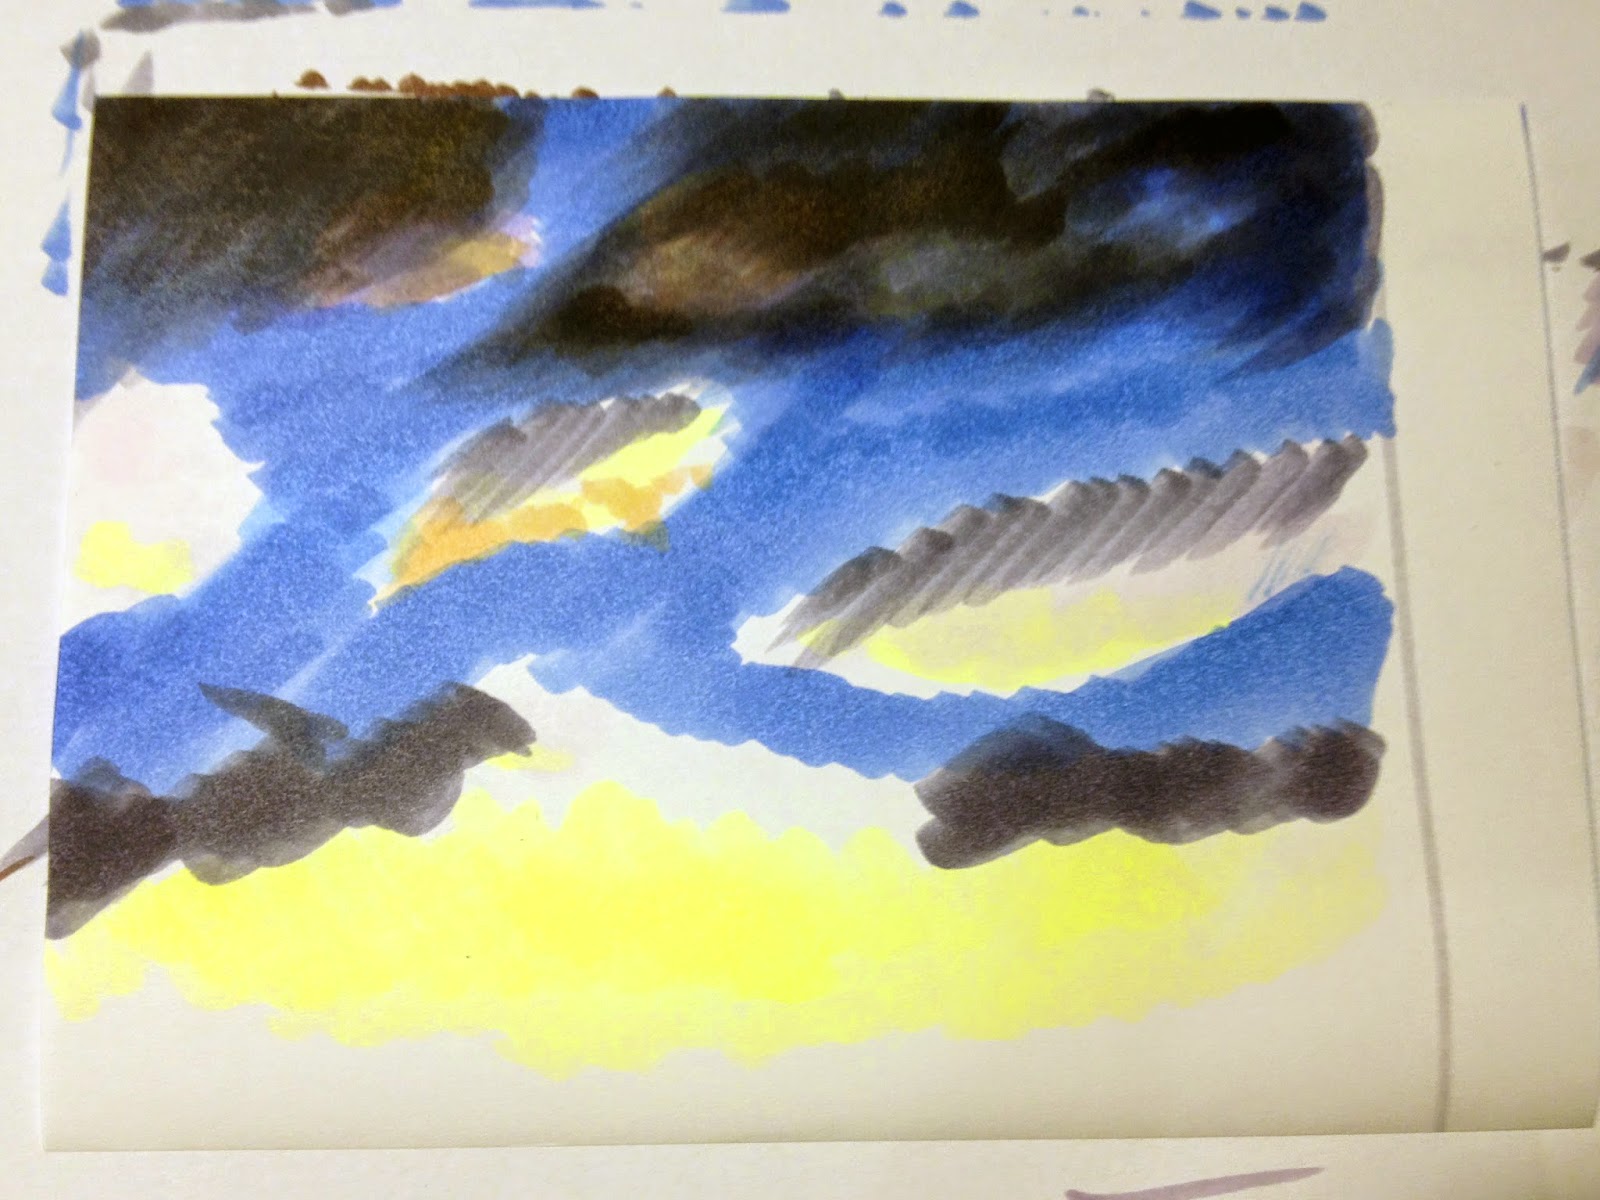
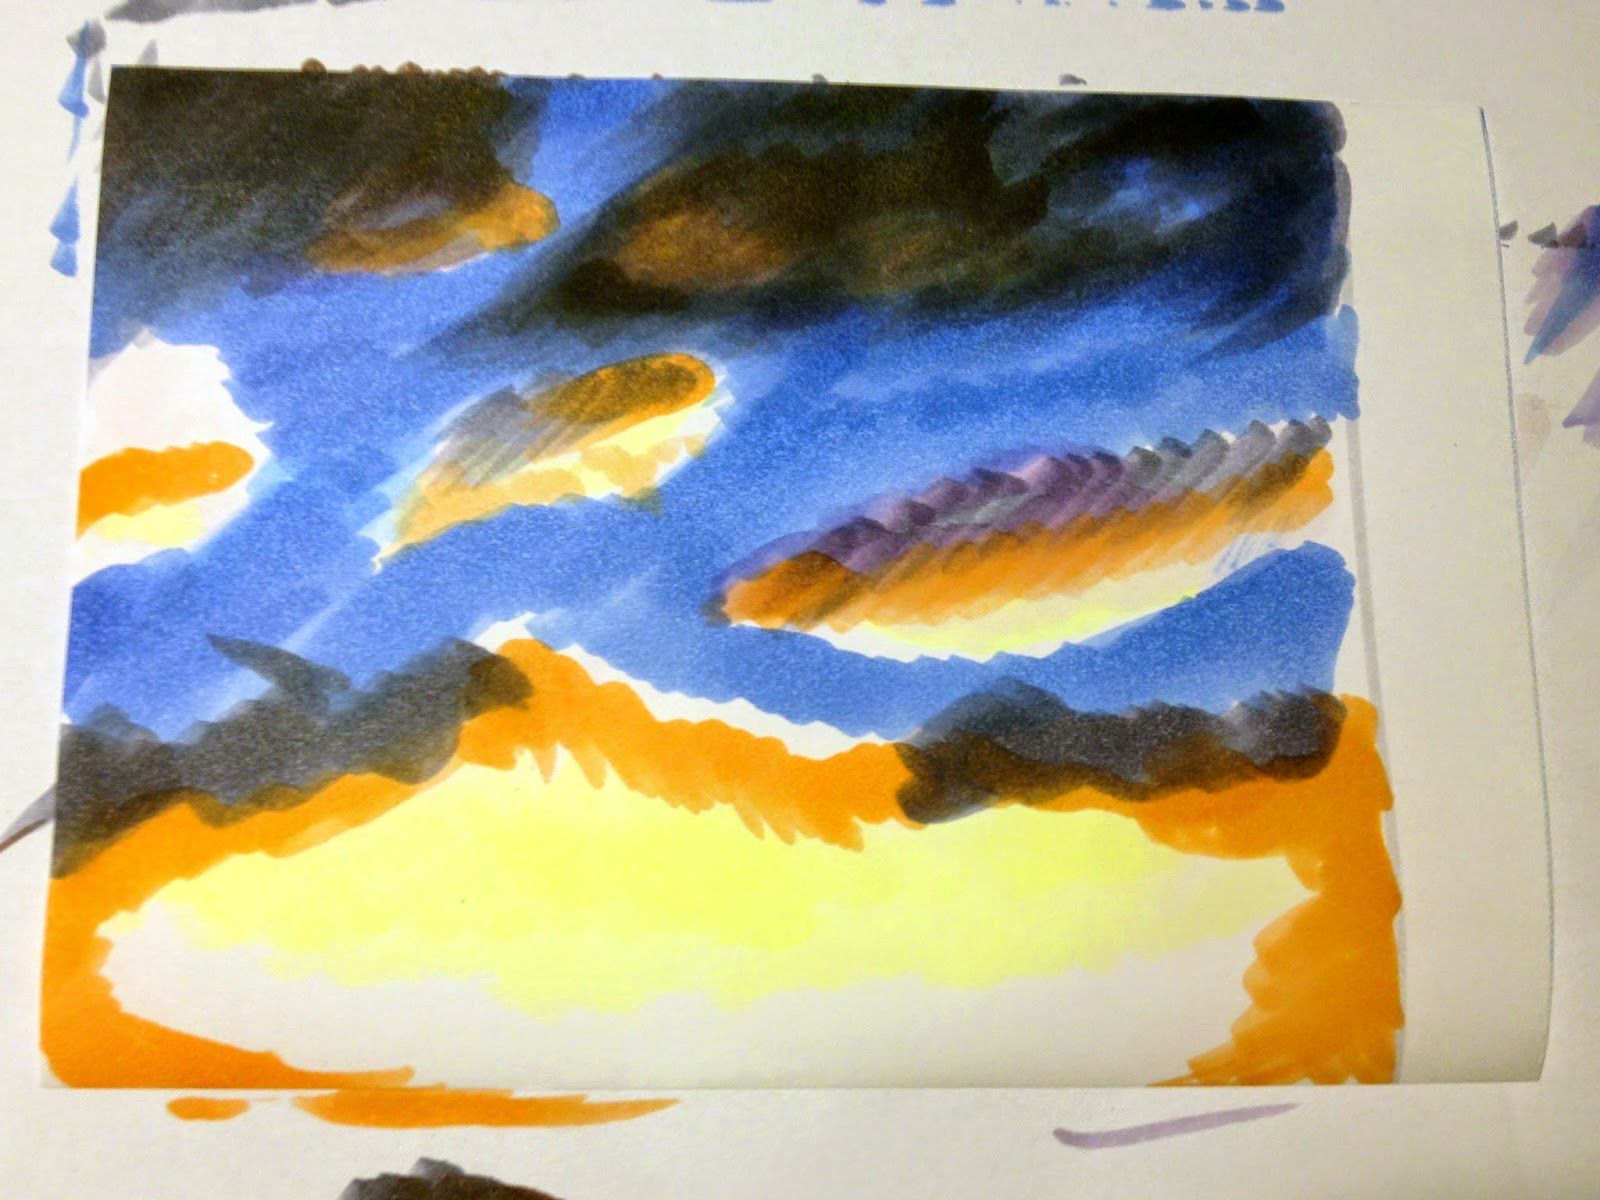
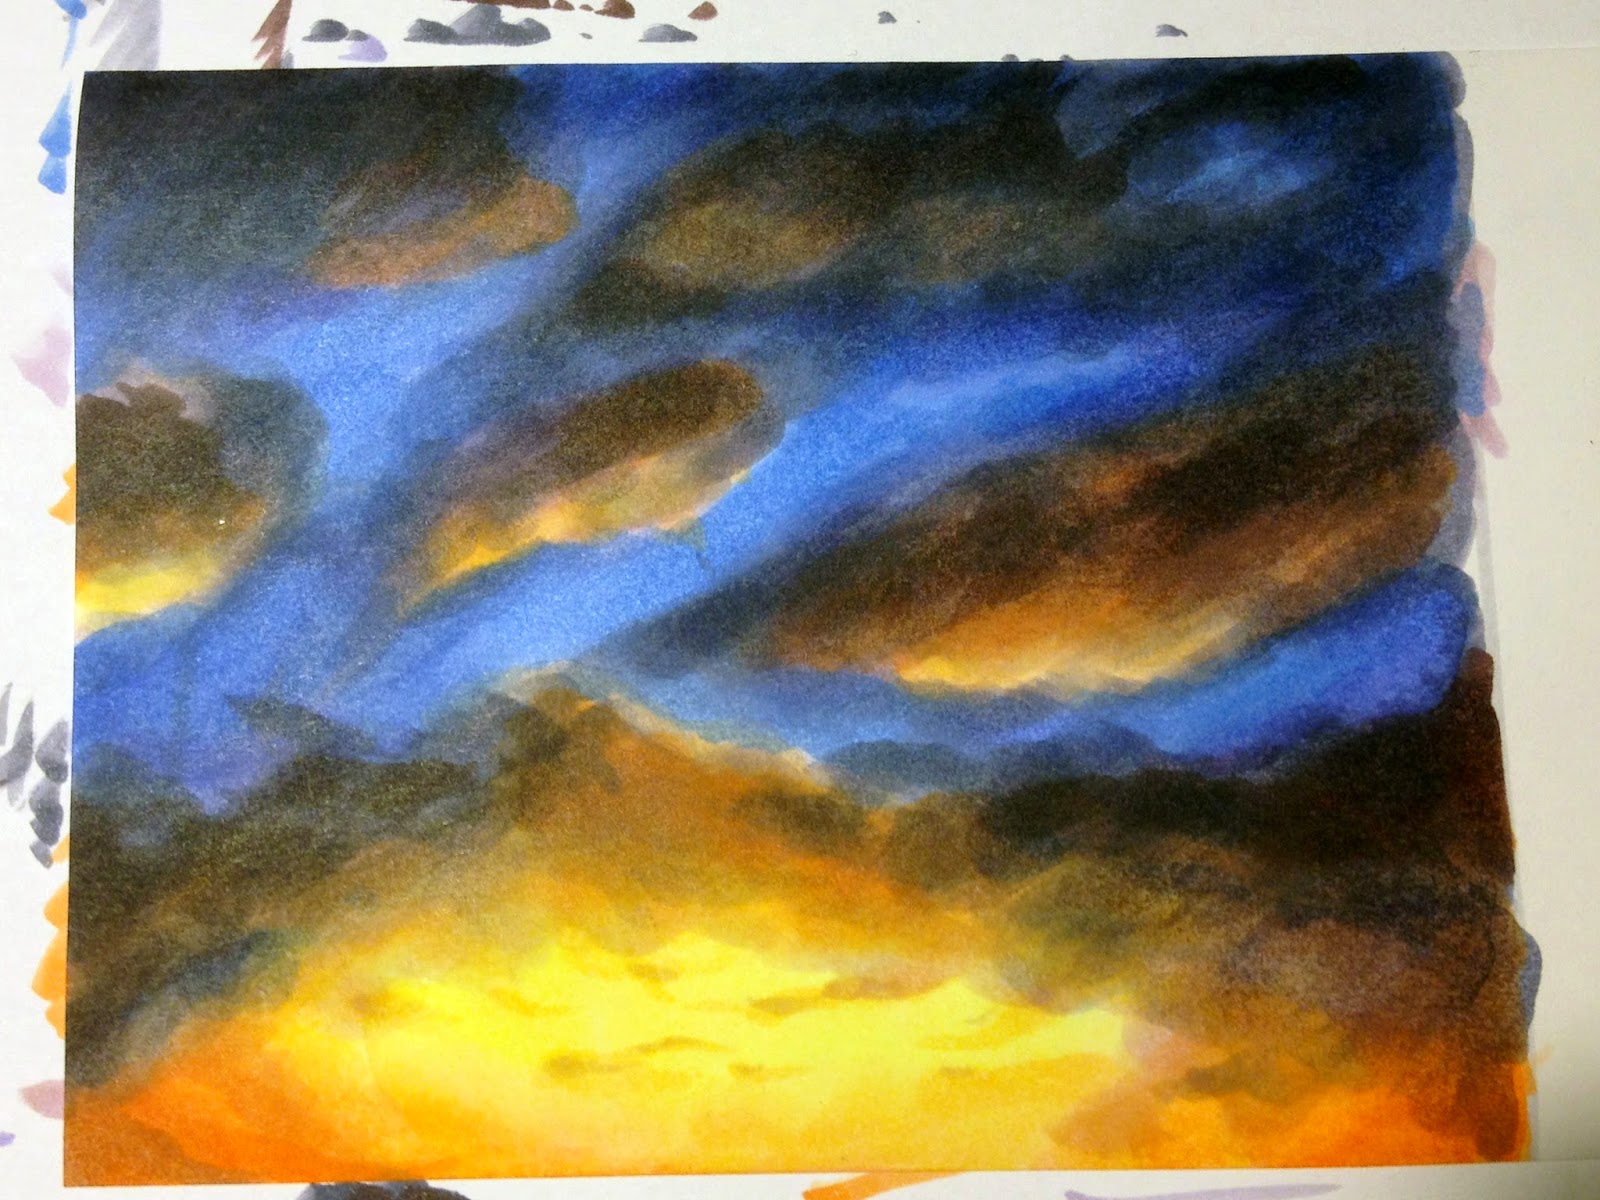
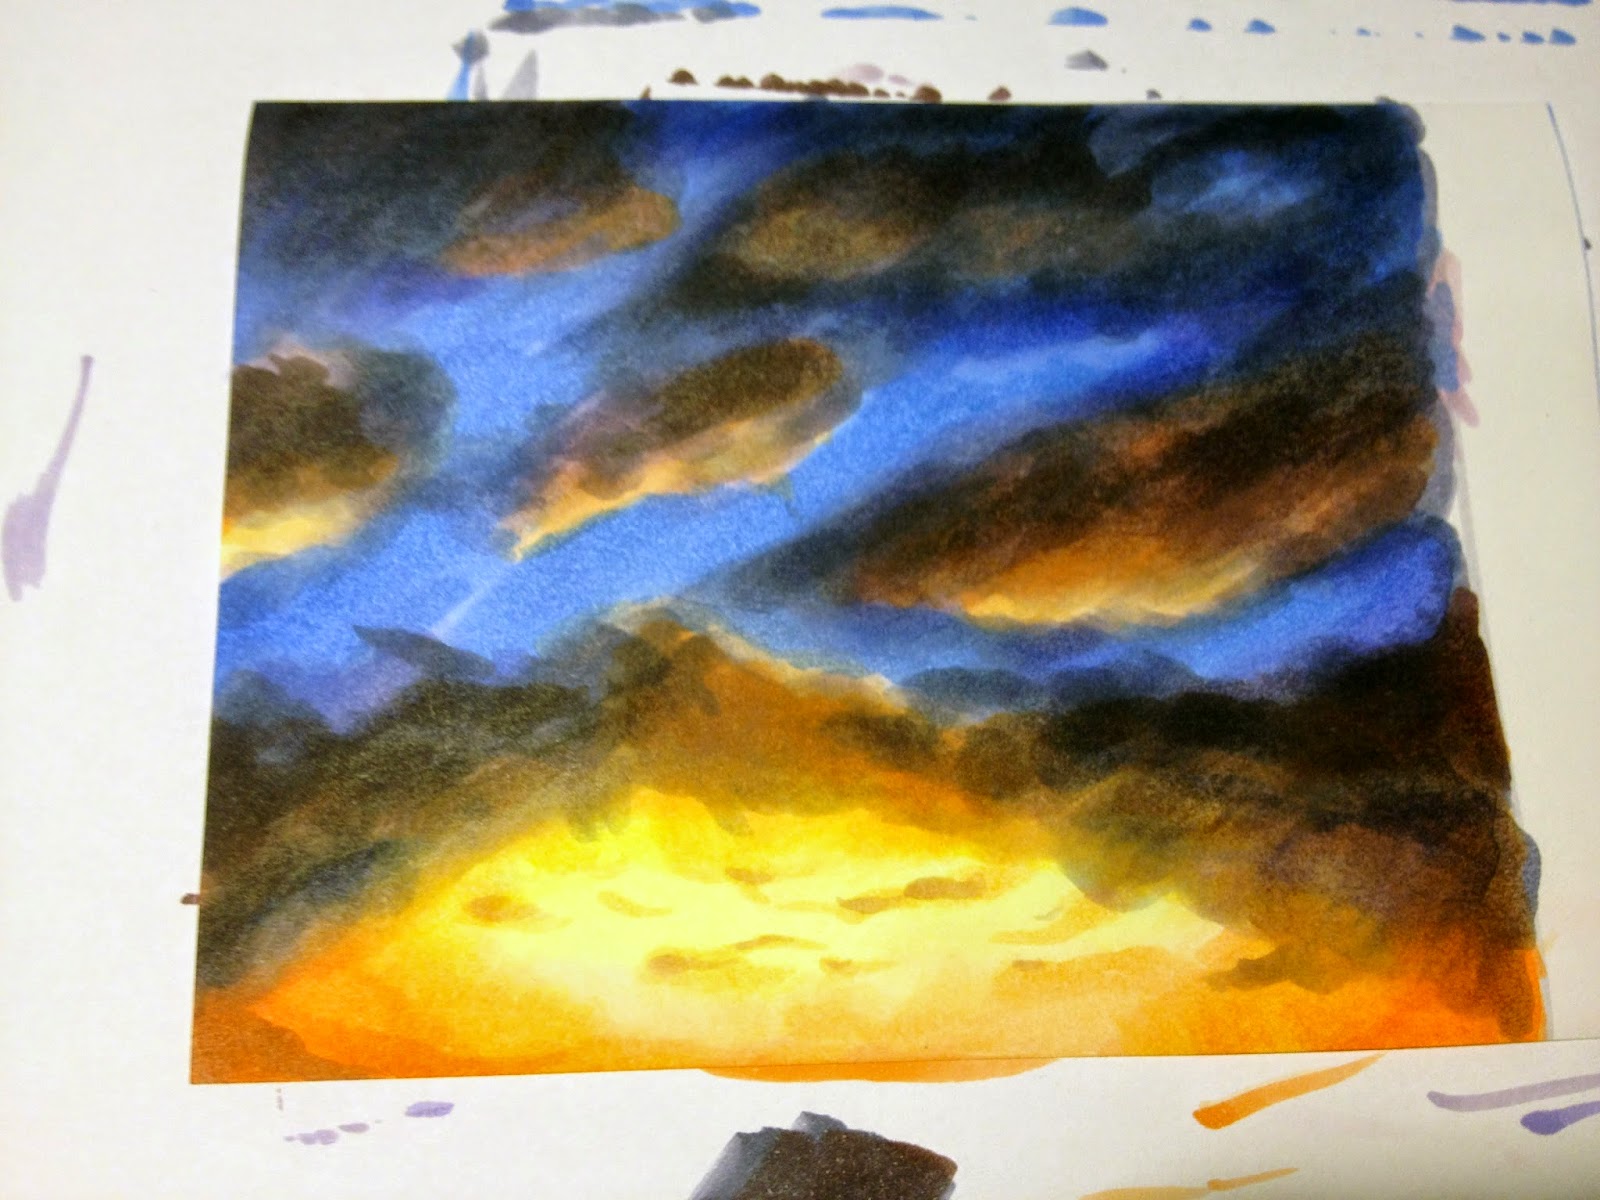
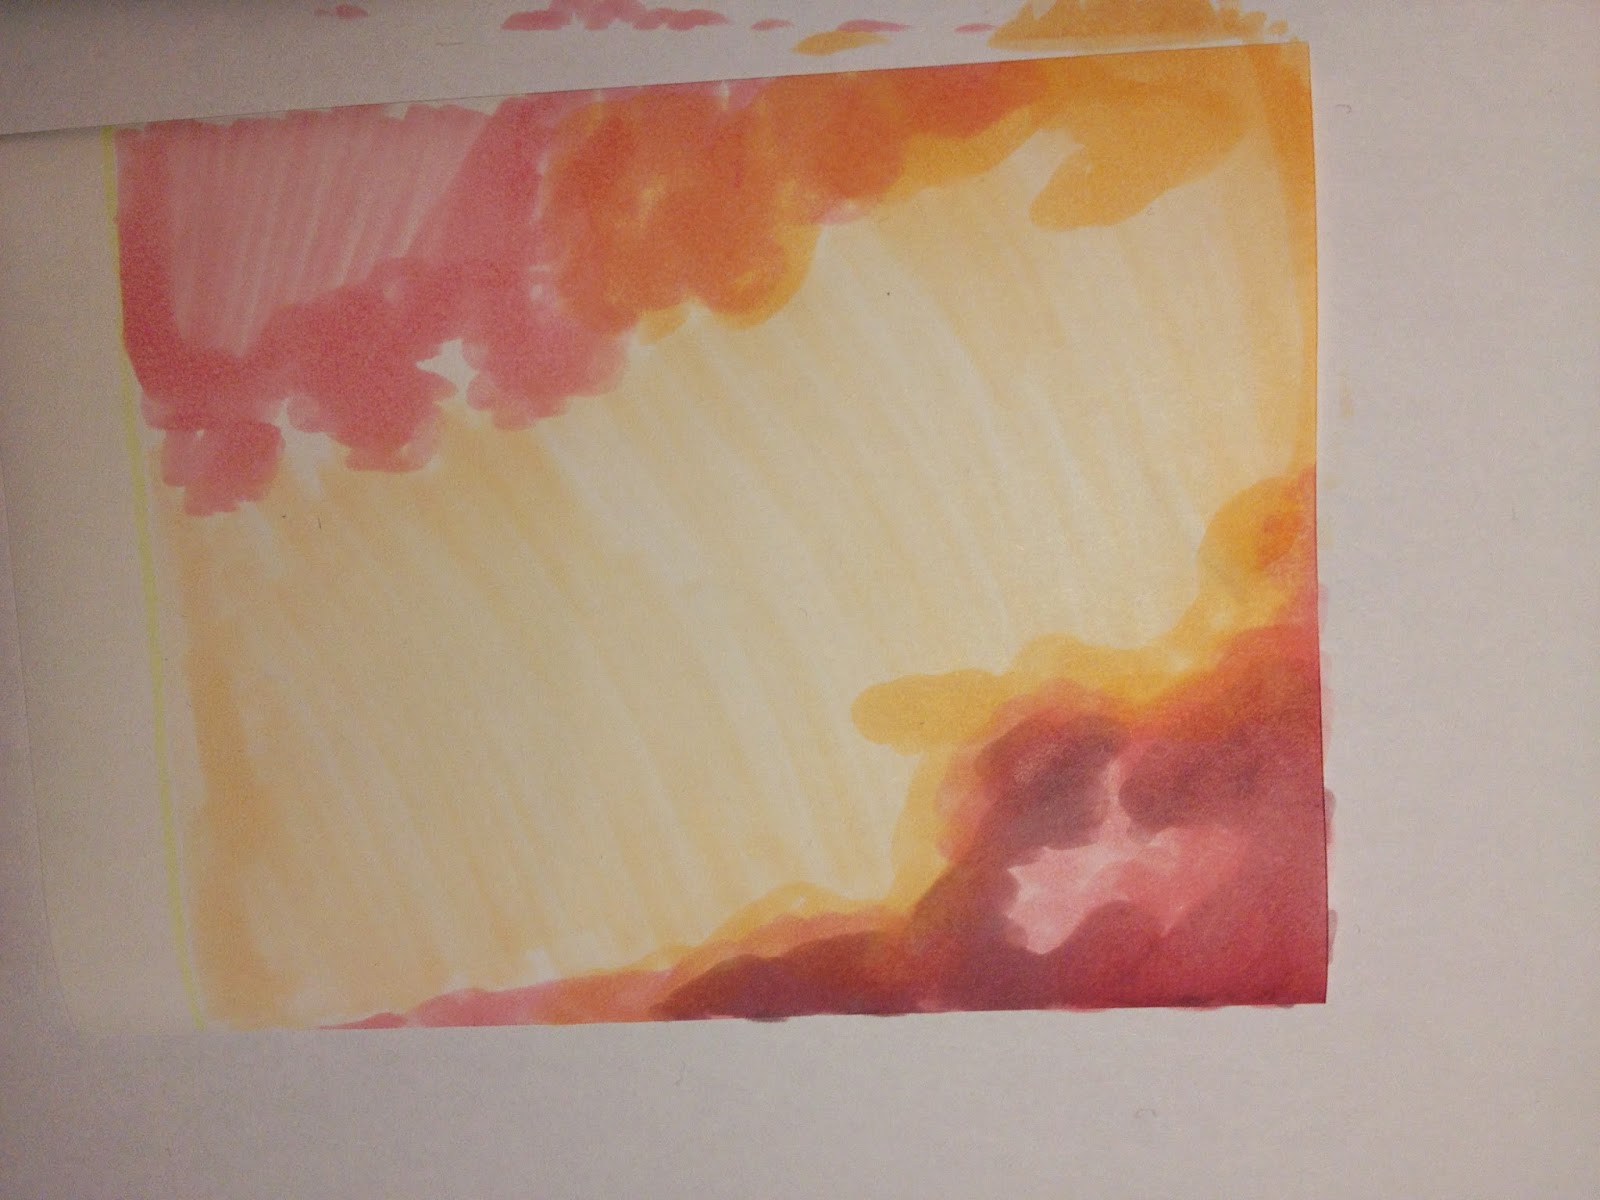
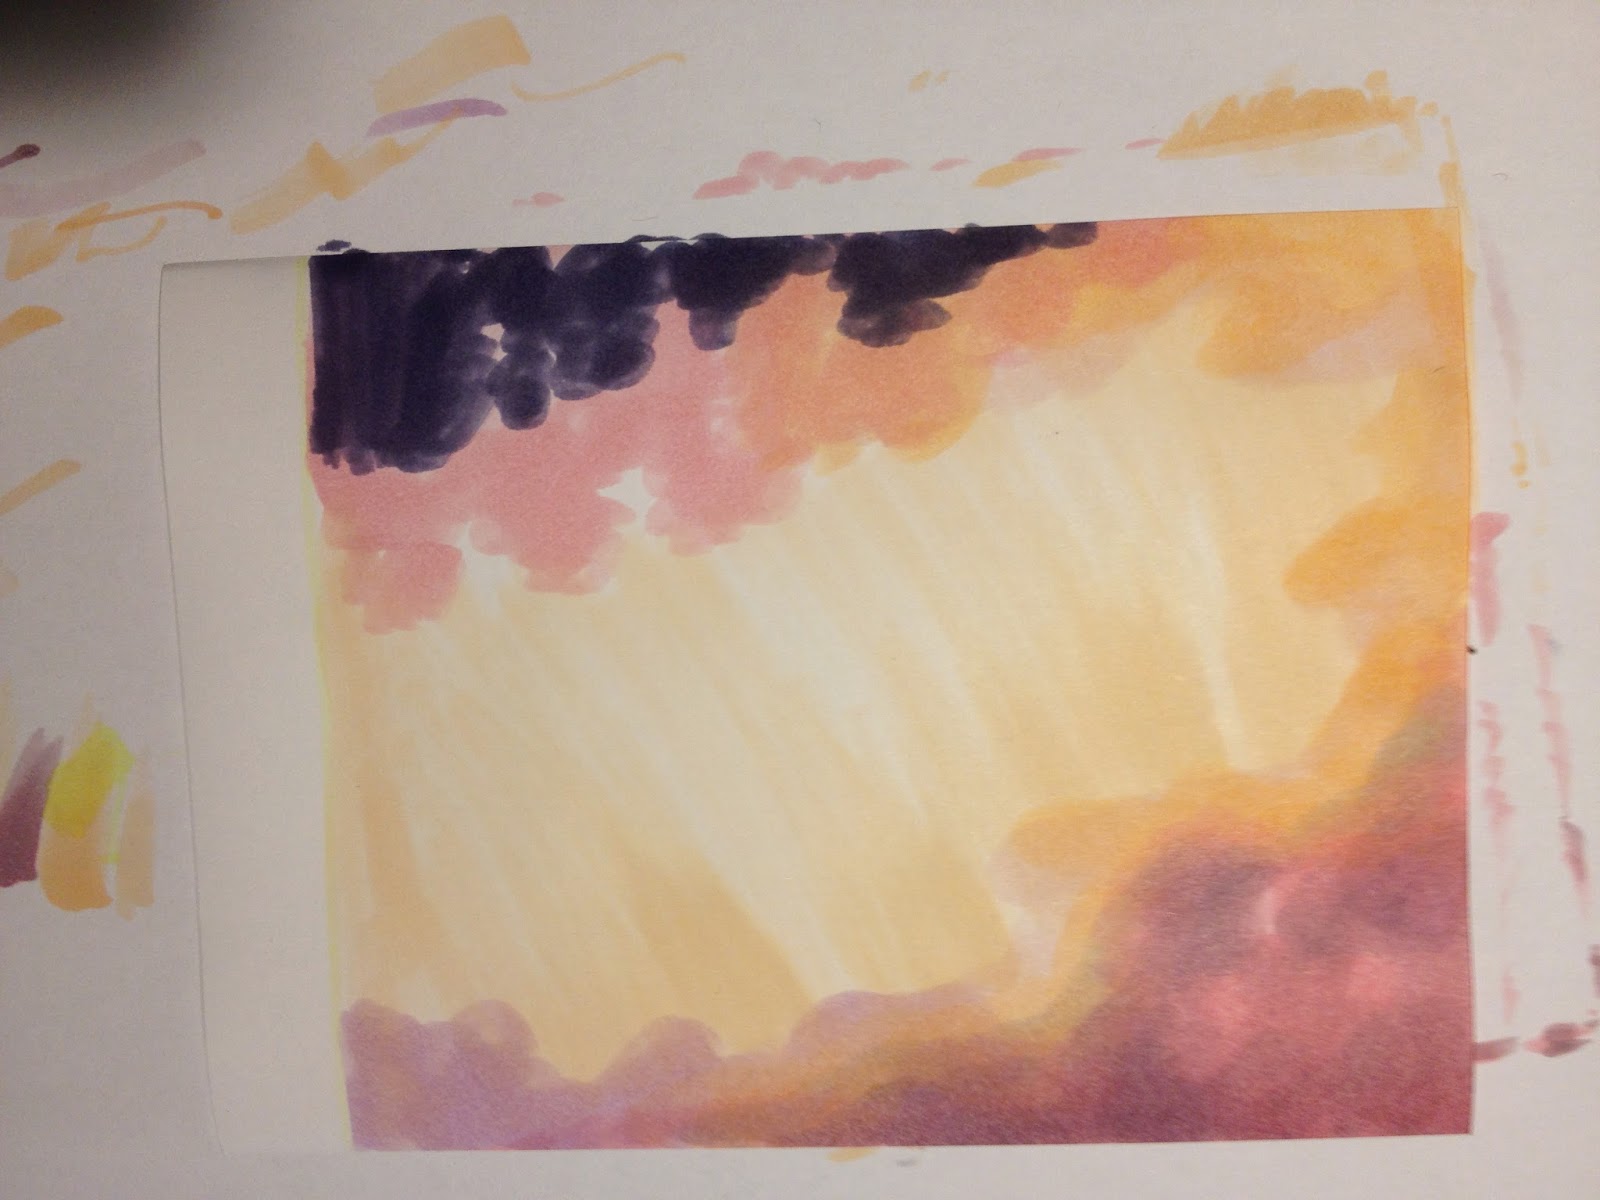
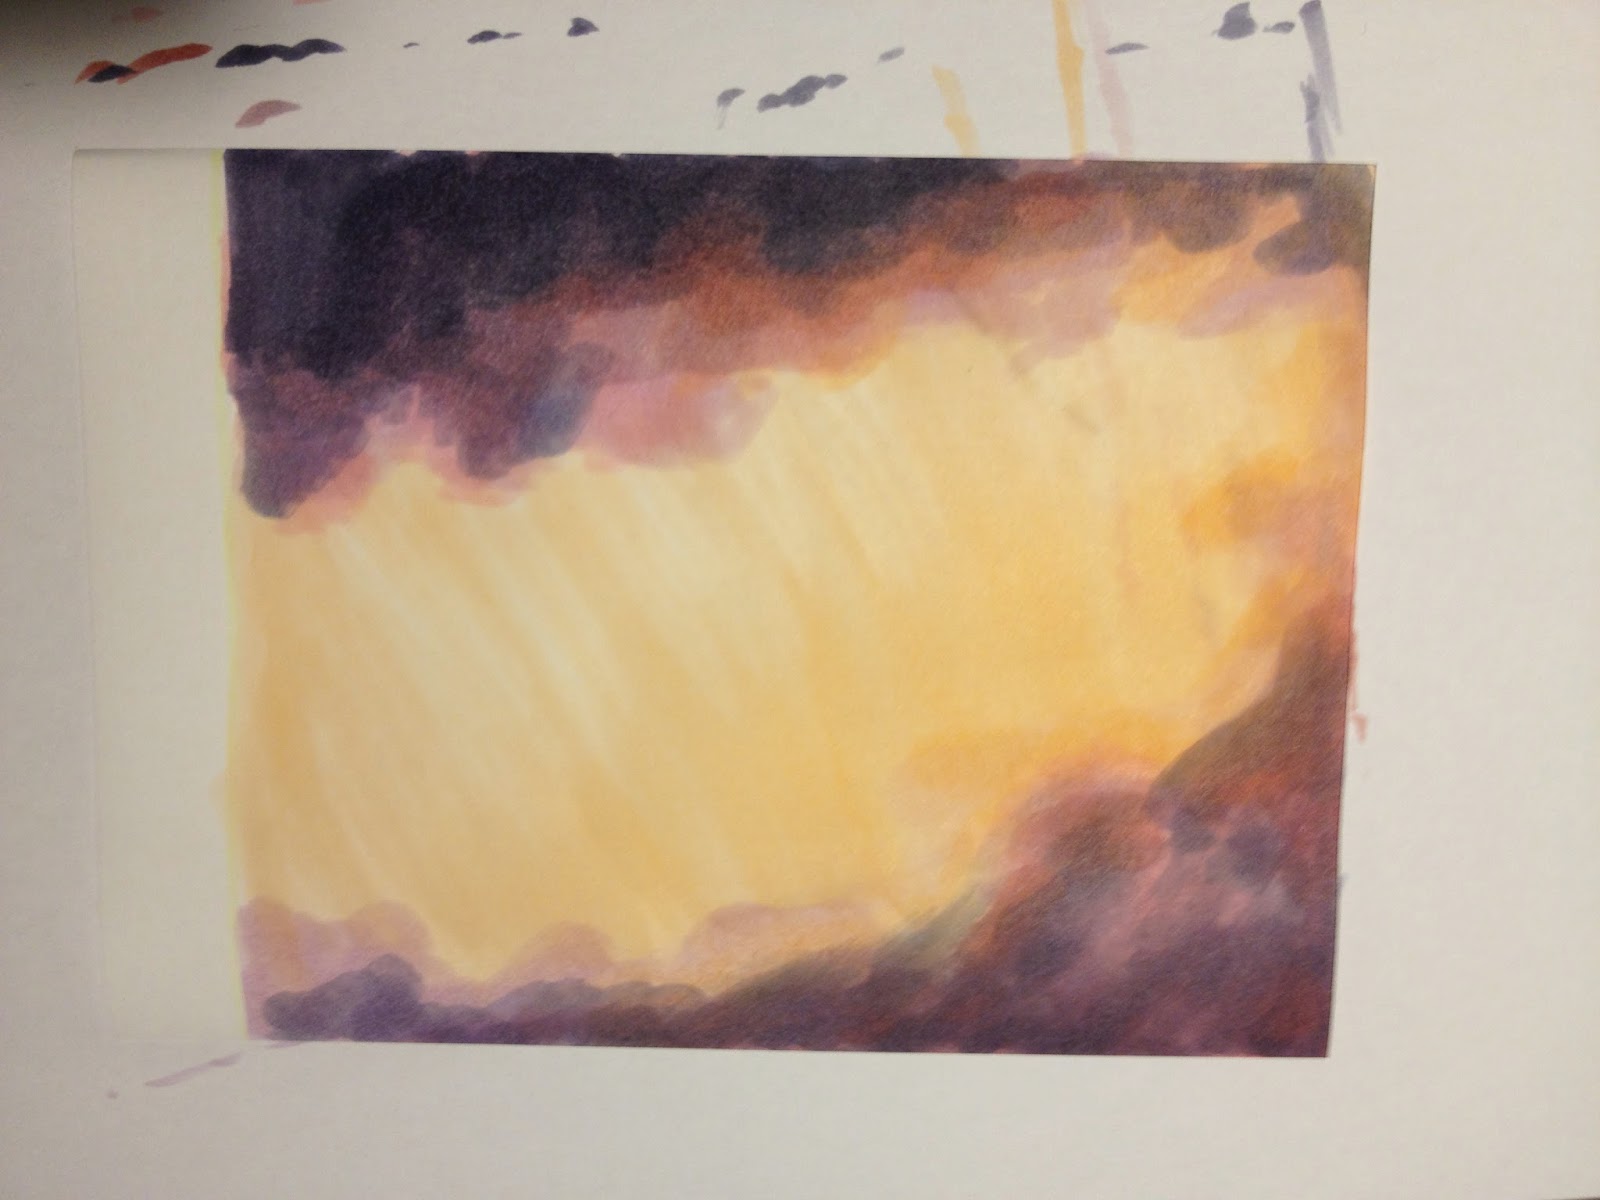
The next one is a little bit mor complicated. It's a dawn sky

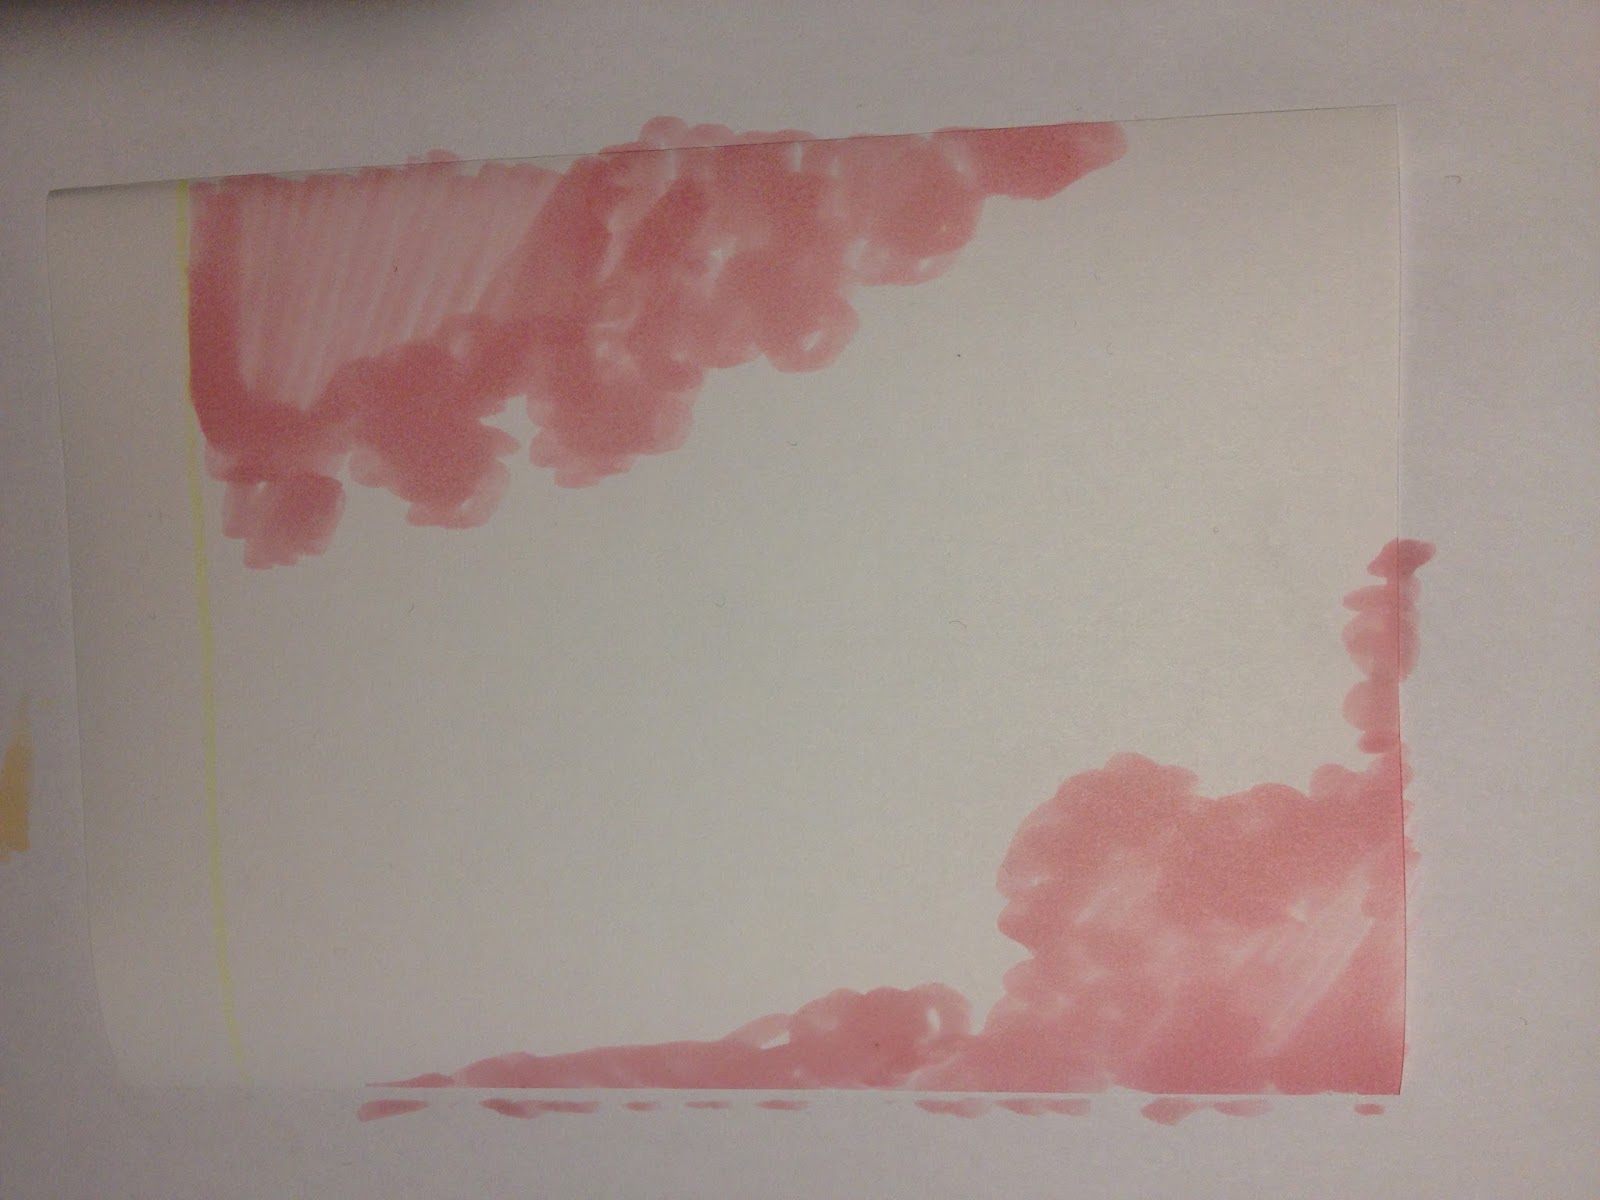
1.Start with tagging the background area with a yellow and blue  colour tone


2. Be careful to keep space between yellow and blue and start tagging the clouds with BV25-23 

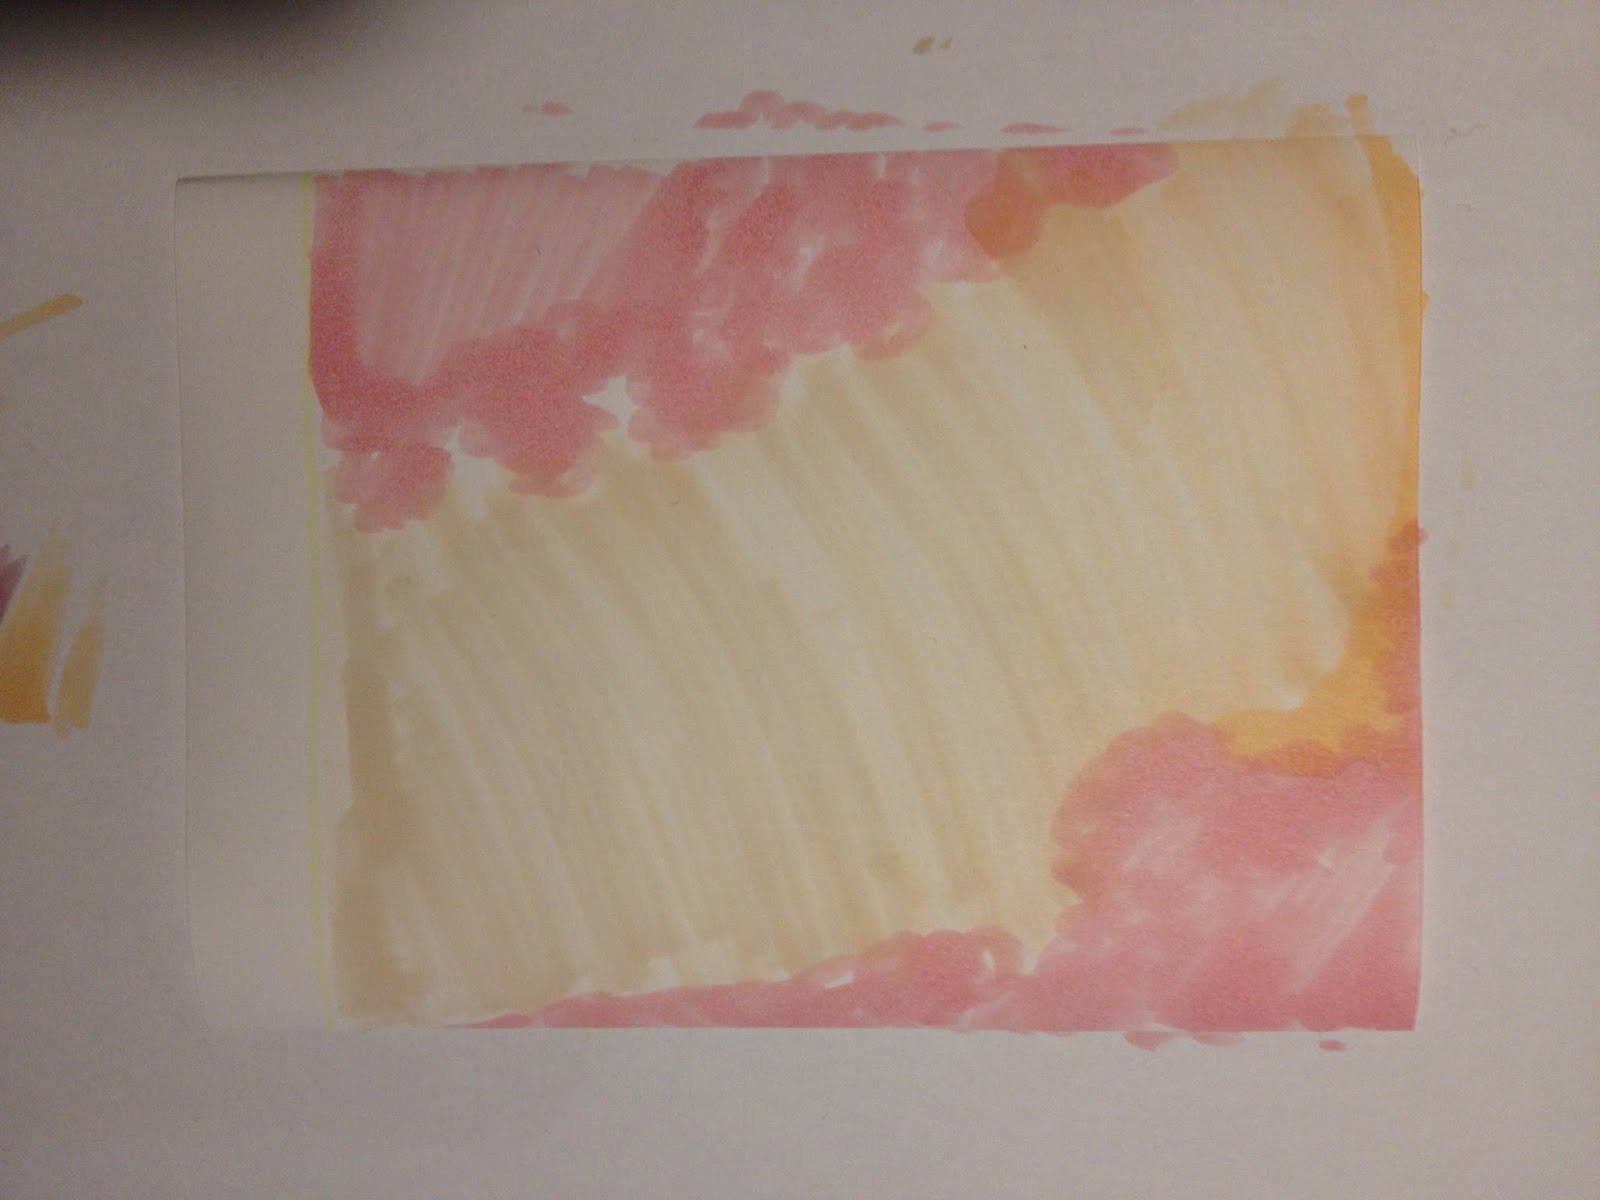
3.Choose a drawing direction. Start colouring with wiping movements (steadily decreasing pressure)

4. Roughly define the light and the dark areas. Use YR-tones for the bright areas

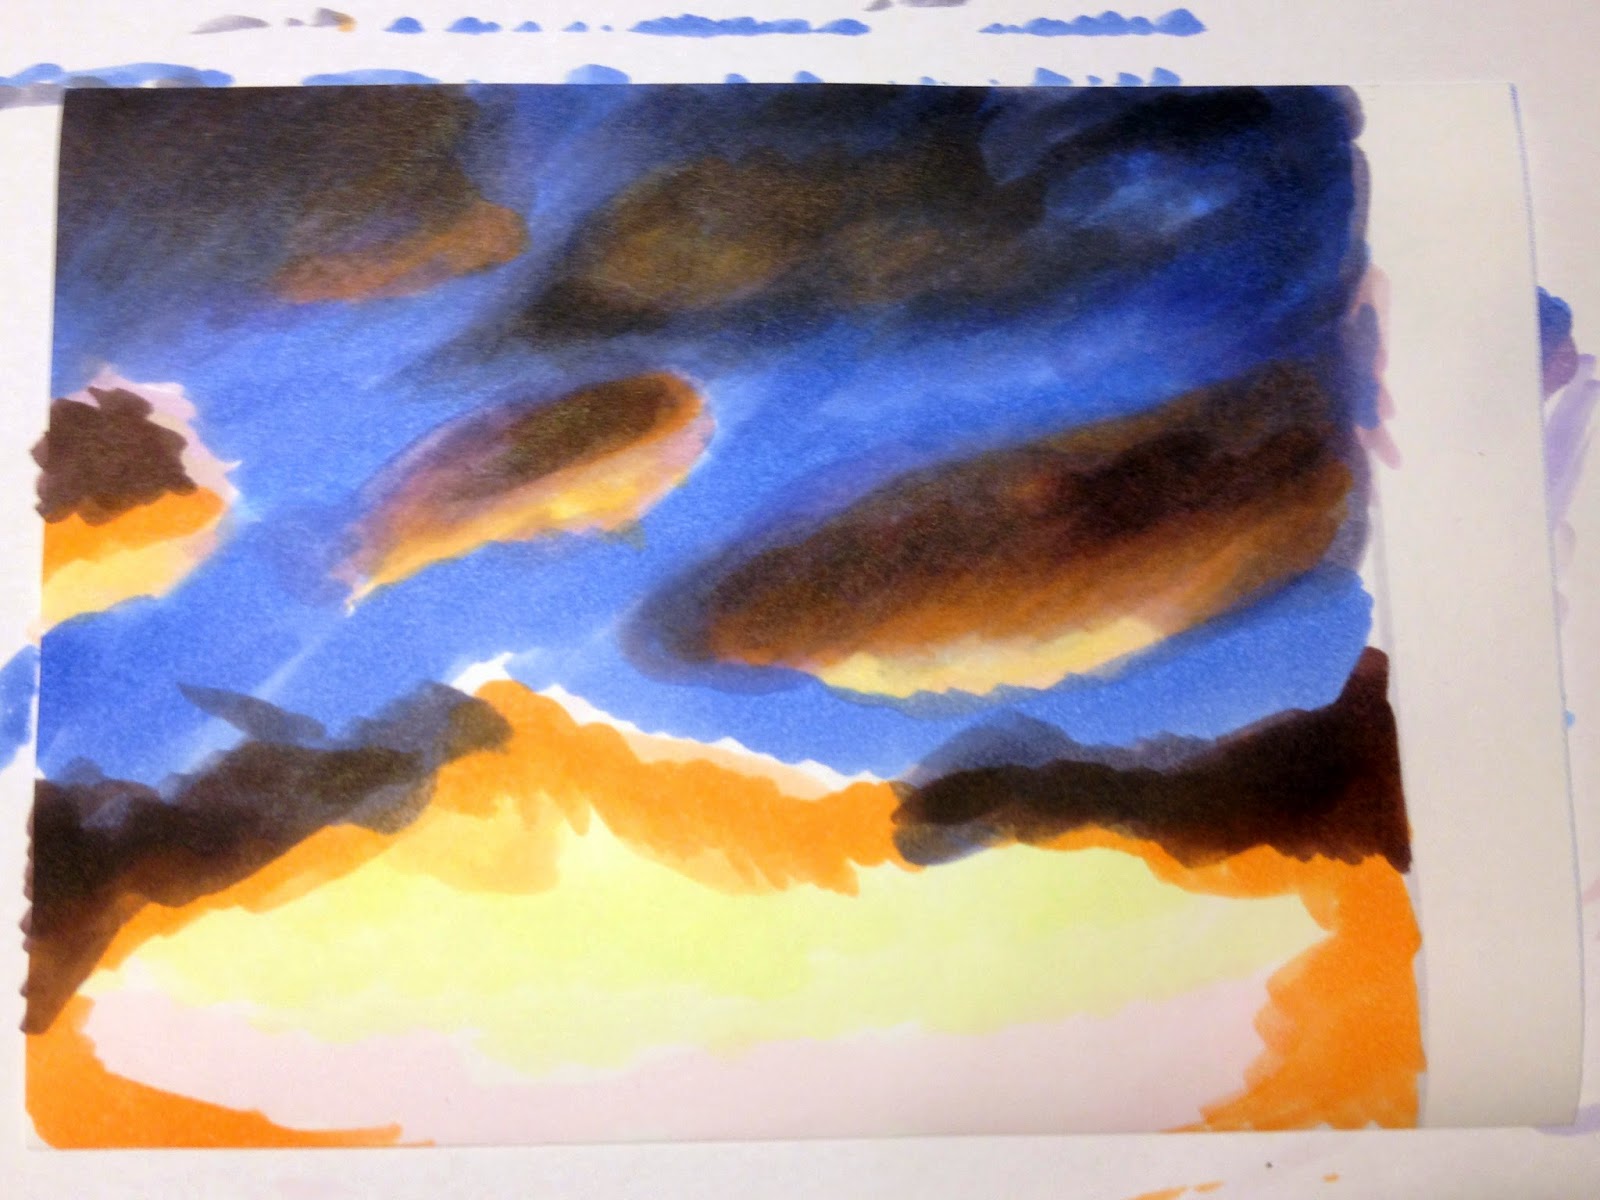
5. Start blending by adding new colour levels and mixing them

6.For a soft transition between the lightest and the darkest area use YR-(Layer) and Y(base)-tones and mix them

7. Apply the colour in circling strokes to make the clouds fluffy

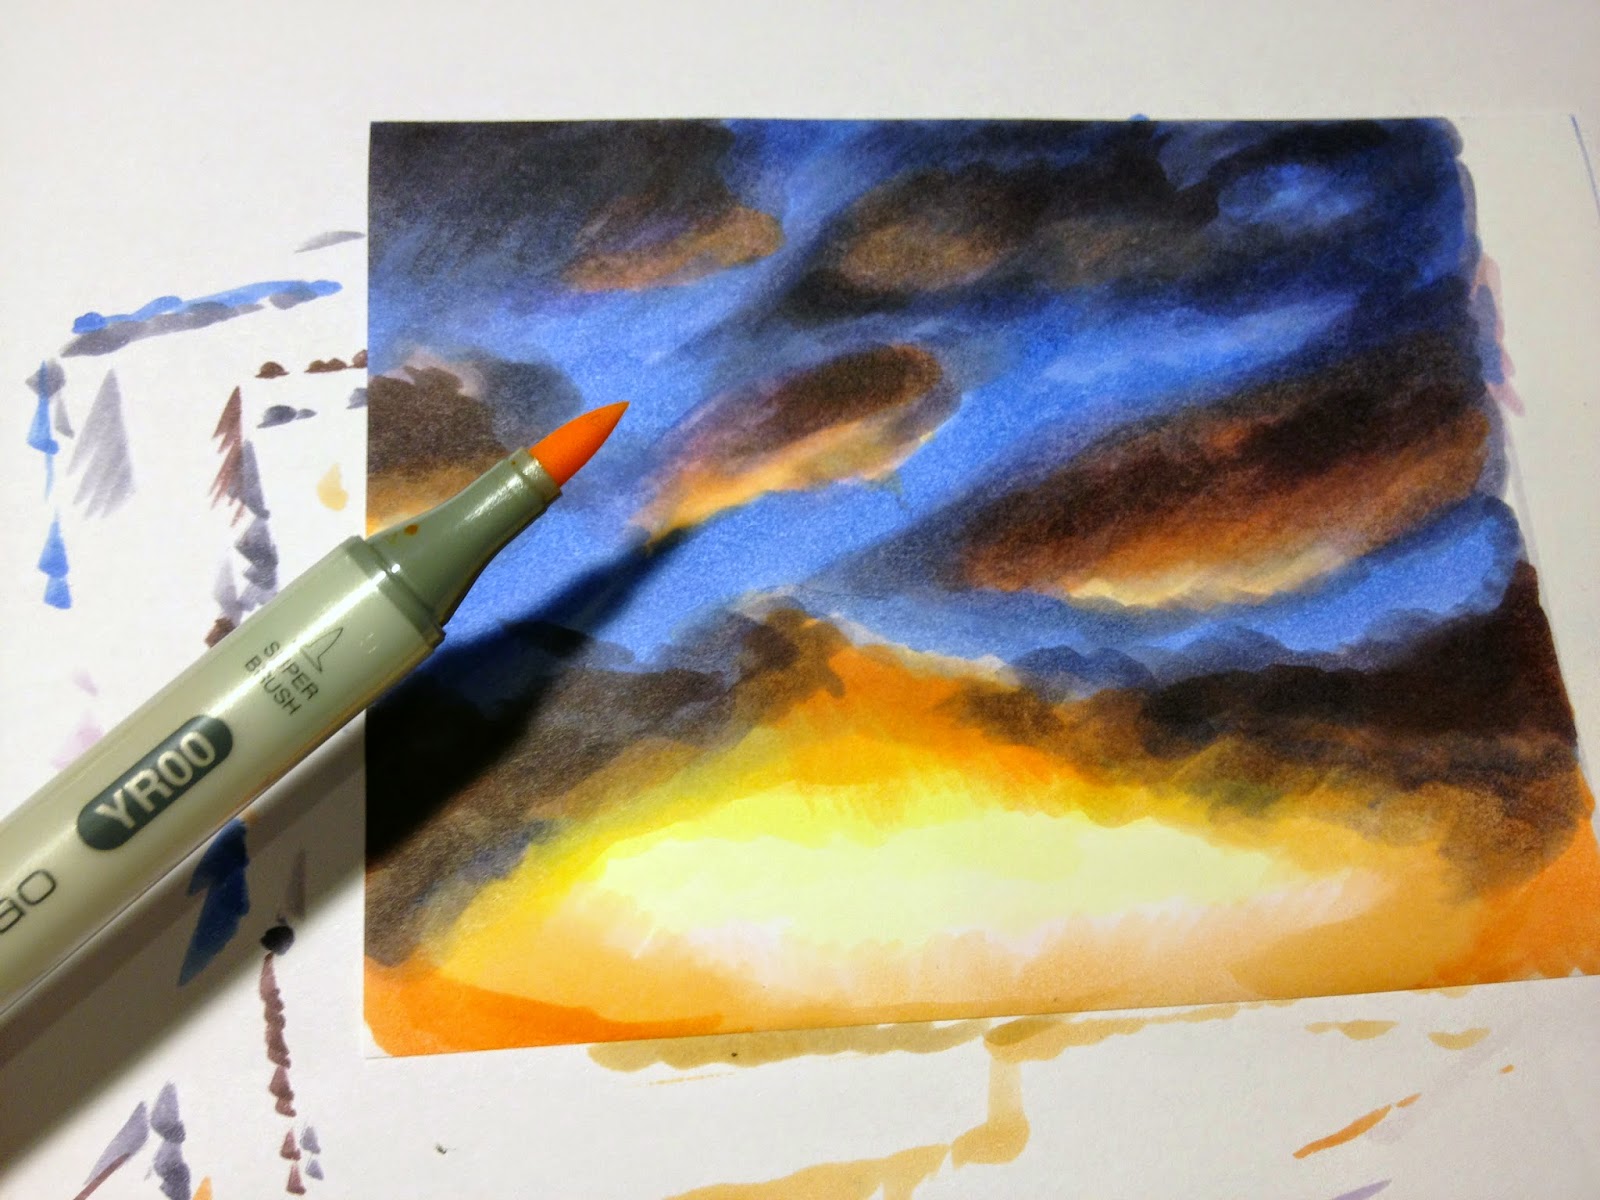
8. Continue blending until you're satisfied with the result


Hahnemühle Illustration & Layout Manga Paper
Colours: V99, V20, V01, V0000,BV31, BV25, BV23, BV20,B60,
B32,B23, R20,R02, YR61, YR02, YR01, YR00,Y11, Y00

------------


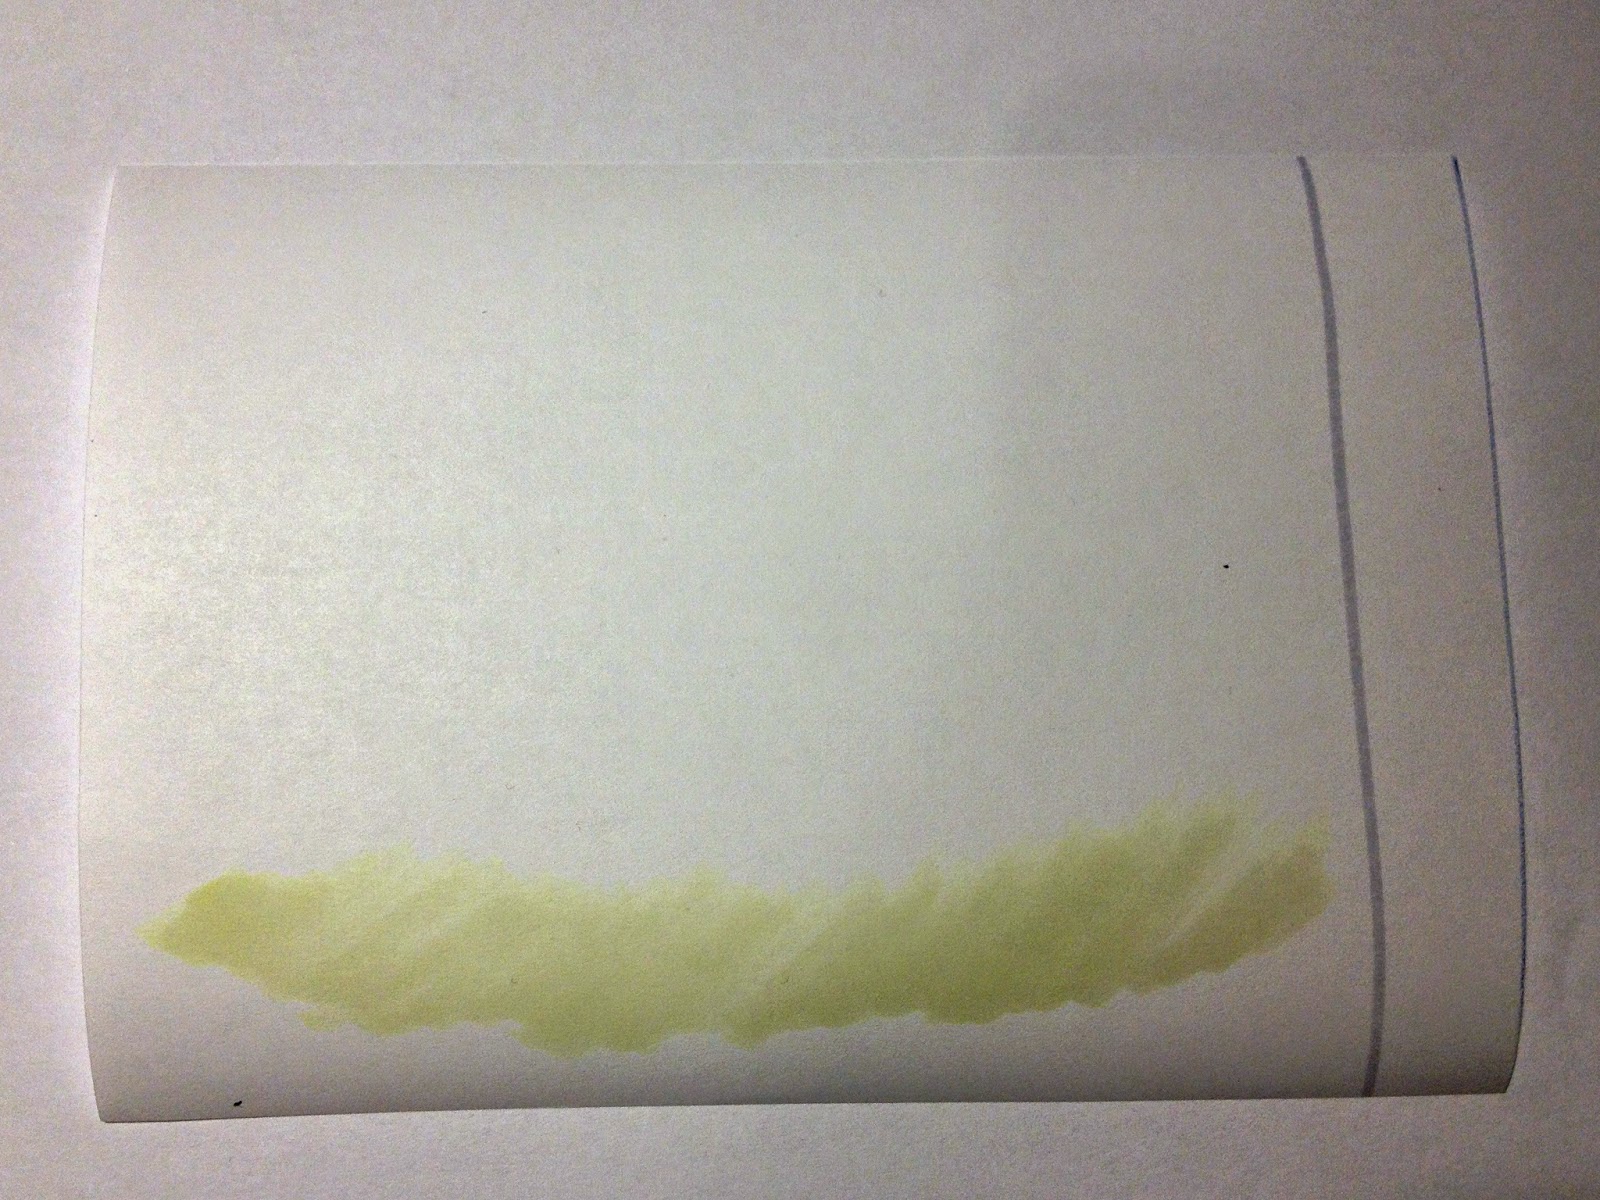
1. Start again with tagging the clouds and you light areas

2.Choose a light background colour and draw in one direction

3. Highlight the light areas with a YR tone


Apply the colour in circling strokes to make the clouds fluffy. Use BV 24-23 for the dark parts


5. Step by step ad another layer with circling strokes. 


Hahnemühle Illustration & Layout Manga Paper
V95, Rv91, Rv32, R20, R00, E00, E000, E04,B60,,BV31,BV25,BV23,BV20,BV00,YR61,YR20,YR02,YR01


I hope my tutorial was helpful.

Kind regards,
Yunu