Hello,
this time I'll show you how to draw Skies.
First of all, keep some rules in mind. Otherwise it will be very difficult to draw a beautiful sky.
Rule #1: Know YOUR PAPER!
Copics behave variable on different paperand on some blending smoothly is very difficult.
RULE #2: Choose a suitable paper!
Choose a paper which is not only suitable for mixing and blending colours
but also can bear some layers.
Rule #3: Use Copic Sketch or Ciaos
Because of their brush nib they are more suitable for drawing fluffy clouds and smooth blending
RULE #4: Know how to mic colours. If you're clueless, use the Copic Colouring Wheel.
It can be a great help
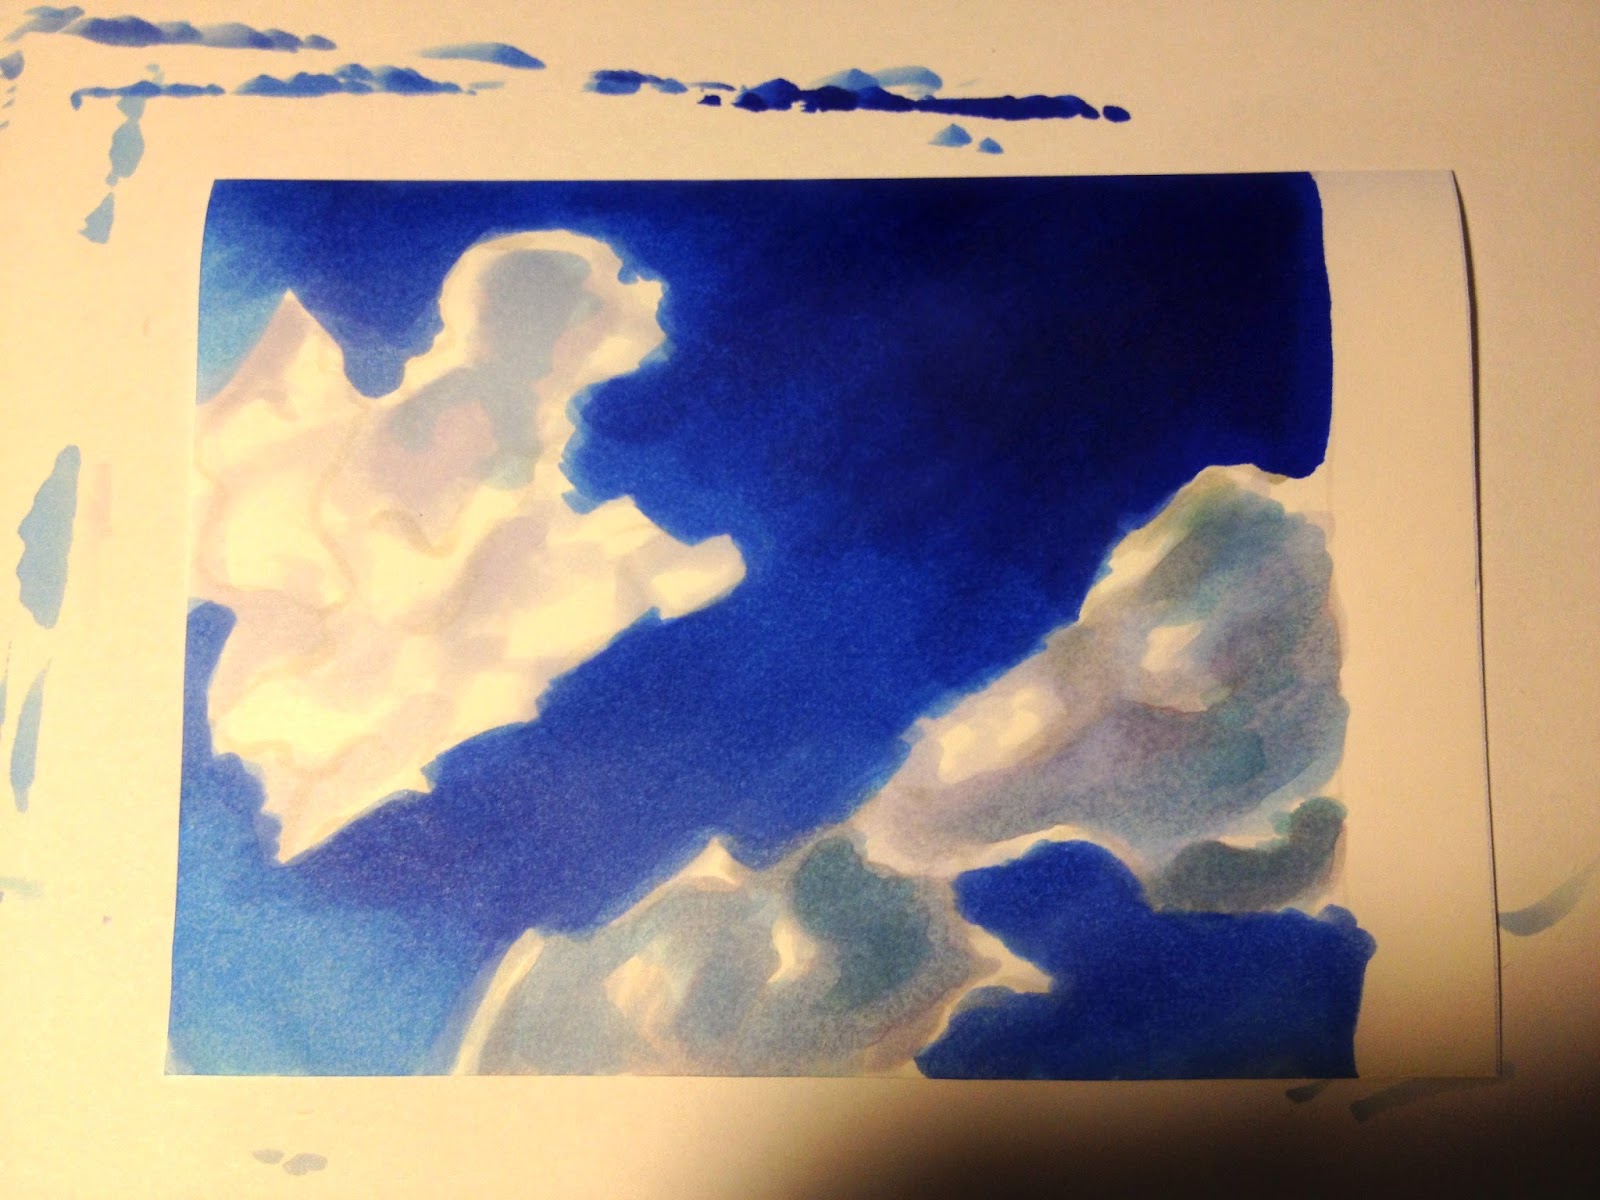
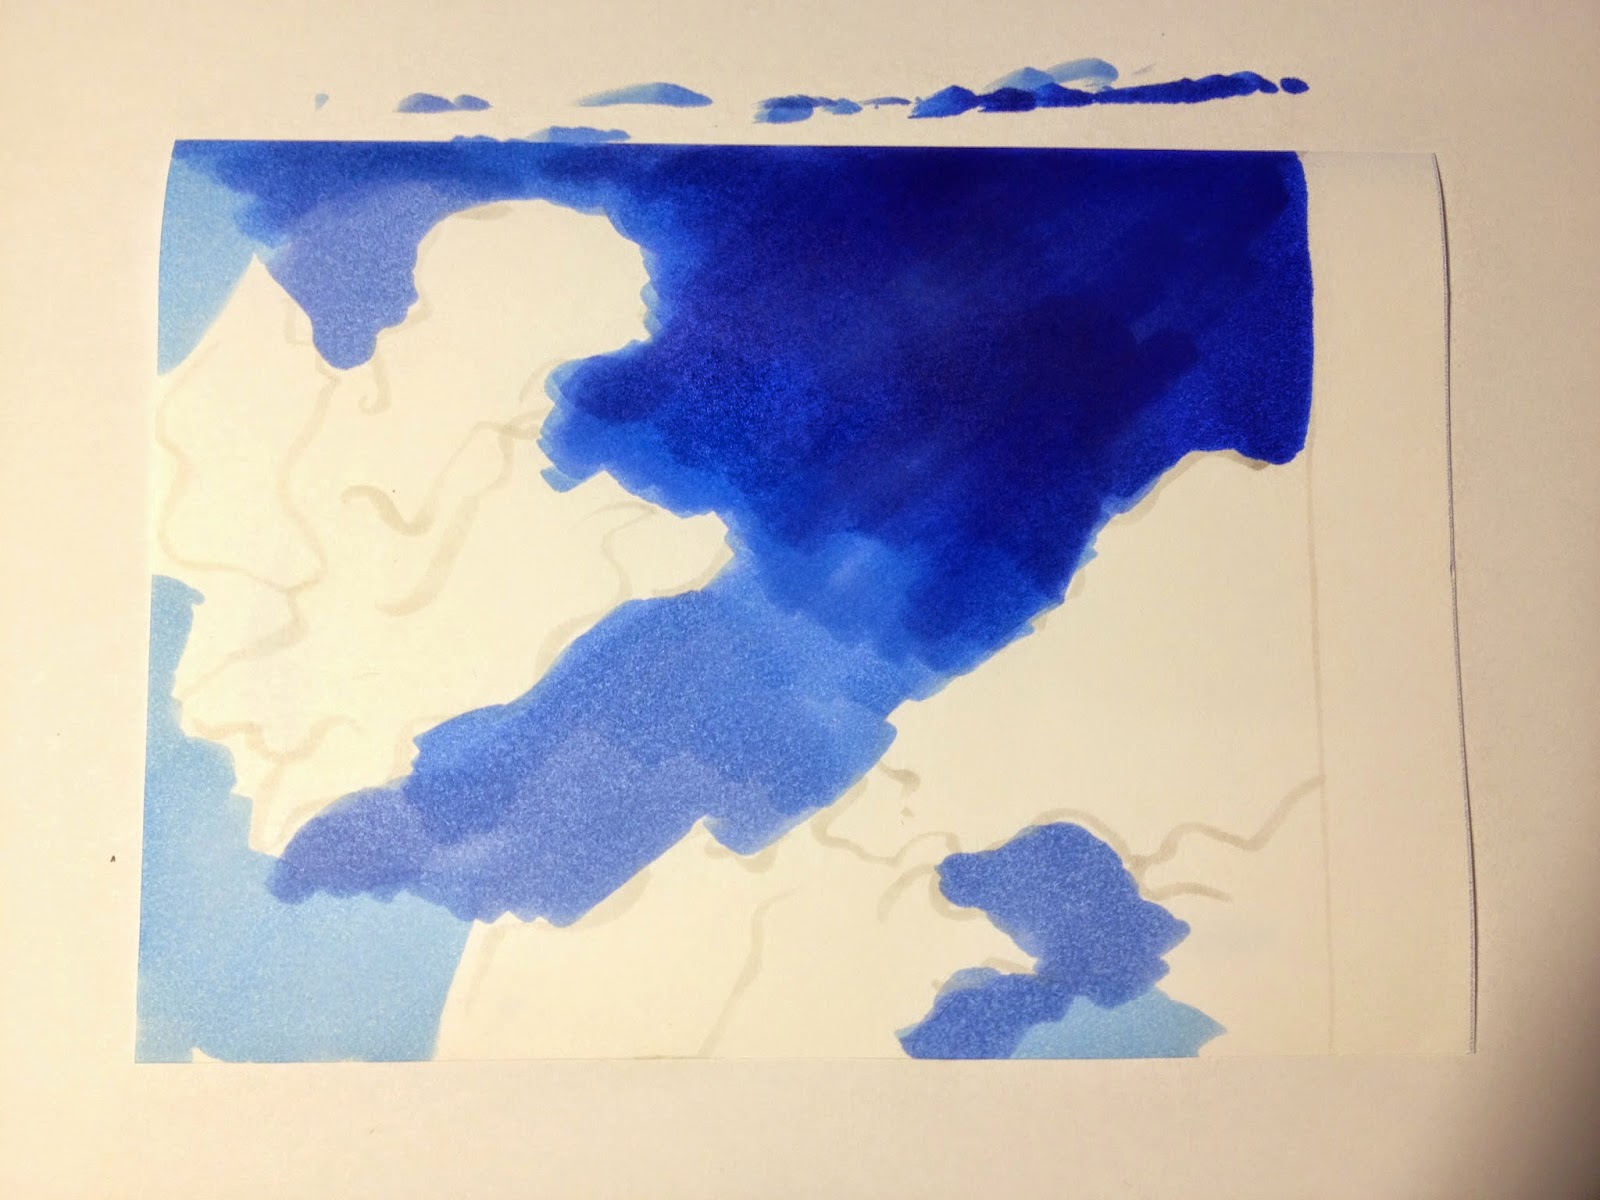
Let's start with the easiest Sky: A simple blue sky
1.Choose a paper suitable for colouring wide areas smoothly
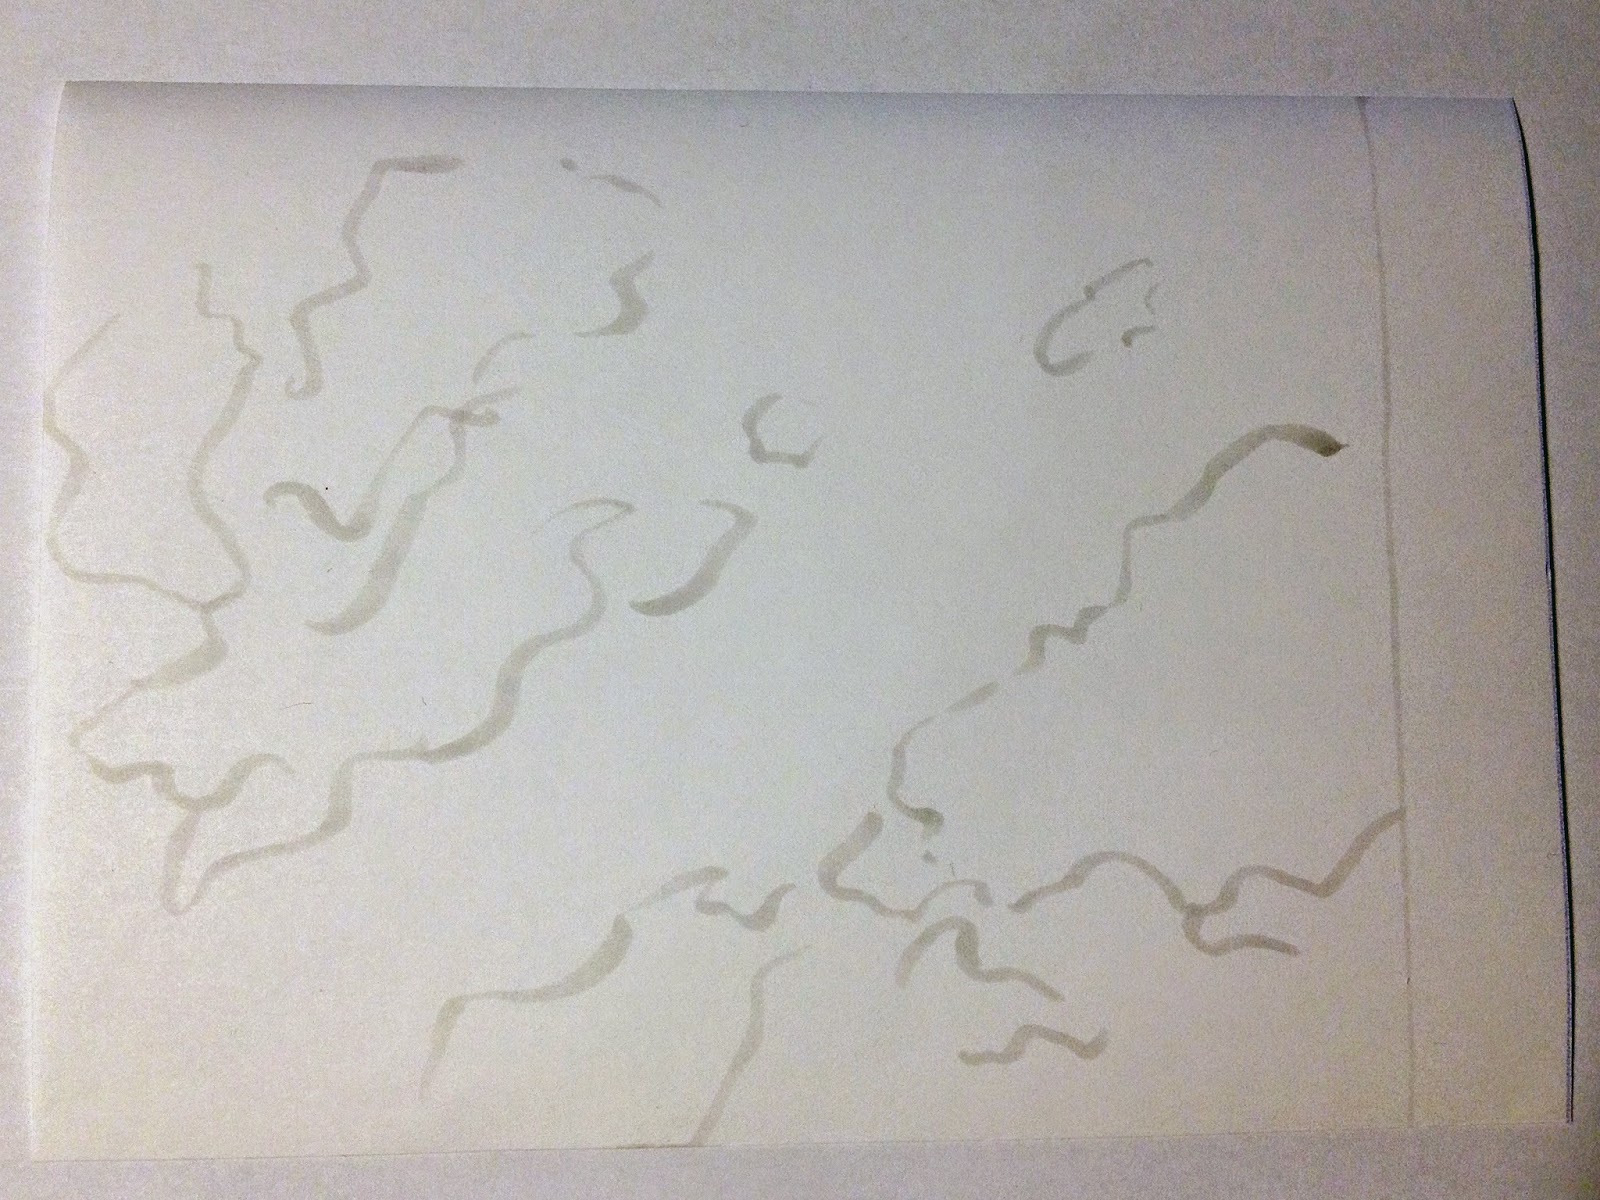 |
| 2.Roughly outline the clouds with a pale grey marker |
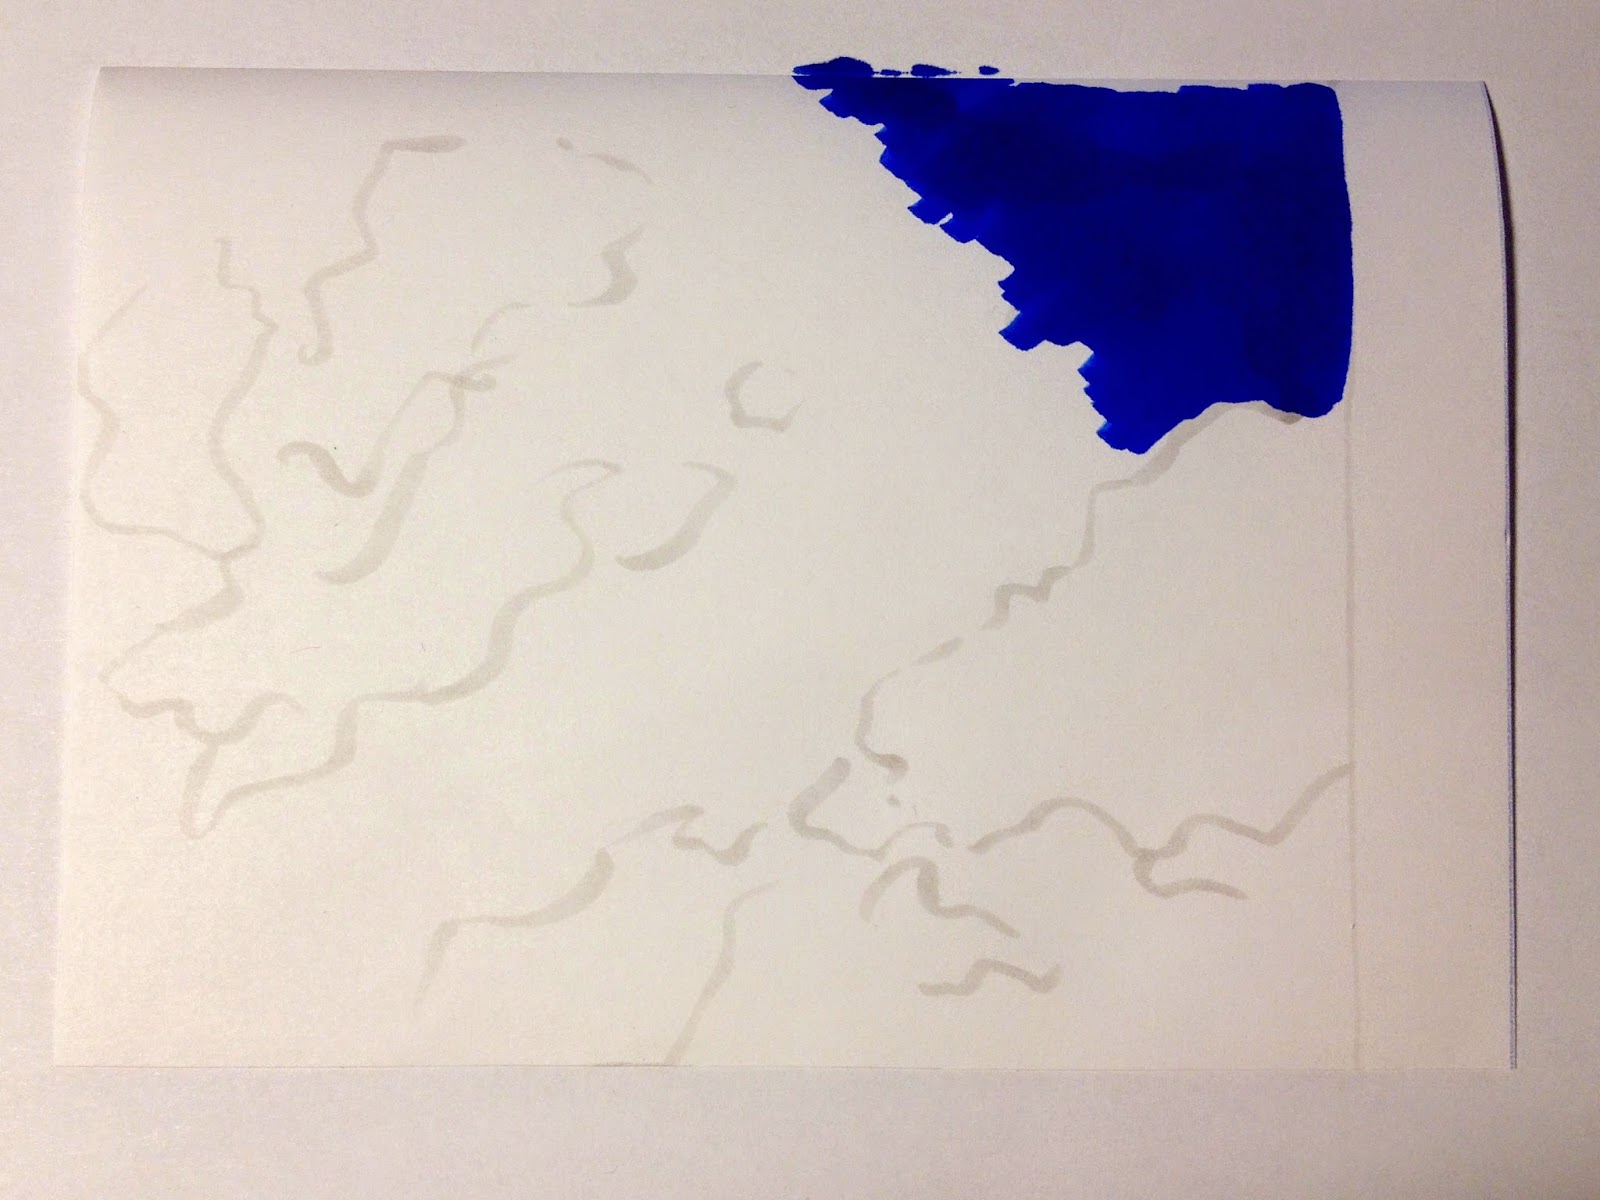 |
3. Begin to paint the background, starting with the darkest colour
and drawing in one direction |
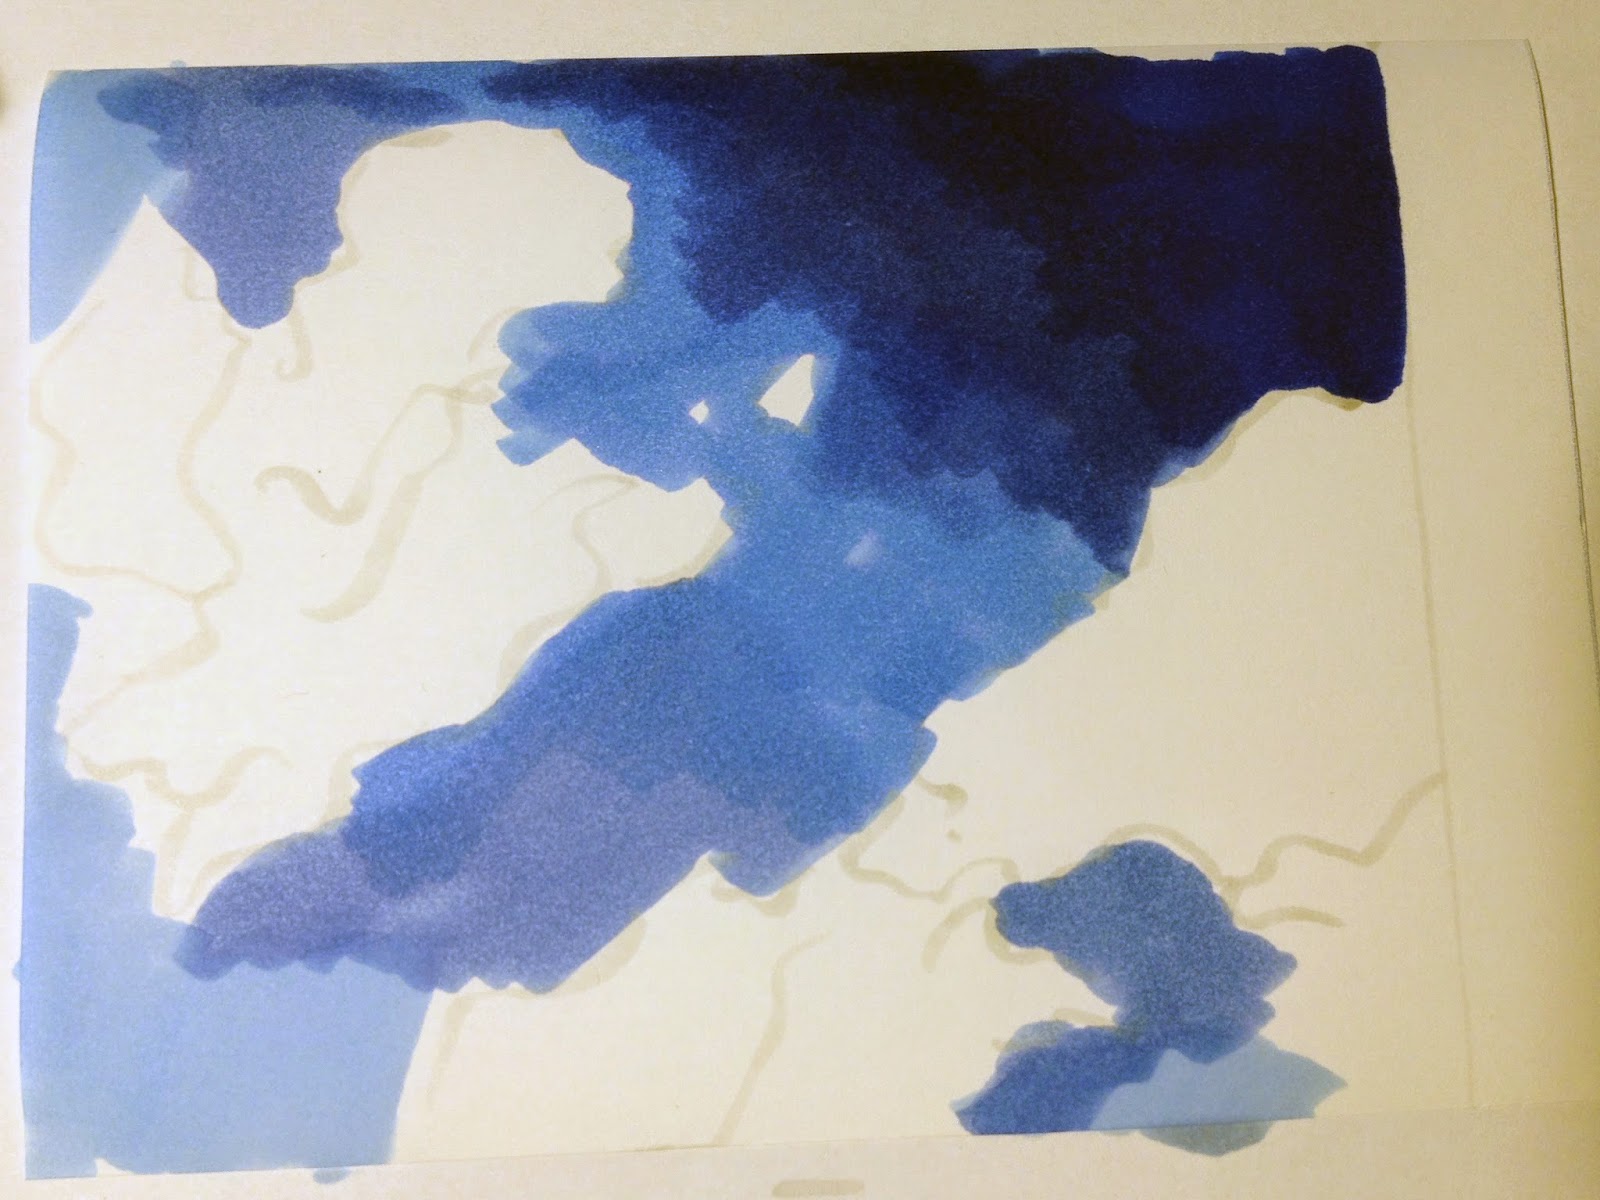 |
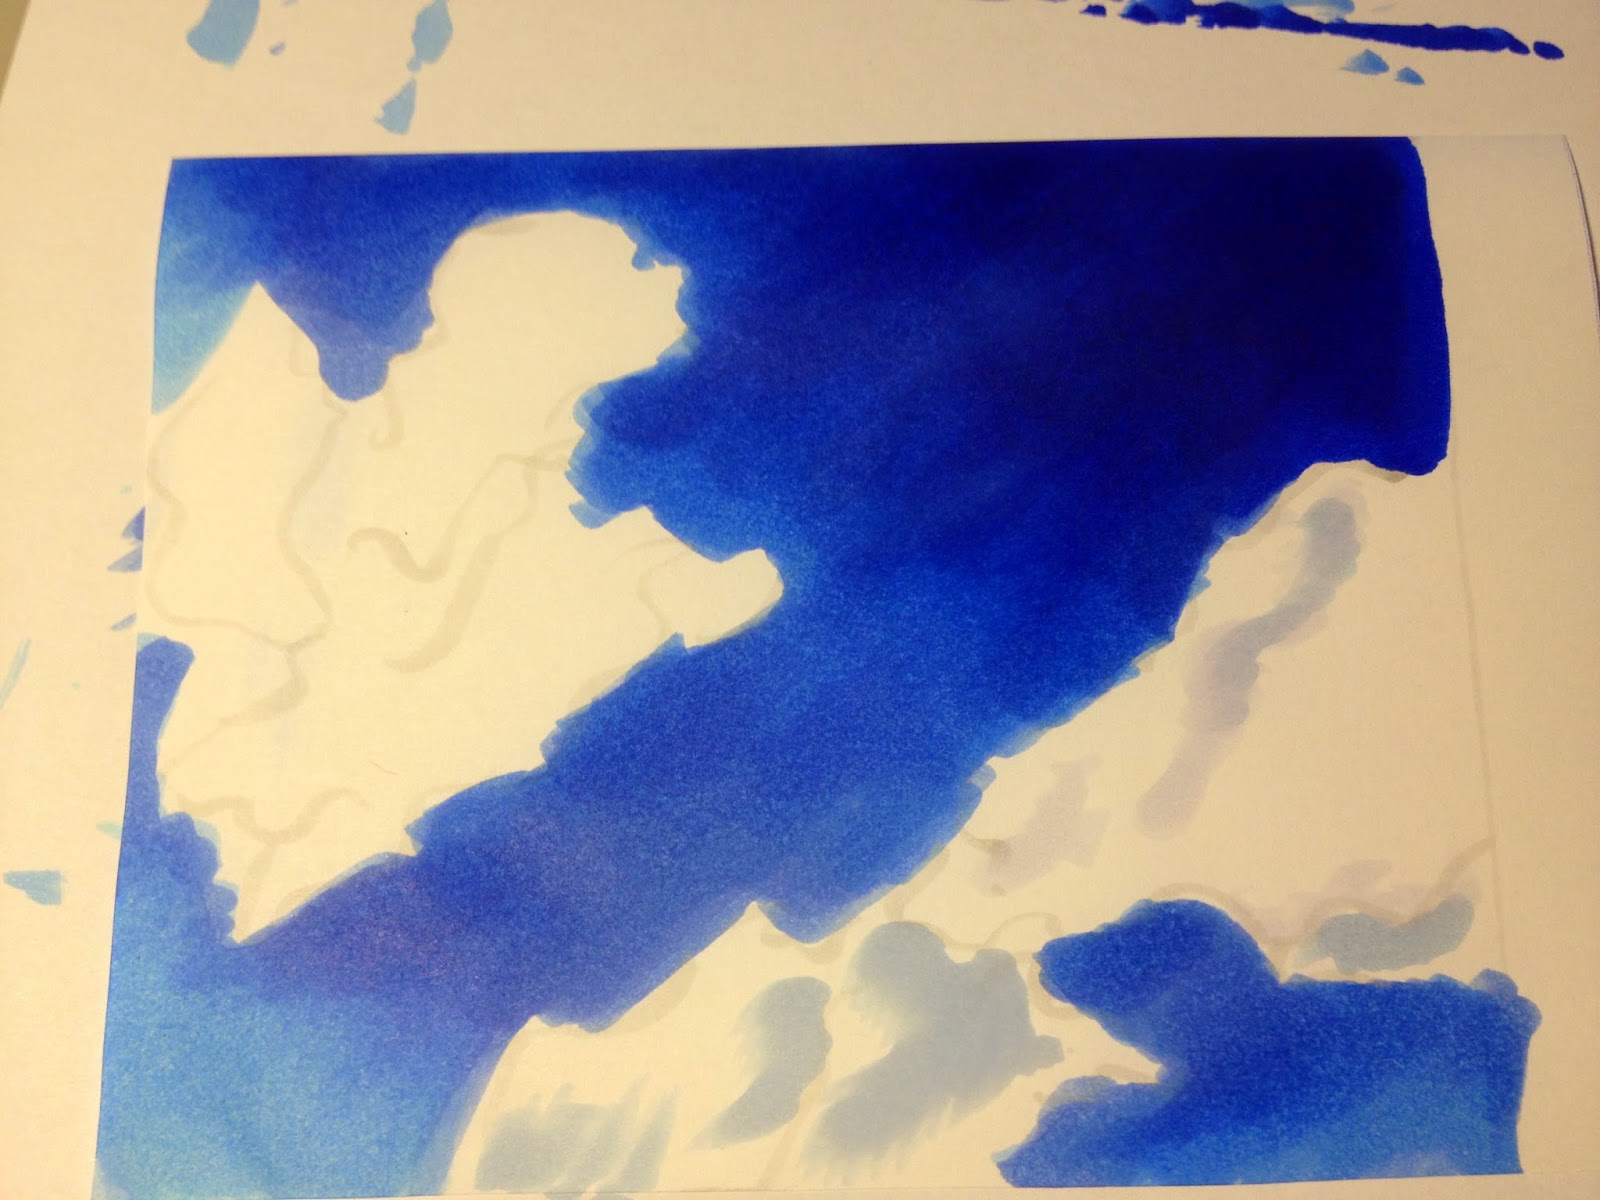
4. Mark the skies colour gradiation with different colours
while sparing the clouds |
 |
| 5. Start blending by mixing the colours |
 |
6. Once the background is finished, you can draw the clouds,
beginning with tagging the darkest areas. |
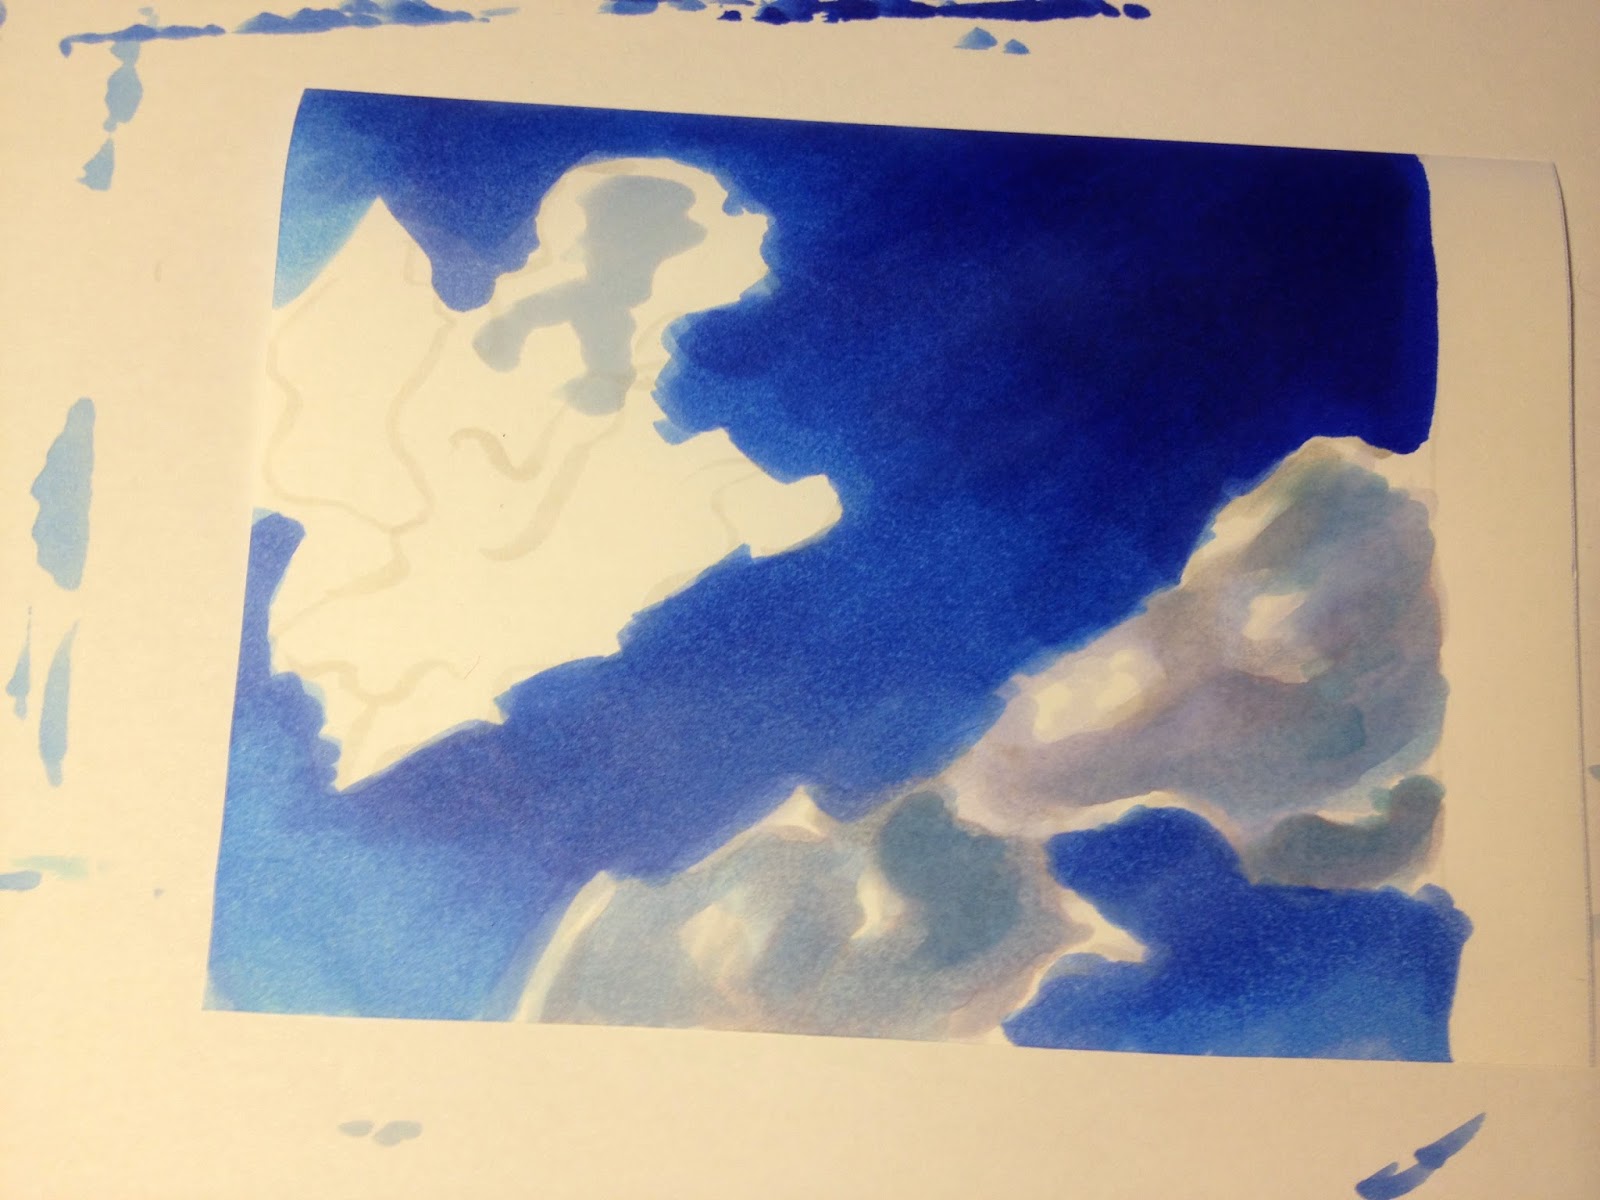 |
7. Again mark the different colour gradations and apply the colour
in small circling strokes. Don't forget to spare some white areas! |
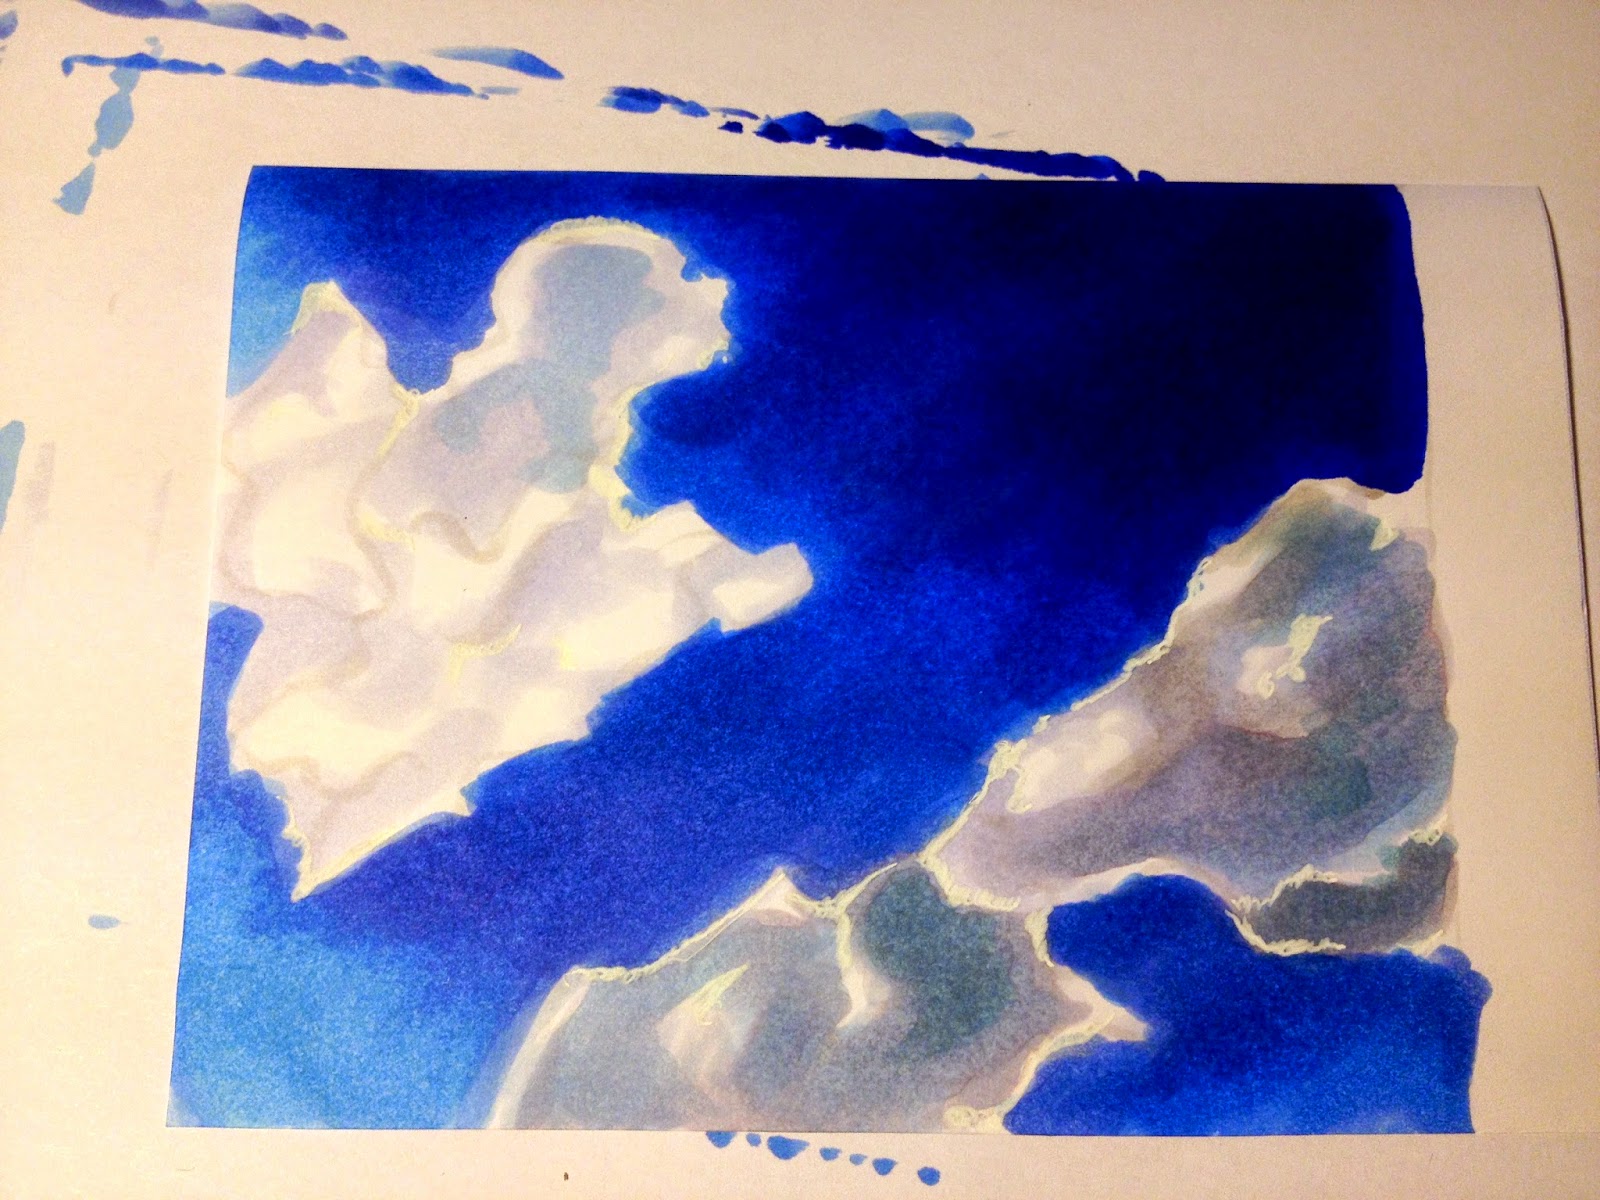 |
8. After blending the colours by mixing them, you can set some highlights
with white gel pen, ink or opaque white |
Hahnemühle Layout & Illustration Manga Paper
Sky: B32,B28, B26,B24,B23,B12,B00
Clouds: B91,B60,B41,BV20, N1 +White Gel Pen
---------
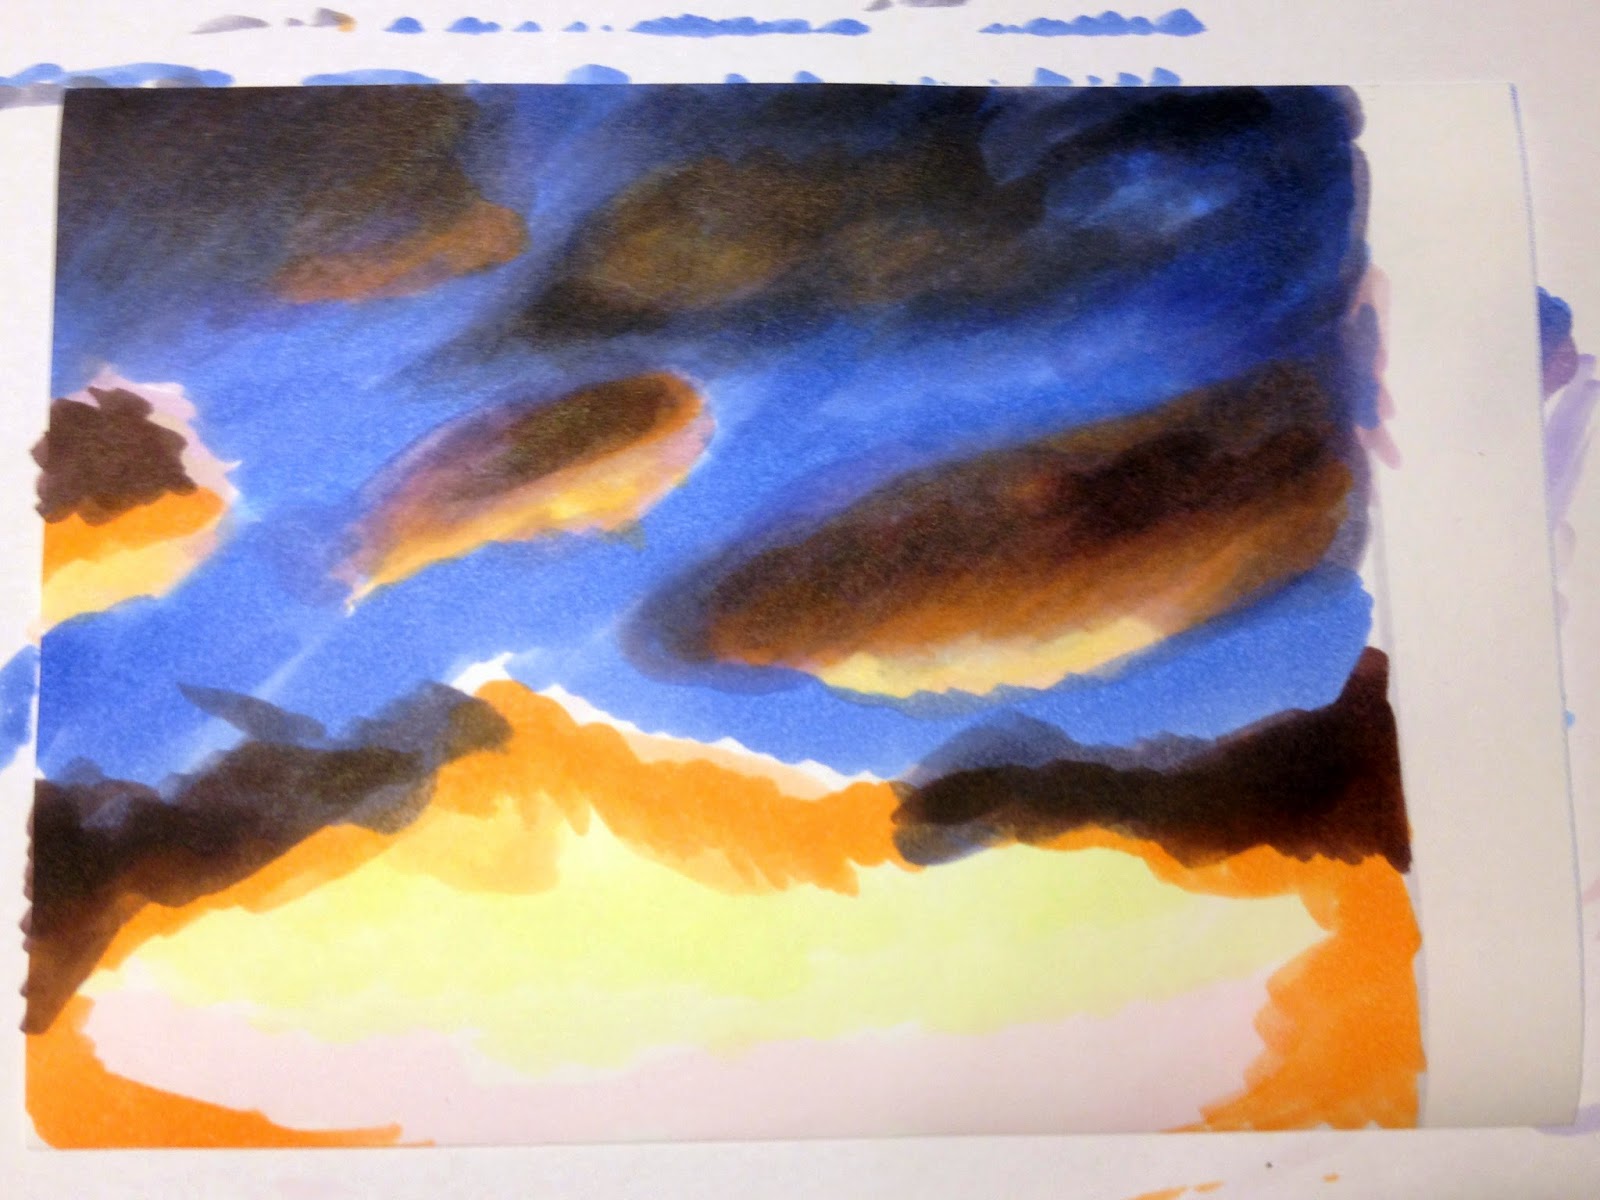
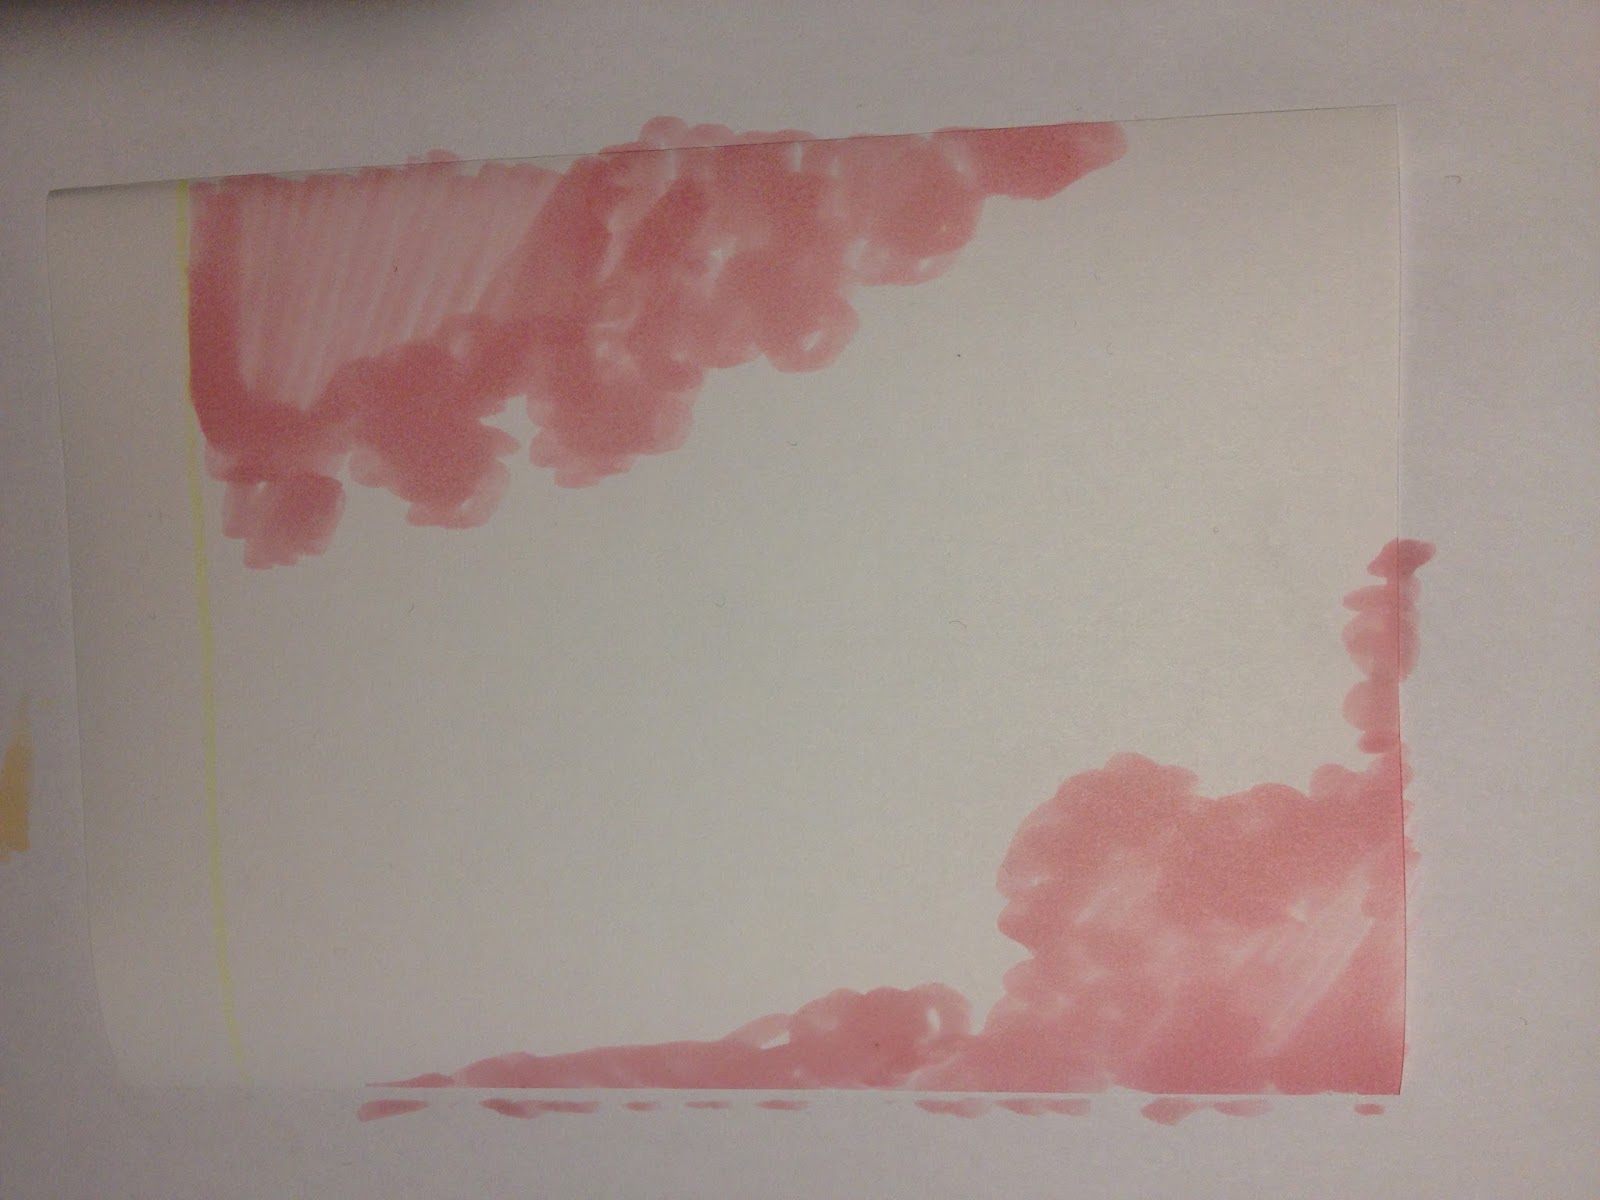
The next one is a little bit mor complicated. It's a dawn sky
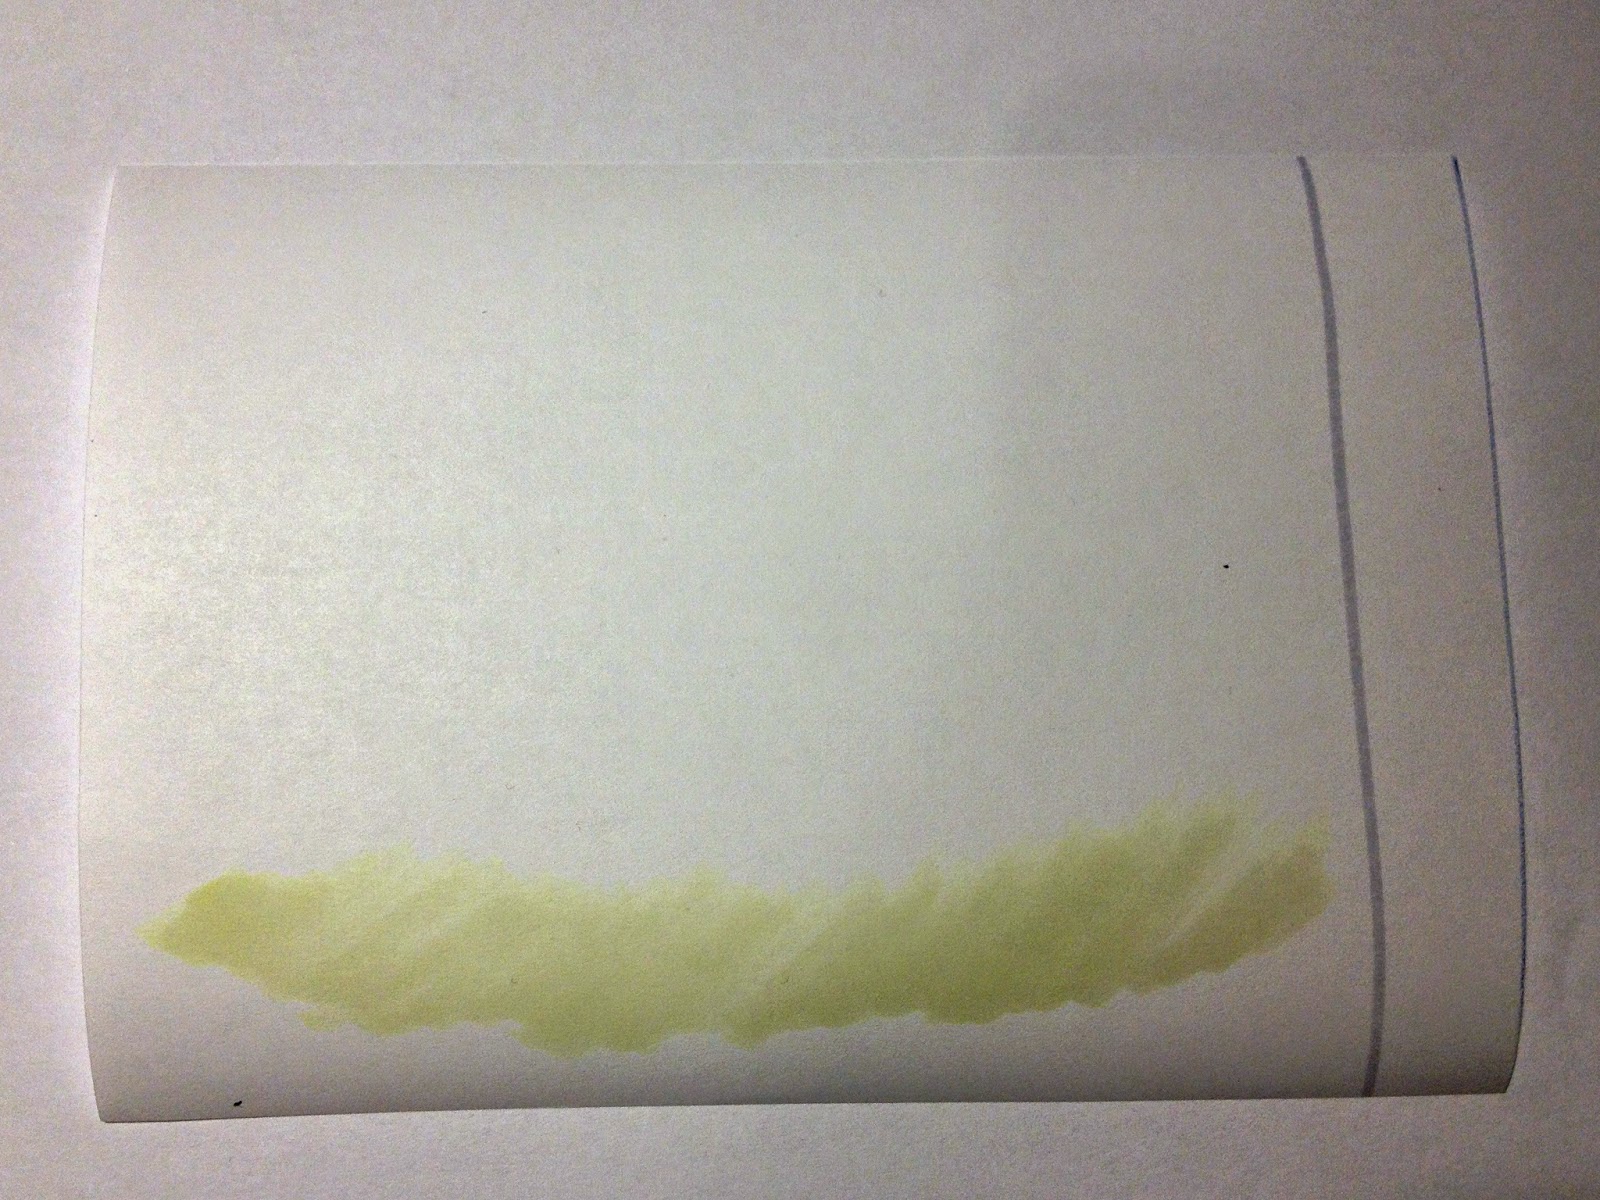 |
| 1.Start with tagging the background area with a yellow and blue colour tone | |
 |
| 2. Be careful to keep space between yellow and blue and start tagging the clouds with BV25-23 |
 |
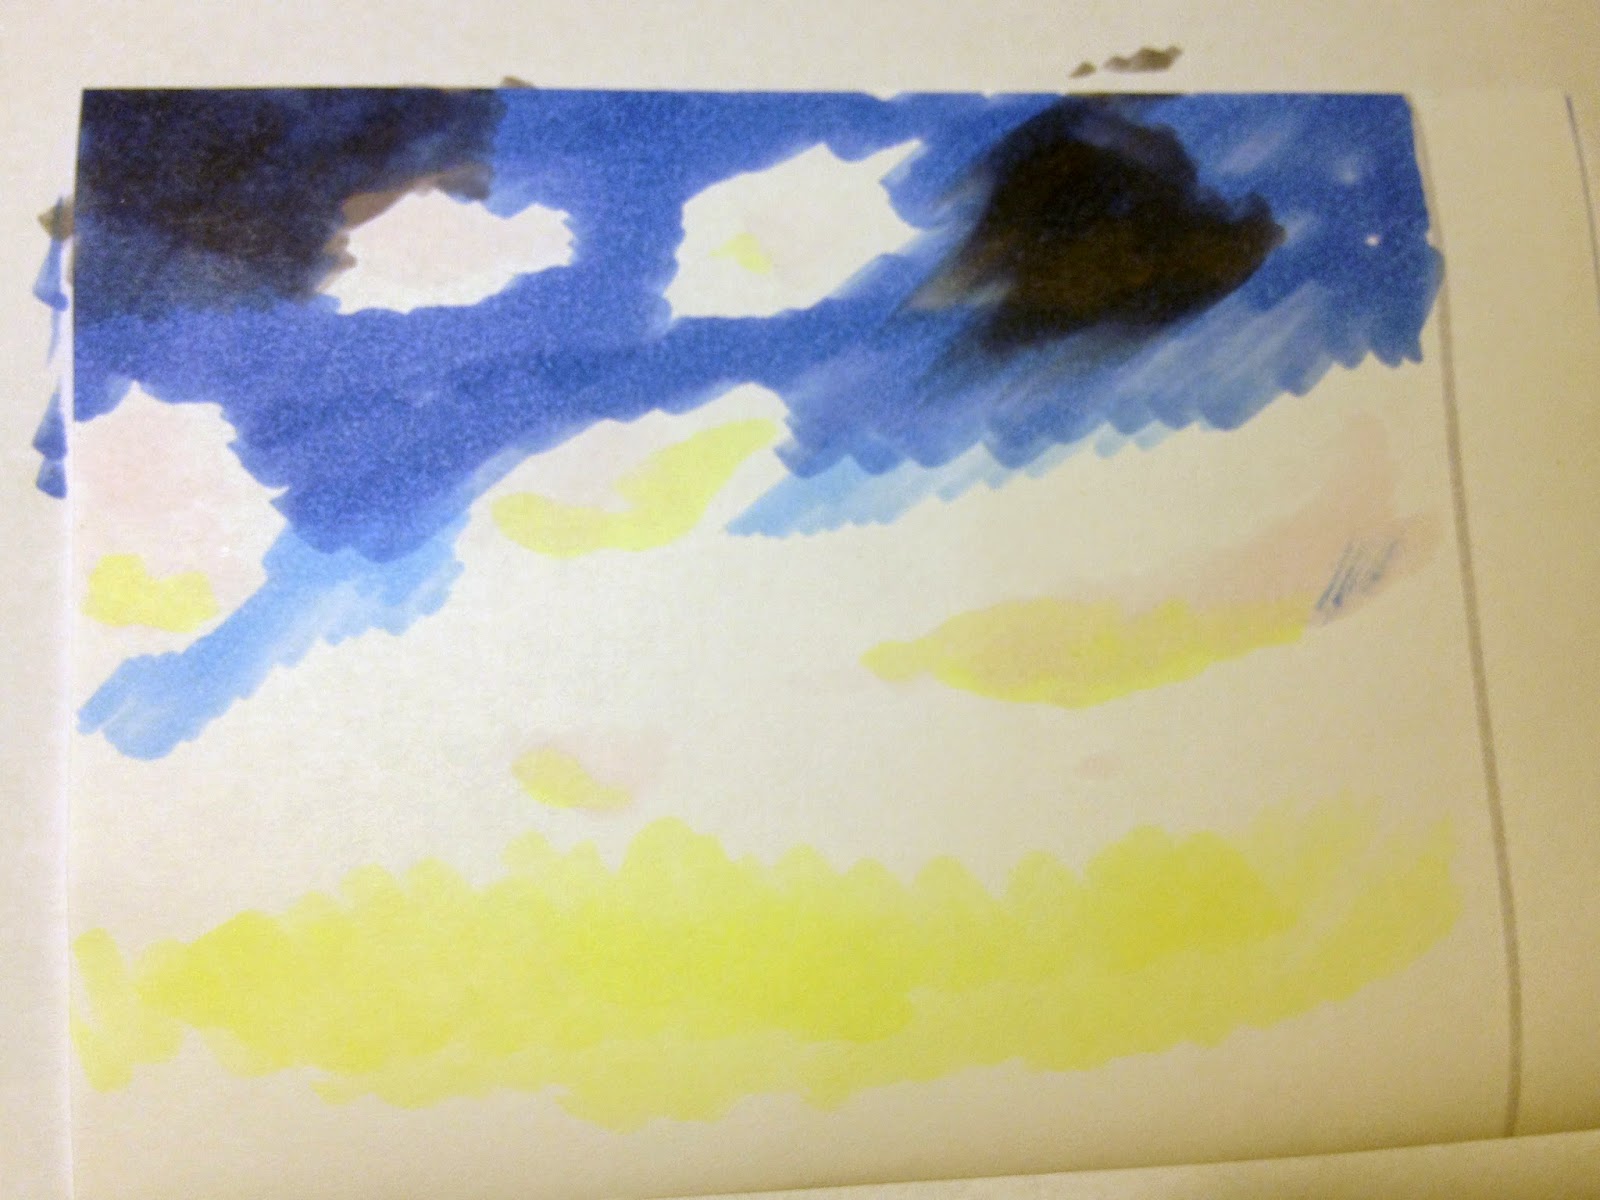
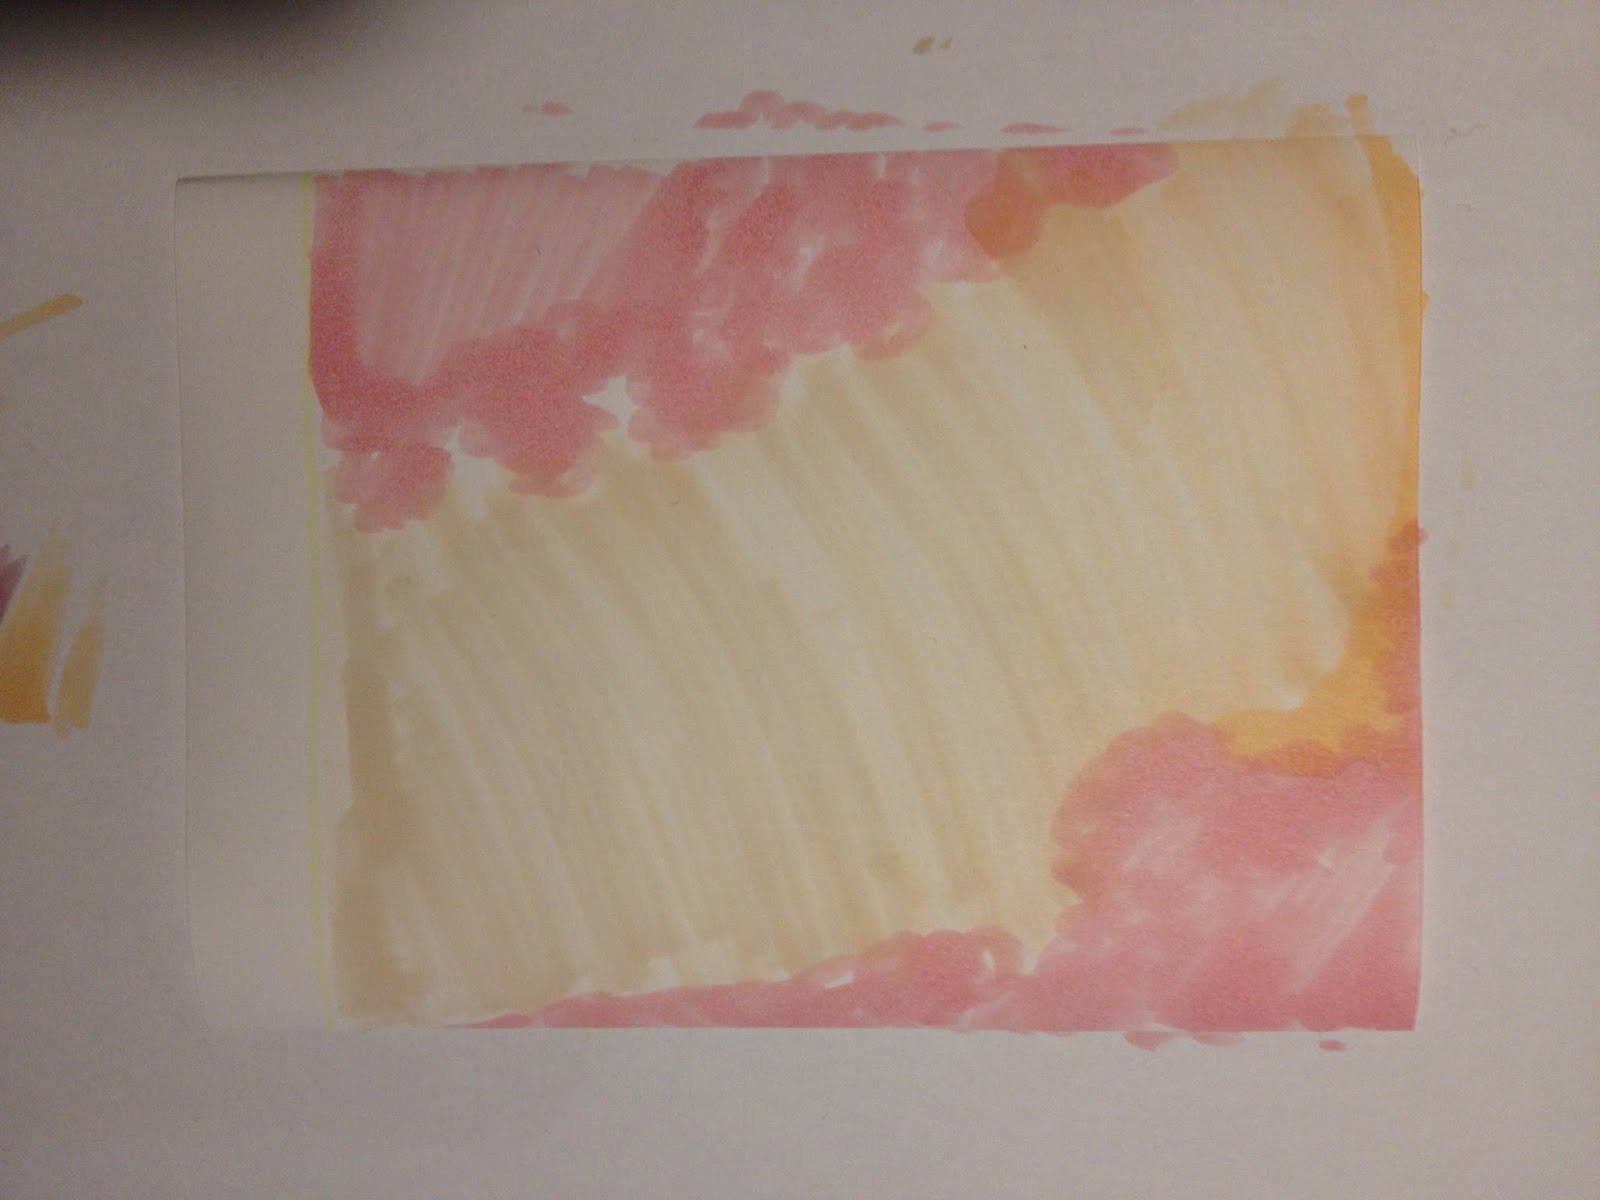
| 3.Choose a drawing direction. Start colouring with wiping movements (steadily decreasing pressure) |
 |
| 4. Roughly define the light and the dark areas. Use YR-tones for the bright areas |
 |
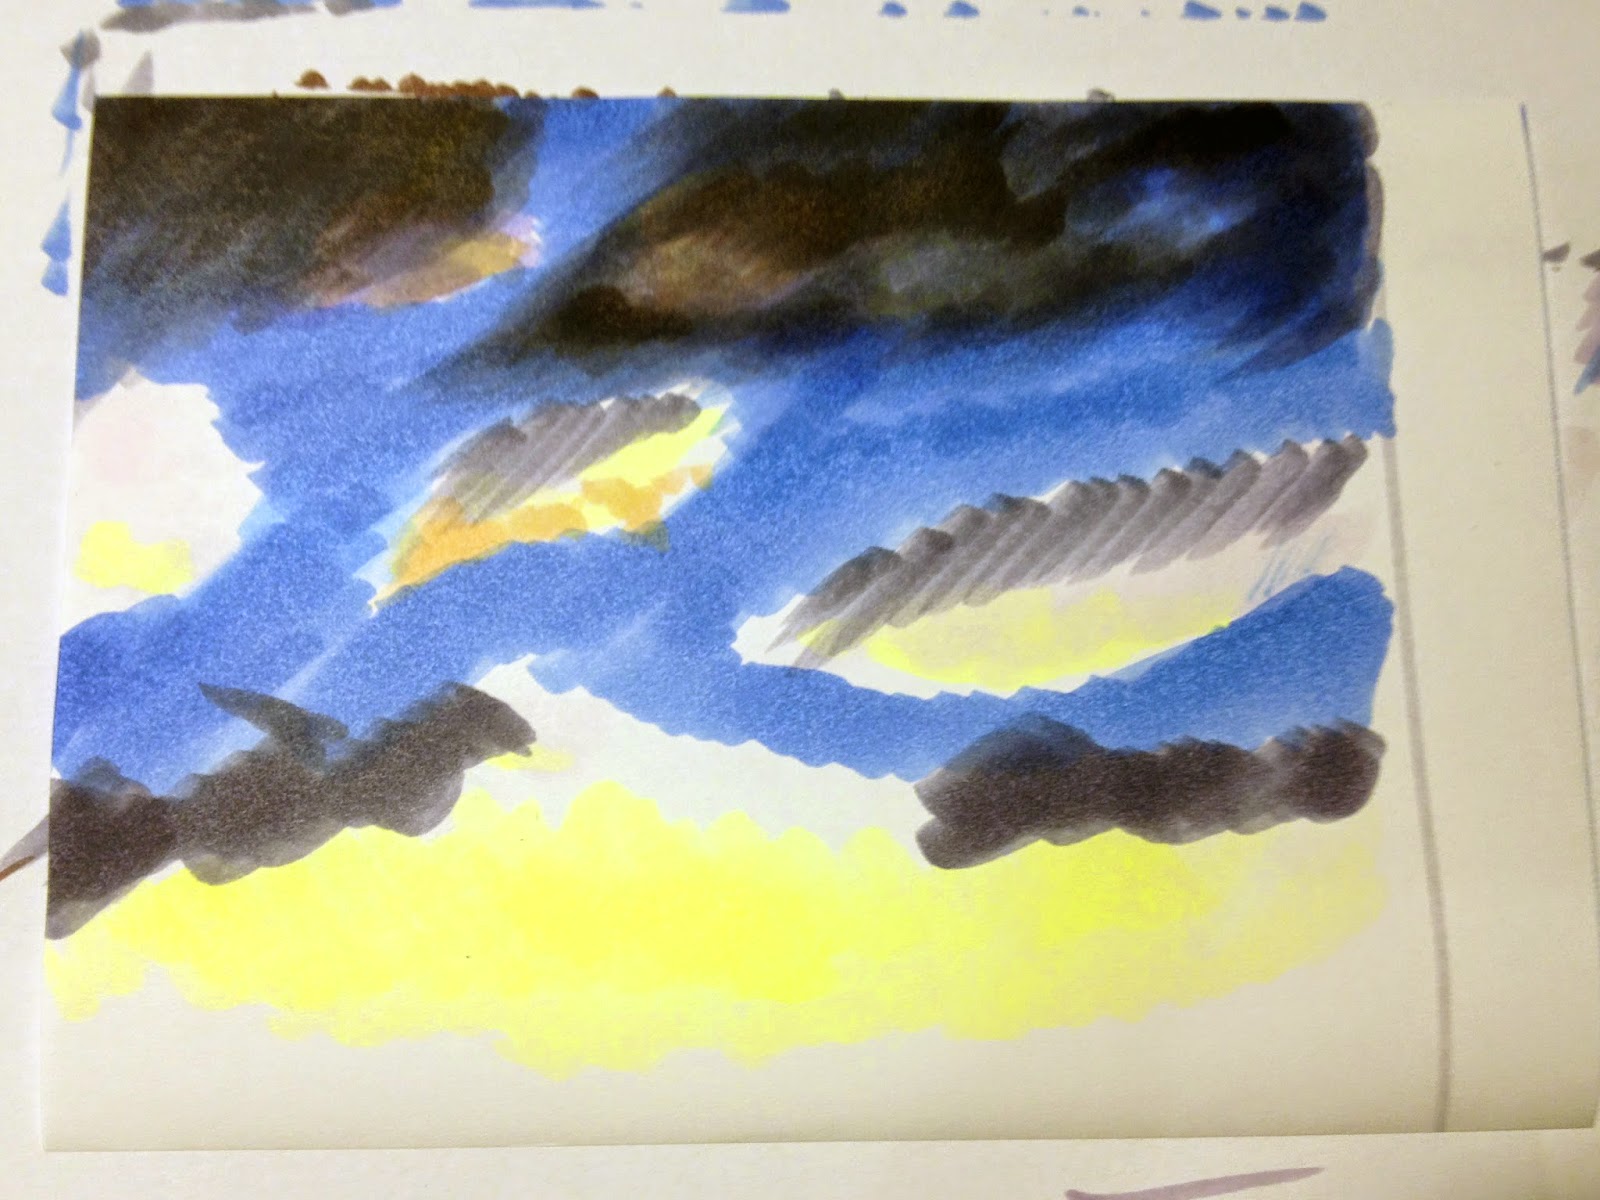
| 5. Start blending by adding new colour levels and mixing them |
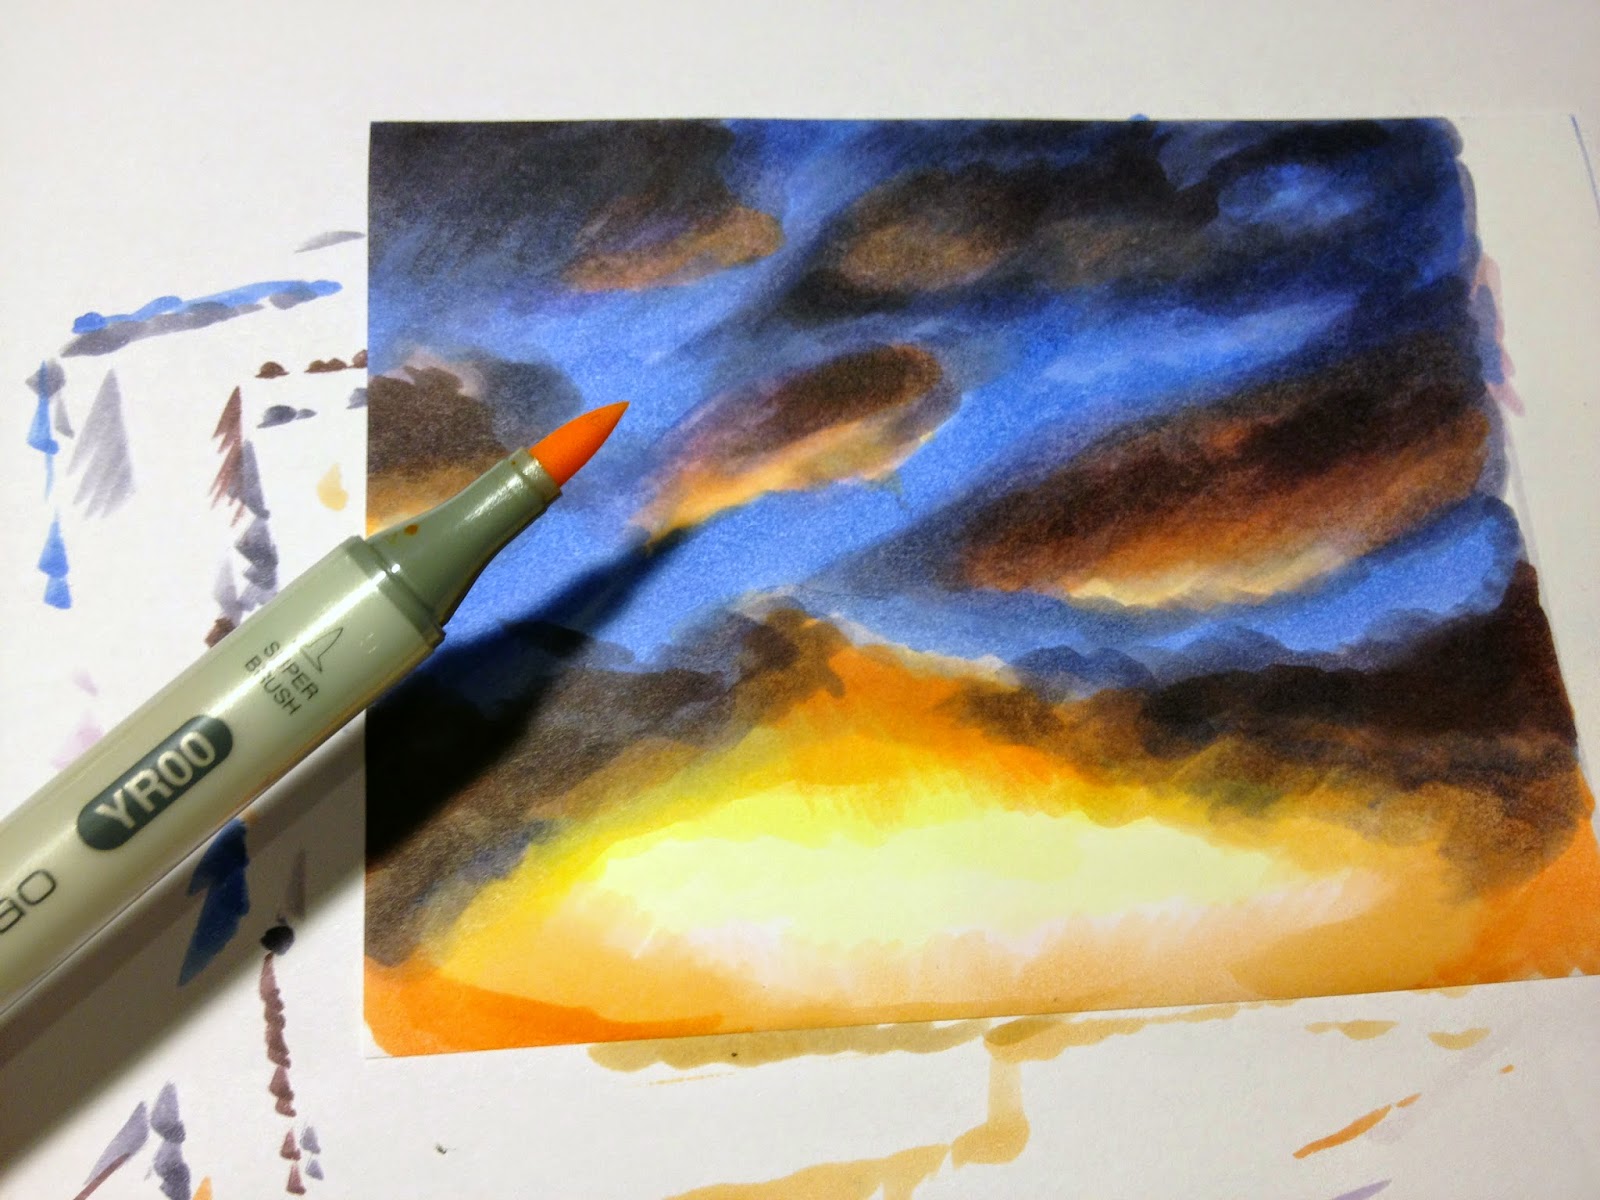 |
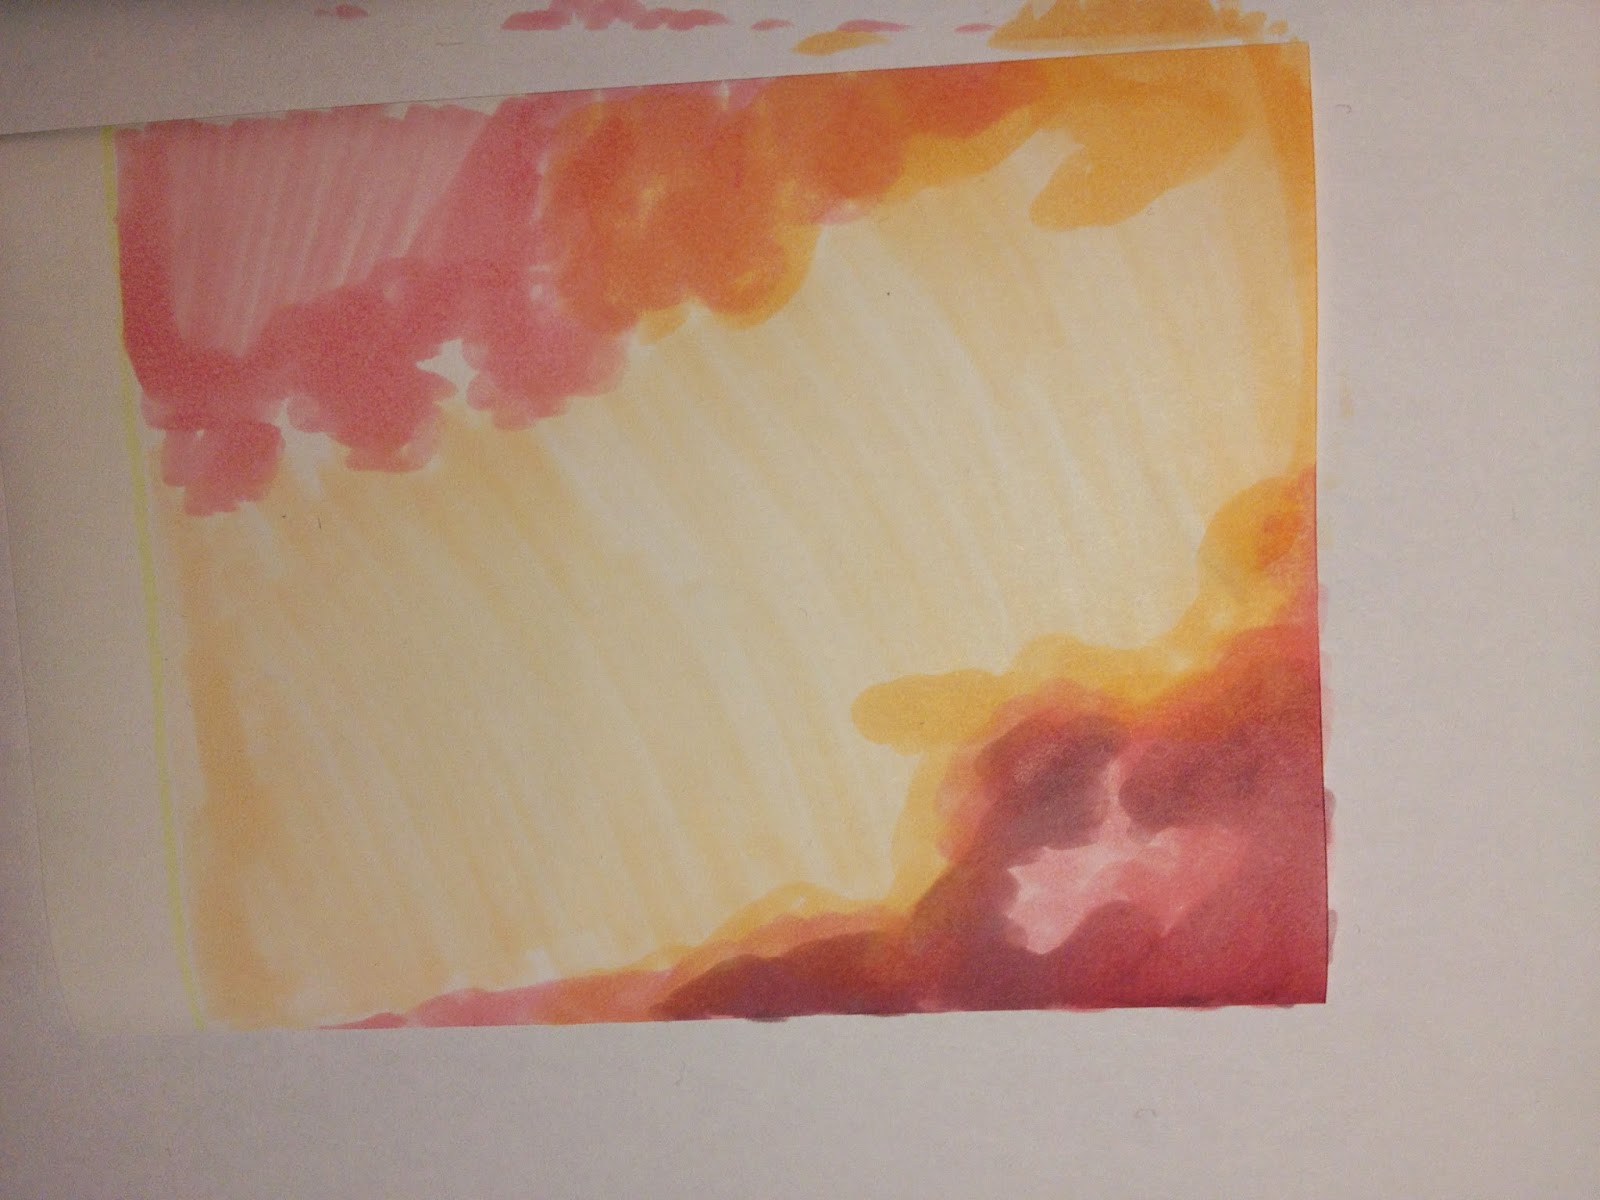
| 6.For a soft transition between the lightest and the darkest area use YR-(Layer) and Y(base)-tones and mix them |
|
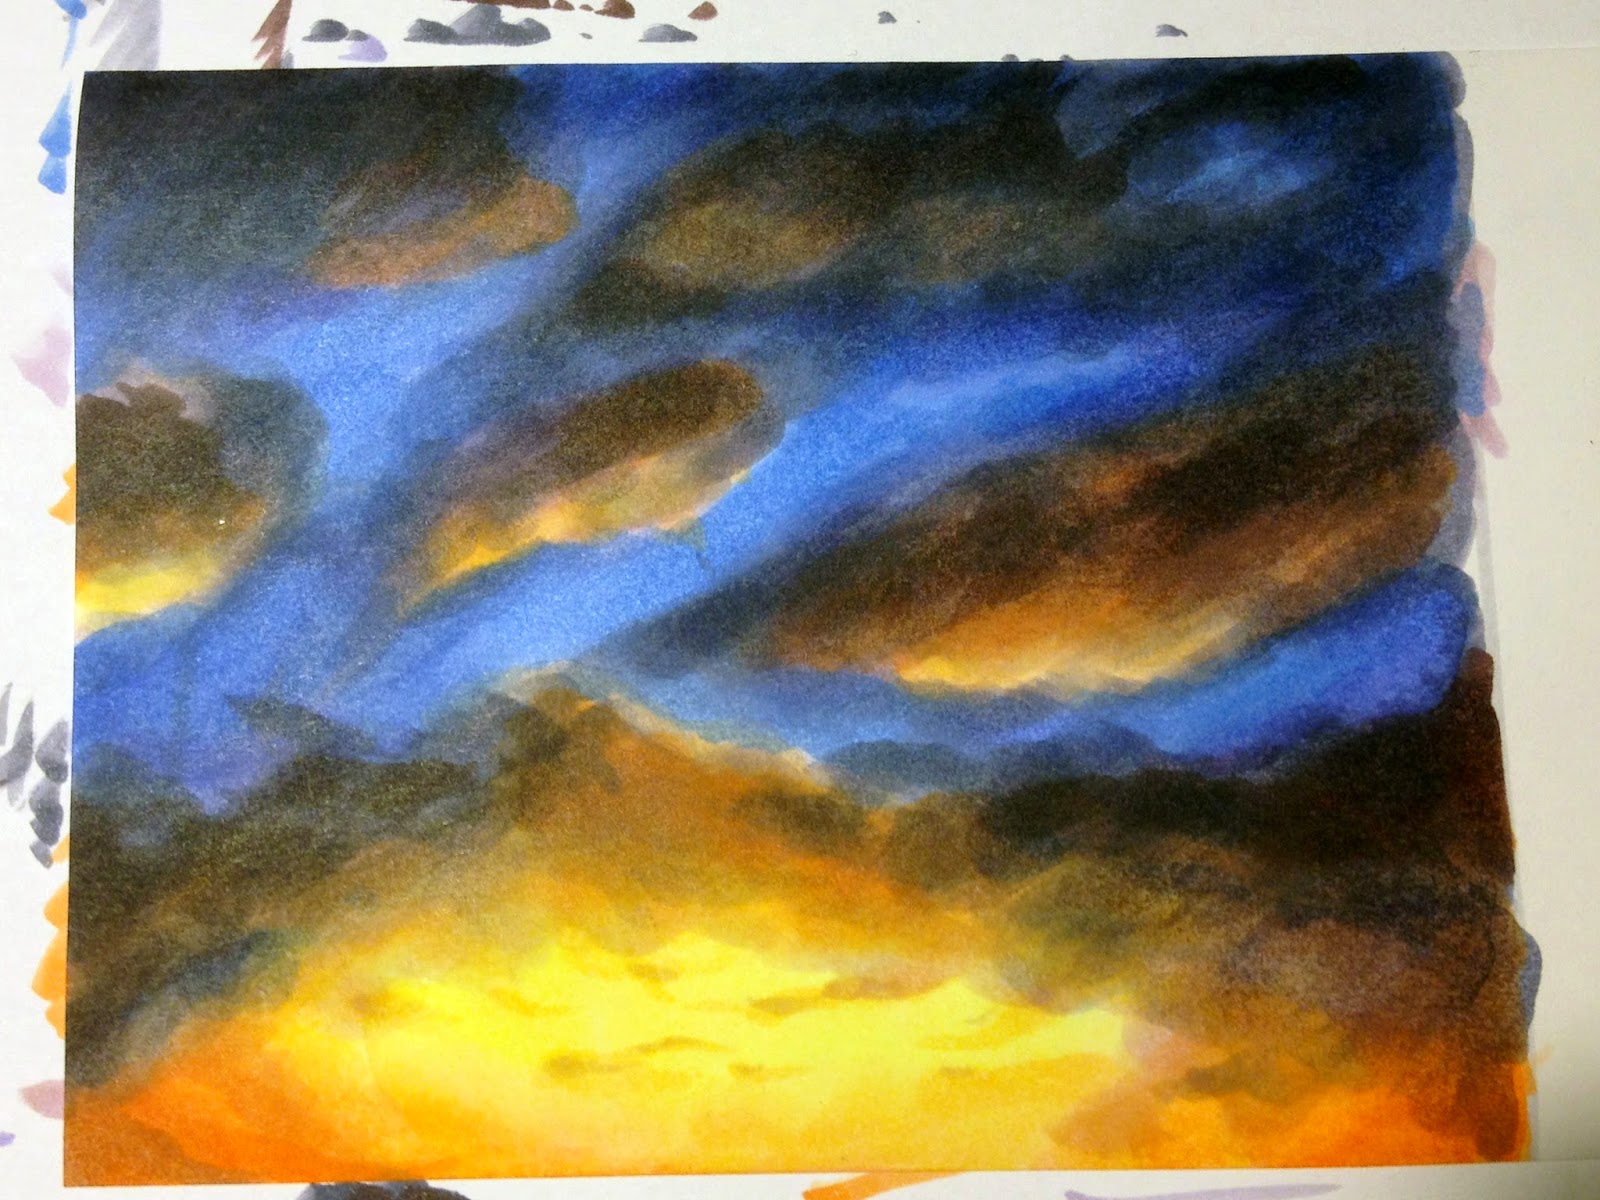 |
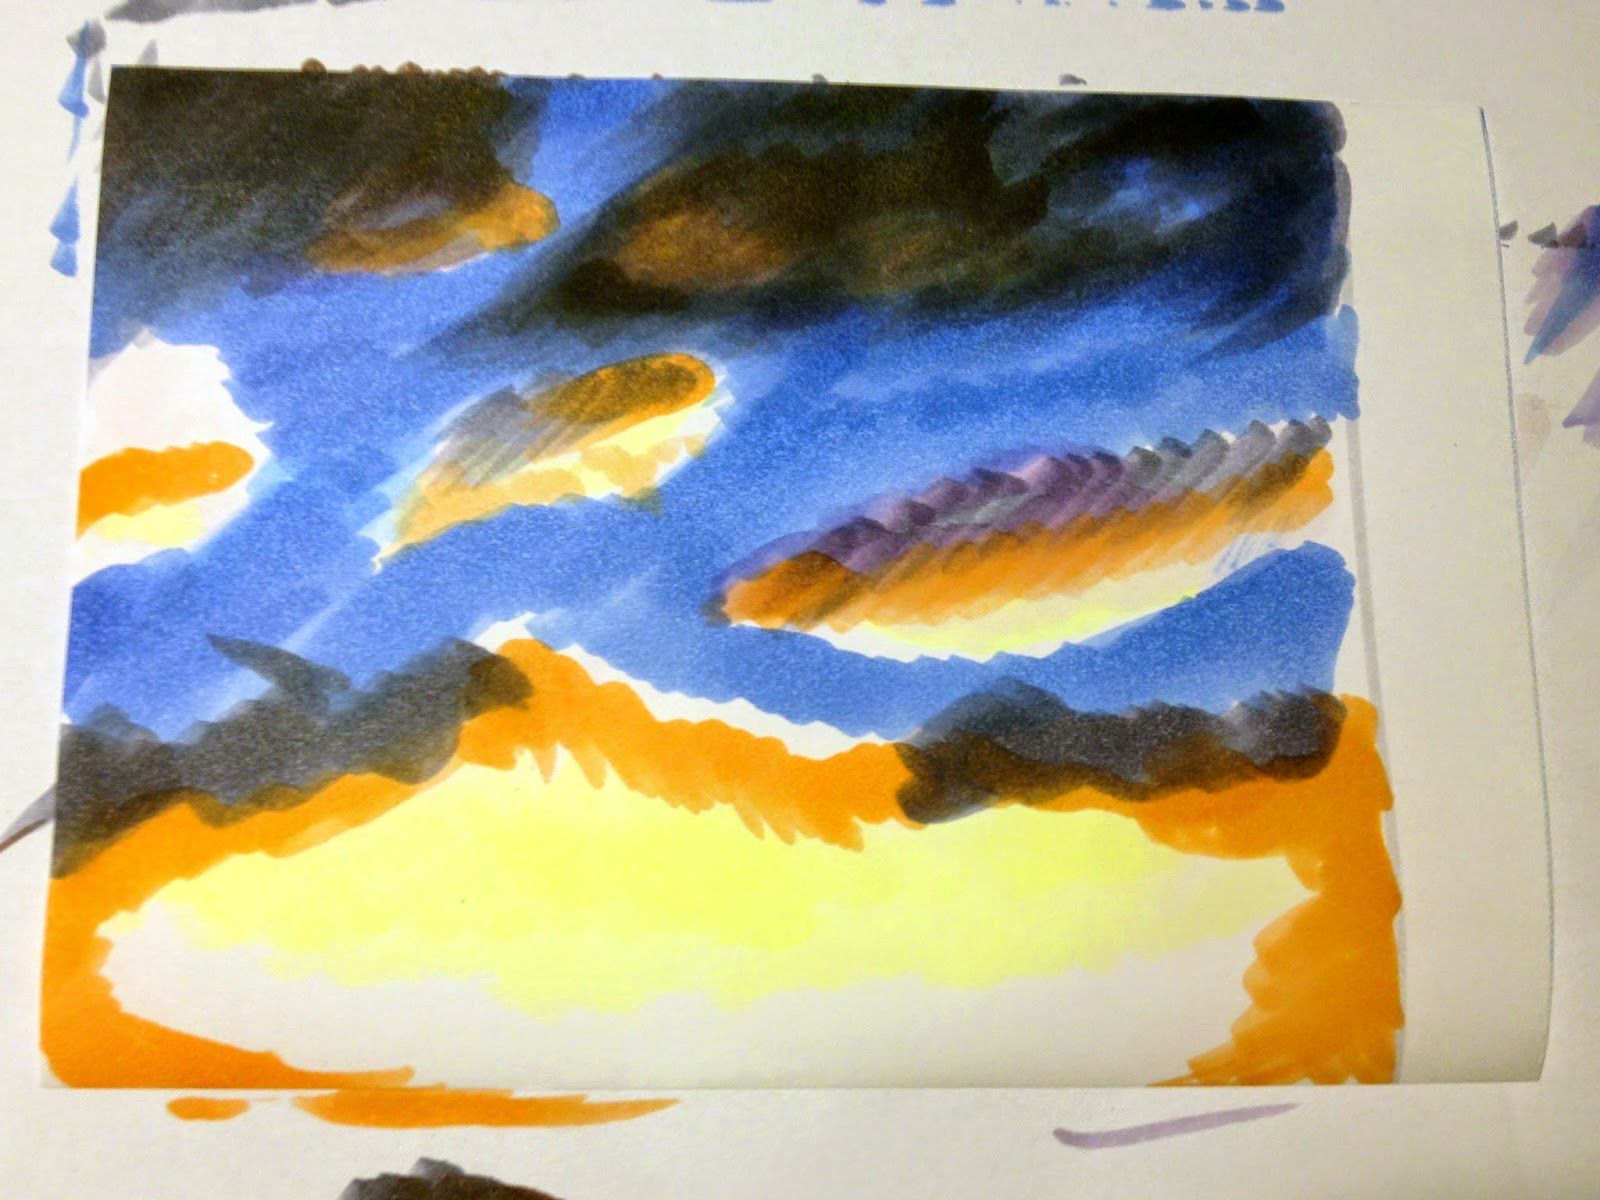
| 7. Apply the colour in circling strokes to make the clouds fluffy |
 |
| 8. Continue blending until you're satisfied with the result |
Hahnemühle Illustration & Layout Manga Paper
Colours: V99, V20, V01, V0000,BV31, BV25, BV23, BV20,B60,
B32,B23, R20,R02, YR61, YR02, YR01, YR00,Y11, Y00
------------
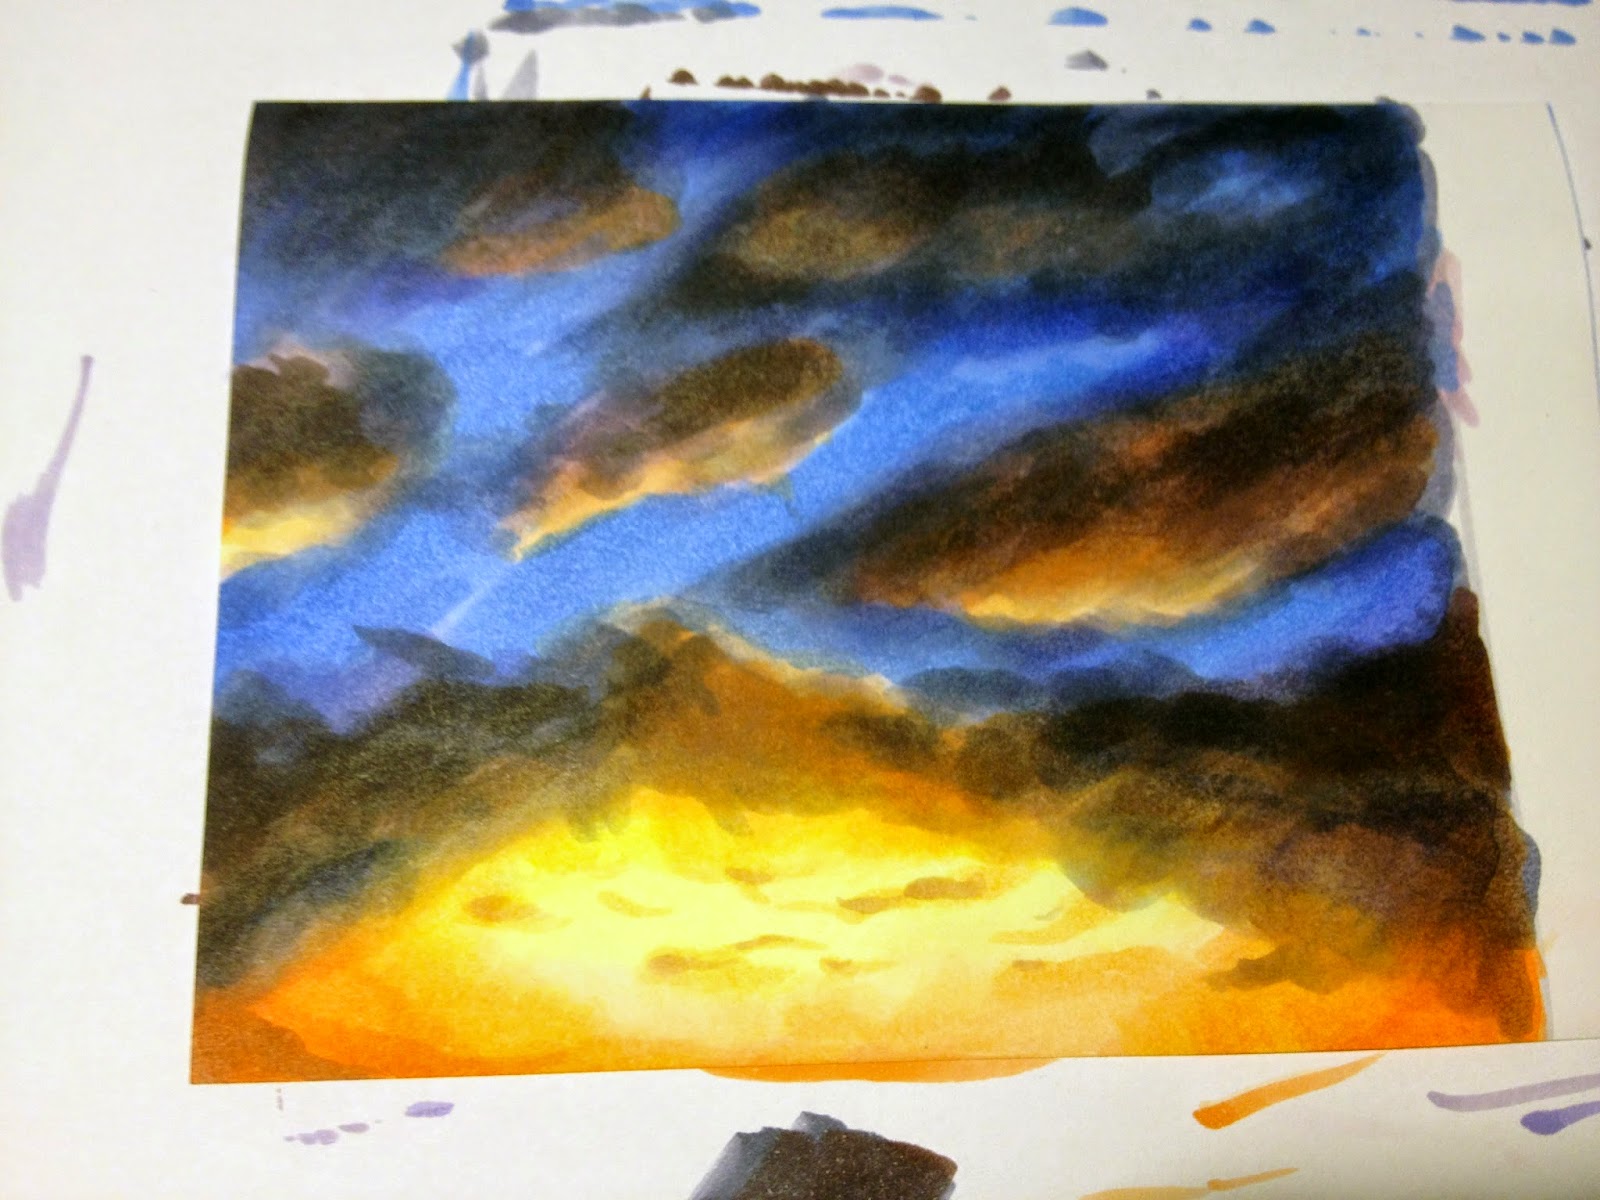
 |
| 1. Start again with tagging the clouds and you light areas |
 |
| 2.Choose a light background colour and draw in one direction |
 |
| 3. Highlight the light areas with a YR tone |
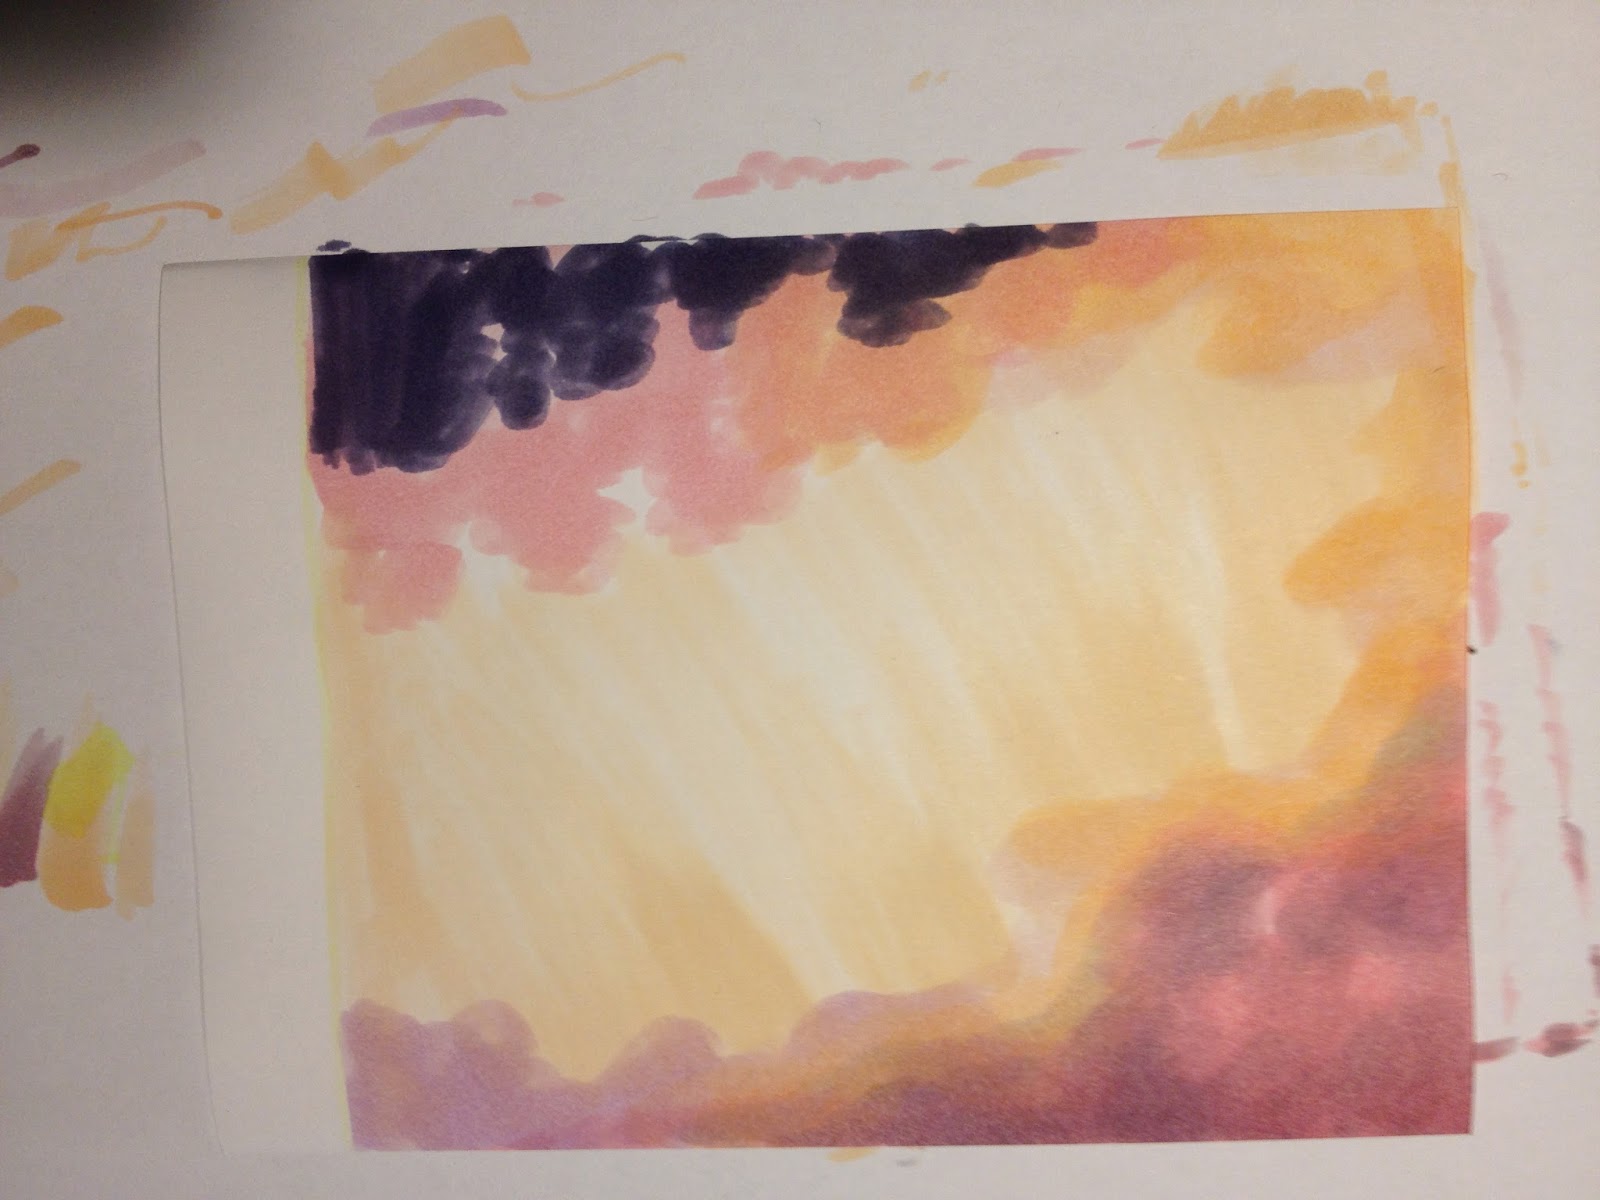 |
| Apply the colour in circling strokes to make the clouds fluffy. Use BV 24-23 for the dark parts |
|
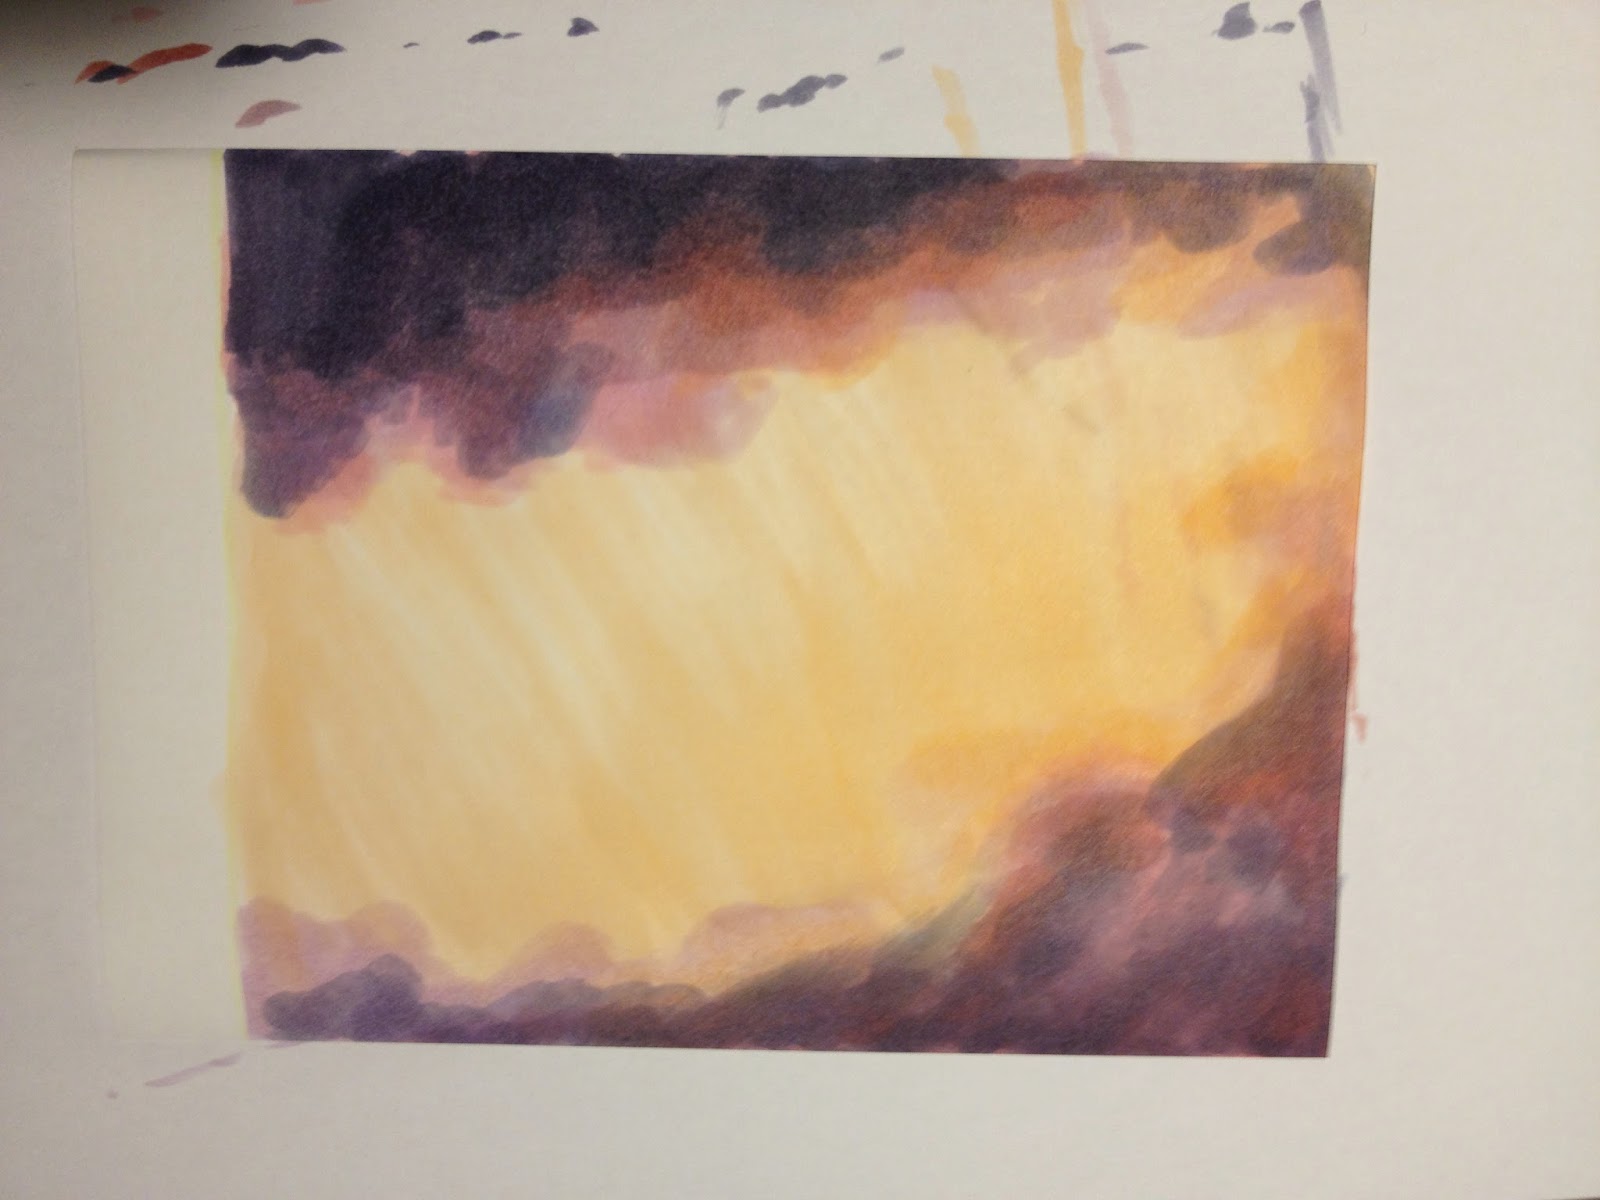 |
| 5. Step by step ad another layer with circling strokes. |
Hahnemühle Illustration & Layout Manga Paper
V95, Rv91, Rv32, R20, R00, E00, E000, E04,B60,,BV31,BV25,BV23,BV20,BV00,YR61,YR20,YR02,YR01
I hope my tutorial was helpful.
Kind regards,
Yunu