Hi, it's Miranda again and today it's my turn to publish.
And even better I have a little tutorial for you to share.
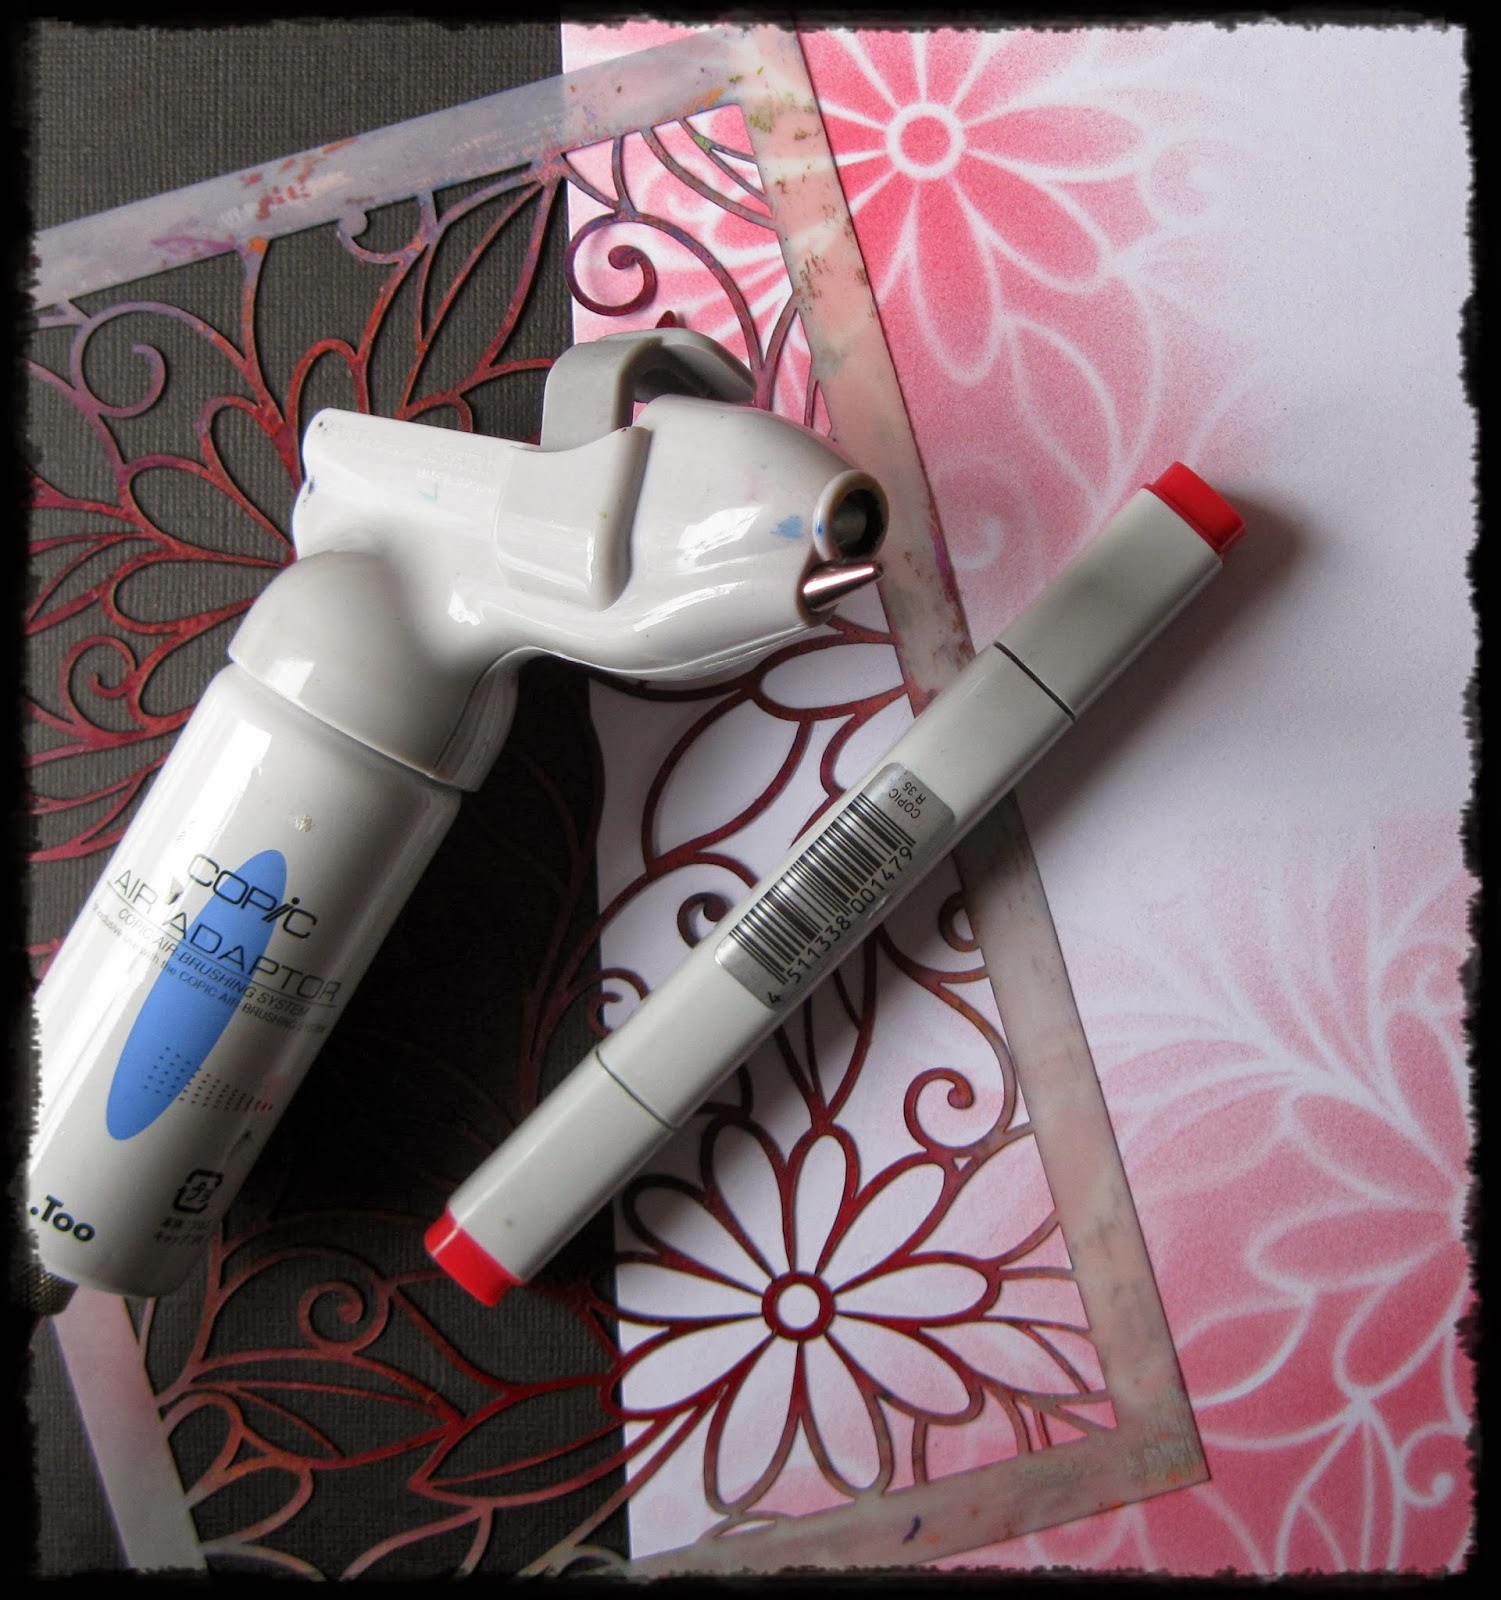
I love to work with my copics and airbrush, because you can make such wonderful backgrounds in a very easy way. Let me show you how:
Step 1:
Choose a template that you like (I used the flower by Dutch Doobadoo) and some copic colours (RV11, R24 and R59).
Put your marker with the chiselpoint in the airbrush and spray some ink through the template. If you keep your marker close to the template the colour will be more intense than if you keep a little distance. This way you can make variations in light and dark hues.
Be careful not to spray ink to close to the edge of the stencil because that will give you a ugly kind of border in the middle of your project.
Step 2:
Repeat with another colour.
Step 3:
And again I picked another colour.
Because the alcohol inks are transparant you can make some lovey layers.
step 4:
For my last layer I used another template (Diamond by Dutch Doobadoo) and another colour (YG07).
Red and Green are opposite each other in the colourwheel. When using inks or paints red and green would normally turn muddy, but the alcohol ink in the copics dry immediately after using. This gives us a great advantage over ink or paints, you can use it more easily on your project. Allthough you still have to be a little careful when layering it on dark red places because of the transparancy of the ink. It will look a bit muddy in such places.
Step 5:
Another fun way of using the templates is not adding another colour, but bleach out some colour by using the activator. Just spray a little activator through the stencil and see what happens.
Step 6:
I also like stamping with copics. Just add the copic ink with the chiselpoint on your stamp.
Spray a little activator on the stamp. Not too much otherwise your stamp will smudge. I like to keep a distance of about 20 cm or spray some activator in the air and move the stamp through the activatormist.
Step 7
I used 2 different stamps and 2 stencils. I never use more than 3 different stencils on small projects as it might look to heavy.
Step 8:
Use your background in a project. I used it to make a card for my mum's birthday.
I used an image by Aurora wings. Colours I used for colouring the image are:
E00, E02, E13, BV00, RV11, R0000, R24, R59,Y0000, YG07, YG17 and G94.
The flowers are from the hobby craftshop and are coloured with my airbrush too.
I hope you liked my tutorial. If you have any questions about this technique please let me know.
have a fabulous day
hugs
Miranda


13 comments:
Just one word.... amazing!
This is really fabulous
Malika
What a gorgeous background, thanks for sharing your tips, x
Oooh this is so beautiful x
Wat mooiiiii groetjes
Supermooi Miranda!!!
Liefs, Frouwkje
wow & wow.. what a creative and fabulous card. Your mom will love this :)
Miranda, what a great tuto. Everyone now knows how to airbrush with Copics. Thank you for that.
On the Stempelmesse Sued, a German stamp show 5 and 6 April, I will demo this. Annie does a workshop with airbrushing. '
Hope to see you there.
regards Diny
Beautiful! Thank you for the tutorial!
Wat mooi en een goede tutorial!
This is amazing work, Miranda! Gorgeous colors too!
WOW, Miranda! Just exquisite! Thanks so much for this fabulous Tut. haven't used my Airbrush hardly at all and you've inspired me to try it again, for sure. xxD
Gorgeous!
Post a Comment