Followers

Saturday, June 1, 2019

Blue and Yellow

Hi Everyone, it's Faye here today :)

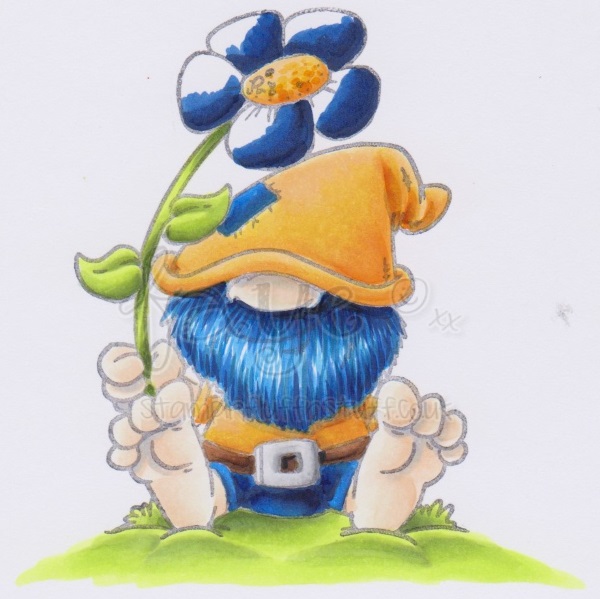
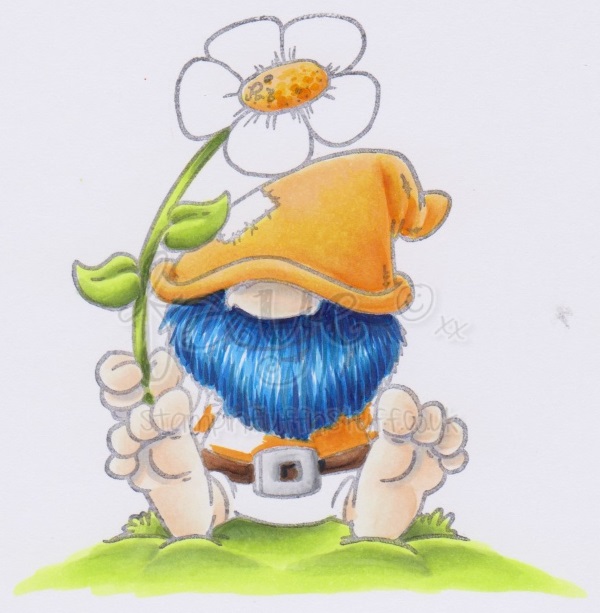
I have a bit of a soft spot for gnomes, I love this little guy from Whimsy Stamps. He just makes me smile every time I look at him. I've coloured him a few times already, so I decided I should have another go, colouring him with colours outside of my comfort zone. Blue and Yellow. Blue is just not a colour I normally reach for and yellow. Well, yellow is my favourite colour, but I find it hard to use. 

So, nothing fancy here, just a step by step as I coloured him up...

E51

E50

YR30

BV20 and more shading with E51 and YR30

FB2

B26

B37

B39

YG01

YG63

YG03

YG01

YG03

YG63

YG03

YG01

N3

N1

N0

E59

E57

 E23

Y17

Y15

YR31

Y17

Y15

YR31

Y17

Y15

YR31 AND E70 (E70 For Cast Shadow)

B39

B26

FB2

B39

B26

FB2

B39

B26

FB2

White Gel Pen and Black Multiliner for the spots and plaid

And we're done!

Copics Used...
Skin; YR30, E50, E51, BV20
Beard/ Blue; FB2, B26, B37, B39
Yellow; YR31, Y15, Y17, E70
Silver; N0, N1, N3
Brown; E23, E57, E59
Green; YG01, YG03, YG63

Thanks so much for stopping by... Have a great day.

Tuesday, May 28, 2019

Enjoy

Hi everyone!! It's Virginia here with a new tutorial for you. Today I come with a delicate notebook as a present to my English Teacher Asun. I've just finished my exams and I don't know my marks yet but, Asun has been one of the best teachers I've ever had and I feel like to give her a present (but not a bribery, lol).


The stamp I've used is a design made by Krista Smith (Saturated Canary Stamps). I do love her stamps and I'm using them in many of my projects. On this occasion, I've decided to show you how to colour a printed dress with the same flowers that appear in the scrap paper I've used in the notebook.


As usual, here you have a step by step video tutorial


The Copic colours I've used are: 

Skin: E18-E15-E13-E11-R21
Hair: E35-E25-E47-E27
Sneakers: YR18-YR15-YR12-BG75-E42-E41-E40
Ribbons: BG75-BG72-BG70
Alpaca: E44-E43-E42-E41-E40-E71
Apple: R39-R29-R24
Grass: YG97-YG95-YG93-YG91
Sky: B0000-B91-C1-C00-Blender

That's all for now. I hope you like it.

See you next month!! Bye!!

Sunday, May 26, 2019

Tanya Bond colouring page

Hello Copic friends.

For today's post I used a colouring page by Tanya Bond. In the following photographs you will be able to see how I coloured this page and the colours I have used. 


I always start with a layer of E50, a cool beige.
 I used the broad chisel nib, because this image is quite large. This way the image will get less stripy.


I will use the BV00 next. This is my favourite shadow colour.


Add a layer of E00 over the BV00.


Blend all the layers together with E000. 


Use R20 for the lips.


Add a layer of R22 on the upper lip and in the corners of the lower lip. 


Blend the layers together with R20.


Use the BV00 for shadow in the eyes. 
Use YG11 for the iris. 


Use the YG17 to make the eye darker. 


Use the YG67 for shadow in the iris. 


Blend the layers together with YG11.


For more depth in the eyes I decided to use G46 and C7 as well. 


Time to start colouring the hair. 
Use the E08 for the darker parts of her hair. 


Use the YR07 next.


 Use the YR15 for the lightest parts of her hair. 


Looking at her hair I decided that the darkest parts aren't dark enough...


...so add some E09...


Use the same YR colours for the bodice and the cute flowers. This time I start with YR15.


And then I add YR16 and YR07.


For the leaves I use YG11.


Use YR17 for the veins of the leaves.


For the darkest parts I use YR67.


And to make the darker parts in the leaves a bit more darker, I add YG99.
I add a thin layer of RV02 over the lips, because at this stage  I think they would be much nicer if they were a little bit more rosy instead of orange. 


Colour the pink flowers starting with RV02. Add some RV04 and RV09 as well. 
For the yellow parts I use Y17, Y38 and YR15. 


Use the same RV02 for the wings. 
Use the BG01 for the dress , bracelet and crown. 


I add some RV04 and RV09 on the wings and dress. 
For the blue parts of the dress, bracelet and crown I add BG04


And this is the end result. 
Hope you'll like it. 

See you next month

Miranda

Wednesday, May 22, 2019

Cicci Color a horse

Hi Copic Lovers.
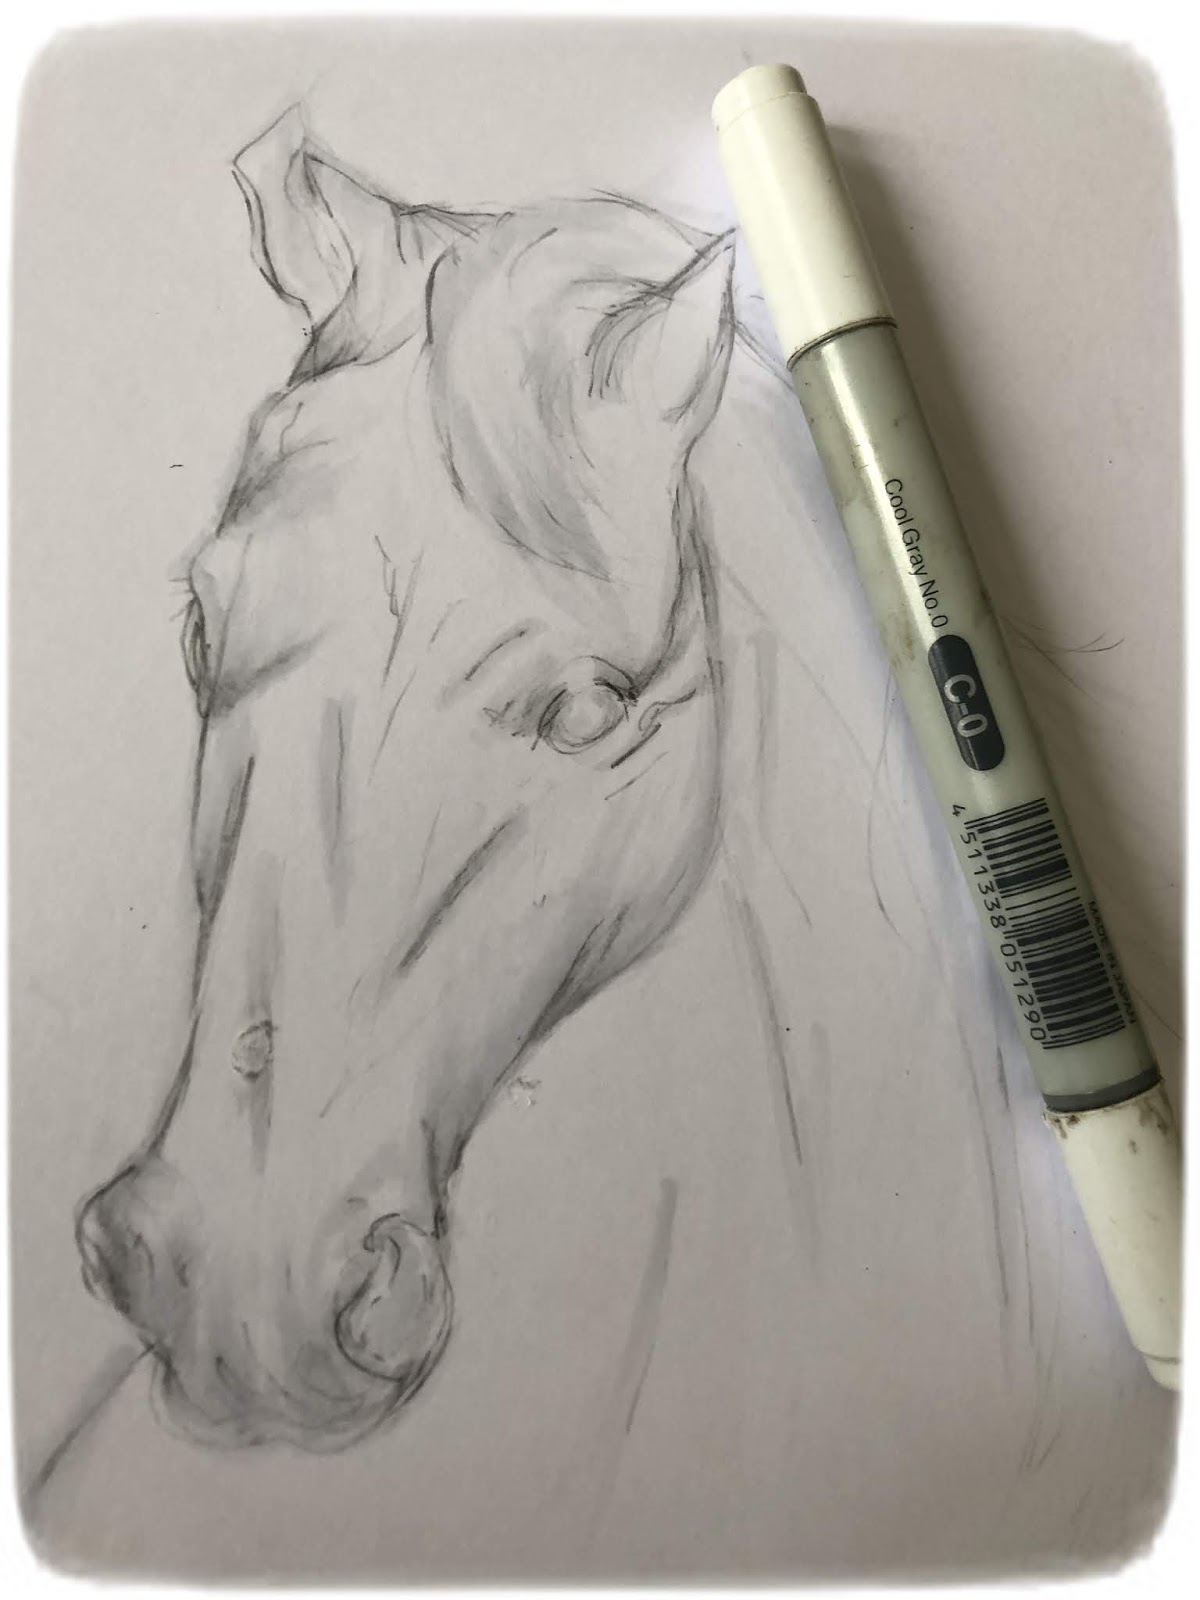
Cicci here today!! Today I show you how I made this horse. I have just used a few grey markers.

Copic Combo
C0 C2 C3 C5 C7

Step 1
I started to make a sketch for the horse face
with an ordinary pencil

Step 2
First I used an eraser to remove the lines from the pencil
 and filled in the contours instead with the Copic marker C0

Step 3
Continue to colour with C3 just over the marker used before
 

Step 4
I colour with C7 here

Step 5
Colour and blend with C3 

Step 6 
Add C0

Step 7
Here I added one more layer with C3

Step 8
Colour with C2 all over the face but leave the white areas that you already have

Step 9
At the end I go over with C3 C5 C2 again and at last I add C0 to some of the white areas.

DONE!!


Have a wonderful day everyone and welcome again to the Copic Europa Blog.

HUGS,


Tuesday, May 21, 2019

Going BIG!!


Hello everyone! Delphine here today and get ready, today, I've decided to go BIG! Yes, instead of making a card, I had a frame to fill so decided why not colour a big A4 image to go in it? I used an XL Gorjuss Girl stamp, which you can see below on an A4 sheet to give you an idea. 


After stamping my Gorjuss Girl, I traced a rectangle using a Copic grey Multiliner to determine where I would stop my colouring - the idea being to just cut off some of the white edges to frame my girl in an 18x24 frame. 


I started by colouring the background without trying to blend the colours. I used V12, 15, 17. Very messy, but not a problem!


I then used my Blender 0 Refill on a natural sponge and dabbed until I was satisfied with the background. 


Now to the colouring of my girl itself - I started with the skin as usual, in YR000, 00, 01, E11, E71 and a bit of RV02 for the cheeks. 


I then focussed on the clothes using the same colour family as my background - the purple is V09, 12, 15, 17. For the black of her dress, I used C5, 7, 9 and for the socks C0, 1, 3. As you can see, I did not pay too much attention to the little dots on her dress since I knew I would cover them in gel or paint pen at the end. 


I coloured the hair using my C markers to really have harmony in the picture - so C5, 7, 9 too, as for the dress. Here is a recap of all the colours I used:

Skin: E11, 71, YR000, 00, 01, RV02
Hair: C5, 7, 9
Dress: C5, 7, 9, V09, 12, 15, 17
Socks: C0, 1, 3, V12, 15, 17
Ground: C3, 5
Background: V12, 15, 17


As a final touch, I added hearts using the Kraftin' Kimmie Stamps Hearts Stencil and a Pentel gel pen, and I also added a bit of white and gold highlights in Posca pen and gel pen too.

That's all from me today, thank you very much for your visit! Hugs,
Delphine xx