Followers

Showing posts with label Sponged Background Tutorial. Show all posts

Thursday, February 16, 2017

Hey there...

Hello everyone,
Sue here today with my first project for 

I am so happy to be here, it is a great honour to be part of such a wonderful and talented Design Team.

For my first project I chose one of my favourite digital images - Wryn - Watcha Doin? by Tiddly Inks.
I had such fun colouring this as I used a great Copic technique to create the pink background.
Before I coloured Wryn, the first thing I did was use my Copic marker R81 to colour the background all around her.  I used the brush tip for the detailed parts.
...and I used the chisel tip for the rest of the card.  (We don't get to use that nib very often but this is a good time to use it)!
Then I dipped a small piece of sponge into some colourless blender.  The sponge only needs a small amount of blender on it so it is a good idea to blot off the excess onto a separate piece of card.
I then dabbed the sponge all over the pink background. You can see the colourless blender bleaching out the pink colour.
It is fine to dab the sponge over the stamped image so that the effect goes right up to the edge of it.  The colourless blender will dry and you can carry on and colour with your Copics as normal.
This is what the background looks like when the colourless blender has dried.  Isn't this a lovely effect!

I hope you have enjoyed my tutorial.  It would be great if you could try this technique and show your cards to us at Copic Marker Europe on Facebook.
To find us just follow the link
I have coloured Wryn with some of my favourite Copic combinations. 
Skin - E71, E21, E00, E50
Hair - E70, E74, E77, E79, E29
Clothes - R32, R35, R37, R39, T5
Background - R81, Colourless Blender Refill, Sponge
Ground T1, T3, T5
Thank you for popping by.

Happy Copic colouring!

love from
Sue...xxx


Friday, August 12, 2016

Sponged Background


Hi Everyone, it's Faye here :)

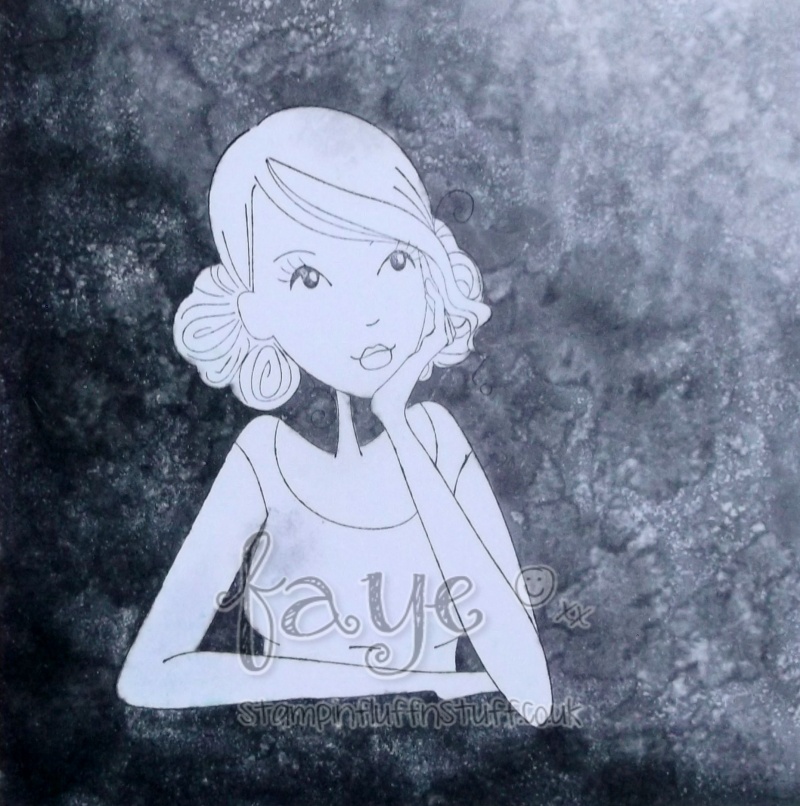
Today, I'm sharing how to create a sponged background. I actually did this technique a few weeks ago and made a very similar card, but I wanted to show how different the result looks, just by using more or less Colourless Blender. In the version I created previously, I kept my sponge very wet. But in this version, I used less Blender as was more controlled with it.

So, let's get to it!

I used a piece of sponge like this, but play around with different materials and find what you like.


 This is another of my favourite texture rags, but it didn't look right with the image when I tried it this time, so I opted for my trusty sponge!


I am using Thinkingoyouabella from Stamping Bella. She's perfect for this kind of background.

First of colour all around the image with T3, T5, T7 and T9. (You will see I have been very messy. It doesn't matter, as the texture rag will tidy all of this up.)


Next, squirt some Colourless Blender onto a plate and then dab the sponge into it. Wait a few seconds for some of the alcohol to evaporate. Starting in a corner, press the sponge onto the ink and hold in place for about three seconds.


Repeat this process, moving around the image until all the ink has been sponged.


The Colourless Blender has displaced some of the background ink onto the image, so push it back into the background before you colour the image.


Time to colour the image...


And then a card for her to live on... clean and simple of course!


Copics Used...
Background; T3, T5, T7, T9, Colourless Blender
Skin; E000, E00, E21, E11, E71
Eyes; B24, B37, C3
Hair; E51, E53, E55, E33
Top; RV63, RV55, RV17, RV69

Thanks so much for stopping by... Have a great day.