Followers

Showing posts with label Lydia. Show all posts

Tuesday, May 13, 2014

Time to say goodbye

Good morning dear readers,

Today I have a card with a special message for you.
With pain in my heart I have decided to stop with my DT work fort his blog.
3 years log I have worked on this blog, behind the scenes I manage this blog
Create the blog layouts etc. Bud now it’s time to say goodbye.

Of course I will stay Coloring with our beloved Copic Markers.
You can follow me on my own blog http://scrappenbylydia.blogspot.nl/


I I have this card for you, an image from Saturated Canary.
A lot of dies from My favourite thing and Tattered Lace.


It’s an older card so I have forgotten witch colours I have used.

Thank you for all your support, your wonderful credits, great comments
And reading my messages.


Saturday, March 8, 2014


Goodmorning dear readers,

When I'm writing this blogpost for you, we have wonderful weather, the sun is shining through my window. Spring is coming……

I have a lovely image colored with how else, my copic markers.


 It's an image from Saturated Canary,
The papers I have use are from a paper pad from Prima Marketing, Its an older one, this pad Is waiting for a long.

The doilly is Tattered Lace, this dies are so detailed and beautiful. The paper comes so easy out of the die.
The leaves are dies from Die-namic. The roses I bought in the scrapbook store in our area.


The copic markers I colored with.

Hair: E59 E57 YR24
Skin: E0000 E00 E11 R20 B00 G43
Dress:B99 B97 B95 B93 B91 / RV99 RV95 RV93 RV91
Frog: YG99 YG97 YG95 Activator


I Hope you love the card, thank you for leaving your message


Thursday, October 24, 2013

Life is beautiful


Goodmorning dear readers,

Today I have played with Copic Refills and my Airbrush system.
I hope you like the result.


You need:

A Craftsheet
Glossy Paper
Activator
Your fav Refill combo I have used FY1 YR24 G46 G28 G24 Y38.
Your fav Markers I have used YR24 G85 E25 G24
Stamps and Pigment Ink
A piece of scrappaper
Airbrush
Cicle mal

Drop a few drops of the Refill ink on your craftsheet. Spray with the Activator over the ink.
Take your Glossy paper en pull them trough the ink.
If the ink dries you can activate it with activator again and bring your paper again through the ink.
Repeat this, still you're satisfied.

Take your piece of scrappaper and rip the edge so you have mountains.
Use this as a mask to airbrush mountains. With the cirle mask you airbrush the sun in yellow colors.

If your are satisfied with the result you can stamp now over the image. Use pigment inkt for glossypaper. Archival ink is a good option. But realize all kinds of ink can react on the copic ink so you have to heat set the ink.

Glue your card on a black piece of cardstock and then on your basic card.

I hope that I have inspired you with my card.


Sunday, October 6, 2013

Coloring an digital image without lines


Goodmorning dear Friends

Today I have a video for you. How to color an digital image without lines.
In this video I will show you how you can change the black lines of a digital image
in photoshop, I think that you can also do this with other software.


The digital image is from the Paper Shelter and the papers are from LOTV.
For the background I use PanPastel Metallic, they gave the pic such a beautiful shiny look.
You can blend the silver Metallic with any other color PanPastel so you have a lot of shiny colors.

Over to the video


The swirls on the label are also PanPastel Metallic colors


I colored the image with Copic Markers

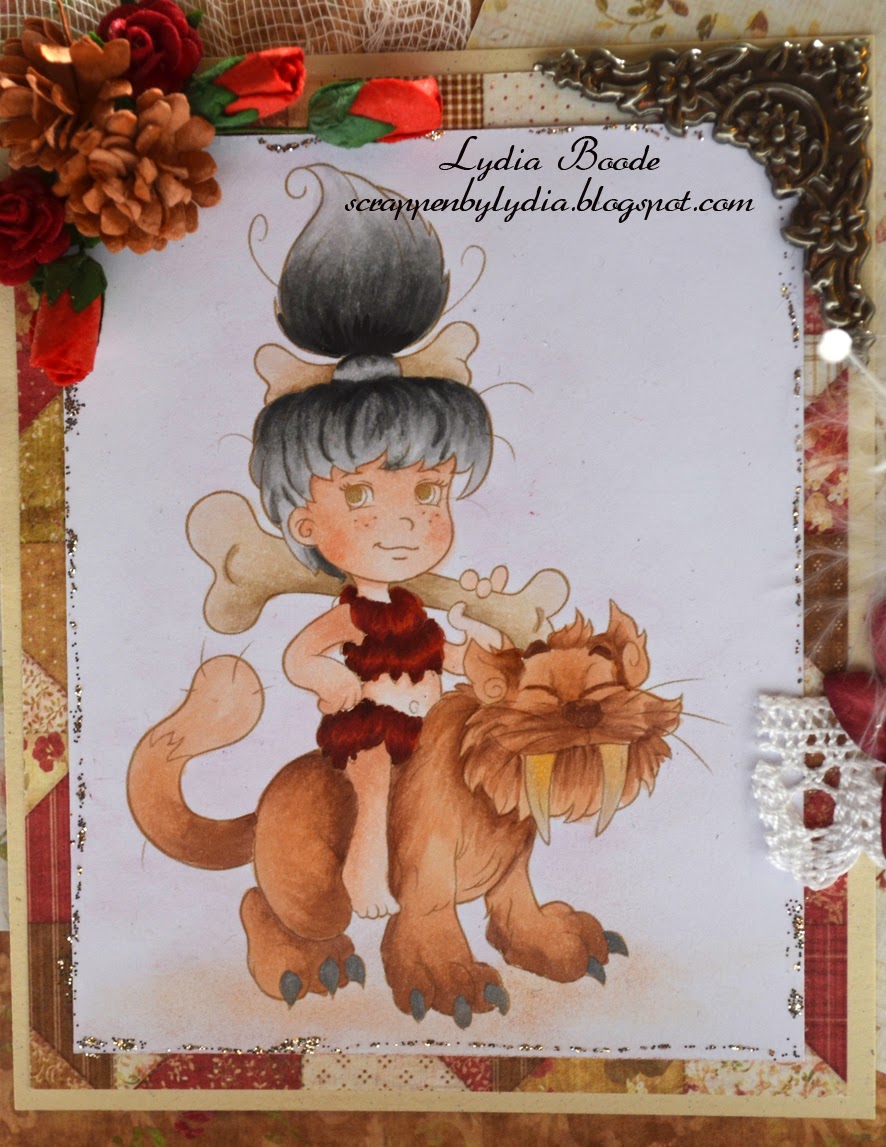
Lion: E31 E33 E35 E37
Skin: E000 E00 E02 E11 R20
Hair: T9 T7 T5 T3 T1
Clothes: E18 E07 E29
Bone: E40 E43 E44

I hope that I have inspire you, thank you for leaving your message


Monday, September 30, 2013

Spring Swing


Goodmorning dear fans,

How are you today?
I have a card for you that I have made with a theme shabby chic. I don't make a lot of these cards. Bud I'm happy with the result, do you?


I was started with papers from a paperpad "Classic Elegance" from Melissa Frances.
I color the edges brown with distress ink Walnut stain and make the layers.


The image is from the Paper Shelter, she is colored with Copic Markers
Skin: E000 E00 E01 E11
Hair: E49 E47 E44 E43 E41
Dress: BG18  BG11 T3
Leave: G46 G43 G40
Flowers: R02 R01

I have made the clouds with PanPastel Turquoise and Metallic Silver

In the corners I use Frantage. In the pocket I can put a sentiment, when I know for what occasion I want to use the card.

I hope that I have inspired you
Thank you for leaving your comment


Tuesday, August 20, 2013

It's the Art of living........


Hello dear Copic fans,

Today I have something different for you.
For a while I want to use Copic Markers with mixed media.
Bud how, when you color over a mixed media background you have the chance to ruin the nips. And that wasn't what I want to do.


I start to airbrush a sheet of Stamping linen from Joy Craft. 
Using the colors B04 B18 B37 and RV04
With a template and modeling paste I create the spots and color them with Gelatos from Faber Castell and a waterbrush pen.


With black stampin ink I stamped the flowers in the corner. 
With blue stampin ink I stamped the bubbles from Magnolia.
With another template I airbrush the leaves in black N10.
You can clean your template easy with an alcohol based hanggel.

The sentiment is stamped with white acrylic paint.
When you use acrylic paint on your stamps, you have to clean them immediately, if you wait till the paint is dry you have to clean very hard and can damage you stamp.


On a other peace of stamping linen I stamped the face and colored with pencils, glue her on a piece blue cardstock and cut it out.
Glue the face with 3d foam tape on the card.


The Copic Markers I used
B04 B18 B37 RV04 N10
I hope that I have inspire you with this card
Thank you for leaving your comment


Thursday, July 18, 2013

Happy Summer


Goodmorning dear readers,

I'm a little bit late this morning because I had to finish my blogpost. I enjoy the sunshine in our garden the last past day's. So I didn't prepare my post in advance.
Before I go to my card I want to wish you a very good Holliday, please stay in good held and safety.
Bud most off all have a good time.


Today I have made a card for you with an image from The Paper Shelter.
And I have use the papers from a paperpad from My Minds Eye "Life of the Party".

She is coloured with Copic Markers
Skin: E13 E11 E01 R20
Hair: E59 E27 E25 YR21
Clothes: BG70 BG72 BG75 BG78
Towel: YR00 YR01 YR02 YR07


I didn't forget the inside of the card. 
So I hope you have a lot of summer inspiration
Enjoy your holliday, See you next month

and ofcourse thank you for leaving you comment


Follow Me on Pinterest


Saturday, July 6, 2013

Flowers for you....


Goodmorning dear Readers,


Today I have a card for you with an image, that I have got from my friend, I don't know from with brand this is. I was looking on internet but I can't find there.
She was also difficult to color. 
Sometimes you have images that you can't see what each part is.
This is such an image.
I hope that I have colored the part in the right color.


The papers from the paper pad,  My Little Darlings "Chocolote Coverd Cherry"


The flowers I bought in the local scrapbookstore, the leaves are a Die from Marianne Design.


At the top It's a Noor! Dde, I have used half of the die and glued some pearls on it.
The tag behind the image is a Magnolia die, I stamped the swirl on the corners.
The spots in the image are filled with stickles.


And of course I have colored with Copic Markers
Skin: E000 E00 E11
Hair: E29 E47 E15 E11
Dress: E49 E25 E23 R20
Flowers and Bowl: R59 R46 R43 R30 R32
Leaves: G46 43 G40 YG23


This is the inside of the card.
Thank you for leaving your message.


Follow Me on Pinterest

Thursday, May 30, 2013

Birthday Wishes


Goodmorning dear readers,

Today I have a Clean and Simple card for you.
For me isn't it so simple to make a CAS card.
I love to use tons of flowers, ribbon, doily's and all the other lovely embellies.
To make a CAS card it's an empty card, it feel like that.


This is my result, what do you think? Did I succeeded??


I print the digital image from The Paper Shelter on Straw cardstock
and colored her with Copic Markers.
Kraft Cardstock is very soft paper and the ink can flow out the lines
So you have to color with less ink than usual.

After coloring I use some blue Frantage on the ground and edges.

And then you're finish, Know I'm writing this post I, it's seem Simple'
Bud I think that this card cost me much more time than all my other cards.


Skin: E21 E222 R20
Hair: E29 E25 E21
Dress:  B02 B00 B000, YR65 YR02 YR00 YR000
Others: V17 V15YG67 YG61 Y17

I hope you like the card.
Thank you for leaving your comment


Tuesday, May 7, 2013

With Love


Goodmorning dear readers,

How are you today? 
Today I have a card for you with the wonderful papers from Little Darlings.
We have a scrapbook store here in the Netherlands where we can buy this marvelous paperpads


I have chosen for an image from the Paper Shelter.
First I have colored her with Copic Markers and after coloring
I use Frantage embossing enamel on the edges, heated with a heat gun.
The ticket I made by myself and my silhouette.


Here is a close up from the Frantage 


The Copic Markers I used
Clothes: E59 E57 E55 E49
R89 R37 R35 R32 R30
Hair: E23 E21 Y23 E31
Skin: E000 E01 E11 R20
Flowers: YG67 YG63 YG61
Shoed: N3 N5 N7

I hope that I have inspire you with my card.
Thank you for leaving your comment


Thursday, April 11, 2013

Hieperdepiep Hoera


Today I have a little bit of spring for you.
This sweet girl from The Paper Shelter is Spring Swing, one of the latest newbie's.


I have printed the image on PCP paper and glue design papers from BoBunny "Fairy chic".
Behind the design paper I glued an envelope with a tag. The tag is from Magnolia and on this tag I stamped the sentiment "Hieperdepiep Hoera" it's a dutch sentiment, and it means "Happy Birthday" 


The boeket of flowers, leaves, feathers and pearls


She is colored with Copic Markers

Dress: B000 B01 B04
Leave: YG17 YG13 YG11
Hair: E18 E15 E13
Skin: E21 E00 E000 R20 

Thank for visiting our blog and leaving your comment


Monday, March 18, 2013

For You


Hello dear reader,

First of all I want to say Welcome to our new followers. Thank you so much
For following our blog, and leaving your comments. We know how much time it cost
for giving your feedback to us.


.
 Today I make an easel card for you with the paper from BoBunny.
The image is from The Paper Shelter "Adorable Cowgirl" 


And off course I have colored her with Copic Markers
Skin: E50 E00 E11 R20
Hair: E29 E27 E25 E21
Clothes: R89 R85 R83 R81 W7 W5 W3 W0


Here is an close up from the flowers. 

I hope that I have inspire you with my card
thank you for leaving your feedback


Thursday, February 21, 2013

A special gift


Hello dear Copic Lovers,

Wow it's my turn again to make a card for you. 
We'r still hoping and waiting on the spring, we have only cold weather 
and the news told us that we can also get some snow. 
I don't hope that. I'm done with the snow, we want to get the sun. 
This morning we had some sun shining bud not for a long time and not for a bikini.
 How is the weather in your country?

Ok talked enough back to my card.


Today I have make a special card for you, this card have a secret space, with an envelope.
Here can you hide your special message for a very lovely person.
I use papers from Basic Grey "serenade" I love this line, totally different than what I'm normally chosen. Bud I like those colors.
This image is from Cuddly Buddly and is easy to color because they draw the shadow in the image. 


When you look behind the image you will find a special place, With dies from Joy Craft I make hinges.
I fold the enveloppe with a die from Marianne Design. 
To hold the image on his place I use an fastner with a brad. 


When you open the card you can see the other half of the hinges en with a flower I hide the back side from the brad.
 With a Stampin'Up stamp and Punch I make the note.


Copic Markers I use are
Bear: E59 E57 E55 E31
Presents: G46 G43 G40 YR27 YR24 YR21

I hope that I have inspired you with my creation for you.
Thank you for leaving your note.