Followers

Sunday, August 14, 2022

The Stars

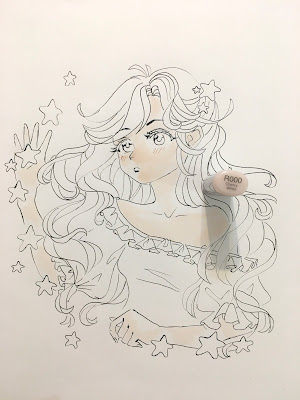
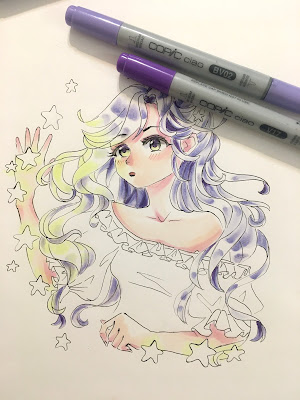
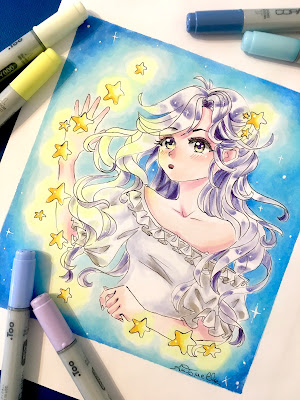
Hello!!! For the month of August I tried to color my anime girl with the light and dark that the night and the stars represent.


Tutorial:


Drawing with Multiliner copic


R000 for the base of the complexion


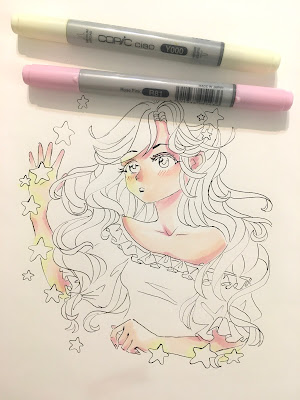
R81 and Y000 to complete the complexion


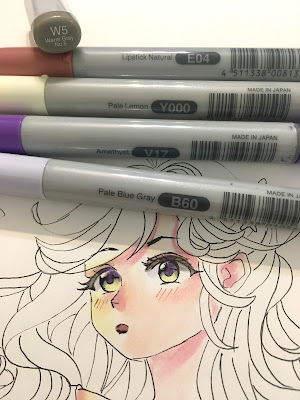
Y000 and V17 for the eyes. B60 for the shadow of the eyes. V17 and W5 for eyelashes. E04 for the mouth


B60 for hair base


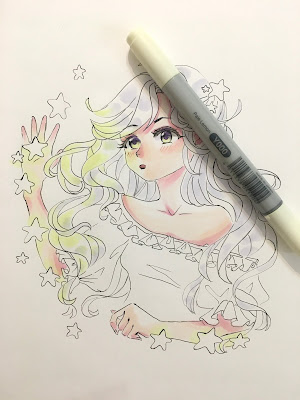
Y000 for the reflection of starlight on hair


BV02 and V17 to complete the hair


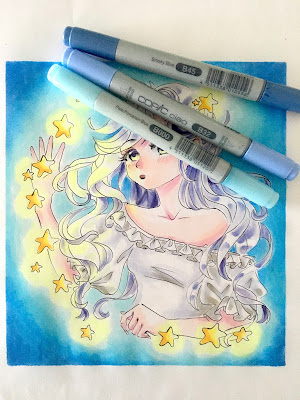
Y000,Y02 and Y17 for stars


BV000 and W-3 for shirt


B000, B32 and B45 for background


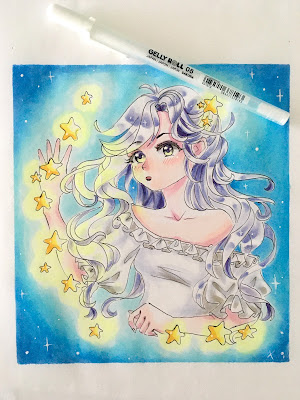
I use a white gel pen for light points

This is the end result


Thanks for reading. I hope you enjoyed it.
Antonella

Wednesday, August 3, 2022

Guinea with a Key

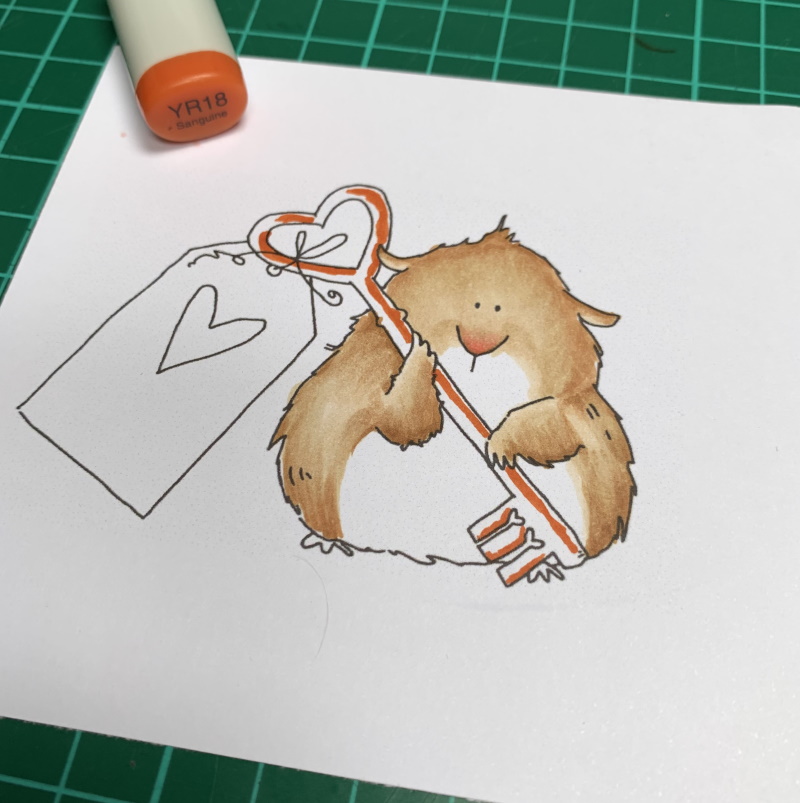
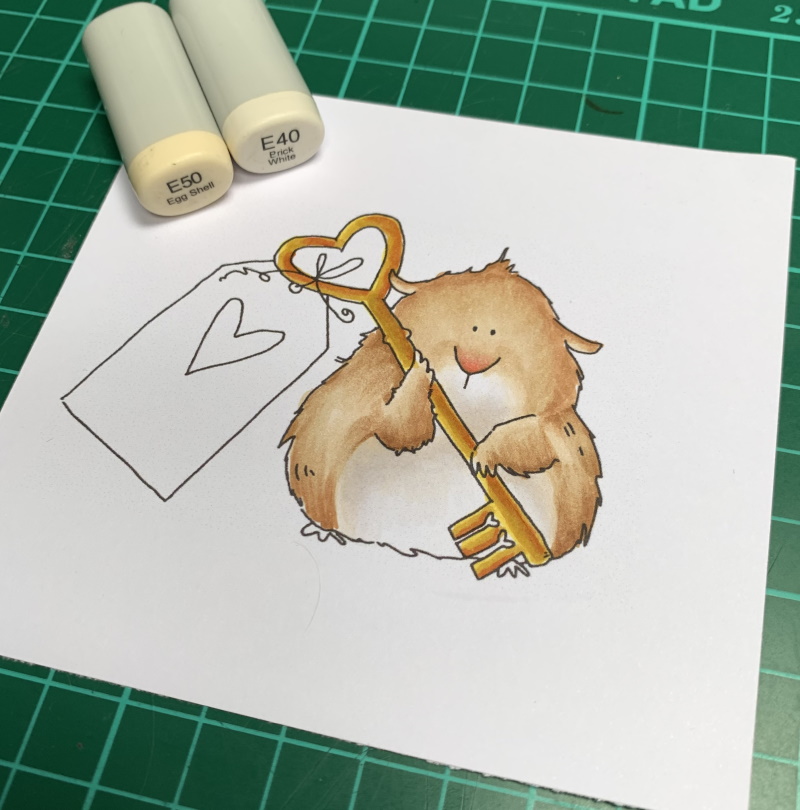
Hi everyone! Today I'm sharing how I coloured this super cute Guinea pig image from Stamping Bella called Guinea with a Key. 


I stamped the image onto Holtz colouring paper using Memento Tuxedo Black ink. 


I started with E35 to mark out where I wanted the darker areas. 


I then pulled out the E35 with E33


and then E31


I filled in all the white areas on the fur with E30


For the nose I applied a touch of R22 and blended out into the fur with E21


On the key I started with YR18, then Y26 and finally Y15


To create some shadow on the white area I used E40 and E50


On the feet I used R21 and R30


The tag is coloured using E40, E41 and E42. I blended the colour out with the colourless blender, 0


R32, R35, and R37 for the heart


I then went back in with the E30's and added more colour until I was happy with the fur 


Finally, I grounded the Guinea using W00, W1, and W3 


Thanks for popping in today, I hope you are inspired to take out your markers. Check out our Instagram for more colouring inspiration. 

Sandie 
xXx


Thursday, July 28, 2022

Nuts About You!

Hello everyone.

Helen here!
Today I will show you an image from the Greeting Farm and it is from a stamp set called Forest friends.


I stamped the image on Perfect Colouring Paper with my black Memento ink pad.


My first  coat for the squirrels isYR09 and I cover the whole area where the squirrels should be reddish brown.


Then I went for my shadow color, the darkest, E19.


My midtone wasE08.


And then I went over it once again with YR09 to smoothen it all out.


For the hat of the acorn I used E81-E84.


And the shadow color is E87.


For the white part of the squirrels, I started with W0.


Then I got in with W3 for the darkest colour.


W1 is my midtone. And R11 for cheeks.


Fot the acorn I used E33-E37-E35.
And I sketched in the tree with a light grey.


I starded with the lightest colour for the tree, E31, and the grass, YG03.
I don´t bother to get the colouring even, I know it will be a lot of layers in top of this first one.


With E31 I tried to make a pattern for the cortex. I tried to get some asymmetric rectangles but I wasn´t happy with what I got. But I let it be and strarted to work on top of the result I got.


Instead I got in with my E25 and scribbled in some vertical lines. I varied the pressure on the nib to get both thin and thicker lines. Don´t  overthink this moment, just scribbel on but try to not get an even pattern.


The grass got layers of YG25-YG17, and the sky got a layer of B000.


To darken it all upp the tree got a layer of E29 and E49. 
On the grass I used YG67-YG99.
The sky got B00.
And for the flowers R11.

 Hope you liked this post. 
And please, let us see some woodwork on the Copic Marker Europe Facebook page.

Please. follow me on Instagram, Hellenbell.

Love
Helen

Friday, July 22, 2022

Cicci color little baby

Hi COPIC lovers!
Cicci here posting, today its hot here in Sweden so better to be inside with some COPIC markers in grey:)

Today I show how I color this baby face up 

Step 1
First I drew a sketch for the baby face and then I used my lightboard to drew the face again. 

Step 2 
I used an eraser to erase all the lines so they wont be visibel in the finished image. Then I color all the lines again but with a COPIC markers C0 


Step 3 
Color with C3 over the C0


Step 4
Make some strokes with C7 
Step 5
Time for some blending 
With C3 C2 and C1

Step 6 
I took some markers from the T-markers 
T3 and T4 and added in the hair to blend the other colors. Id you dont have them 
you can use C5 and C3 


Step 7
In this step I go over the hair with  all the markers once again
Add and blend- add and blend 


Step 8
I Aldo put some color in the face and I used C3 C1and blend  with C0


DONE!!
Hope you like it and try to make a little face with your markers at home !!

Have a wonderful day and welcome again 

HUGS and SMILES
from is here at COPIC Europe blogg