Followers

Saturday, August 7, 2021

You Are My Sun, Moon, and Stars

Hi everyone! 
Today I am sharing a card I made featuring one of the new Stamping Bella stamps - Tiny Townie Astrology Chart.


As always, I've stamped the image onto Perfect Colouring Paper using Memento Tuxedo Black ink. I masked the two images together and added the sentiment above to make a slimline card. 

For the skin I've used E00, E11 and E21, adding E04 for the darkest shadows. 


For the hair - E50, E51 and E53 and finished off with some E33. 


On the dress I wanted to keep the colour light but also have lots of highlights on the top of the folds. I used a mix of E41, E45, E91 and E93 to get the colour I wanted and then I added some white gel pen on the light areas to make the highlights stand out. 


I also  used the mix of blues on both the stars hairband and the shoes. 

For the outer ring of the astrology chart I used Y26, Y23, and Y21. For this area I started with the darkest colour first, and faded to the lightest around the outer edge. On the next ring I used E40 and E41. 


The moon and stars in the centre - for these I also used Y26 and Y23, but I added some W3, W1 and W00. 


I cut the whole image out using a slimline die and popped it up on a light blue card base using foam tape. 


Thanks for dropping by today and see you next month. 

For more Copic inspiration visit us over on the Copic Europe Facebook page and on Instagram 

Saturday, July 31, 2021

Spotlight on B markers and a blue mermaid video


Hello everyone! It's Delphine here today to share some blue inspiration! Once a month, I post a card featuring a colour family, I picked Bs for today.

There are 19 B Ciao and 35 B Sketch Markers, ideal for lots of combinations. To feature B markers, I chose a mermaid image by Make it Crafty, cropped it to have a close up and decided to colour it using only blues, suggesting a mermaid in the ocean depths. I have used B000, 00, 05, 12, 18, 24, 28, 29, 39 on my image.

Here is my final colouring:


It's a small size, the image being the size of an ATC - I find that size convenient and super cute but it doesn't mean it is always fast to colour - this one took 2.5 hours.

You can see the whole colouring process below:

Here is a close up on the image and the list of all Copics I used:


Skin: B000, 00, 12, 24, C5
Hair: B05, 18, 39, C7
Eyes: B000, 05, 29, C5, 7
Scales: B24, 28, 29, C7
Shell: B000, 00, 12

The only things to add to that list is 0, the blender, which I used to suggest some rays of light, and a white gel pen for a few highlights on the eyes and lips :)


Thanks for stopping by, and let me know if you try and play with your B markers! Hugs,
Delphine xx

Thursday, July 22, 2021

Cicci Color a Eye

 Hi Copic Lovers

Cicci here posting. Lovely days here in Sweden. Lots of sun and blue sky every day !!

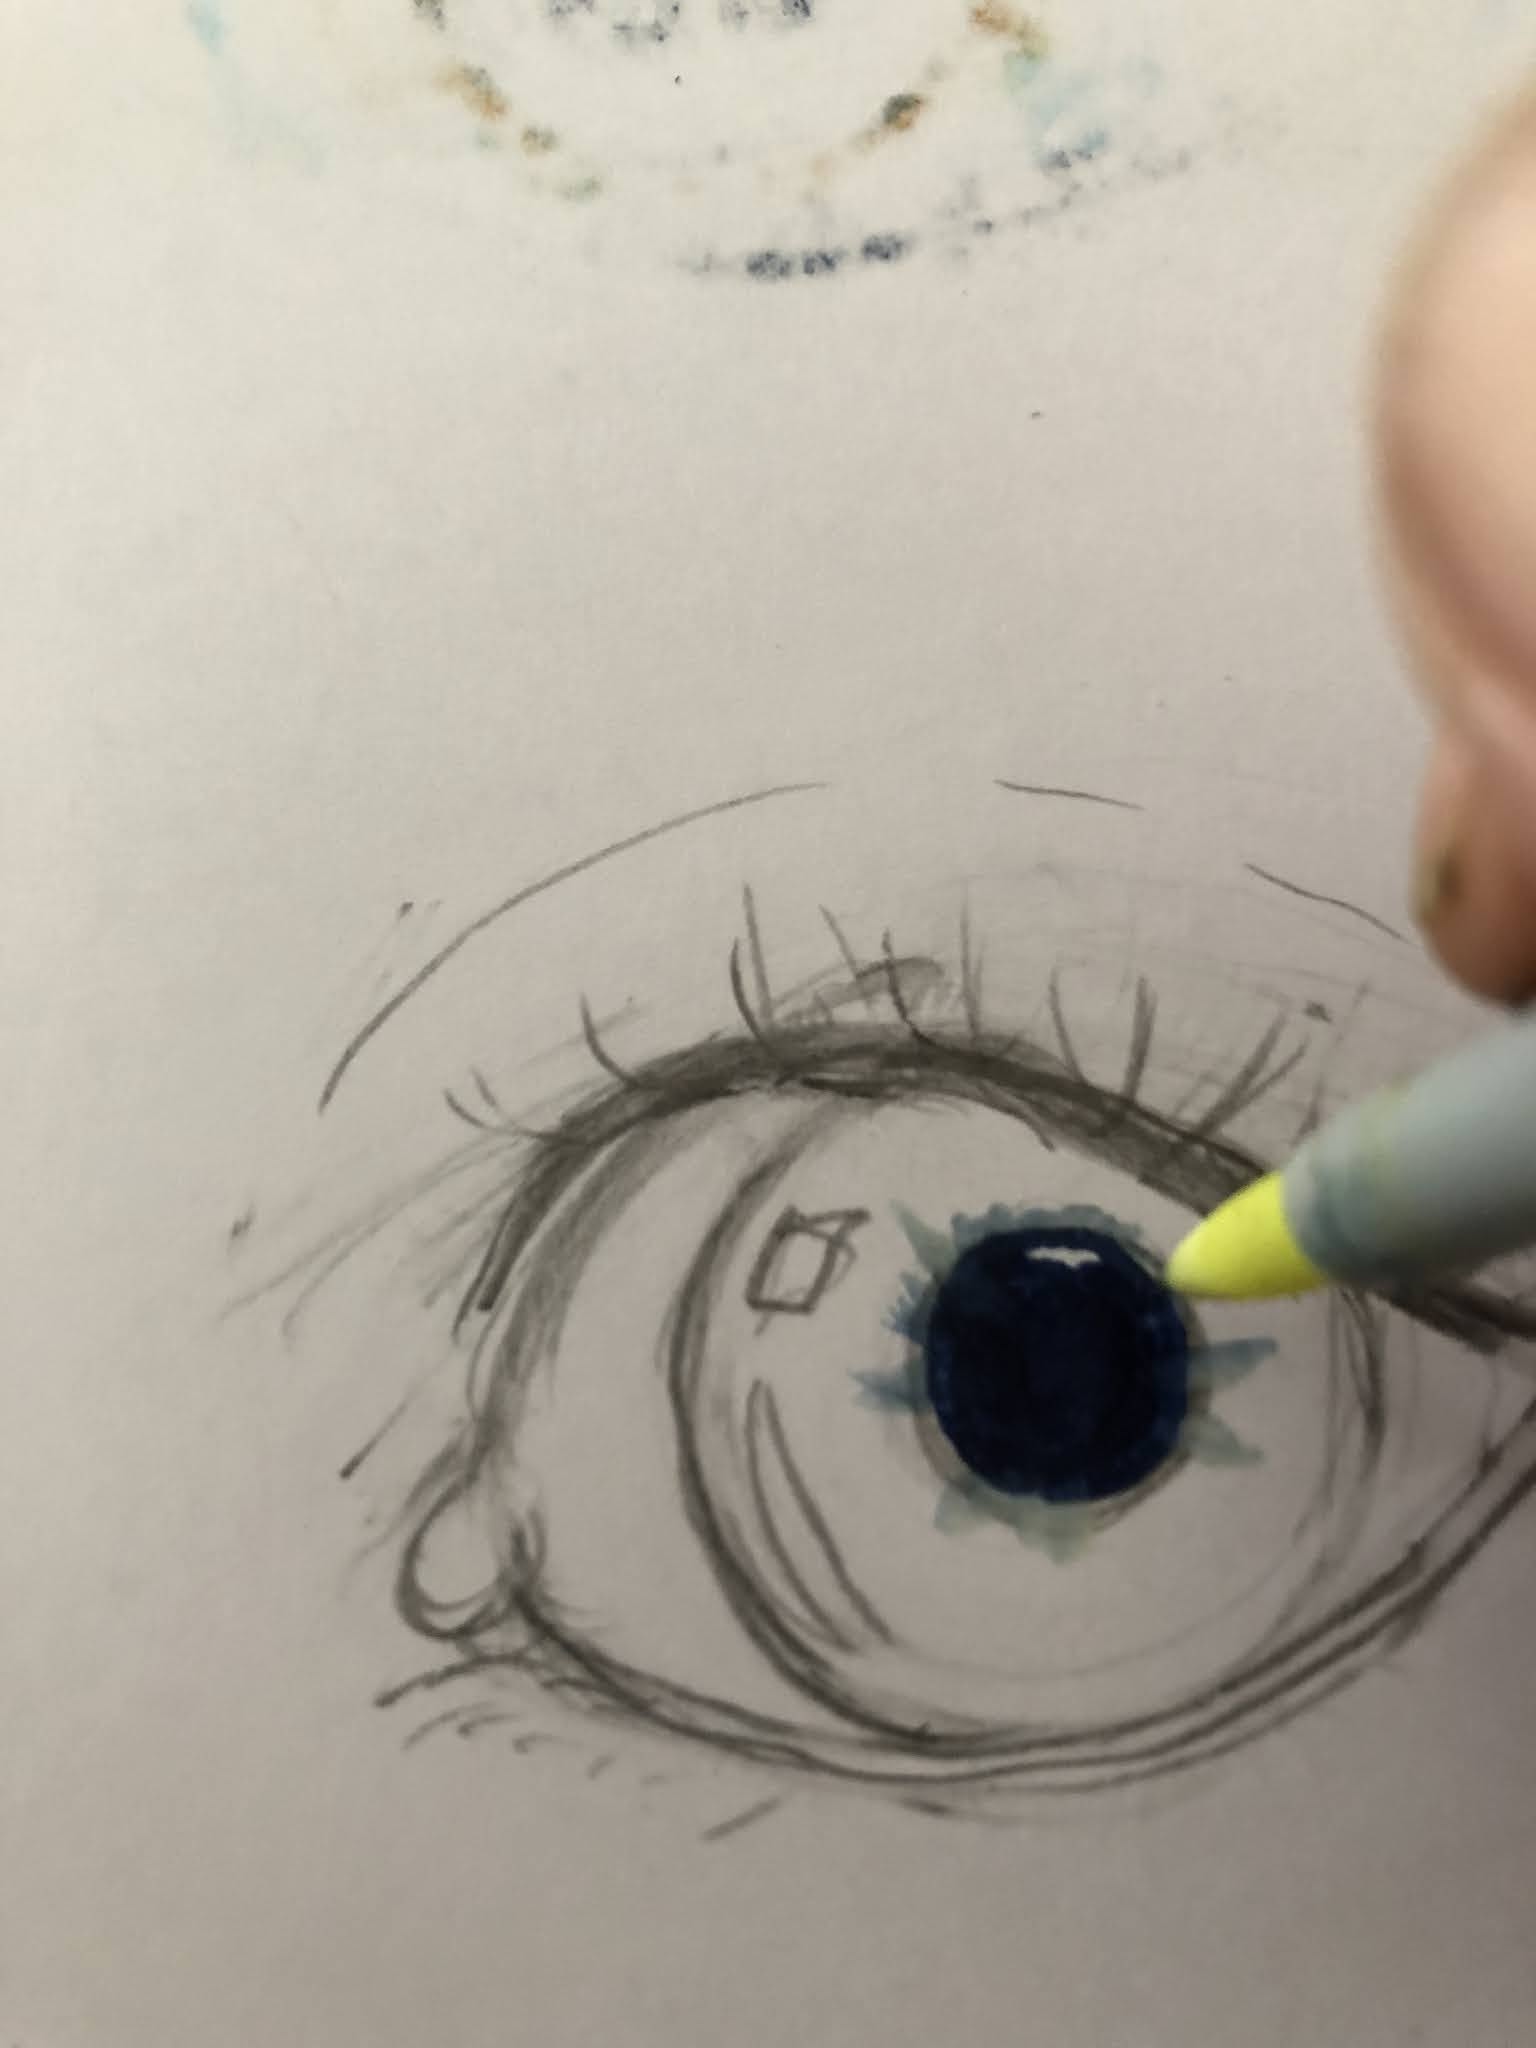
Today Im going to color a little eye.


Step 1

Draw a eye


Step 2
Add a dark blue in the middle of the eye 
Dont use black because the blue bring more 
live to the eye


Step 3
Make some strokes with some light copic  
I have used YG0000
You can use an other light Copic from the 
yellow family or YG family if
 you dont have this one
Here I just want to capture
color from the blue and draw out to small lines
and therefore I uses a light Copic.


Step 4 
Add BG45 

Step 5
Add BG02 BG000
Blend wtin BG000


Step 6
Add more B39 over the eye

Step 7
Add B93

Step 8 
Add B37


Step 9
Blend with BG02
 

Step 10
Color with BV21  in the whites parts of the eye and 
use BV21 also to make a line over the eye

Step 11
Add B60 over at BV21

Step 12
Add E15


Step 13
Add E49


Step 14
Add E08

Step 15
Add E 93 and blend with that one as well

Step 16
Blend again with YR00

Step 17
Add E51 and blend.

Step 18
Add some dots with a white gele pen

DONE

Have a wonderful day and see you soon

Lots of Hugs and Smiles

;0)


Sunday, July 18, 2021

Gnome Matter What

 Hi Everyone, it's Faye here today :)


This month I thought I would tackle a gnome and this cute chap with his little flower from the Whimsy Stamps Gnome Matter What stamp set seemed like a good choice. 

These aren't colours I would normally put togther or work with, but I challenged myself to match this paper, (from the Whimsy Stamps Calico Paper Pack) which was a fun way to spend an afternoon.

You can watch me colour this gnome by clicking on the You Tube logo...


Copics Used...
Skin; E0000, E000, R00, E70
Beard; T3, T5, T7, T9
White; W00, W0, E40, E41
Yellow; Y19, YR23, YR24
Green; G02, YG45, G46
Silver; C3, C5, C7, C9

Thanks so much for stopping by, have a great day...

Wednesday, July 14, 2021

Little Mermaid Manga Version

The little mermaid is one of my favorite Disney characters and I wanted to play it manga version, because it reminds me of summer and the sea.


I hope you like it.


As always I use Copic Multiliners to draw.


E000 for the base of the complexion.


E00 and R20 to complete the complexion and begin the base of the lips.


I use R20 again and add RV14 to complete the lips.


YG41, BG15, BG23 and BG05 to color the eyes.
C-1 for the shadow.


W-7 and E71 for eyelash coloring.


R22 for the hair base.


R35, R46 and R59 to complete hair.


BV000, BV02 and V17 for the top.


G00 for the base of the tail.


BG23, BG05 and B97 to complete the tail of the little mermaid.


I thought I'd make a background by drawing waves.
I used B000, B32 and B45.


Here's the completed drawing.

See you next month!!!

Saturday, July 10, 2021

Viking : Monochrome Coloring with Neutral Grey (N)


Hello,

Today I have prepared a cool Viking card,
I love to make male cards and I just love this stamp set called:
 Vailant Vikings by Kraftin Kimmie Stamps.

I have chosen my Neutral Grey sketch markers to do some monochromatic coloring ( monotone coloring ).

With some wicked black hybrid ink I have stamped the Viking onto Perfect Copic Colouring Paper.


First I have added a layer of N 0 on the helmet. Later I have added darker  N shades and have blended them.


With the N Copic sketch markers I continue to colour the Viking stamp, even the skin was coloured with the N Copic.

Please find the complete step by step ( short )  video to see how I have used the colours. 


Hope you have enjoyed the video.


Isn't this sentiment hilarious too!?
I am sure it will be fun to see the face of the receiver of this card.

I have used some black and white papers, and with some nesting dies from Crealies 
I have cut the Perfect colouring Paper into a shape with a stitched border and a glitter card stock layer too..


Copic :
N 0, N 1, N 3, N 4, N 5, N 7, N 10

Thanks for your visit, see you soon with a new post.
Hugs Blankina