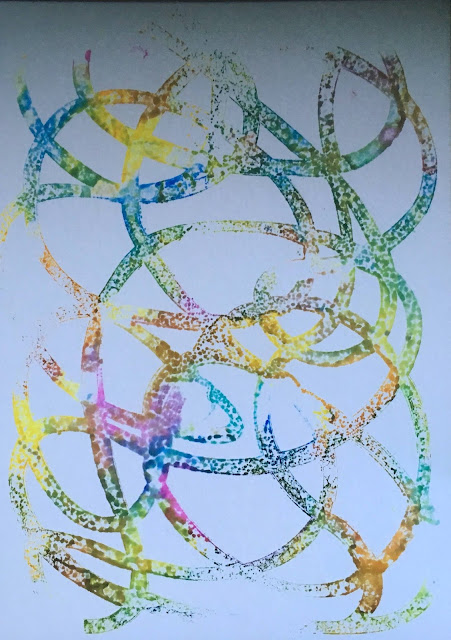
Hi everyone, I have played with Various Ink on my Gelliplate (inspired by You tube and videos by Diny Sprakel).
what do you need
Various ink
Gelliplate
a stencil
Brayer
Put your stencil on the gelliplate.
Add a few drops of Various Ink on the Gelliplate.
Use the brayer tp spread the ink on your Gelliplate.
You have to work quickly because alcohol inks evaporate quite quickly.
Use a stamp to make some structure.
I have used the printables by Carabella.
Use some more ink and another stamp.
Remove the stencil.
Add a tint layer of piant.
Use your brayer to make a thin layer .
Make a print.
There is still quite a lot of ink on your stencil. Spray some activator on your stencil and make a print.
I love this funny print.
Take another stencil.
Drip some ink on the gelliplate, use the stamps..
Add a thin layer of paint.
And make a print.
I drew a girl and coloured her with my Copic Markers, starting with E50.
For shadows I use BV000 and BV00.
Add the E00 over the shadow parts.
Blend all layers together with E000.
I start with YR18 for colouring the hair.
After the YR 18 I use YR15 en YR14.
I wanted some more depth so I decided to add some E00.
Keep adding the coloures until satisfied.
I wanted to have her apron a checker pattern (because I love checks).
I start with the YR16.
For the other colours I use FBV02 and RV06.
Her dress is going to be pink RV04, RV 06 and RV09.
I use the same colours for het wings.
And this is the finished piece.
Hugz
Miranda


No comments:
Post a Comment