{ Fluorescent Inks … generally, these inks are brighter and more opaque than traditional inks. Using one or more fluorescent inks can actually brighten an image. ~Encyclopedia }
Let’s airbrush!

Copic Sketch Markers has 8 Fluorescent colors from its 346-color available. I like to use these colors as background or create a psychedelic effect of an image. But Fluorescent colors are seldom picked and used for coloring. These colors are fun … so let us explore and airbrush the background with Fluorescent markers on my Fairy image.
Copic Sketch Markers haben im gesamten Sortiment 346 Farben und 8 Leuchtfarben. Diese Farben verwende ich gerne als Hintergrundfarben oder schaffe damit eine psychedelische Wirkung eines Bildes. Leider werden Leuchtfarben selten zum Colorieren benutzt. Die Verwendung dieser Farben macht Spaß … so lasst uns die Farben mit Hilfe des Airbrushgerätes erforschen und den Hintergrund des Feenmotivs mit Leuchtfarben bearbeiten.
Let’s have fun!
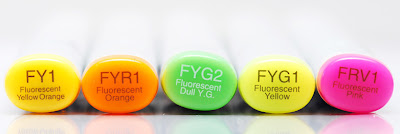
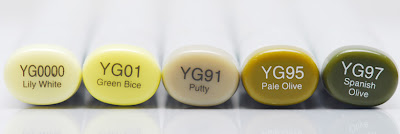
This is the sequence of my markers to use.
Das ist die Reihenfolge, in der ich die Marker verwende.
Das ist die Reihenfolge, in der ich die Marker verwende.
Apply the Tsukineko Memento Black Tuxedo ink to Fairy image.
Stamp the image onto the Perfect Coloring Paper.
Tragt Tsukineko Memento Black Tuxedo auf das Feenmotiv auf.
Stempelt das Motiv auf das Perfect Colouring Paper.

Apply Mask-It to the wings only.
Fertigt mit Mask-It eine Maske für die Flügel an.
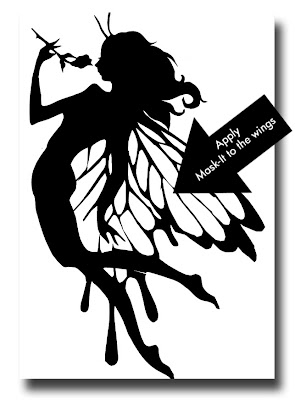
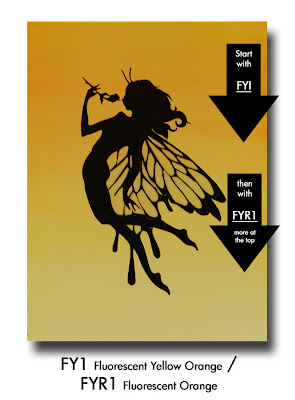
First layer … FY1
Second layer … FYR1
It is important to note the gradation from layering of the colors … this is what I want for my background - Undercoloring effect. Of course, you may create your own color gradation.
Die erste Schicht … FY1. Die zweite Schicht … FYR1.
Es ist wichtig, auf den schrittweisen Übergang der Farben zu achten, das ist, was ich für den Hintergrund erreichen möchte - eine Farbverlauf von oben nach unten. Natürlich könnt ihr eure eigenen Farbverlauf kreieren.
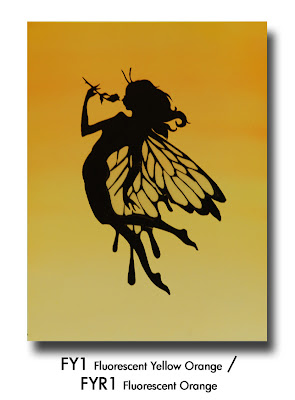
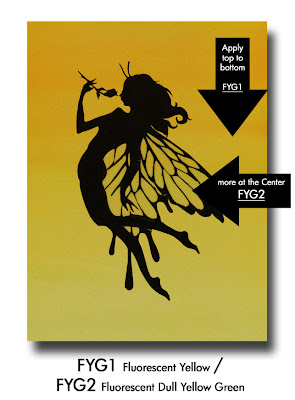
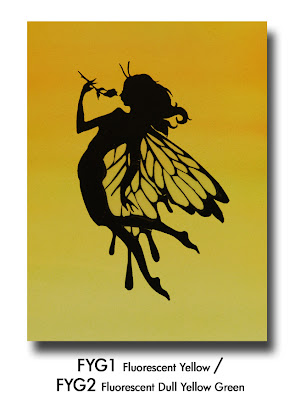
Third layer … FYG1
Fourth layer … FYG2
I applied more FYG2 at the center of the image. B
Be careful and do not apply strong pressure on the Air Grip.
Die dritte Schicht … FYG1. Die vierte Schicht … FYG2.
Ich trage mehr FYG2 im Zentrum des Motivs auf. Übt keinen zu starken Druck auf den Air Grip aus.
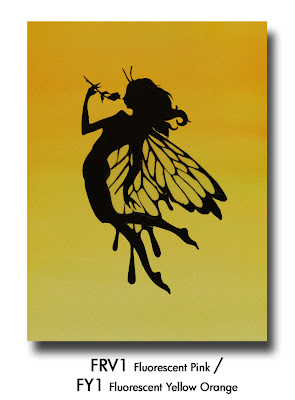
Fifth layer … FRV1
Finishing Touches … FY1
I slightly airbrushed FRV1 from top to bottom applying gentle pressure with the Air Grip. Then I applied once again FY1 .
Die fünfte Schicht … FRV1. Letzter Schliff … FY1.
Mit sanftem Druck auf den Air Grip sprühe ich FRV1 von oben bis unten auf. Dann trage ich wieder FY1 auf. 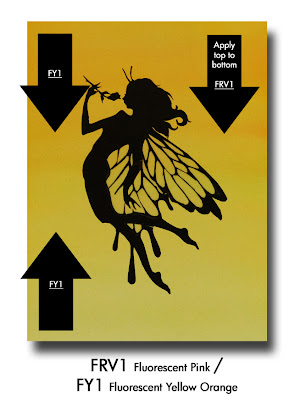


FINAL TOUCHES …
It is important to note that airbrushing with Fluorescent colors has a different texture than using traditional colors. I recommend that you try it and compare … the photos here does not show much of distinctions. Now, here we are for the final coloring of the image.
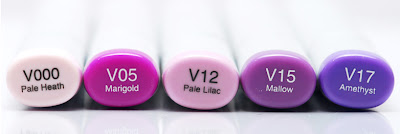
I removed the Mask-It and I have two sets of colors for the wings.
I applied more “Flicking” technique.
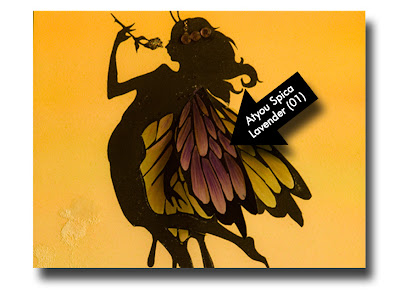
I used the Atyou Spica Lavender (01) to give glitters on each flick.
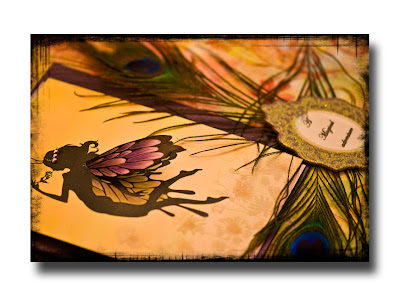
Finally, I used Glimmer Mist … I want to add a bit of a glitter to the card.
Es ist wichtig zu wissen, dass das Airbrushen mit Leuchtfarben eine andere Textur als das Verwenden traditioneller Farben ergibt. Ich empfehle, dass ihr es selber ausprobiert und vergleicht, denn die Fotos können den Unterschied nicht zeigen.
Jetzt können wir uns an das Colorieren des Motivs machen.
Ich entferne das Maske -It, und habe zwei Sätze von Farben für die Flügel.
Ich verwende die Flicking Technik und Atyou Spica Lavender (01), um jedem Strich etwas Glitzer zu geben..
Schließlich verwende ich Glimmer Mist, um der Karte ein wenig Glitzer zu verleihen..
Be Inspired
And
enjoy your Magical Adventure ...
Lasst euch inspirieren und genießt eurer magisches Abenteuer ...


from Jing’s messy desk:
- Airbrushing System : Air Compressor or ABS1
- Atyou Spica Lavender (01)
- Stamp Fairy #09
- Perfect Coloring Paper
- Mask-It
- Tsukineko Memento Tuxedo Black
- Newspaper (tabletop protection)


6 comments:
wow this is gorgeous, great colors.
and a great tutorial.
greetings karin
What a very great explanation. I will try this, the result is so beautiful.
Hugs Lydia
Wat schitterend en wat een mooie kleuren
Groetjes Margreet
What a sweet creation!
Thank you, for this great tutorial - its perfect!
Barbara
wow... gaaf... ik hoop dat ik uit ook zo mooi als jij kan kleuren
Post a Comment