Followers

Wednesday, February 26, 2020

Colouring Roses

For today's project I used a stamp by Studio Light.


Because I want to use this stamp several times, I will to make a mask. Just make an extra print on a sheet of paper and cut it out. I made 2 masks for my project.


Stamp your 1st rose, put on the mask and stamp another rose. 


This is how it will look after you have stamped the rose twice.


I decided to stamp some more roses.


In the background I used some watercolours by Daniel Smith. 
After that is time to paint the roses. Not red but in a lovely yellowish, orange pinkish colour. And of course I am using my Copic markers for this job.

I start with Y32.


Add RV23.


Blend together with Y32.


Add for more depth Y35.


Use the Y32 for blending the layers together.


Use BV00 for shading.


For the leaves and stems I use YG03, YG17 & YG67 and BV01 for shading.


I add some Y04, because the yellow turned out too warm and I was looking for a cooler yellow. 


The 2nd rose: start with Y04 and Y35. 


Blend the colours together with Y04 and add more colour with YR15 and YR16.


I also add some pink, use the  RV25.


Rose no. 3 will be more pink, this time I start with Y32 and RV23.


Add RV25 and RV29 and blend all layers together. 


Rose no.4 will be more orangy. Use the YR15, YR16 and the YR68. 


Add some RV29 next. 


Blend all layers together again. 


I keep using the same colours, just in different combinations. For the last rose I start with Y32, Y35 and Y38.


Add some pink with  RV23 and RV25 and blend all layers together again.


All the leaves and stems will be green. 


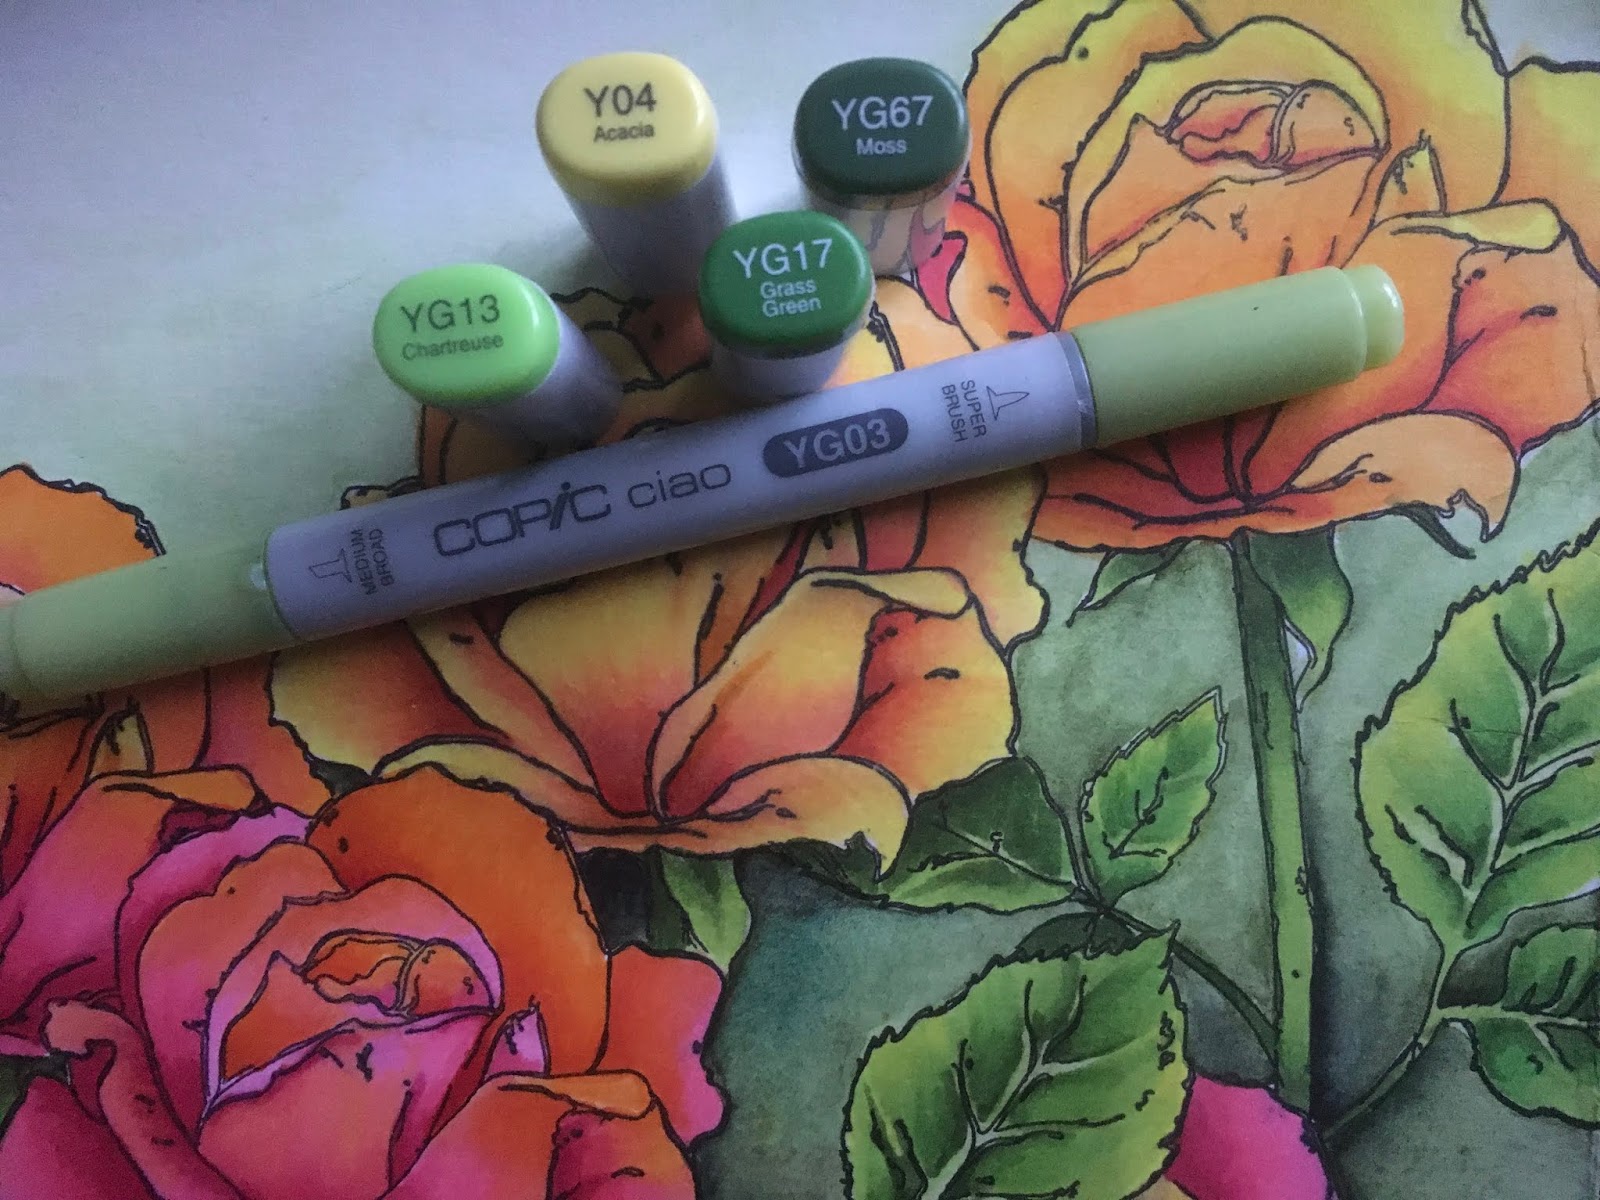
I coloured all the leaves and stems with the Y04, YG03, YG13, YG17 and YG67.


I add some Copic markers in the background too together with some Derwent coloured pencils. 


And this is my finished project. 

Hope you like it, see you next month
Miranda

Saturday, February 22, 2020

Cicci color a brown eye

Hi Copic Lovers

Cicci here today posting! Today I'm going to show you a brown eye. Eyes are perfect to color with Copics and I promise if you try that you going to have so much fun!


Step 1
Start to draw an eye and ad some E15 and over E15 add E18
Make some small lines with the colors and leave some white area for highlights


 Step 2
Blend with E13


Step 3  
Add a dark brown. I have used E49


Step 4
Add more of E13 and blend with Y000 


 Step 5
Add more E49 around the eye


Step 6
Add E15 and also around the eye for some background


 Step 7
At the end I have made some more highlights with a gel pen


Step 8
If you want to to more at the eye go over with all the same colors again and you 
can also use FY1 for more yellow in the eye


Have A lovely day everyone!
Welcome anytime to visit us here at Copic Europe blog

Big Hugs and Smiles!

Wednesday, February 19, 2020

Polar Dreams


Hello everyone! It's Delphine here today to share some colouring inspiration, with a cute polar bear and his penguin friend, and a bit of airbrushing. The stamp set I'm using today is called Star Gazing Friends by Penny Black.

  
First, I masked my image to airbrush my background.


I wanted a purple-tinted background, so I picked BV08, V09 and V15. I started by airbrushing BV08 following the edges of my card, then filled in the space in the middle with V09, then V15 and I went back with a bit of BV 08 at the end to darken the edges a little. 


Next, I coloured the bear in Warm Greys - W0, 1, 3 , 5. For the penguin, I used C1, 3, 5, 7, 9. As you can see, I left a very thin white line on the edges of my penguin, for the next step.


To make the penguin's grey more bluish, I added B45 in the white spots I left in the previous step and over the lighter grey parts. 
For the bear, I decided to enhance the fur using a white gel pen, and drawing little white hair, as I saw the super talented Jane Box of Colours once do. And no more Copic on the bear once gel pen is applied to avoid ruining the nibs!


I then added shadows to the snow, using BG000 and V20.


I stamped a sentiment, then stamped 3 stars from the Star Gazing Friends set and covered them in gel pen - and voilà! 


Thank you very much for stopping by, have a great day everyone! 
Delphine xx


Wednesday, February 12, 2020

Anti stress Copic colouring with Blankina

Hello all Copic friends,

How are you? Hope fine...
Today I have a little tutorial for you: anti stress Copic colouring.

We all have stress and I have this nice and colourful way to relax, I call it anti-stress Copic Colouring. Simple and fun to do.

I have started with a sheet of Perfect Colouring paper (A4) and a pencil


And have started to  draw lines without thinking.....
Later I have  covered these lines with various Copic multiliners.


Suggestion :
Before adding Copic colouring you can still erase the pencil lines,
when you add colours with your Copic pencil lines will NOT erase anymore.

Are you curious how I have made the design?


I have used these colours ...
Please watch this little video below and discover all steps


I can highly recommend this anti stress colouring, it does help to relax and in the end you also have a colourful drawing... This can be framed or used as a cover for example. 

When you use a smaller pieces of PCP you can also make lovely cards  with these anti stress drawings. 


This is a unfinished piece of my drawing. You can see the completed design in the video !!

Copic :
Multiliner black 0.3
Multiliner black 0.5 
Multiliner calligraphy M

B02, B05, B18, B23, B24, B28, B29, B39
BG13, BG23, BG34, BG49, BG72, BG93, BG96
YG03, YG06, YG09

In case you want to see another of my anti stress designs  please visit my post tutorial-copic-anti-stress-colouring from 2018 too .

Hugs Blankina

Thursday, February 6, 2020

You are Awesome

Hi everyone. Today I am sharing a very popular technique for using Copic markers with distress oxide inks to make a great background while still only having one layer. 


The stamps I've used are Eggstraordinary Egghunt from Create A Smile Stamps. I'm also using Memento black ink and Perfect Colouring Paper. 


To prepare I first stamp the images onto masking paper and cut them out. 


Then I stamp my image onto the colouring paper and cover it with the masking paper. 


 I stamped and masked the bunny and the chick and then stamped the lamb, so he will be partially behind the other images. Layer and mask the images in whatever order you want. 


Once all the images are stamped cover them all with the masking paper. 


Secure the colouring paper to the mat/table by using low tack tape on the bottom and sides below the image, then secure a piece of card across the images, just down to the feet. Using a blending tool or brush, apply oxide inks. 


When the background colours are done to your liking, and before you remove the masking paper, splash a little bit of water and blot it to make the spotted effect. 

Remove all the masking paper and begin colouring the images. 


For these images I started with the darkest colour around the outside and worked inwards to the lightest colour. 

Chick - Y17, Y15, Y13, Y11. YR18, YR14, YR02
I added some dots for texture after I took the photo. 


Pig - R32, R22, R21, R20, R00


Lamb - N3, N1, R01, 0


Bunny - B04, B02, B01, B00, C3, C1
I also used the B01 to colour in where the ink was missing around the images. 


Finally I added some shading underneath the animals to ground them
W3, W1, 0


Stamp the sentiment and mount the image onto a card base using foam tape. 


Thanks for dropping by today!
Sandie