Hi everyone!
I´d like to introduce myself.
My name is Helen. I´ve just turned 49! I live 80 kilometers north of Gothenburg, Sweden, in a small town called Uddevalla. I have the most lovely son, Johan, 14 years old and he is a gamer like most teens today. I work at Ikea and it´s joyful everyday to go to work!
I used to run a scrapbook store here in Sweden and in the beginning I was colouring with watercolor but wanted to colour with something much easier. I came across with Copic and I fell in love.
I´m thrilled to be on the design team for Copic Master Europe and I hope you´ll find some inspiration in my blogposts from now on.
Okay, enough about me.

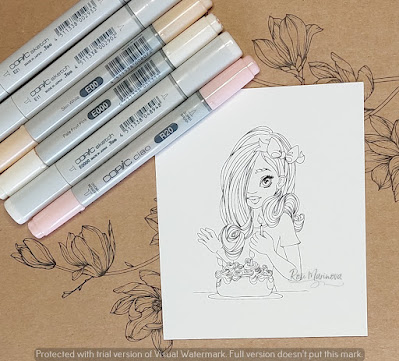
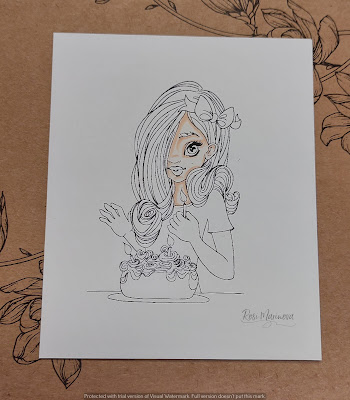
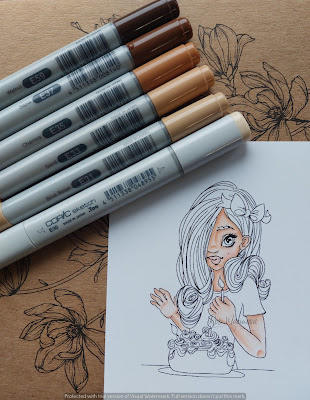
The image I coloured comes from Dada Dies and is called Umbrella boat. I used Memento ink pad on a Perfect Colouring Paper.

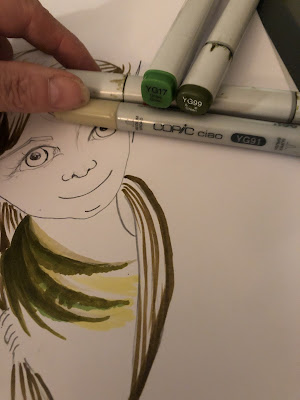
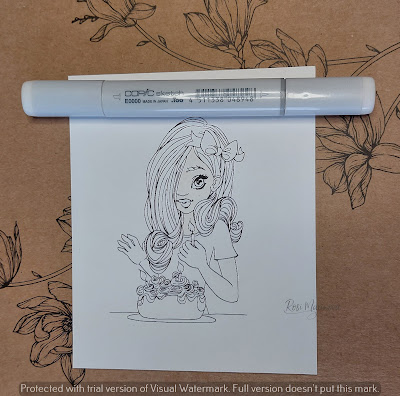
As I colour, I start with my lightest colour and I fill the hole area with that colour. I want to moisten the paper before going on with the darker colour, because my experience is that I don´t get as hard edges as if I colour dark to light. It´s a little more forgiving colouring light to dark. It may be one ore two steps more, going back and forward between the tints, but for me that´s no problem. If I want a really light area I can skip that part as I colour in my lightest tint.

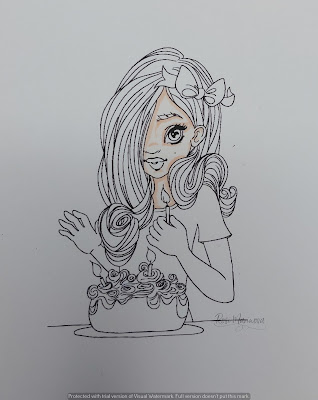
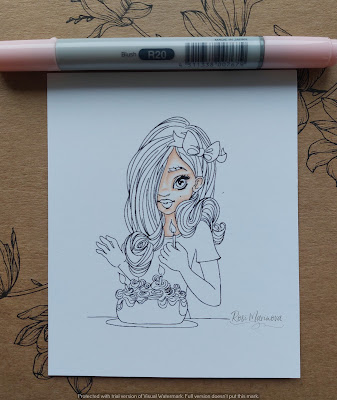
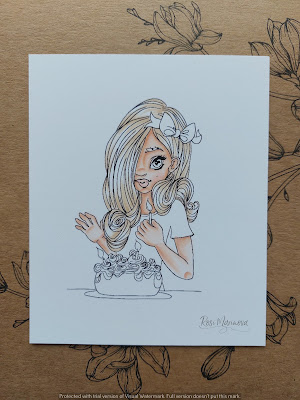
When the lightest colour is there I go to the darkest tint, the part that will be shaded.

My third step is to get in with my mid-tone, overlapping just a bit of the darkest colour.

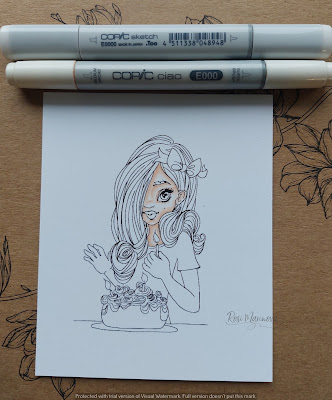
At last I put on a layer with the lightest colour, overlapping the mid-tone, trying to soften the edges.
If I´m not happy with the colour I will go back to step two and three.

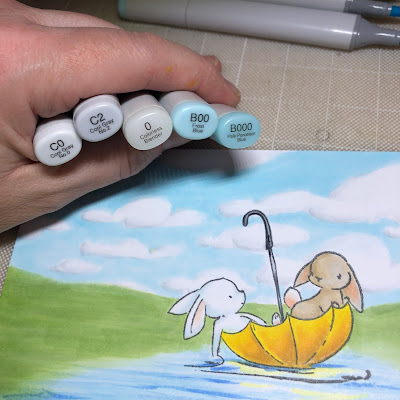
I start with the glitter in my puddle with just a few flick marks. I choose a lighter colour than I have on the umbrella.

Now it´s time to get on to the water. I just sketch it in with a light blue tint. And I´m not trying to get the colouring even, the opposite actually.

Adding darker shades to the area using flick marks.

The top and bottom of the paper is the closest areas in the picture to you. Think of putting a darker, more colorful, saturated, tint/shade in these areas. And the colour will be lighter, desaturated, duller, when it´s far from you.

A real dark shade to get some contrast in the water. If you think it´s to dark, lighten it by coating it with a lighter colour in that area.

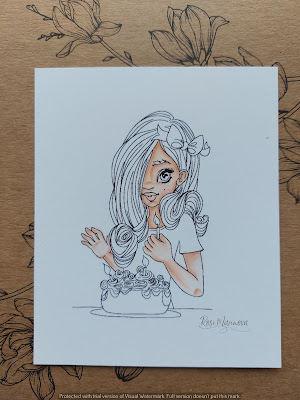
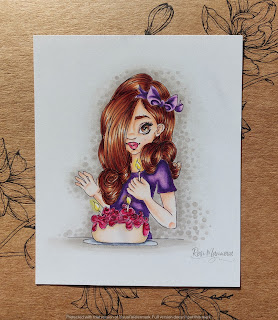
I want this bunny in a light brown, beige colour and starting with the lightest tint.

Putting in my shadow colour.

Getting over to my midtone and finish with the lightest colour again just soften the edges of the midtone.

Some tail colouring.

As you have seen in my pictures, the yellow has bled in to the other bunny. With my colorless blender I pushed that colour back. And I wanted this bunny bright white so I chose a blue colour for my mid-tone and a cool grey as the shadow colour. I blend the mid-tone for a nice shading from blue to white.

I sketch in the background with a light green. And I don´t bother to get it even. But I do bother to get a nice blend from green to blue by using flick marks.

I don´t work as much on the hills, just darken it a bit, don´t trying to get it even. And I don´t bother to get a darker green in the front of the image as I did in the water.

Starting to build up a sky with clouds with a light blue. Using flick marks and don´t colour all surface, leaving some white areas for the clouds. Don´t overthink it. But you should think about the clouds that they are smaller in the horizon, so a bit down on the paper they should be smaller than in the top of the paper.

But in the sky I want a darker shade in the top of the paper, pulling that area forwards to you.
Some shadows in the bottom of the clouds to get the shape of them, using two different shades of grey and blend them. Darken up the sky a little more and blend it in to the distance with lighter blue colours.

I want some grass in the front. And you can use a really saturated, dark colour here.
In the finished picture I ended up adding some white gel pen, a little in the water along the darkest lines, around the grasses as they comes out of the water and highlights on the umbrella.

Hope you enjoyed this blogpost.
Looking forward to see you posting your images on Copic Marker Europe's Facebook page.
If you liked it, please follow me on Instagram, Hellenbell
See you soon!
Love
Helen