Followers

Thursday, October 28, 2021

RV markers for Halloween & a video


Hello everyone! It's Delphine here today to share some RV inspiration! 

There are 14 RV Ciao and 29 RV Sketch Markers, another great range, and I don't know why, not the one I use the most - and certainly not for Halloween usually!! But to feature RV markers, I chose a super cute image by Polkadoodles called Matilda Witch and made a little scene. I have used RV10, 11, 13, 14, 17, 69.

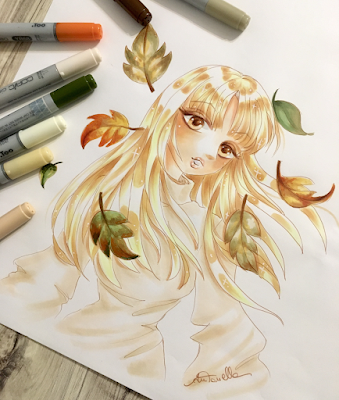
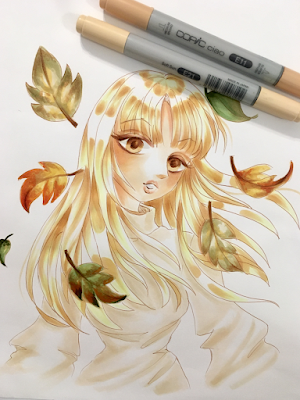
Here is my final colouring:


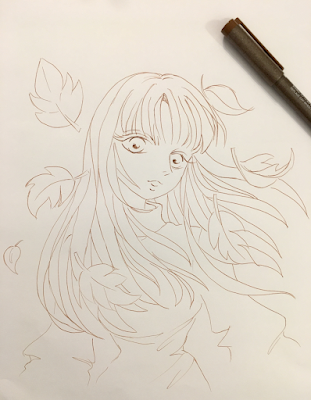
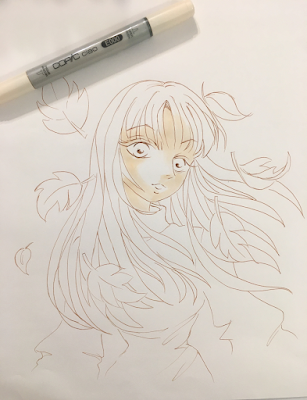
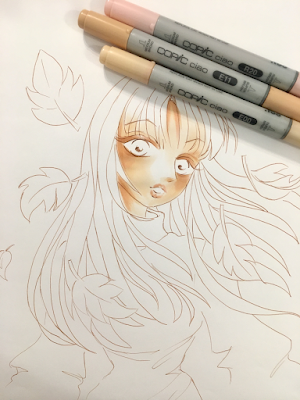
You can see the whole colouring process below:


As you can see in the video, I printed my Matilda and coloured everything in Copics. For the moon, I used a mask from a Kraftin' Kimmiestencil to colour the sky without colouring the moon and coloured it afterwards. I then added black elements, a hill and did some doodling in Copic multiliner. Last step, I added a bat in multiliner, using a bat stencil.  

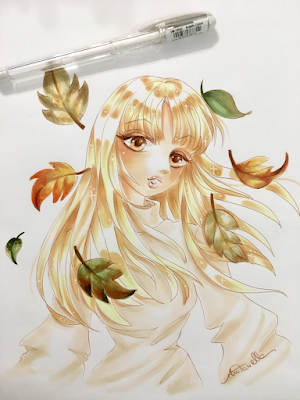
Here is a close up on the image and the list of all Copics I used:


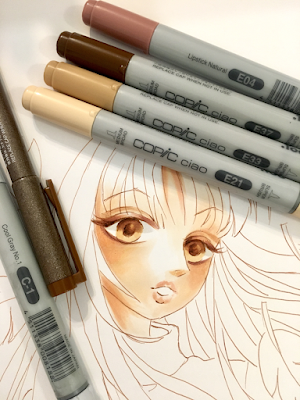
Skin: E000, 00, 11, 71
Hair: 100, N5, 7
Clothes: N3, 5, 7, RV14, 17, 69, W7
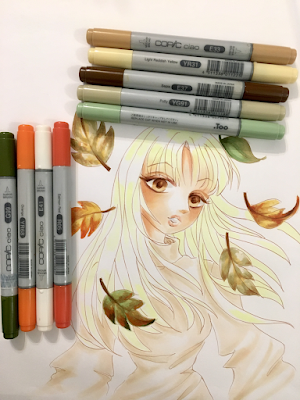
Broom: E35, 59, Y11, YR21
Background: 100, N7, RV10, 11, 13 + Copic Multiliner
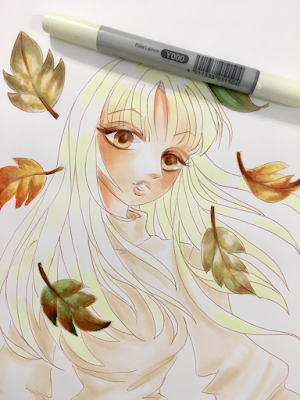
Moon: N1, Y000, 00
Ground: N1, 5


Thanks for stopping by today, have a nice day! Hugs,
Delphine xx

Friday, October 22, 2021

Cicci Fantasy autumn leave

Hi Copic Lovers
Cicci here today posting from Sweden
I hope you all have a good time!

In Sweden we have lots of autumn colors outeide and I love all the colors we have outside, 
so today Im going to show you how I color this fantasy  autumn Leave.

Step 1
Draw a leave.

Step 2 
Add some yellow you like
I started with Y17 and YR15

Step 3
Here a color the lines of the 
leave with Y02 and Y17

Step 4
Add  Y15

Step 5
Add YR08

Step 6
Add YR14


Step 7
Add E97 and E07

Step 8
Add E39

Step 9
Add more of E07

Steo 10
Add E97
Blend with some of the lighter
 Markers you have 
used before

Step 11
Add YR14

Step 12
Add and blend all over with Y15

Styep 13
Add more of YR14

Step 14
Ad E07

Step 15
Blend and add more of YR14

Step 16
Make some lines around the leave with E29

Step 17
Blend with E27

Step 18
Blend with E23

Step 19
Time for some reed markers
R24

Step 20
Add more of R24 and Y08
Blend with some
 lighter yellow Y02 or Y04

Step 21
Add FV1


Step 22
Add more of  E29


Step 23
Blend with E23

Step 24
Add some E87

Step 25
Time for some green 
Add YG03

Step 26
Make some dots with E29

Step 28
Add YG17 

Step 29
add more green YG07

Step 30
Make more dots with YG67

Done !!

Have a wonderful day and use your fantasy for a lovely autumn leave

 HUGS and SMILES 


Monday, October 18, 2021

Rainbow Dandy Lion Video

 Hi Everyone, it's Faye here today :)

I absolutely adore the Dandy Lion range of stamps from Stamping Bella, so decided I would play with Rainbow Dandy Lion today. He's such a cute little chap. I've been colouring a lot of Halloween and autumnal projects recently, so it was nice to step away from the rich reds, ornages, purples and greens and work with something a little softer.

You can watch me colour this image by clicking on the You Tube Logo...


Copics Used...
Lion; YR30, E50, E30, W1
Mane; E50, E30, E53, W3
Nose; E25, E47, E49
White; W00, T0, T1
Yellow; Y21, Y32, YR31
Peach; YR000, YR00, YR01

Thanks so much for stopping by, have a great day...

Thursday, October 14, 2021

Autumn Colors

Hello everyone, for my blog post  this month I thought of using warm colors, which recall autumn.


I leave you to the tutorial:


Drawing with Copic Multiliner.


I make the base for the complexion with E000.


Complete the complexion, eyelashes and lips with E00, E11 and R20.


I use E21, E33, E37, E34 and Copic Multiliner to color eyes and eyelashes.
C-1 for shade in the eyes.


E000 to color the dress.


E41 for the shadows of the dress.


G99, YR68, E41, R05, G21, YG91, E37, YR31 and E33 to color the leaves.


Y000 to color the base of the hair.


E21 and E11 to finish fading the hair.


I use a white gel pen to give light.


This is the end result, I hope you enjoyed it.
Antonella.

Saturday, October 2, 2021

A Halloween cat video... & a limited palette!


Hello everyone! It's Delphine here today to share some colouring inspiration. I thought I would focus on the colouring of an image without a background for once - I did have beginners in mind when I picked my image, thinking how important it is to focus on the image and mastering a few techniques before creating backgrounds. I also wanted to show how you can limit the number of markers you need - just by changing one colour in a combo and applying a different quantity of colour :) And so, today's image uses 8 markers only.

I chose a Halloween stamp from the "Des bonbons ou un Sort" set, a set made by a French store named Toutencolle. I find this Halloween cat super cute - and a great opportunity to show how to colour black and grey. To me, buying a set of grey markers is very important when you start - Cs or Ws, Ts or Ns if you have Sketch markers. No need to have all letters and all numbers, just one set with every other number is great!

Enough talking, here is the colouring process video :

As you can see, I didn't ground my character, no shadows below since I plan on using my Copic cat on a future mixed media project and will cut it out.

Here is a recap of all the colours I used:

Cat: R20, W3, 5, 7
Hat: 100, W5, 7
Buckle: E37, Y11, YR23
Broom: E37, Y11, YR23, W7

That's all from me today, thanks for stopping by! Hugs,
Delphine xx