For today's post I have used various ink and the alcohol lift ink.
(don't forget the ventilate your room while working with the various inks and the activator)
Add a few drops of Various ink (black nr. 100) on Yupo paper.
Add some activator and let the ink move across your paper.
Add a 2nd colour (FV02) and add some more activator. Let the colours blend.
As a 3rd colour I will use the RV09. Blend the three colours with more activator.
This is how the background looks now.
Get the alcohol lift inkpad, the refill and a small blending tool.
Add a little of the lift ink (from the refillbottle) on your craftsheet. Pick up the lift ink with the small blending tool.
Take a stencil and add the lift ink with the small blending tool.
I have used my stencil on 3 different spots on my background.
Take a kitchentowel and press the towel in the wet lift ink. Don't rub, because you will spread the lift ink and make it stain.
After I have removed the lift ink, my background looks like this.
For the next step I will use the lift ink pad and a stamp.
Cover the stamp with lift ink.
And stamp on the background. When you stamp the lift ink on the background, you will also remove a little of the alcohol ink. So stamp again on your page to clean your stamp and make another print.
Use a kitchentowel to dab away the lift ink.
Keep on stamping until you are satisfied with the result.
Finally I used some foil to add some special structure to the background.
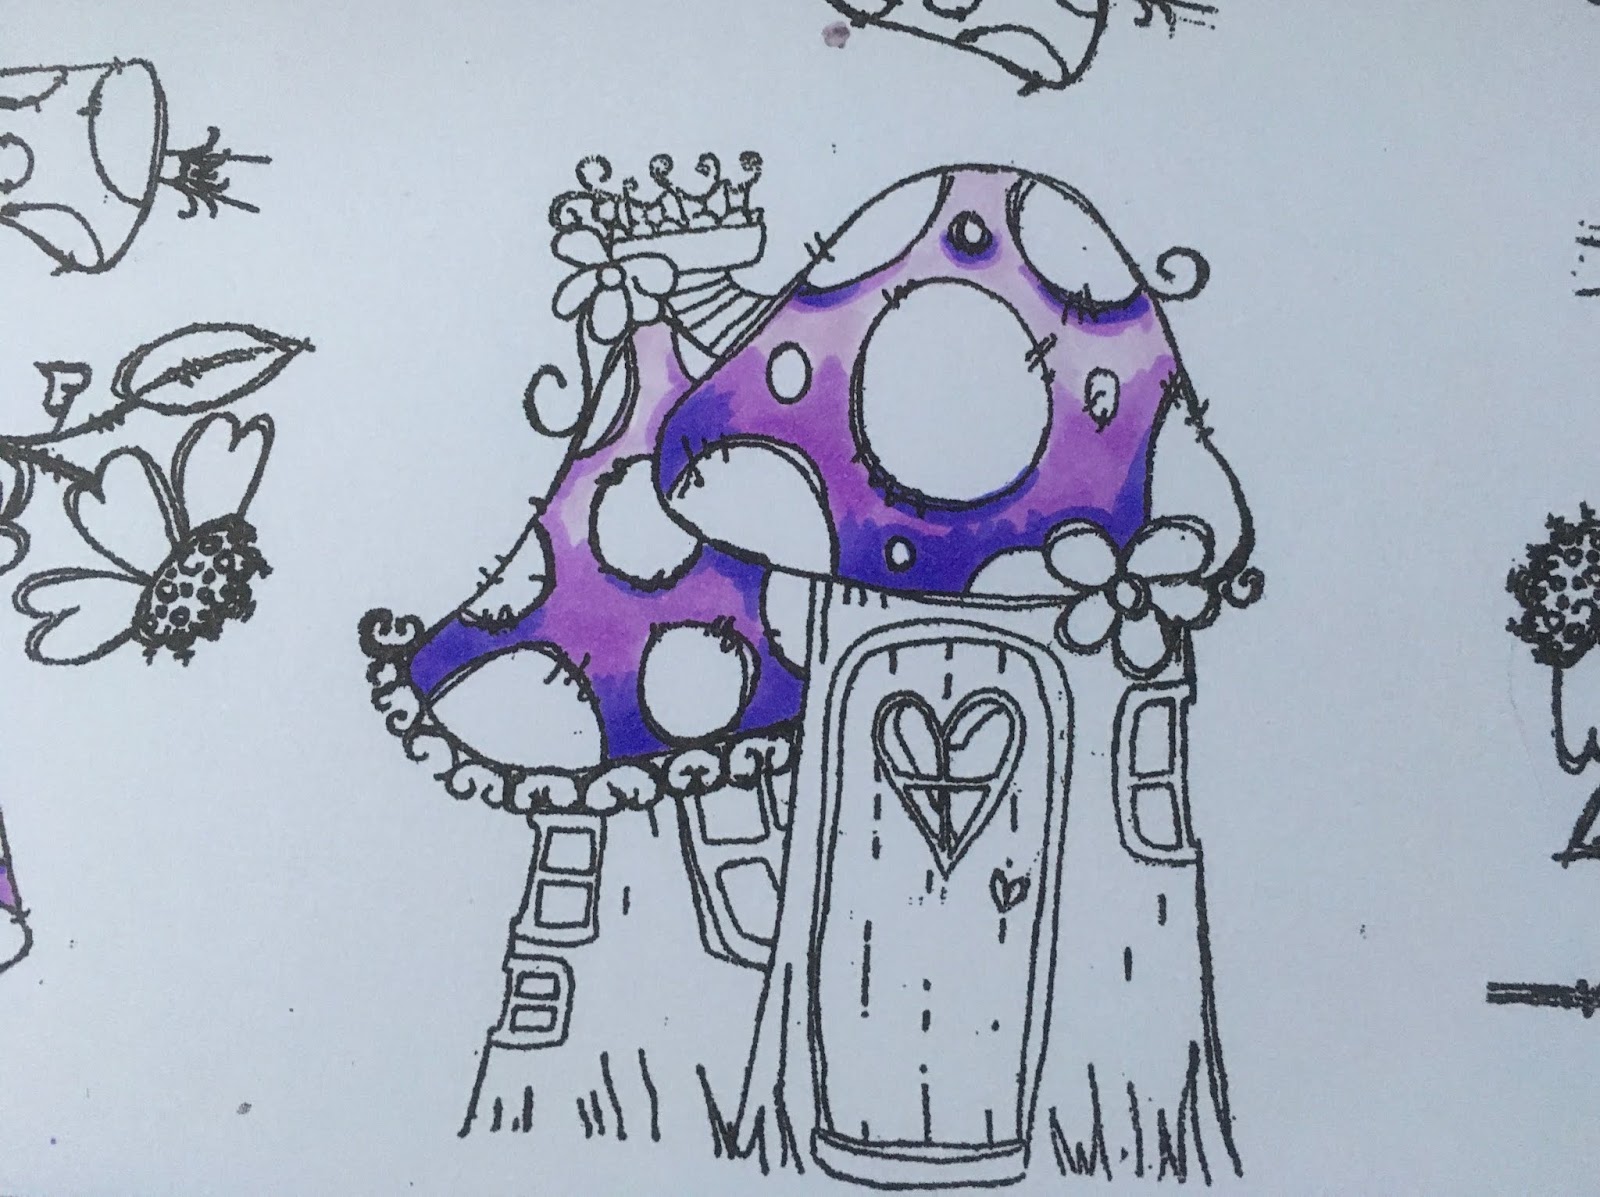
Time to colour my images. I start with the V04 .
Add FV2 for the darker parts.
Blend the layers together with V04 and V01.
I use the same colours for the windowpanes.
Add the E50 and the E000.
Use the Y13 for the windows.
I also use W5 en W7 to darken the yellow a bit. I wanted to create a candlelight effect.
I also use the W5 and W7 to add shadows.
I start colouring the fairy by using the following skintones, E50. E000., E21 and BV00.
Start with the E50.
Add shadow with BV00.
Add the E21 on top of the BV00.
Blend all layers together with the E000.
Add an extra layer of E21 and BV00 if you think the fairy looks too pale.
Use the B04 for her eyes.
I use the B06 for adding some shadows in her eyes.
Her hair will be pink, start with RV04.
Than add some RV09 for the darker parts of the hair.
In the next step I forgot to finish the hair (but I will do this later on) and started working on her dress, wings and shoes. I start with B02.
Than add some B04.
And some B06.
Blend all layers together with B02.
Blend the layers of her hair together with the RV06.
The rest of her dress will be violet, I start with the V04.
Add shadow with the FV2.
Blend the layers together with the V04.
I will use all the previous colours for the flowers too. For the leaves I will use YG13 and 17.
And this is the finished page
Other products theat I have used are stencils and stamps byStudio Light, flowers by Polka Doodles and a fairy by Stampingbella.
wish you all a fabulous and colourful 2019
Miranda
xxx