Followers

Tuesday, December 22, 2020

Cicci color a winter wonderland

 Hi Friends

Cicci here, posting. Today its a few days before christmas and here in Sweden we have rain and not snow, so thinking color some snow here instead

Copic markers I have used is

For the Snow

C0 C5 R30 B60 B00 B21 

Brown Markers

E44 E41 Copic multiliner 0,1

Yellow for the light/window

Y02 YR21

Sakura Gele pen for the snowdetails

Step 1 

I draw a little scene


Step 2
Start to color the lines with C0


Step 3
Add some B00


Step 4
Add BG000


Step 5
Add C7  
for the steps in the snow


Step 6
Blend with C0 and also I used the blender
to remove the color of C7
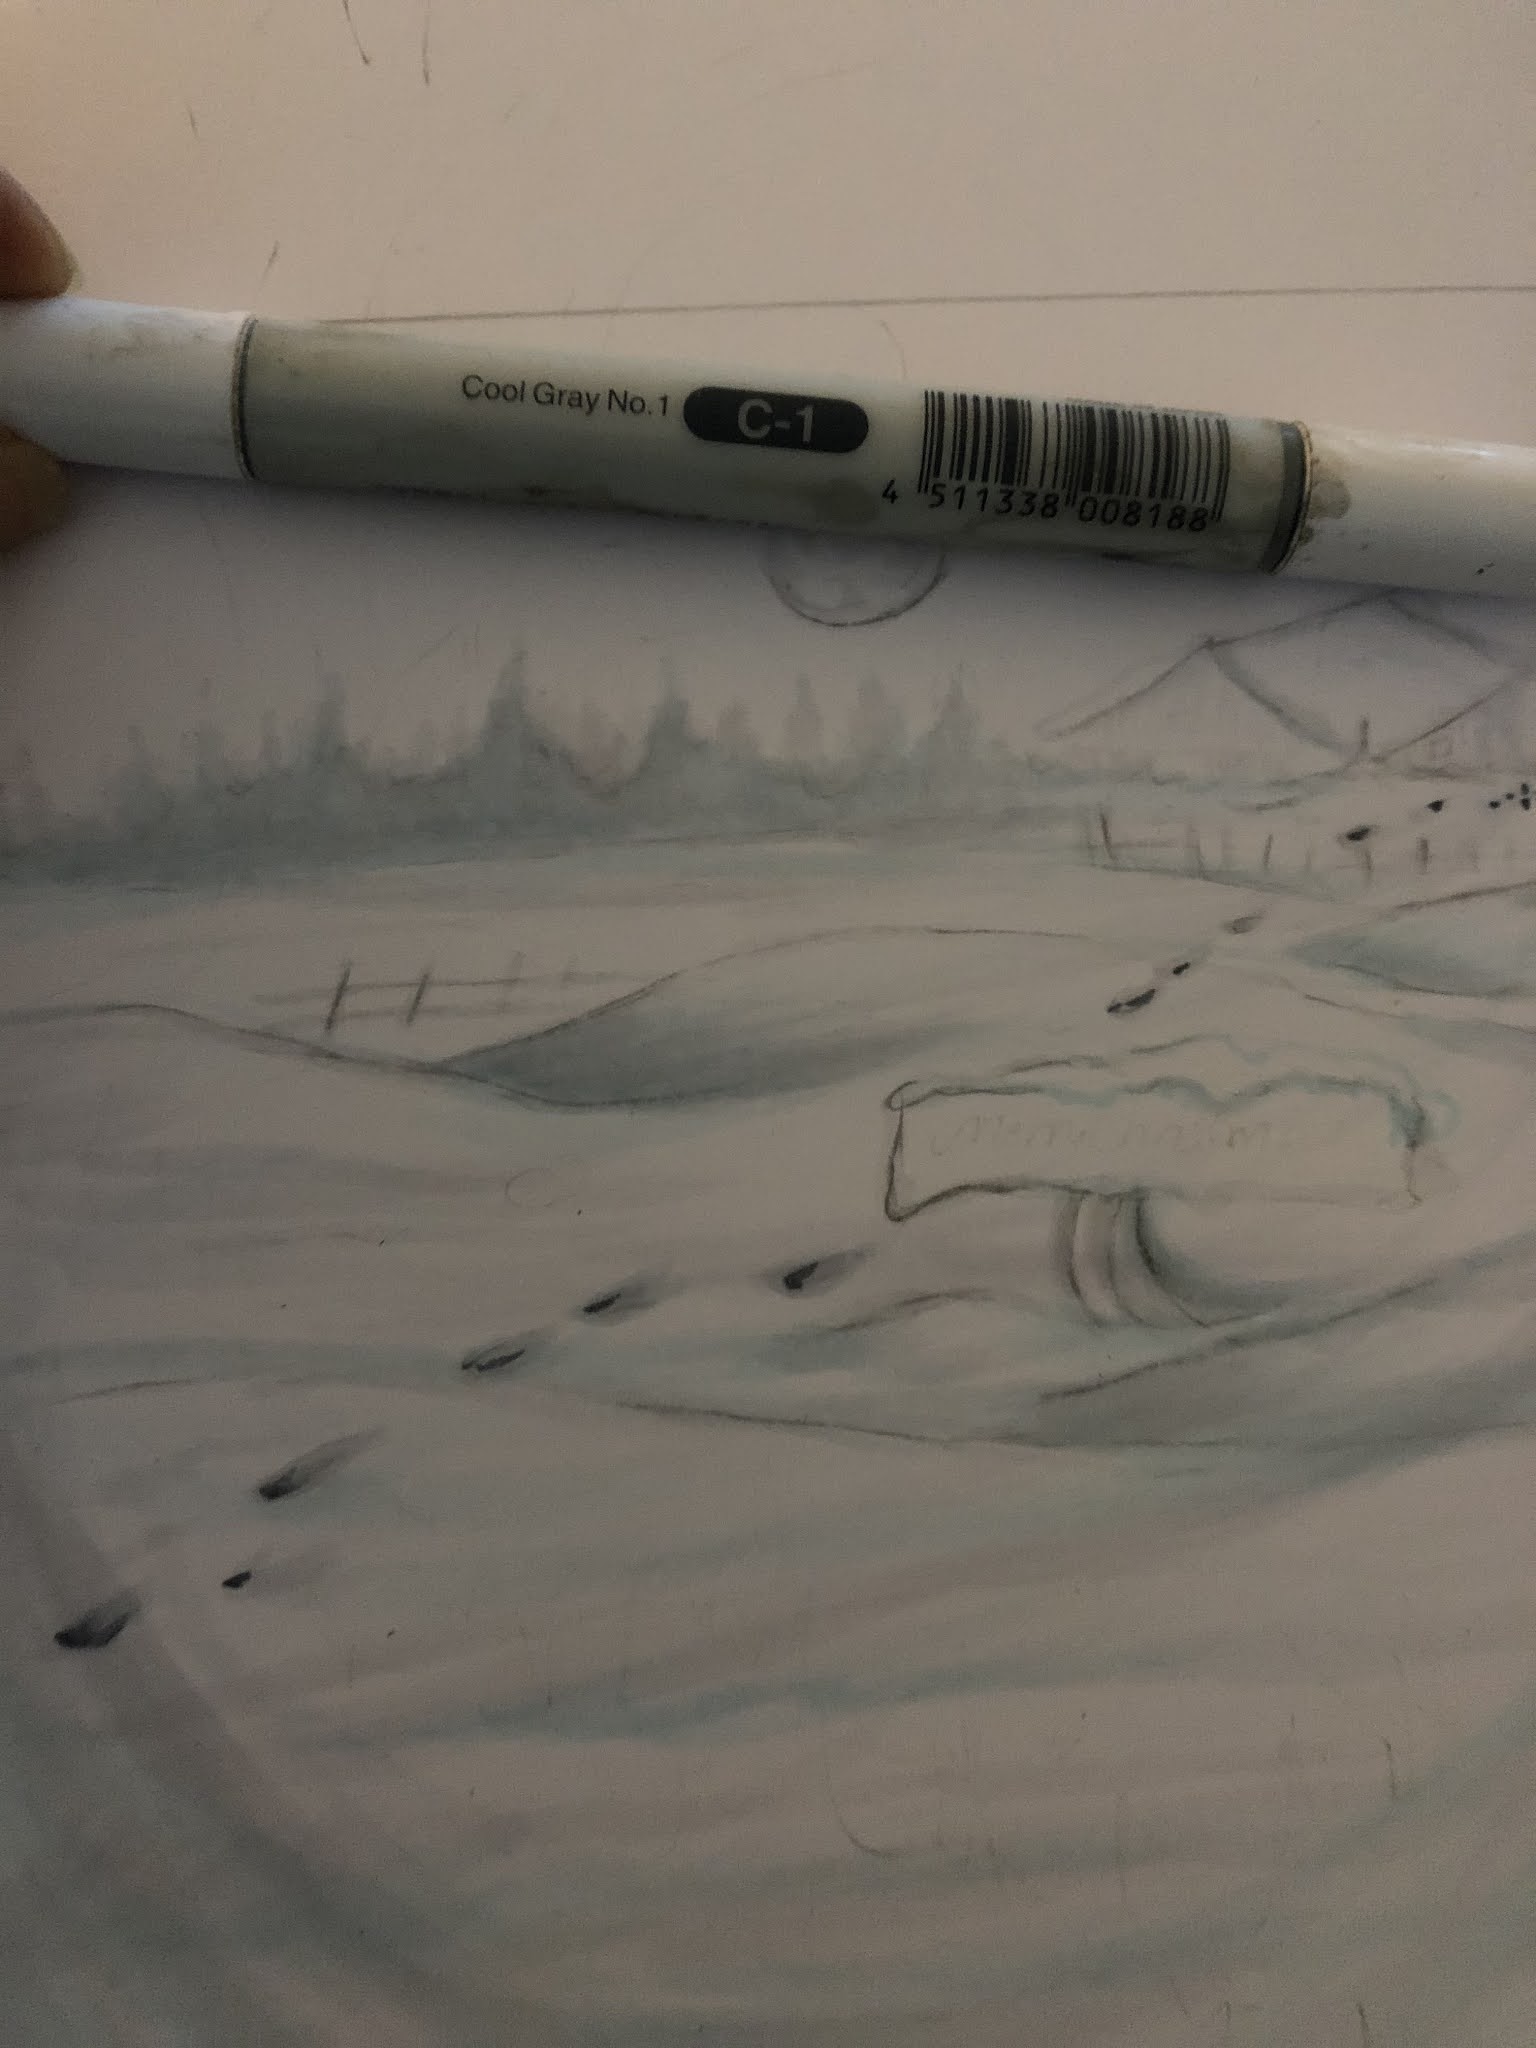

Step 7
Add C1 and blend more at the steps


Step 8
Add BV02


Step 9
Add B91


Step 10
Add B21


Step 11
I have used COPIC Multiliner 0,1
for the details at the house and the sign


Step 12
Add some E41 at the house and sign


Step 13
Add B60 


Step 14
Now I make a lot of dots with a 
White Gele pen Sakura


DONE!!
Thank you all for this Year and thank you all for Visit the Copci Europe blog!!
 We hope that 2021 become a
wonderful year with lots of happiness


Merry Christmas to you 
HUGS!!


Saturday, December 12, 2020

Copic Fun with a Stencil and Video


 Hi all, 

Today something different, I had some Copic fun with a stencil. I love this stencil called magical mosaic ..not only perfect for inking you can also use it for colouring and doodling with Copic Multiliners and Copic markers.

It is lovely to do some anti stress colouring, especially in this strange times it is good to have something that make you relax and in the end you will have a card ready to make someone else happy!

So I have used the stencil to add the pattern with a sepia Copic multiliner onto some Perfect Colouring Paper. I have used a slimline die to cut the paper.

Later I have added some colour with various R Copic markers.


and slowly adding more colours and doodles..it is so relaxing and fun! 


I have prepared a short video for you here is the link :


The final result after colouring and doodling I have added some ice star die cuts ( oldies but they happen to fit exactly on top of the design of the stencil )and some strass stones to give some bling.


Dies :
 Crealies slimline B card size CLCZ 182
Marianne Design ice stars LR 0124 

Stencil :
Kraftin Kimmie stamps magical mosaic 

Strass stones
jelly roll white gelpen
jelly roll glaze red pen

Copic :
R 22, R 29, R 37, R 59, R 83, R 85 
SP Copic Multiliner 0.3 red, wine, sepia 

Hope to have inspired you to use stencils together with your Copic, in case you would like to see another version please check out this post too which I have made for this blog some years ago ;

Please stay safe and make your world colourful with your Copic,
see you next year !!

Hugs Blankina

Sunday, November 22, 2020

Cicci coloring a golden bauble

 Hi Copic Lovers 

Today Im going to color a christmas bauble This is a digital stamp from Mo Manning. Little Elf Kin

I do this digi every year for Christmas 

and its my one of my favorite!! 


Copic I have used 

Background:  B99 B39 B06 B000 C01 B18

Clothes: R14 R24 E15 E18 R39 R05 Y02 Y06

E53 E53 E51 Y21 Y02

Skin: E53 E51 E35 Y21 Y02 R24 R14 E04

Bauble: Y21 YR24 YR21 Y26 Y28 Y02 Y06 E15 E53

Green leave: G28 YG00 YG23 

Step 1

Start to color with Y21


Step 2 
Add YR24

Step 3
Add and blend with YR21

Step 4 
Add more YR24

Step 5
Blend with YR21

Step 6
Add more YR24

Step 7
Add Y21 and blend 

Step 8
Add Y02 and blend a lot

Step 9
Add YR24 YR21 again and 
blend with Y21

Step 10 
Add Y26 and Y28

Step 11
Blend with Y21 and Y02

Step 12
Add Y28 

Step 13
Add Y28 and blend 
with Y21 and Y02

Step 14
Add YR24 Y28
and blend with Y21and Y02 

Step 15
Add more with YR24 and YR21 
and blend a lot with Y21 and Y02
DONE


 if you want to check the oldies I have made in other colors you can click on the link below:
Green 2019
Blue 2018
Red 2017

Thank you for Visit and Welcome anytime 
Lots of HUGS and SMILES from Us Here at Copic Europe Blogg


Thursday, November 12, 2020

Christmas is Love Sideslider Slimline Card


Hi all, 

It's time to share  my November post with you.

 I am busy making Christmas cards ..I love to send ( and receive ) handmade cards.
This card is a slimline card that  has some side slider  hidden texts which can be pulled out ..
Some unusual Christmas colours for this card with love .

First of all I have stamped my fun elf stamp called Christmas is Love onto some Perfect Colouring Paper with a brown ink .


In general I start to colour the skin first...


I have coloured her skirt/ dress and have added a pattern using various Copic and some rolly gel white pen.


For the background I have added some stars  with a stencil and added some shadows on the star with Copic. This ink is hybrid so it can be used with Copic and waterbased products. 

I have prepared a short video with step by step colouring 


Hope you have enjoyed my video .


My finished card..closed 


My finished card ...open 

I have used :

Kraftin Kimmie stamps :
stamps Christmas is love
stencil holiday lights 
krafty kolours hybrid ink salty sea
krafty kolours hybrid ink sandy shores
pastel enamel dots 
dazzling enamel dots 

design papers and kraft  Action
wow white embossingpowder 

Flowers I am Roses :
S3-448
ZQP41-15
BP/ST3-15
S10/XS-15


Dies Crealies :
slimlinecard A card size - CLCZ181
slimline card B card size  - CLCZ182
2/4 side slider  -CLCZ26 

Other dies :
leaves dies Sizzix Tim Holts 662701
alphabet haley outline  I-crafter 222017 

Copic :
YR 00, E 95, E 99, YR 02
G 0000, G 000, G 00, G 02 
BG 10, BG 13
E 51, E 53, E 55
E 29, E 35, E 30
E 70, E 71, E 74 
W3, W 5, W 7, C 0, C 3

Hugs Blankina

Thursday, October 22, 2020

Funny Gloves and PLAYING with Colors

 Hi Copic Lovers. Cicci here posting! 

Today I'm going to show you how I did these colorful gloves. I also want to show you how you can color without any plans for the painting-just go with the feeling and the flow. My feeling about this is that I want to make some gloves in many colors-so lets see what happens on the coloring process.

You don't have to use the same colors/markers that I did!!

Copic Markers I have used for the background 

Forest: B39 B99 B37 B00 B32 

Trees: E23 E57 Y02 E47 

Pumpkin: YR09 YR24 YR21 Y02 R24 YR05

Sky: Same as the forest and I have also added some V04 R14 and used a white Sakura gel pen for the highlights.

Jacket: Lots of dark B39 and RV99 just to get the darkness in the jacket

Hat: B00  Y02 Y04 Y08 YG03 YG99 R14 YG95 YR05 YR09

Skin: Y02 E33 E31 R14 YR05 R22 E53 E51 

Hair: B00 R14 YR24 BG93 R24 Y02 BG02 

Eyes: B39 YG99 YG03 Y02 Y08

Step 1 

I draw this first.

I have started to make some dots with B02 


Blue and yellow is great together so I use Y04 in the next step


For making this a little more fun I use R56 and let's see what's happening with that combo 


Blend with Y04


Add R05
And see how that works together?
Yellow and orange is good friends sooo  I think that's a great combo


Add Y08 and blend with that marker


Use R24


Add RV06
Here I did some lines


B04 over the other colors and also make some lines


Add R14


Blend with Y04, and add Y02 in the middle of the gloves

                                                         
   Add YR07


Add BG53
                                                

I have made some shine around the gloves and also some dots with a white gel pen You can use posca pen as well. Use what you have!!

In this post I want to show that you can color with any markers you have and you can mix a lot and even make some pattern with your  markers. 
I hope you try this and just color and see what happens on the way!!
 I promise you that you going learn a lot in the coloring process!!


Welcome again anytime you feel like it and 

Lots of HUGS and SMILES 

Cicci