
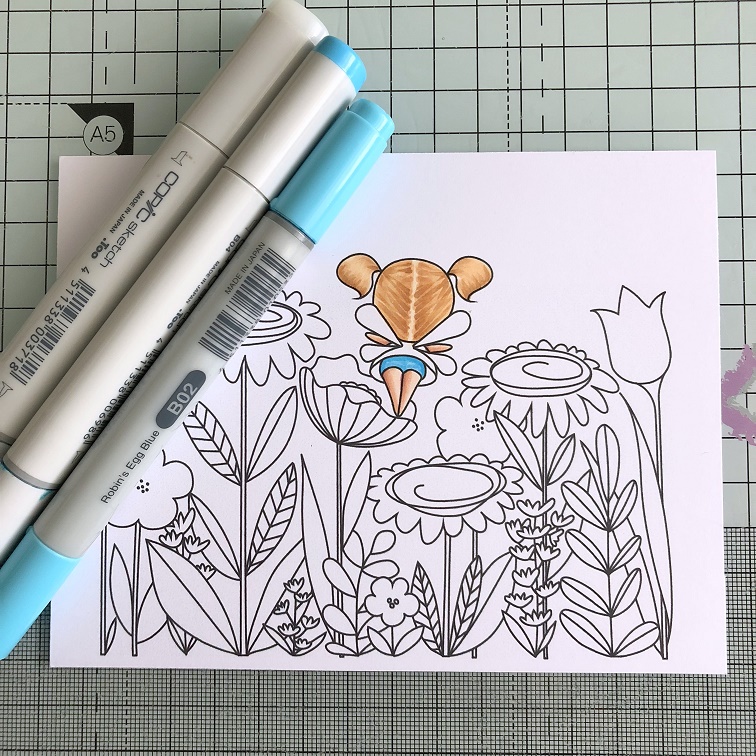
Hi everyone. Sandie here and today I am sharing my colouring on this wonderful fairy stamp and backdrop stamp from Stamping Bella. This scene was created with 2 stamps using the masking technique.

I always start off by colouring the skin and my go-to colours are E00 and E11 with just a tiny bit of E04 for extra depth in the shading.

To do the hair with split pigtails, I took the lightest colour, E50, and drew and imaginary hair line.

Then I applied E53, flicking outwards from the imaginary hairline.

I kept going back over with the E51 and E53 until I was happy with the hair.

I coloured her shorts in blue, using B00, B02 and B04.
and for her shirt I used V12, V15 and V17.

For the wings I applied some BG11 and pulled it out a little with BG10. I leave the tips of the wings white. Sometimes I will add Star Dust Stickles to the wings to give them some sparkle.

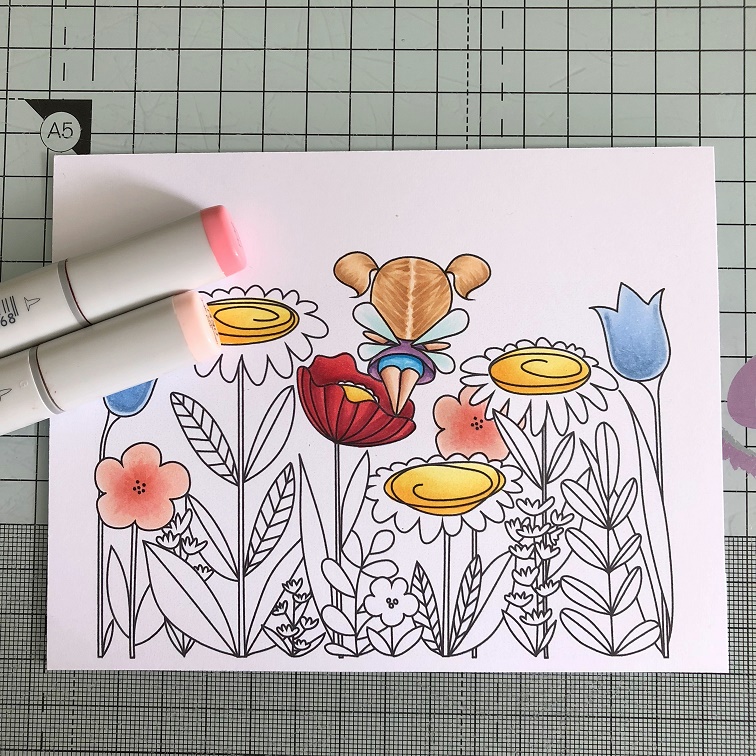
Once the little Fairy was finished I moved onto the flowers.
For the yellows I used Y17, Y15 and Y13. I start with the darkest and work towards the lightest.

The blue flowers I coloured with B41, B21 and B34.

I used rich, warm reds for the centre flower - R35, R37, R39

R30 and R32 for the light pink flowers.
I didn't want the leaves to be all the same colour so I used four combinations. The first one is the YG family - YG01, YG03, YG06 and a little bit of YG17

The second combination is the G40's. These are not colours I typically use a lot of but they worked really well together on the leaves.
- G40, G43 and G46

The third combination is G20's. These are very similar to the G40's but there is a subtle difference.
- G20, G21, G24 and G28

On the little flowers I used purple to tie the colours to the Fairy.
V12, V15 and V17

The fourth combination of greens I used is G82 and G85. Again, this is very similar to the G20's and G40's combinations.

To finish, I applied some N3 to the daisies to create a little bit of shadow. I blended the N3 with some colourless blender.

The card measures 5.5" x 4.25" and I added a die cut sentiment, which I layered with white behind the black.

Thanks for dropping by, and I do hope you are inspired to reach for your markers today.
Sandie
xXx
1 comment:
Wonderful tutorial Sandie!!! Love the colours and the image is really summer !!! HUGS Cicci
Post a Comment