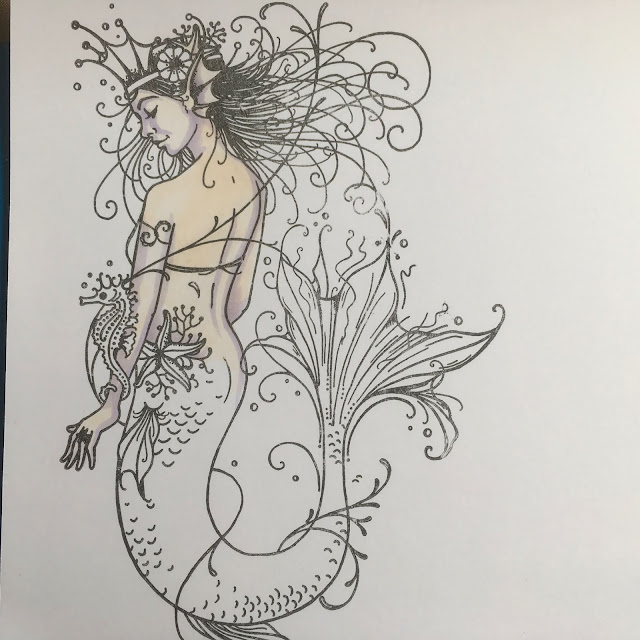
For today's post I've created an under the seascape with Copic Markers.
Start with making a background on Transotype Synthetic Paper.
Pick out a few nice colours (Various Ink) like BV00, BG75, BG49 and BG45. Add a few drops of ink on your paper and add some pure alcohol, so the ink can flow freely on the paper. Add some more drops when needed and use a mini blending tool to create structure.
Finally I also used some gold foil.
I will use the gorgeous stamps by Pink Ink Designs. The stamps have a lot of fine details and I decided to stamp the images straight to the background, so I don't have to cut out all those tiny hairs. I also stamp the images on a sheet of Perfect Colouring Paper.
I always start with a layer of E50.
Add some shadow with BV00.
Add the E00 over the BV00 to get a warm skintone.
And blend all layers together with E000.
I am not satisfied with the result so far, so I keep adding E00 and E000 to enhance the colours.
For the darkest shadow I add W3 and W5.
The mermaid's body will be rosy purple, start with BV00 and R22.
Add R29 for more shadow in the rosy red parts.
And use BV02 for more shadow in the purple parts. .
I use the R20 to blend the BV00 and R22 together.
Blend the BV02 and the BV00 together using the BV01.
Use the R24 to blend R29 and R22 together.
Use the R20 and R22 to add some spots on the tail and the body.
I will use the same colours for the fish.
For this cute little fish I used BG45, BG49, BV04 , BV02, R22 and R24.
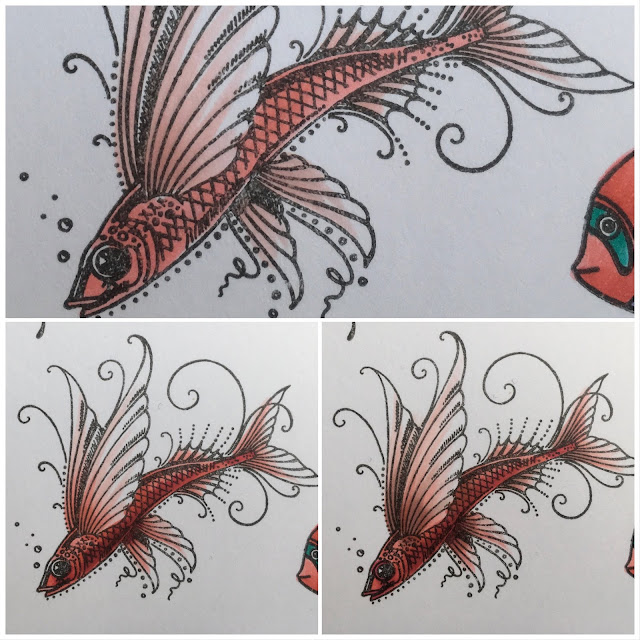
This beautiful fish will get 1 colour, R20, R22, R24 and R29.
And for these lovelies I use R20, R22 and R24.
And for the cute fish at the bottom BG02, BG45, BV00 and BV02.
After I cut out all the images and glued them down on my background I decided to add some coloured pencils.
And this is the end result.
Used a Copic Multiliner to make the hairs and swirls a tiny bit darker.
Have a fabulous day,
see you next month.
Miranda


2 comments:
wow! that's amazing!
I do love it!!!
Post a Comment