Followers

Showing posts with label Faye. Show all posts

Sunday, April 18, 2021

Happy Day

 Hi Everyone, it's Faye here today :)

I decided I would like to colour this bear from the Colorado Craft Company Happy Day set on kraft card. I love the effect of copics on kraft card, they look much 'dirtier' and more grungey than when you use white card.

Aside from this, there are a couple of things to note...

Firstly, when you use copics on a cardstock with a loose weave such as kraft card, the card is thirsty! You will literally feel the card 'suck' the ink from your marker. Take this into account when laying the ink if you are normally quite heavy handed when you colour.

Secondly, wait for the ink to dry before you decide if you need to add more layers of shading. The ink really changes colour when it has dried on kraft card. When it's wet, it will look darker than you would normally expect. But you also can't see the graduation of shading as much as you would be able to notice on a lighter card. Wait. Let it dry. Then adjust. If you go for it while the ink is still wet, you won't be getting an accurate judgement and you may find you keep adding and adding shading that you don't need, which you will then need to correct when it has dried and you see what you've been left with.

You can watch me colour this bear on my You Tube Channel by clicking the logo below...


Copics Used...
Bear; E41, E42, E43, W3, W5
Bear Nose; E44
Grass; G02, YG45, G07, W5
Flower; YR23, YR27

Thanks so much for stopping by... Have a great day,

Tuesday, April 12, 2016

Unicorn


Hi Everyone, it's Faye here today :)


Judging by the flurry of Unicorn images I've spotted in recent weeks, I think they are a bit of a trend right now. I saw this rather fab one called Ava, from Scrapper's Delights, and thought I'd join in! Shaker Cards are also very popular at the moment, and I thought I would combine the two. You can never have too much sparkle when a Unicorn is involved, right?! ;)


Copics Used...
Eyes; B41, B12, B06, B60, B63
White; C1, C1, C3
Black; T5, T7, T9
Red; R32, R35, R39
Orange; YR12, YR14, YR18
Yellow; Y13, Y15, Y35
Green; YG01, YG03, YG63
Blue; B12, B06, B18
Indigo; B63, B66, B69
Violet; V12, V15, V17, V09
Pink; R81, R83, R85

Thanks for stopping by... Have a great day.

Wednesday, February 10, 2016

What a Sweetie!


Hi Everyone, it's Faye here today, and I'm afraid I'm going to tease you with a brand new Wee Stamps image, called Sweetie, which will be released at Whimsy Stamps later today :)


You see she's too sweet not to share straightaway, isn't she?! She told me she wanted to have black hair and a pretty pink dress, so I found some paper from My Favourite Things to match and off we went.

Copics Used...
Background; B0000, B000
Skin; E000, E51, E21, E11, E71
Hair; C3, C5, C7, C9
Light Pink; RV10, R81, R83, R85
Dark Pink; R83, R85, R39
Green; YG03, YG63, YG67

Thanks so much for stopping by today... Have a great day.

Monday, January 11, 2016

Harry the Stuffie


Hi Everyone, it's Faye here today :)

Well, that's Christmas out of the way for another year. And what do we all think about after Christmas? Valentines Day. It'll be here before we know it, so I thought this cute little puppy from Stamping Bella would be perfect to get me warmed up for the season of luuuuurve!


You can't really tell from the photos, but I've coloured this image on cream cardstock, I was pleased with how it came out. Maybe I'll venture onto other colours next...

 
Copics Used...
Fur; E41, E42, E43, W3, W5
Nose; W3, W5, W7
Ground; W1, W3, W5
Envelope; E40, W1, W3
Heart; R56, R59, W7

Thanks so much for stopping by... Have a great day.

Tuesday, December 15, 2015

Penguins in love!


Hi Everyone, it's Faye here today :)


 Well, it's time to face the music. Christmas, despite my best efforts to ignore it, is coming and it's time to address two facts:

  • I don't have enough Christmas cards for all the people I need to give them to

  • It's time to start making some of the cards I don't have enough of

Ok, crack open the Mulled Wine!

So, I love Penguins, these two from Little Miss Muffet Stamps are adorable. And obviously, Penguins love Penguins. How else do we get Baby Penguins after all? Really? We need to have THAT chat? Hmm, maybe another day. For now, here's a card for a Boy Penguin to give to a Girl Penguin he likes the look of at Christmas. He's shy, you know. Maybe she'll get the hint...


Copics Used... 
Sky; BG70, BG72
Cheeks; R11
White; C0, C1, C3
Black; N5, N7, N9
Yellow; Y11, Y15, Y35
Green; YG03, YG17, YG67, N5
Red; R35, R37, R39, N5
Pink; RV52, RV55, RV66

Thanks so much for stopping by... Have a great day.

Tuesday, November 10, 2015

Colouring Fur Tutorial


Hi Everyone, it's Faye here :)

Today, I'm sharing a Tutorial on how I colour Fur. But, before I get to that, I wanted to talk about Copic Marker Housework. You know how when you get a new Marker, it's lovely and clean, full and juicy, and colours really well? Oh, I love Markers when they're like that! So, I make a point of keeping my Copics as clean, and full as possible. Especially some of my tricky friends. Yes, I'm talking about you, E11, E04, E29, R85. You know who you are.

Recently, I've been a little busy, and my Copic Marker Housework has seriously lapsed. (Slap my wrist.) I was already thinking I was lucky to be getting away with it. And then I started my Tutorial on colouring fur. I got three steps in, and my Copics went on strike. No more playing nicely. They wanted a drink, and they wanted a bath. So, when you're Markers start going patchy, shiny, and won't blend, this is what they're trying to tell you!


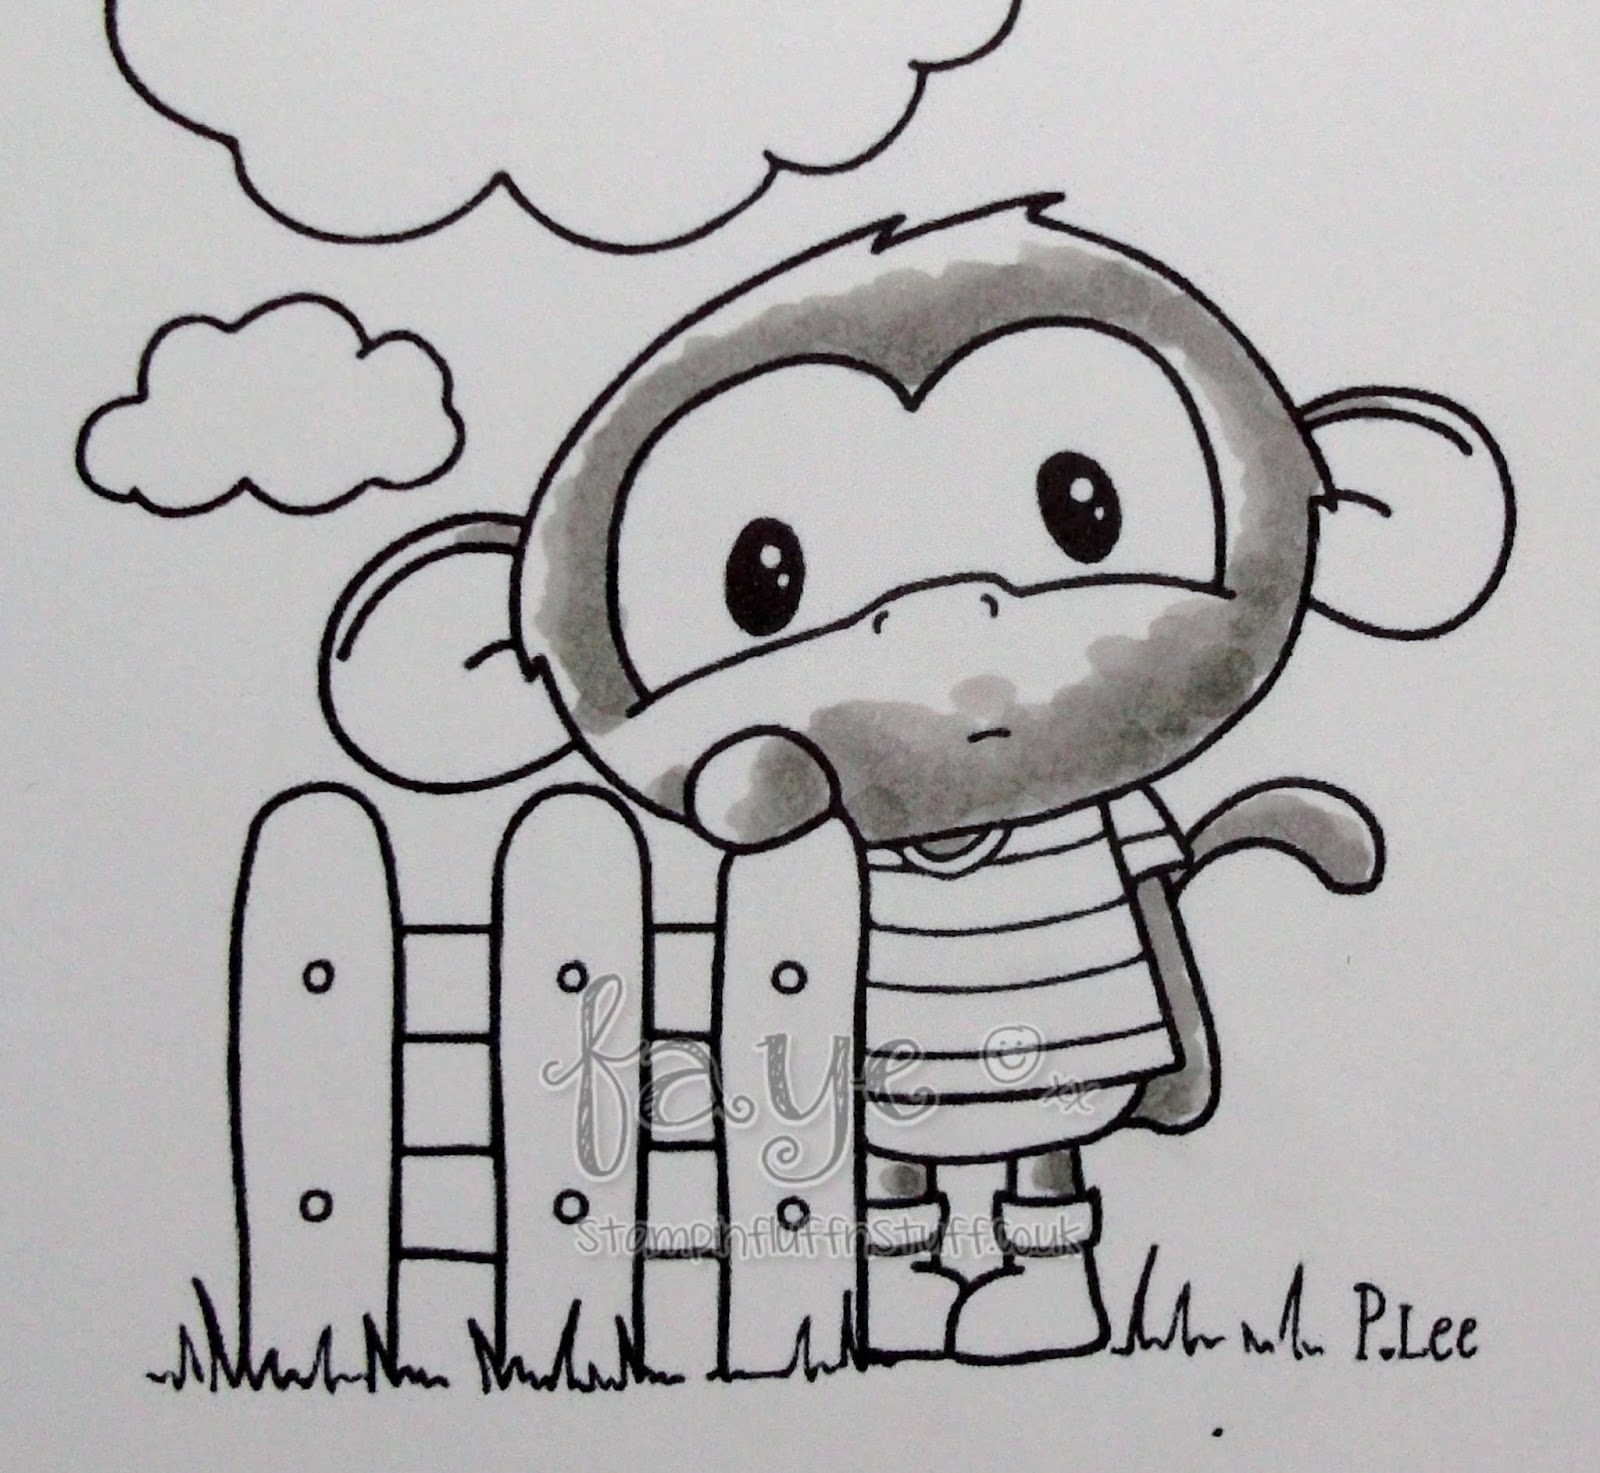
Now all my T Greys are happy, although I was a bit grumpy I had to start again! The image I have used is an adorable monkey, called Under the Weather Chester, from Little Miss Muffet Stamps.

When I colour fur, I like to dab on layers of colour, working from dark to light and then again, to give lots of texture. No smooth colouring at all. Let's make a start...

 T3

T1

T3

T0

Colourless Blender

T1 and T3

T0

Repeat if you want :)

But I can't leave Chester half coloured, he's sad enough already...


I wasn't happy with this card and thought it needed something more. So I stamped a second cloud, added a few extra dots of grey, and popped it up on foam pads. Much better...


Copics Used...

Fur: T0, T1, T3
Eyes; C0, C1
Fence/ Boots: T3, T5, T7
White Stripes on T-shirt and Boot Trim: T0, T1
Dark Stripes on T-shirt: T7, T9
Grass: T0, T1
Clouds: C0, C1


Thank you so much for stopping by, have a great day.

Monday, October 26, 2015

Spooky Birthday


Hi Everyone, it's Faye here today :)


With Halloween nearly upon us, I thought it would be a good time to colour a Witch. This rather gorgeous one is from Tiddly Inks and she insisted I give her a dark Airbrushed Background to stand on. She had her cauldron with her at the time, so I thought it best not to argue. 

Normally when I Airbrush, I cut a mask out of scrap paper, attach it to my image and then spray happily away, before removing the mask. However, this time, I had a go with Masking Fluid, which I have wanted to try for a while. It was probably easier to use than cutting a mask, but I did find it damaged the fibre of the card when I rubbed it off, and I had to be careful when I coloured after.

And one more thing. If you have a white desk, make sure you fully cover it with paper, before you Airbrush with T5. Just sayin'.


So, after I doodled a border and some cobwebs, I thought I was all done, took my photo's, edited them and then I was looking at the card. Yes, I thought, it really would look much better if I added some white Gel Pen to those cobwebs...


See, told you!

Markers Used...
Background/ Ground; T3, T5, T7
Skin; E000, E00, E01, E11, E71
Hair; YR12, YR14, YR18, E08, E29
Green; YG21, YG03, YG17, YG67
Purple; V12, V15, V17, V09

Thank you so much for stopping by. Have a great day.

Tuesday, September 22, 2015

Time


Hi Everyone, it's Faye here :)


Today, I thought I would share a card using this beautiful image from Polkadoodles. I love her big watch. I thought she would look great with an Airbrushed background... you don't have to ask me twice to start squirting ink everywhere!!

I built up quite a lot of layers of ink on the background for a lovely smooth coverage. I didn't catch a good photo of that. By the time I finished, the ink was quite tacky, so I grounded her with a black pencil, as I did not want to over saturate the ink and make a sticky mess.

Then to finish the card, I just doodled a border, which as you will probably know, is my usual style.


Copics Used...
Skin; E50, E00, E11, E71
Hair; E31, E34, E55, W3, W5
Ground; 100
Background; T2, T3, T5
White; T0, T1, T3
Gold; Y23, Y26, YR23, E33
Turquoise; BG53, BG57, BG18, T5

Thanks for stopping by... Have a great day.
Faye xx

Thursday, August 20, 2015

Curly Haired Superhero


Hi Everyone, it's Faye here today, and I thought I'd talk to you about Curly Hair :)

I love colouring Curly Hair, it's a chance to be really messy and random with my Markers. I've used an image from Little Miss Muffet Stamps called Toby, he's such a cutie and perfect for some lovely curls... 


Starting with my lightest colour, in this case, E31, I roughly draw lots of little 'c' shapes over the hair area, turning the paper around, so that the little 'c's all point in different directions.

I do the same thing with each of my Markers, getting darker as I go along, (E34, E99, E37 and finally E59.) and use less of each colour as it I build the layers of curls.

This is a great technique for being messy with your Copics. In fact, one of mine dripped a glob of ink on the hair just as I finished and I was able to correct the accident. You'd never know... I think I would have cried if it had been straight hair!

Here he is in full Superhero Glory...


And busting through the card he is going to live on...


Copics Used... 
Skin; E50, E51, E21, E11, E04
Hair; E31, E34, E99, E37, E59
White, C0, C1, C3
Yellow; Y23, Y26, E33
Turquoise; BG11, BG13, BG18
Blue; B91, B93, B95, B97, B99
Red; R32, R35, R37, R39

Thanks so much for stopping by. If you have any questions about this project, please don't hesitate to get in touch. Have a great day.

Faye xx

Thursday, July 23, 2015

Lines Versus No Lines


Hi Everyone, it's Faye here today :)

With the No Lines Technique being as popular as ever, I thought it would be interesting to compare the same image, both With Lines and Without Lines, to see how very different both Techniques could make the same Stamp look. I've used the adorable, Wee Stamps Peggy. She is soooooooo cute!

 So, here goes:


Peggy, With Lines...

She pops off the page, and you can see clearly all the little details the Artist has added.


Peggy, No Lines...

She looks much softer, similar to an illustration you may see in a Children's Storybook. The details are still there, just added with colour.

Both Techniques allow you to bring your stamped characters to life in different ways, so you can make the same image look very different and get the most out of your Stamps. 

With all these Peggy's lying around on my desk, I thought I had best made a card with at least one of them!


Copics Used...

Skin; E000, E00, E21, E11, E70, E71
Hair; E23, E25, E27, E29
Ground; E41, E42, E43 
Bird; E30, E31, E33
Turquoise; BG53, BG57, BG75
Yellow; YR31, YR23, YR24
Pink; R81, R83, R85, R39
Orange; YR12, YR14, YR18
Green; YG41, YG45  

Thank you so much for stopping by... Have a great day

Faye xx

Thursday, June 4, 2015

Fur is fun!


Hi Everyone. It's Faye here today :)

With Father's Day just around the corner, I thought it might be a good idea to colour an image with a slightly more masculine feel. This sweet chap is a fairly new release from Little Miss Muffet Stamps, called Father's Lion. I think he'd also make a great card to celebrate the safe arrival of a new baby boy too. 


I love the challenge of colouring fur, it's certainly very easy to add texture. Keep your colouring rough and messy, dot your colour on in layers, and you can use the Colourless Blender to your advantage too. If you're not confident adding texture with your Markers, you could use a piece of scrunched up kitchen paper, material, hessian, anything with texture, that you can add a few drops of Colourless Blender to. Then dab your texture cloth onto your image. Just remember to do this, before you colour the parts of the image you do not want texture on!


Markers Used...
Lion; E30, E31, E33, E71, Y26, N3, N5
Lion's Nose; N3, N5, N7
Blue; B00, B01, B04, N3, N5
 Green; G82, G85, N3, N5

Thank you for stopping by today, have a great day.

Faye xx