Hi copic Lovers
Cicci here posting from Sweden. Today Im going to make a cup-cake.
First Im going to talk about some great things I learned from my father who was an full time artist. He died 2019 and its a big hole without him of course!!
The little things I know about painting and coloring I have learned from him. Two things he always said about painting was:
-Never use Black!! Its a dead color and it makes your coloring look dirty- so never black!! Use instead dark blue or dark brown. Thats a great thing to know and I always think of him when I do colorings that looks like black. But I never use it.
The next thing was...
-Always use white in your coloring!! Where you but the white its not the most important-Just use it.
He also show me how to make paintings with dots. Im going to do this dots when I color the cake so its not so much blending in that part.
Step 1
Draw a Cup-cake
Step 2
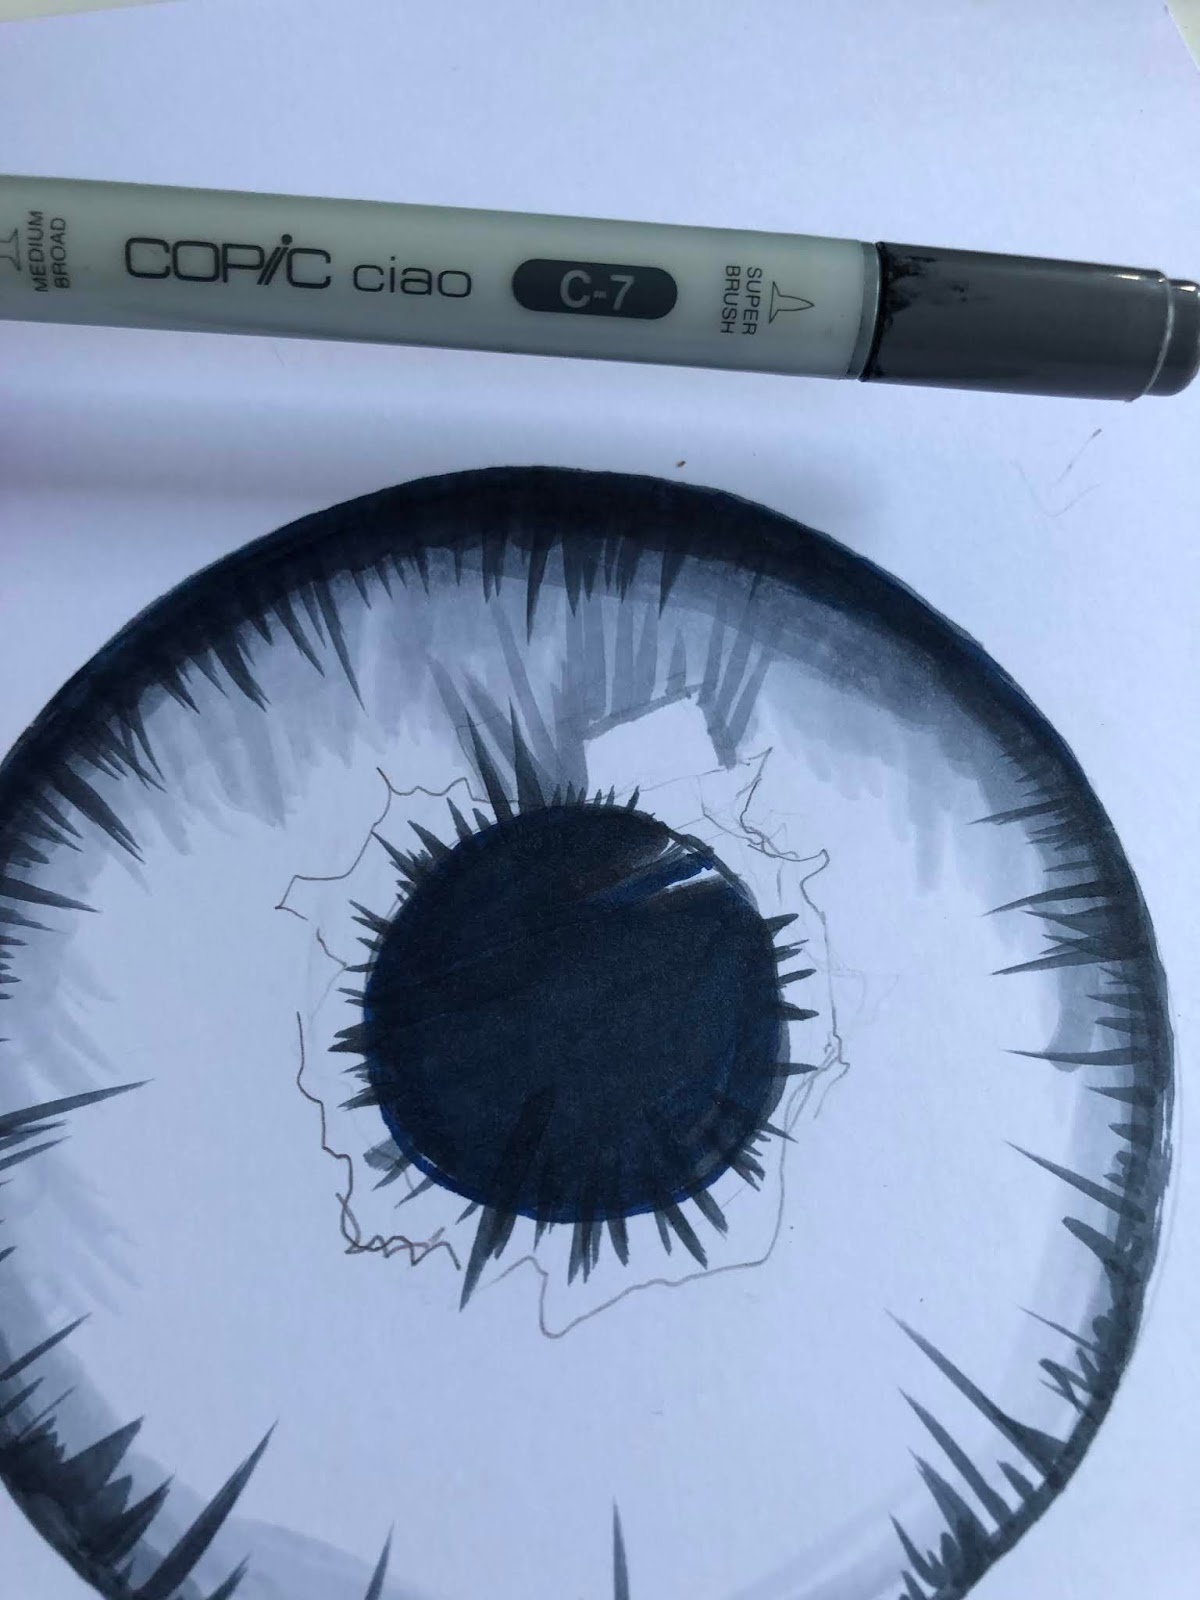
Here I use greys and browns for the colors
thats make the depth in the candy
C3 and E25
Step 3
Add R14 over the brown
And add E21 over the grey
Step 4
Add R24 for the brown
and now it looks like red instead of brown ;0)
So for the depth using red colors you can use brown
And
YR31 and C0 for the grey one
The grey colors works at the same way
for this skin and lighter colors
as the brown working good with red colors
Step 5
Add a dark E47 in the edges of
the brown candy
Step 6
Add E233 and blend a little
Step 7
Add Y26 for the other one
Step 8
Add Y28
Step 9
Blend with Y21
Use Y21 for both
Step 10
I just colors the lines for the
creme with R30
You can use grey if you
like-think thats better but to late
for me to change:)
Step 11
Now I starts to make lots of dots with lots of colors
Nr 1 is my favorite Copic markers
Y21
Step 12
Continue with Y28 and Y21 again
Step 13
Dots with E99
Step 14
Dots with E95 and blend a little
with this one
Step 15
Dots and blend with Y28
Step 16
Add E11 and I added some Y02 as well
Step 17
Blend and make dots with Y21
Step 18
Dots with E37
Step 19
Add and blend with E23
Step 20
Add More of Y02 in the middle
Step 21
Add more dots and blend with Y26
Step 22
Add E27 at the same way
Step 23
Add some C0 for the cream
Step 24
R02
Step 25
Add R14
Leave some white here for highligts
Step 26
Add R24
Step 27
YR04
Step 28
R14
Step 29
Add Y02
Step 30
YR15 I also used R14 R24 R39
for the orange
R39 is the darkerst of this 3 markers
DONE!!
Thank you for visit and
Welcome again!!
If you want to learn more about coloring with grey markers you can check out some oldies here at the Copic Europe blog
Tutorial about
Welcome to Visit Us Anytime you feel like
Hugs and Smiles
Cicci