Followers

Showing posts with label Dark skies. Show all posts

Sunday, November 9, 2014

Tutorial on dark skies

Hi there everyone, Åsa here today with a little tutorial on how I colour dark skies.
Perfekt for all those Christmas images coming up.


I have used an image from Sassy Cheryl Stamps.

I like to use the B90´s when I colour dark skies.
For this sky I have used B99-97-95-93-91.


I allways start with the lightest colour, to guide my self. Then it´s more easy to correct my self if I don´t like it. Here I have started with the lightest blue; B91.

(As you can see I allways colour with an scrap paper under my image)


In the next step I go in with my darkest colour; B99, from the beginning..


In the third step I take the next colour; B97, and smooth out the transition and take the colour further in on the image.


In the nest step I do the same with B95, I work that transition and take the colour out a little more in the image.


Then tI ake B93 and do the same, work that transitions and colour further in.


In the final step I take the lightest colour; B91, and work the transition and out of the rest of the image.

After this steps, you can be satisfied and stop. BUT, I allways take all the colours one more time. From the beginning. Exactly the same way. And this time Im a little more thorough in the transitions.


Now you can see the differnce from when I only coloured it one time.
It´s more smooth and deeper contrasts.


And here are the final result, with the rest of the image coloured in.

As you see I also made some shadows in the snow to reinforce the impression of the lightsource from the star in the sky.


Here are the copic coplours that I have used:
Skin: E21-11-00-000
Hair: E43-42-41-33-31
Clothes: BV25-23-21
Pillow: V25-22-21
Parcel: RV95-93-91 / E77-74-71-70
Dog: W5-3-1-0
Shadow/Snow: N4-2-1-0
Sky: B99-97-95-93-91
Star: YR23-Y23-21-00

Hope you like it!

Big hugs!


Sunday, October 26, 2014

Tutorial: Skies


Hello,
this time I'll show you how to draw Skies.
First of all, keep some rules in mind. Otherwise it will be very difficult to draw a beautiful sky.

Rule #1: Know YOUR PAPER!
Copics behave variable on different paperand on some blending smoothly  is very difficult.

RULE #2: Choose a suitable paper!
Choose a paper which is not only suitable for mixing and blending colours 
but also can bear some layers.

Rule #3: Use Copic Sketch or Ciaos
Because of their brush nib they are more suitable for drawing fluffy clouds and smooth blending 

RULE #4: Know how to mic colours. If you're clueless, use the Copic Colouring Wheel.
It can be a great help


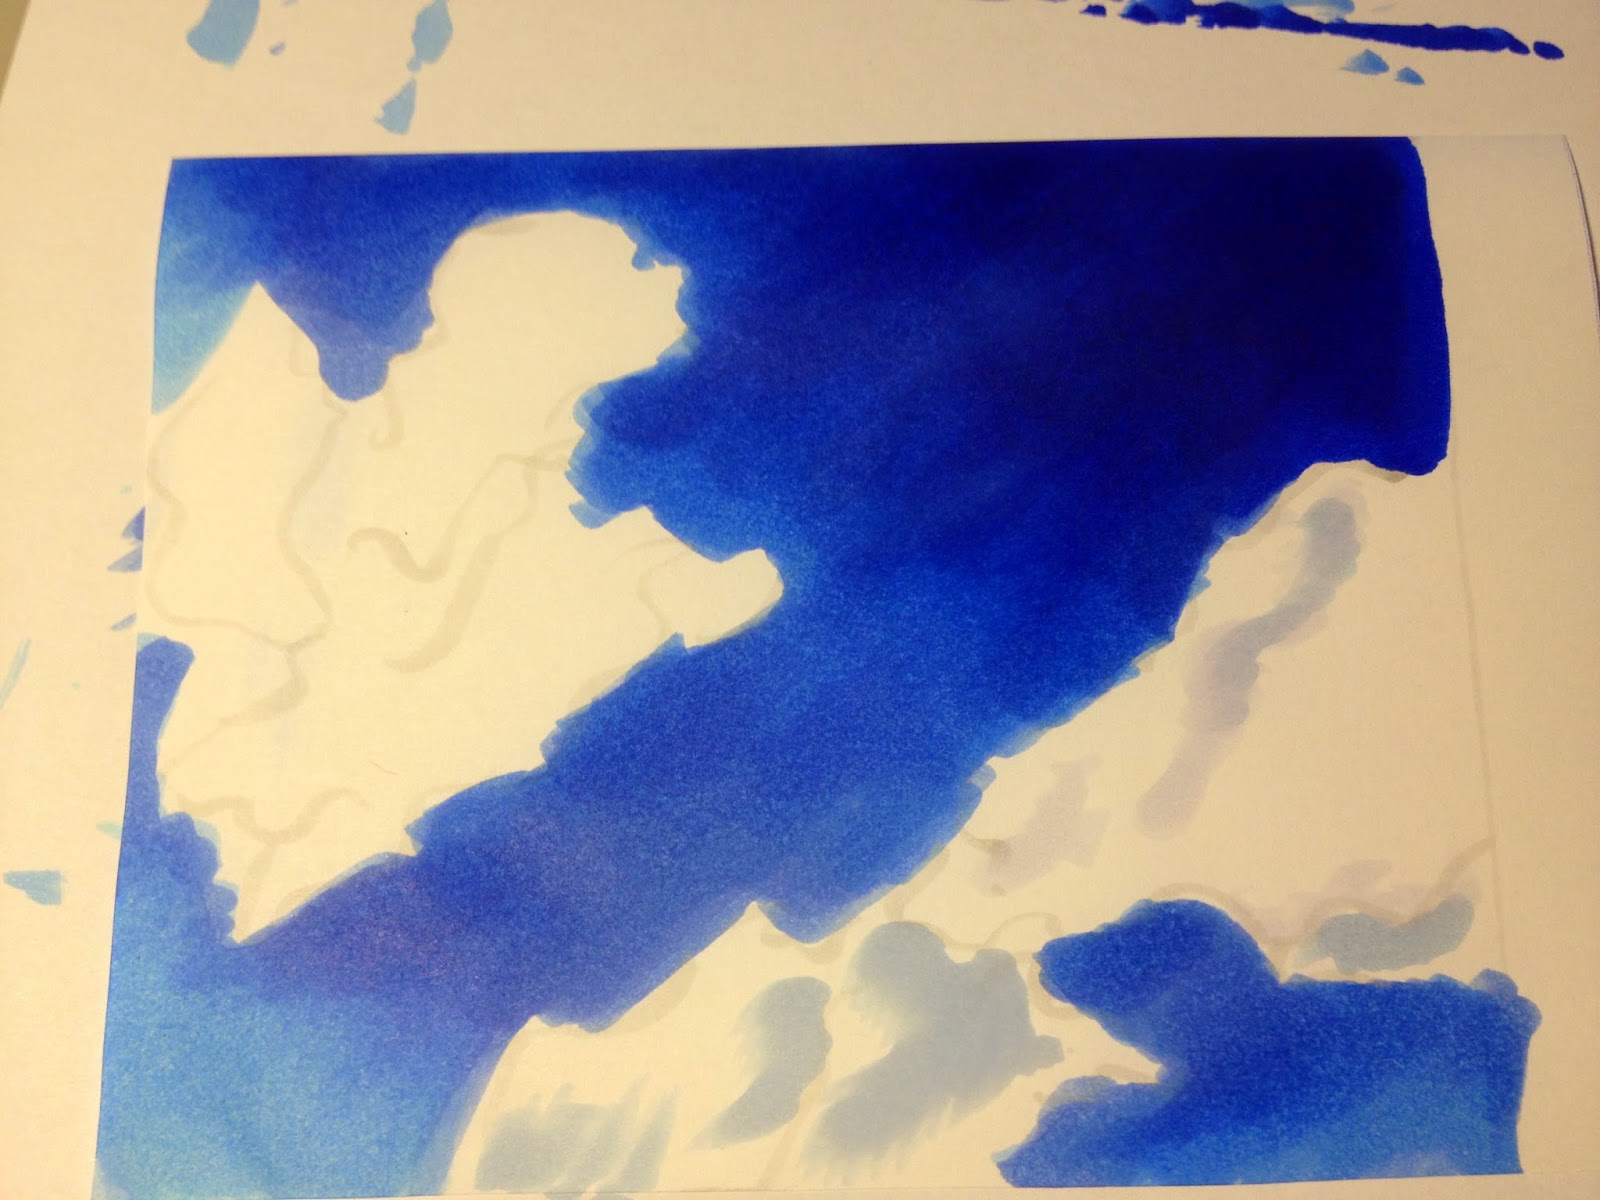
Let's start with the easiest Sky: A simple blue sky


1.Choose a paper suitable for colouring wide areas smoothly

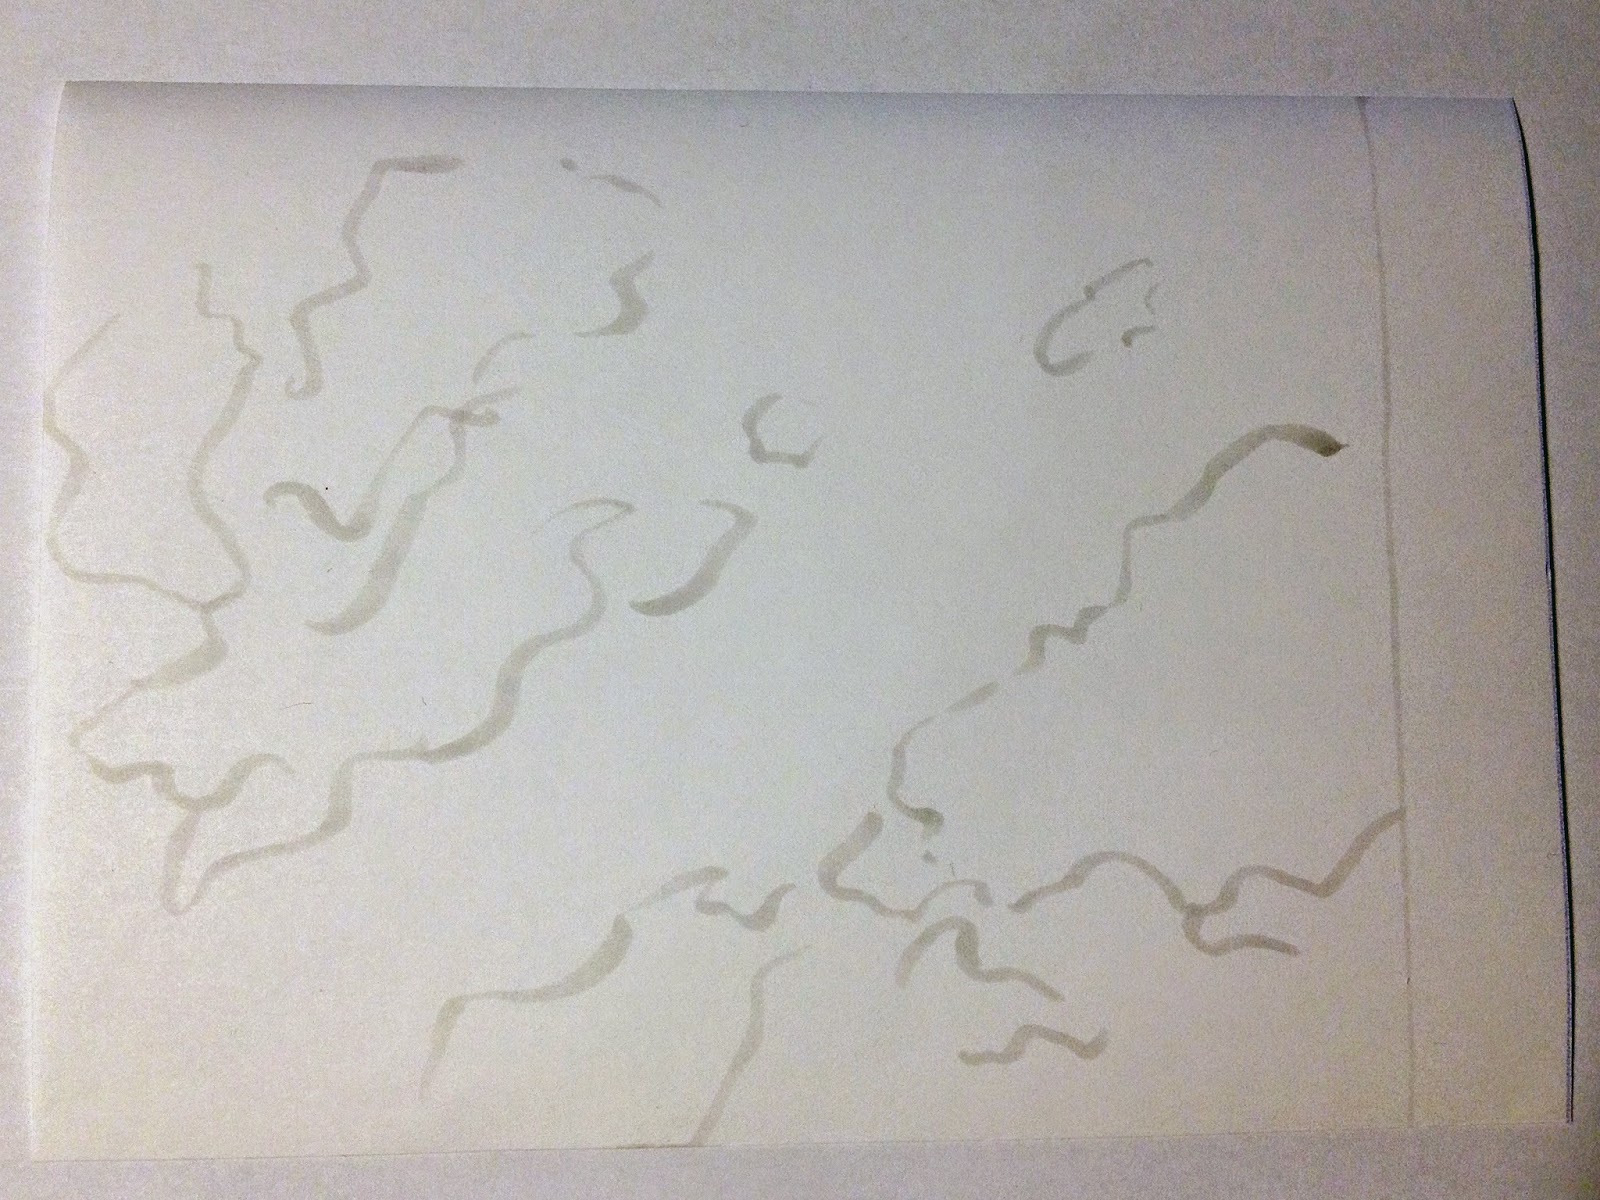
2.Roughly outline the clouds with a pale grey marker

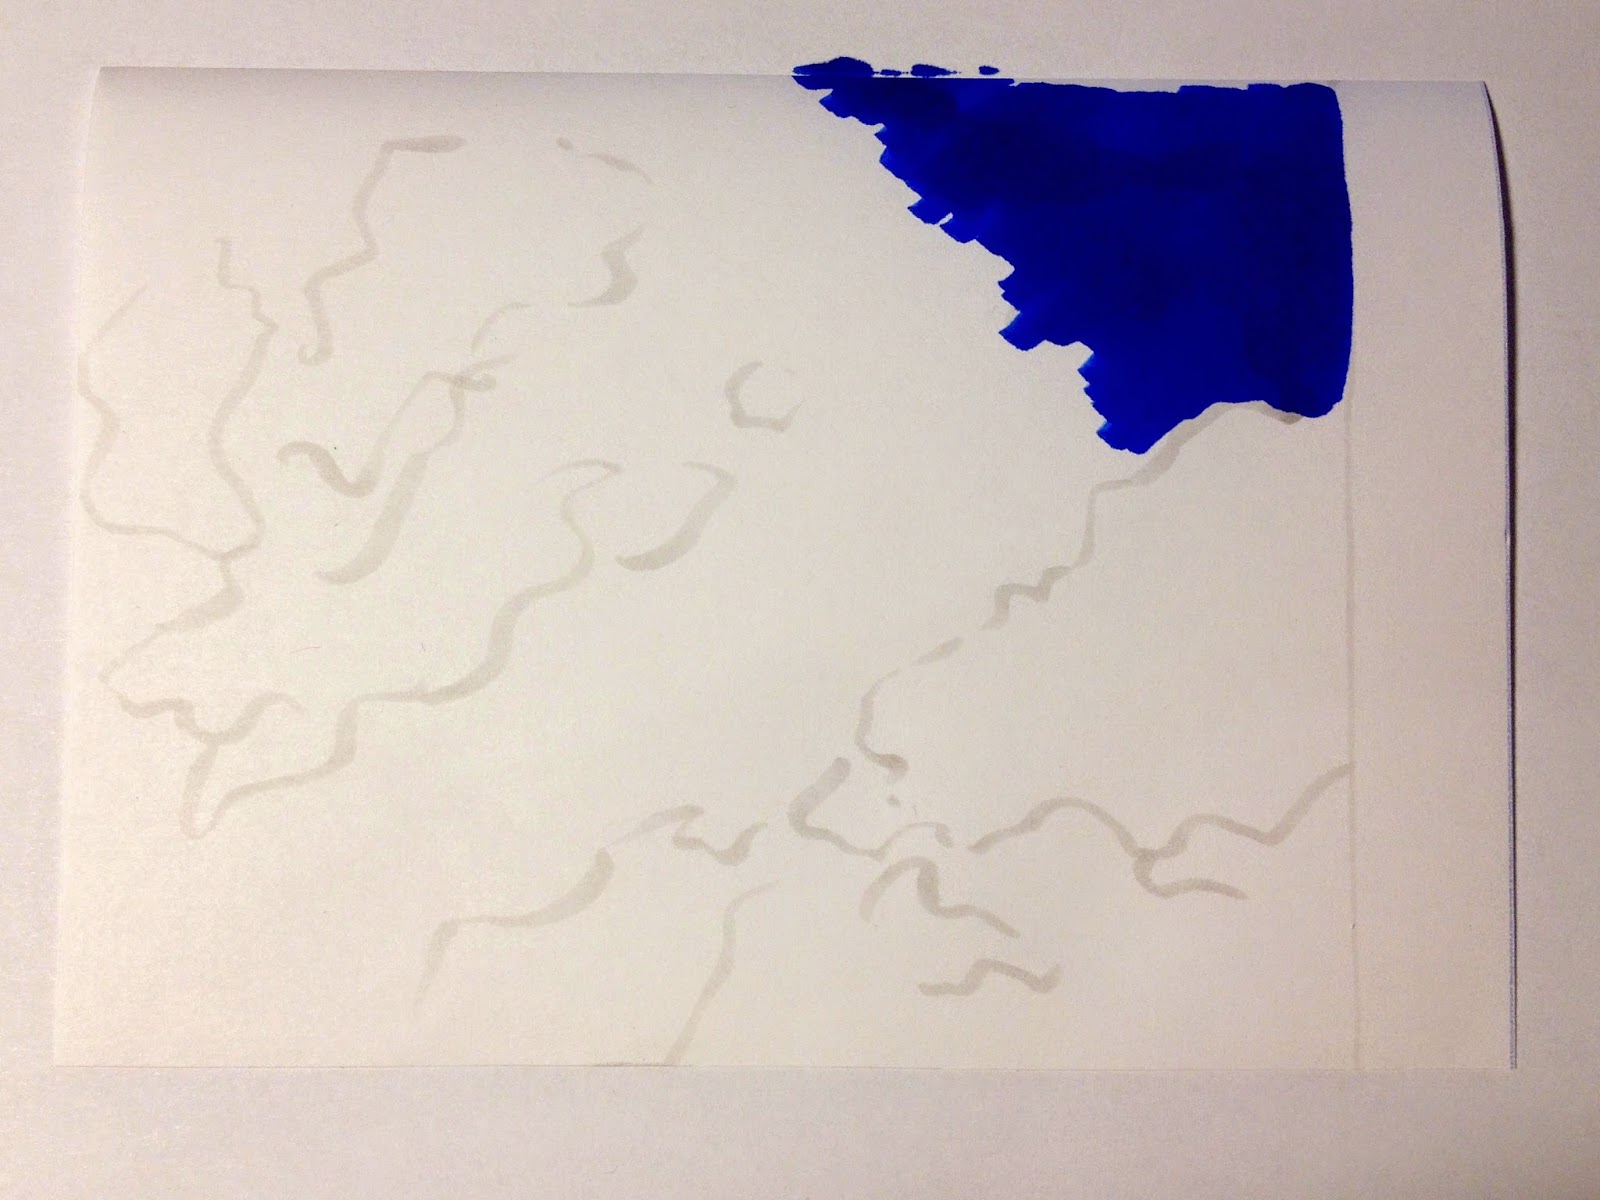
3. Begin to paint the background, starting with the darkest colour
and drawing in one direction 

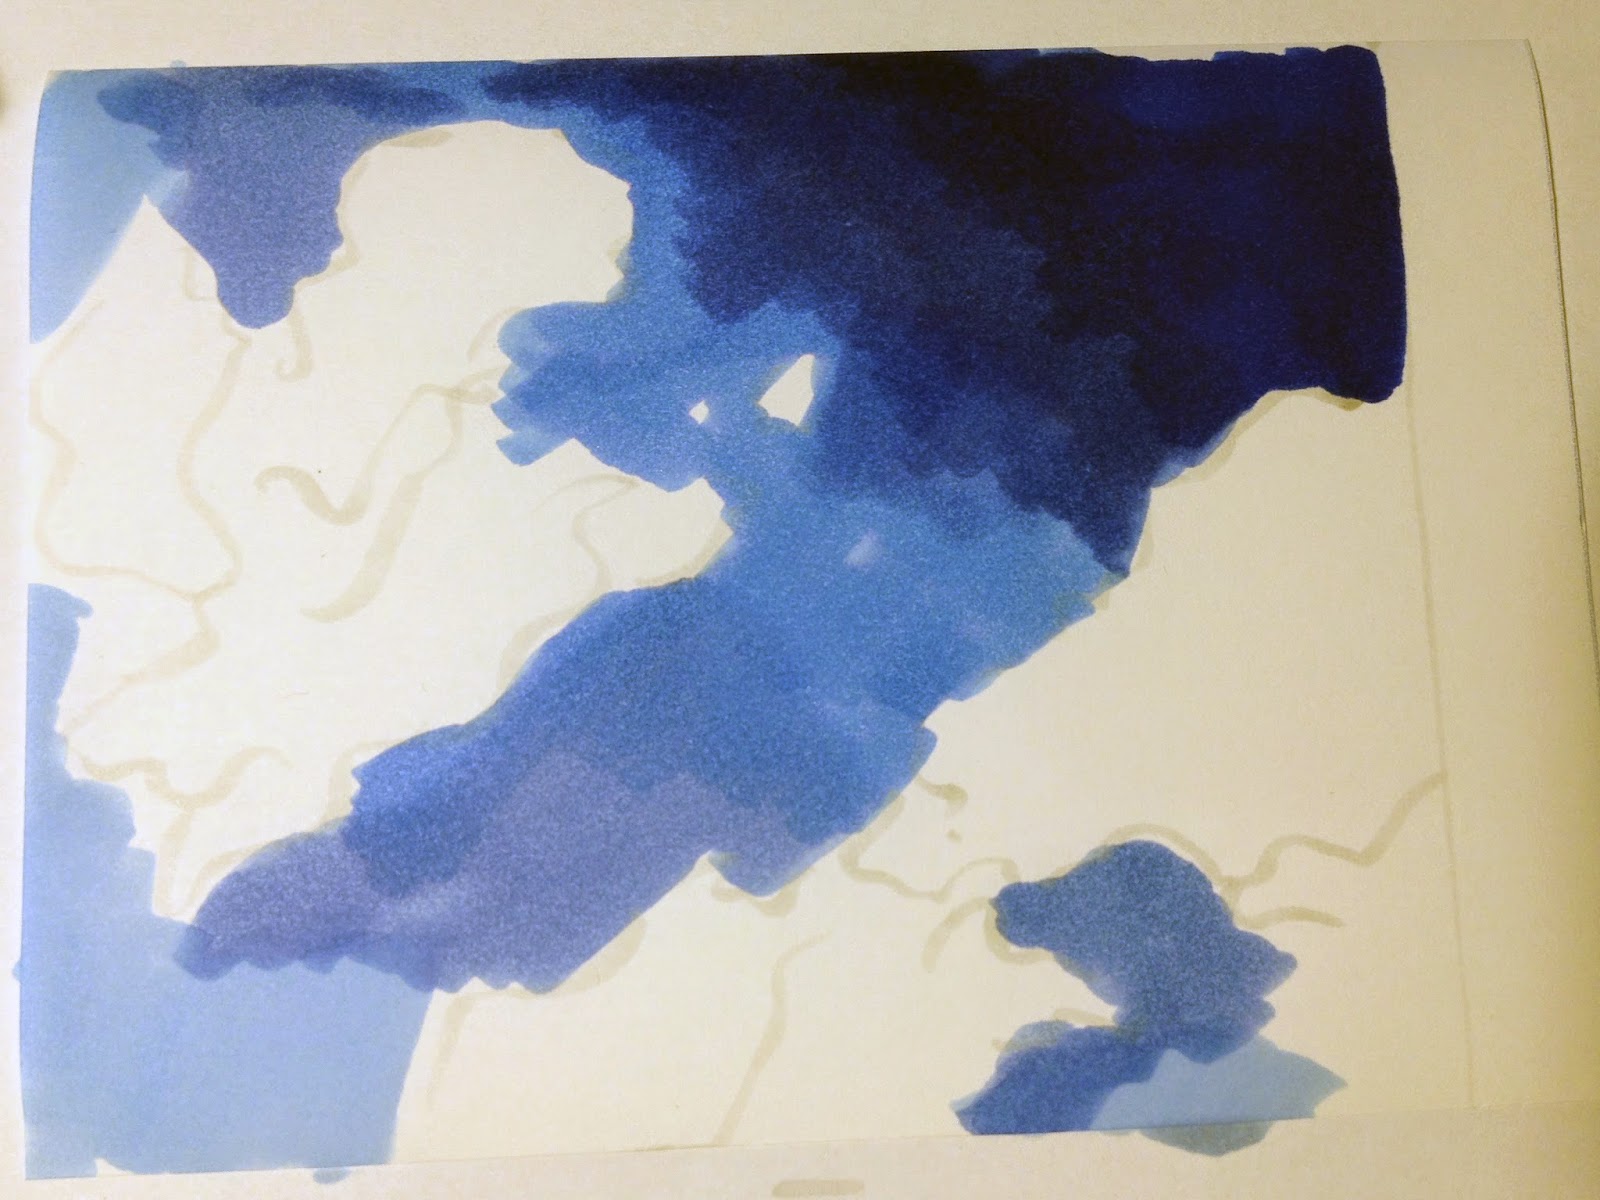
4. Mark the skies colour gradiation with different colours
while sparing the clouds
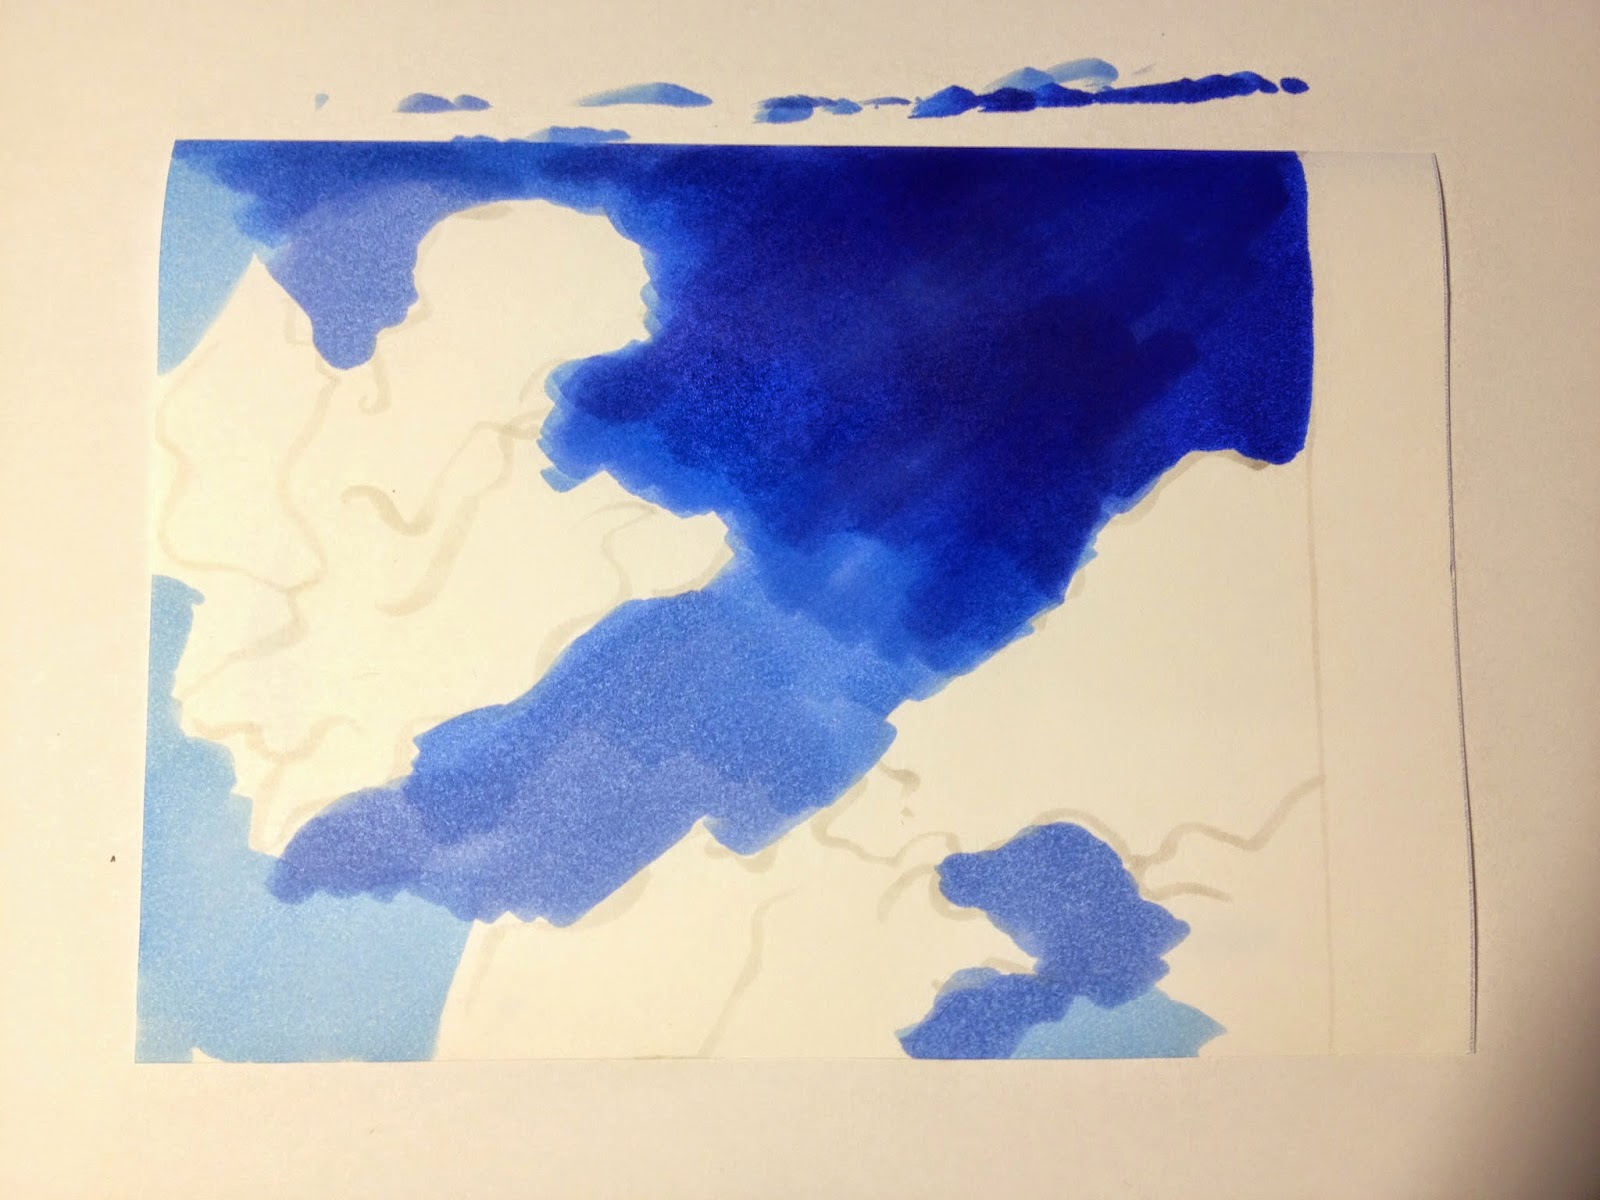
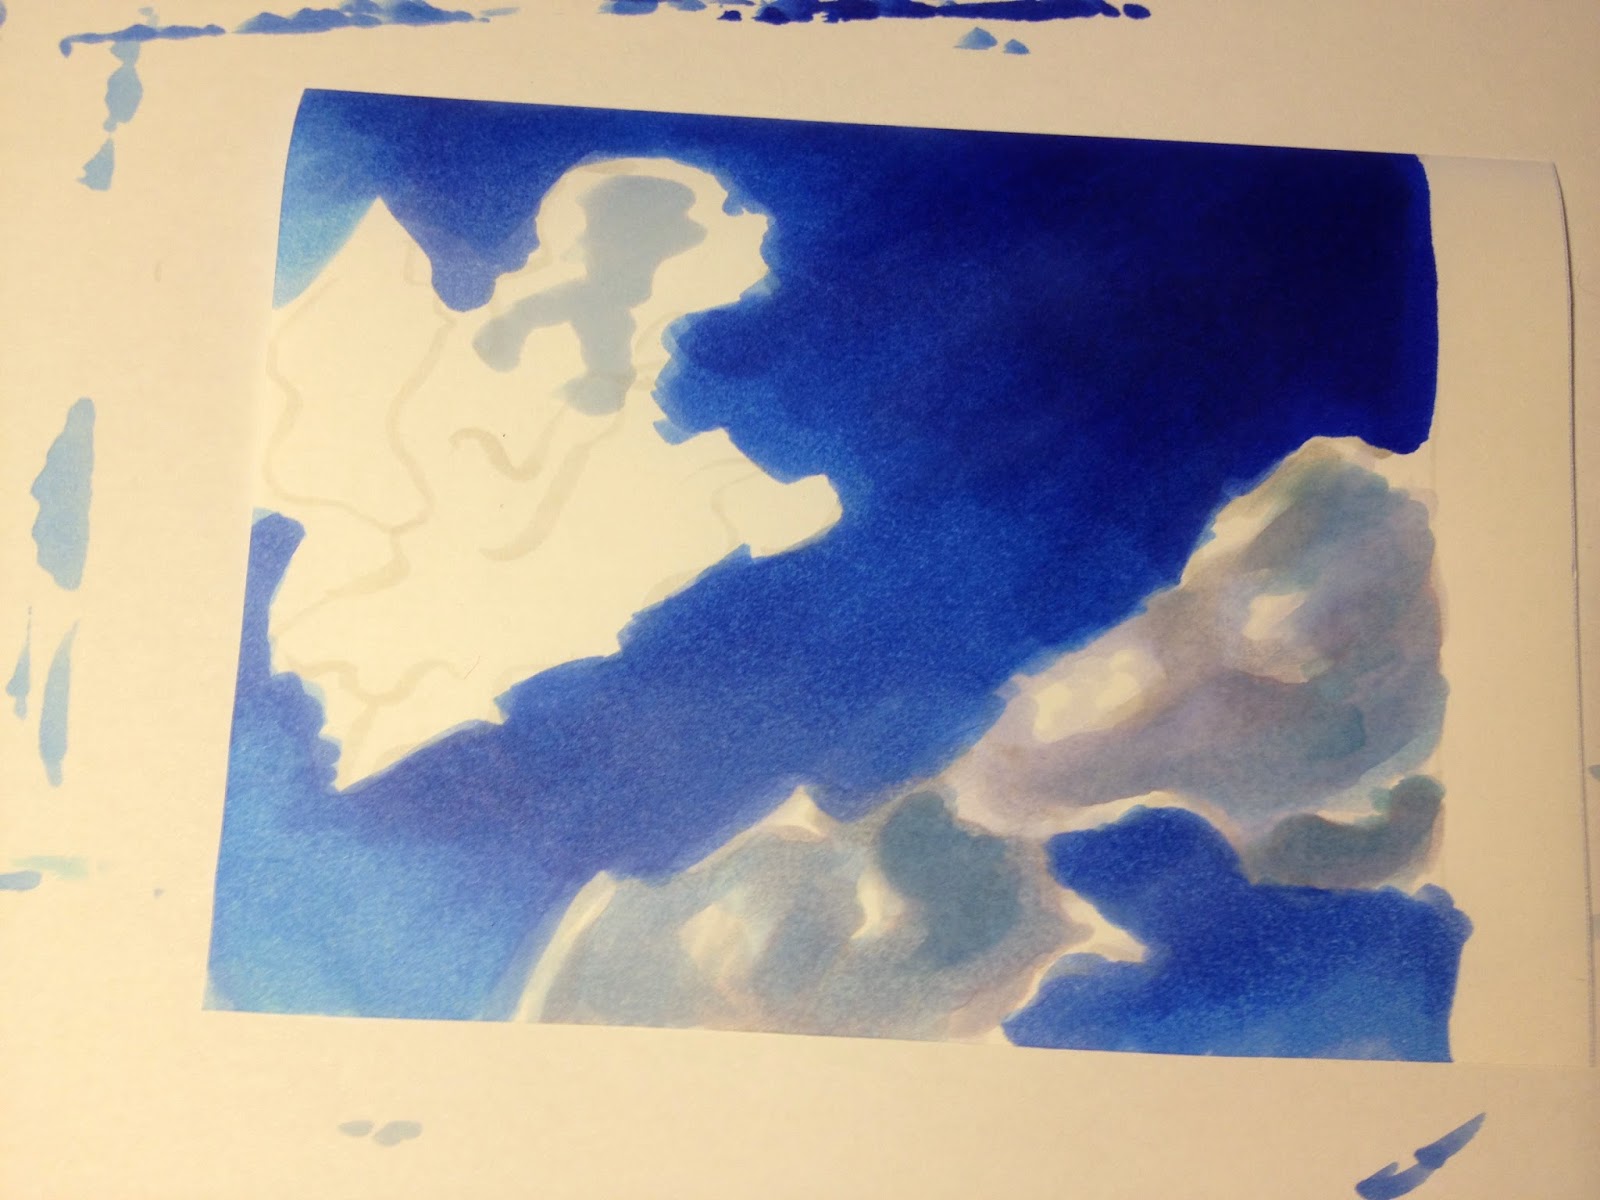
5. Start blending by mixing the colours

6. Once the background is finished, you can draw the clouds,
beginning with tagging the darkest areas.

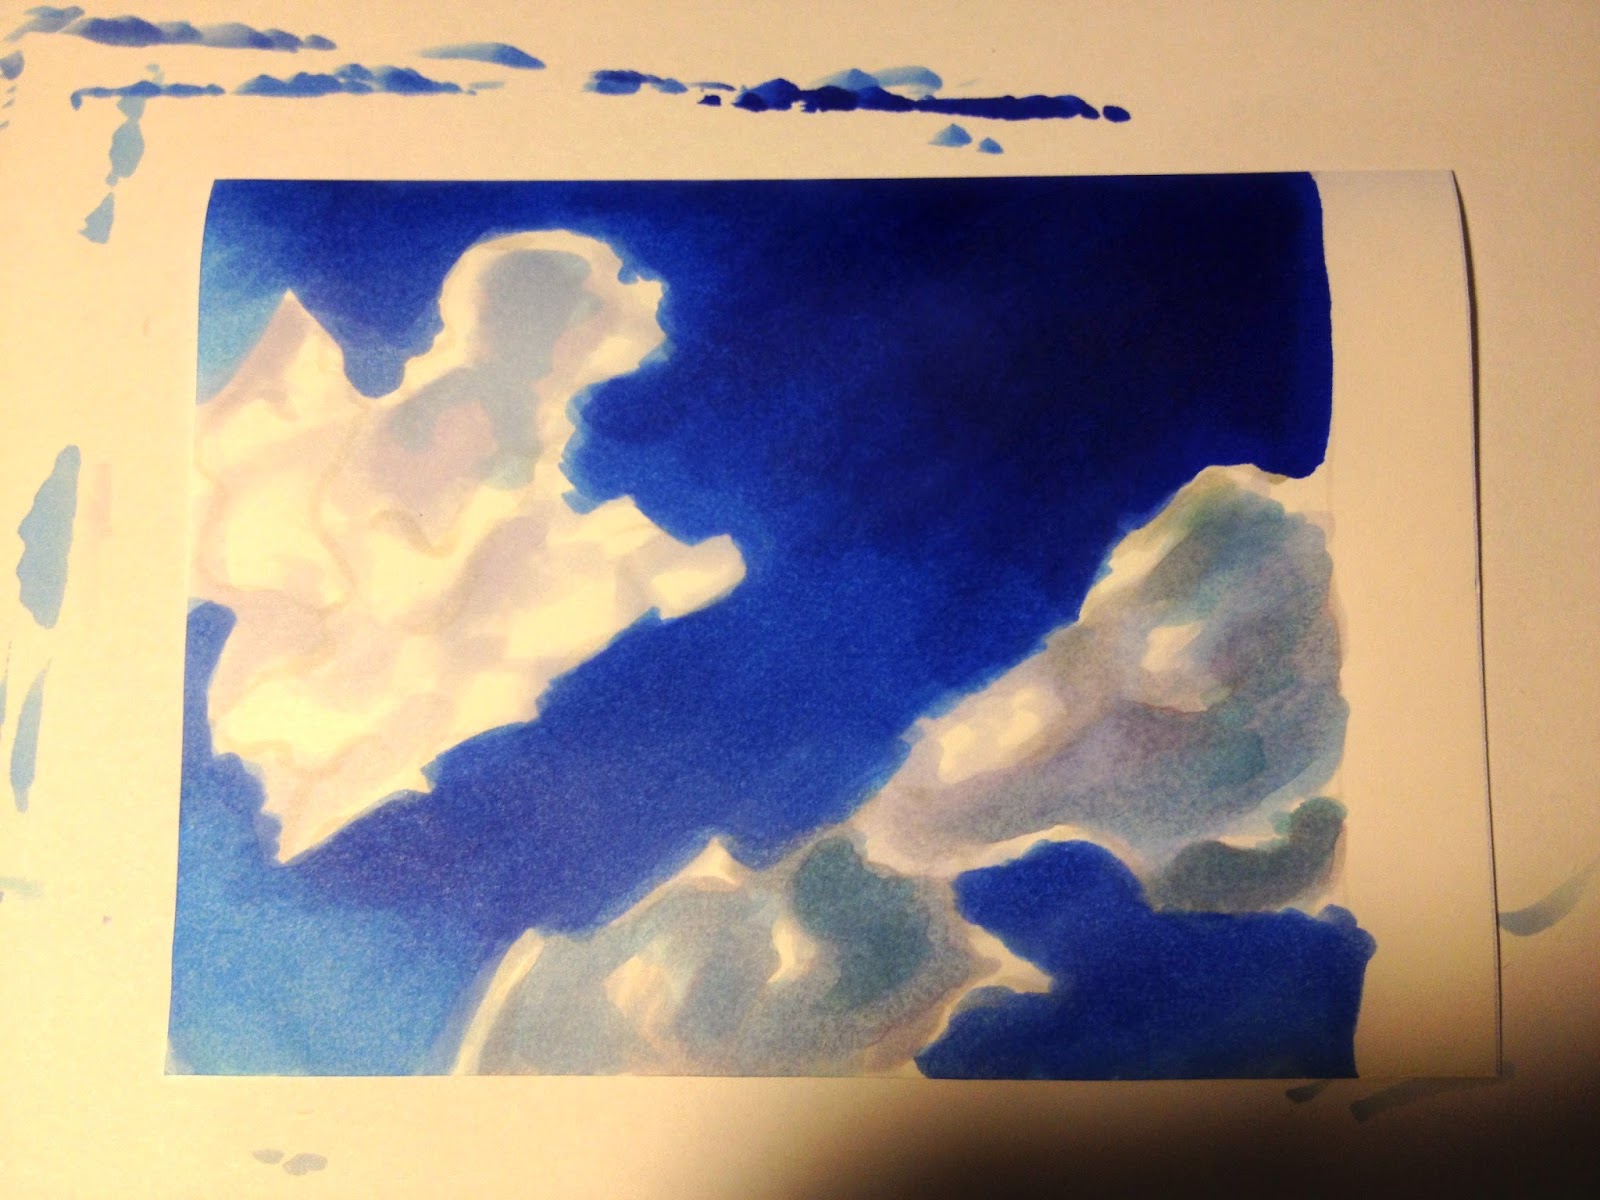
7. Again mark the different colour gradations and apply the colour
in small circling strokes. Don't forget to spare some white areas!


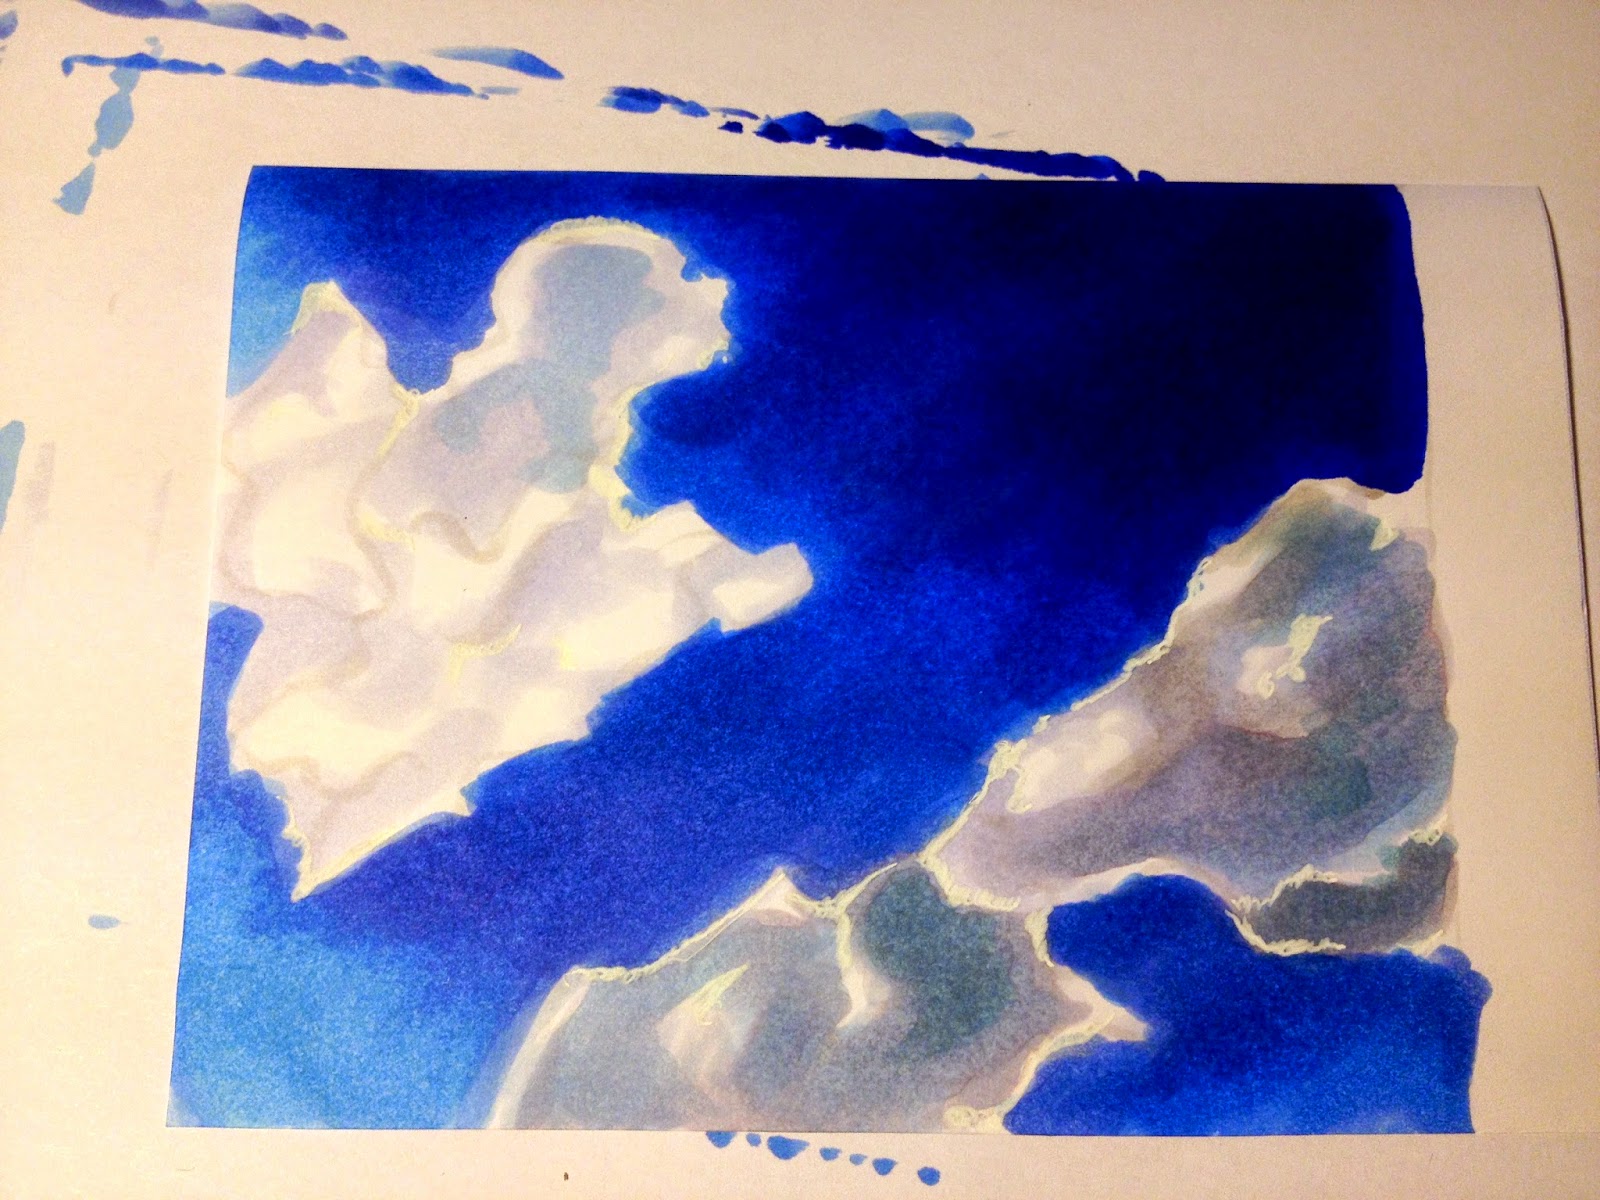
8. After blending the colours by mixing them, you can set some highlights
 with white gel pen, ink or opaque white


Hahnemühle Layout & Illustration Manga Paper
Sky: B32,B28, B26,B24,B23,B12,B00
Clouds: B91,B60,B41,BV20, N1 +White Gel Pen
 ---------

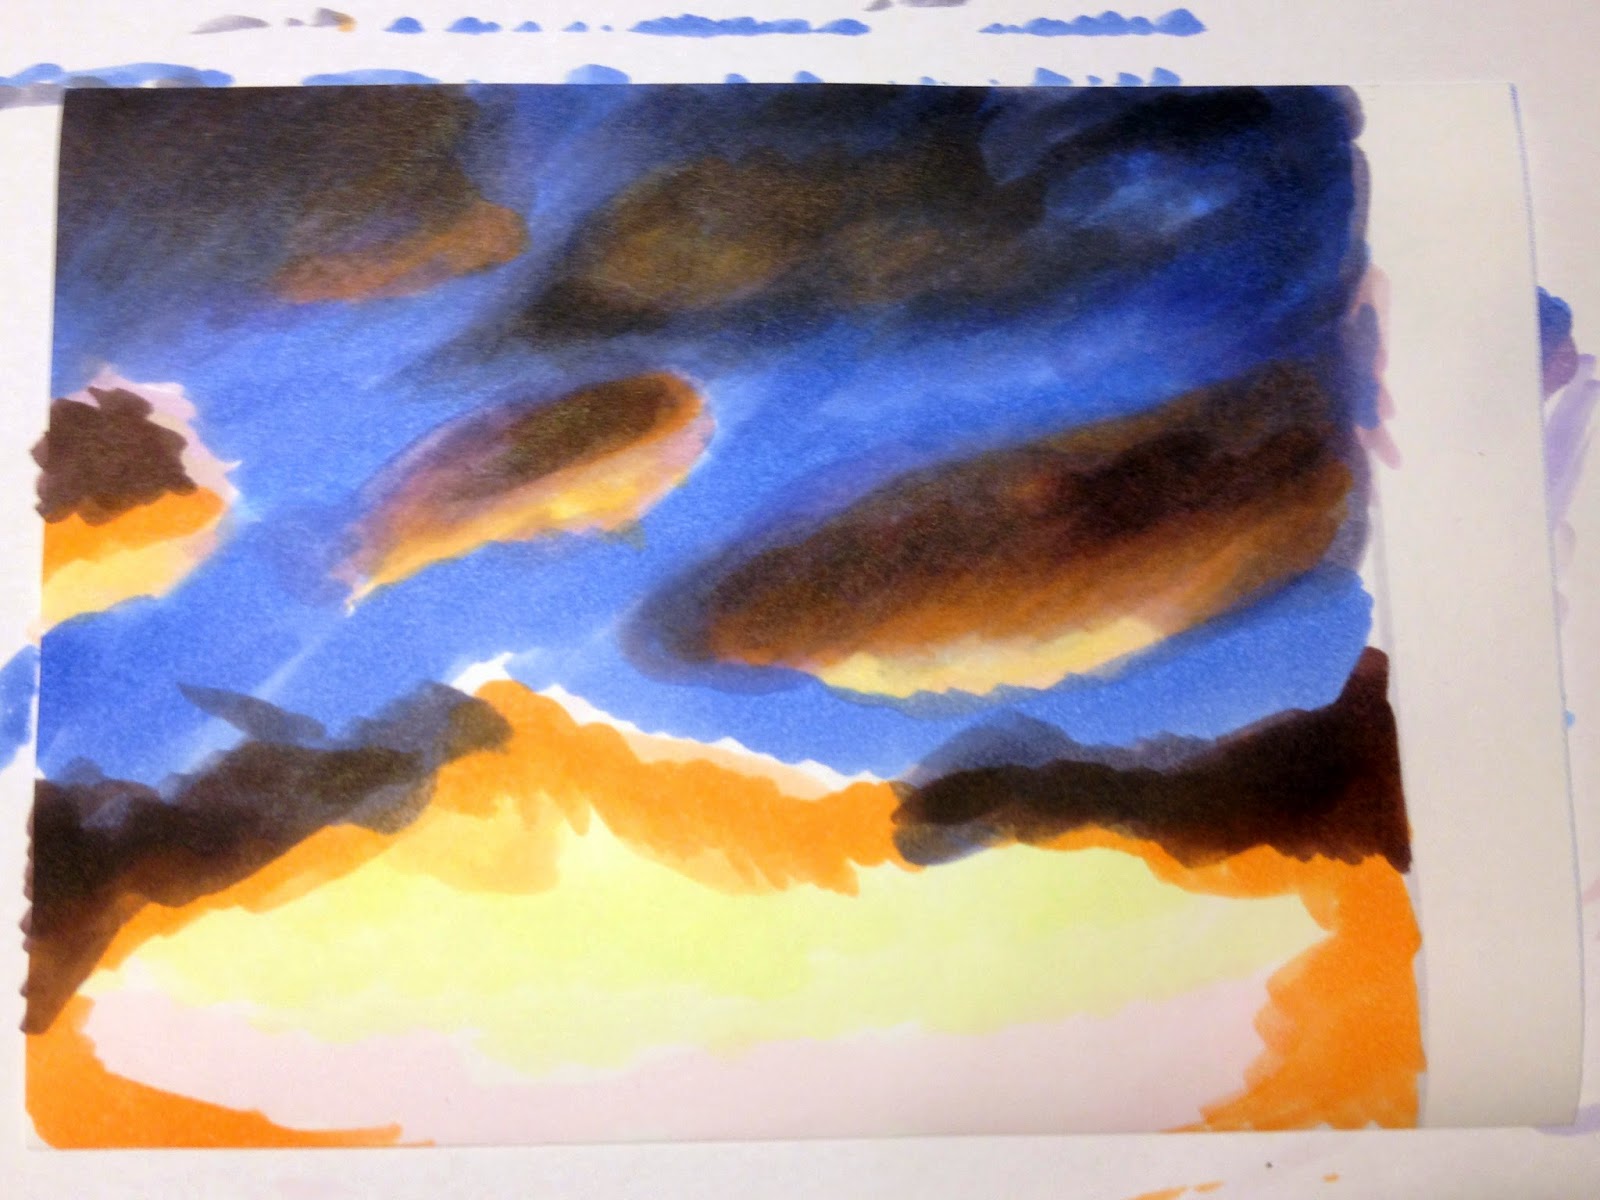
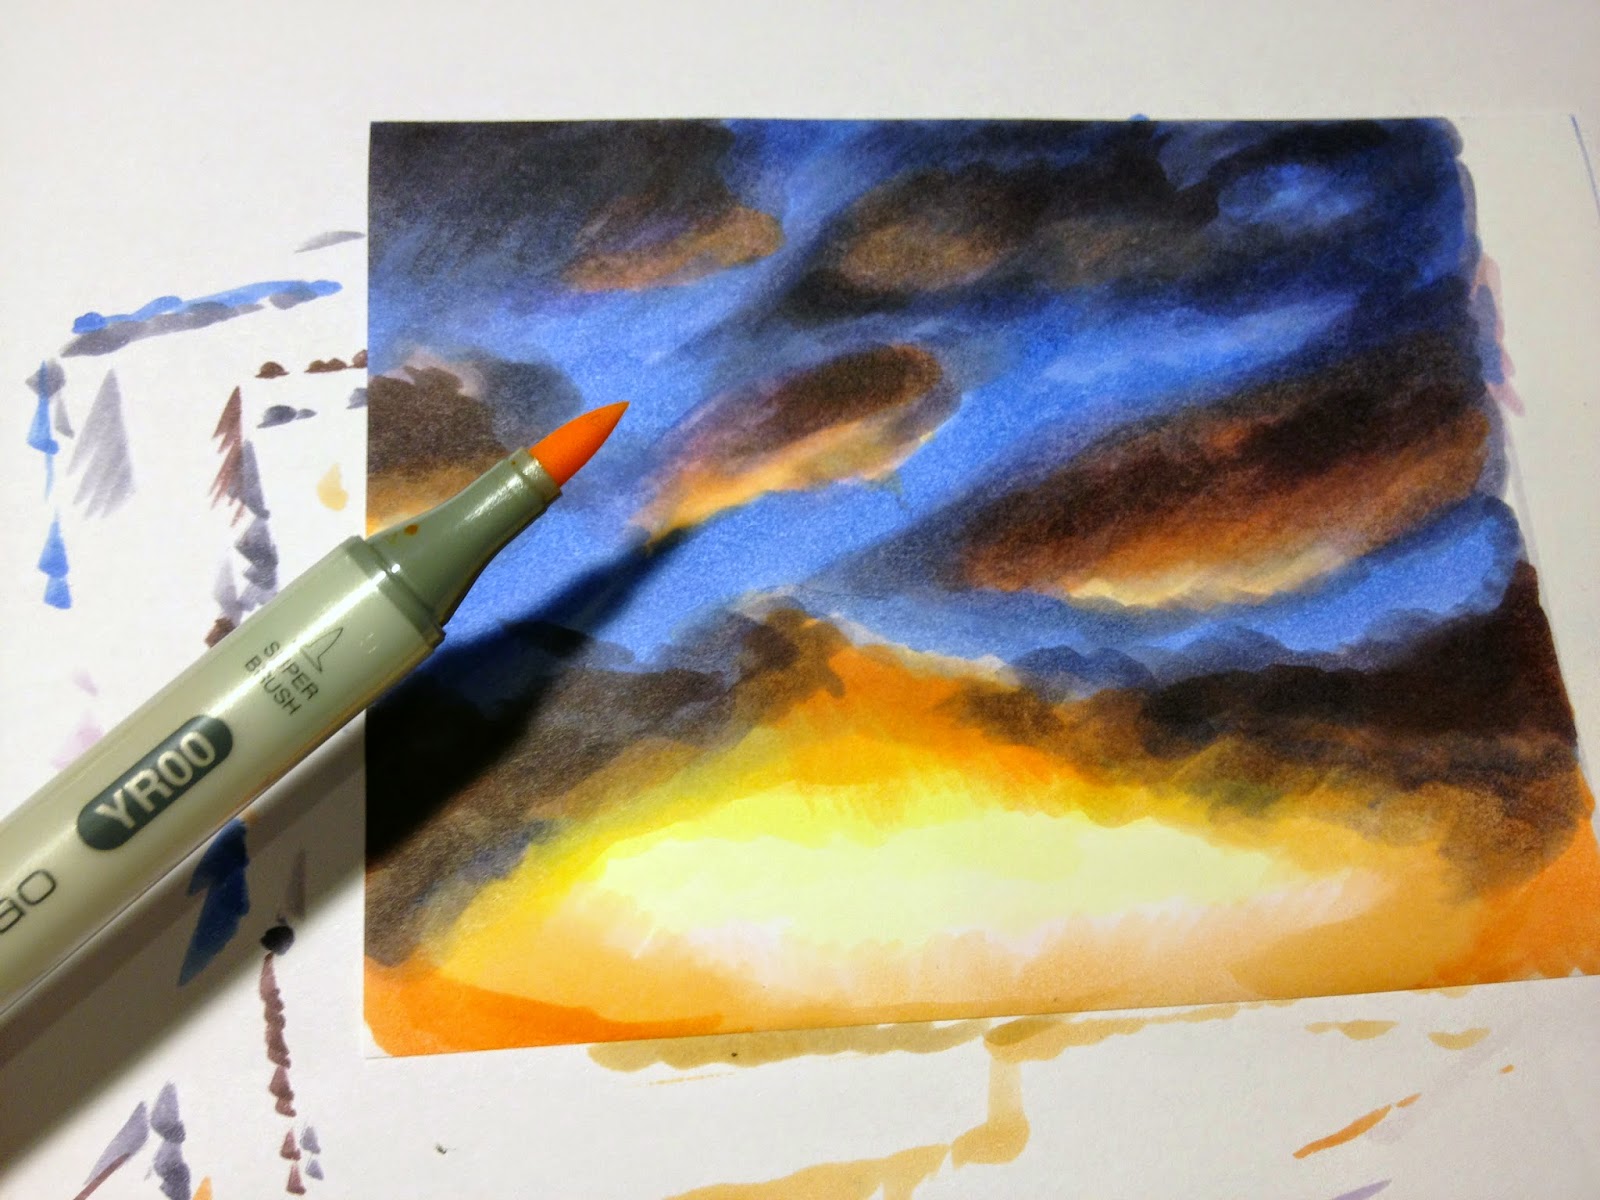
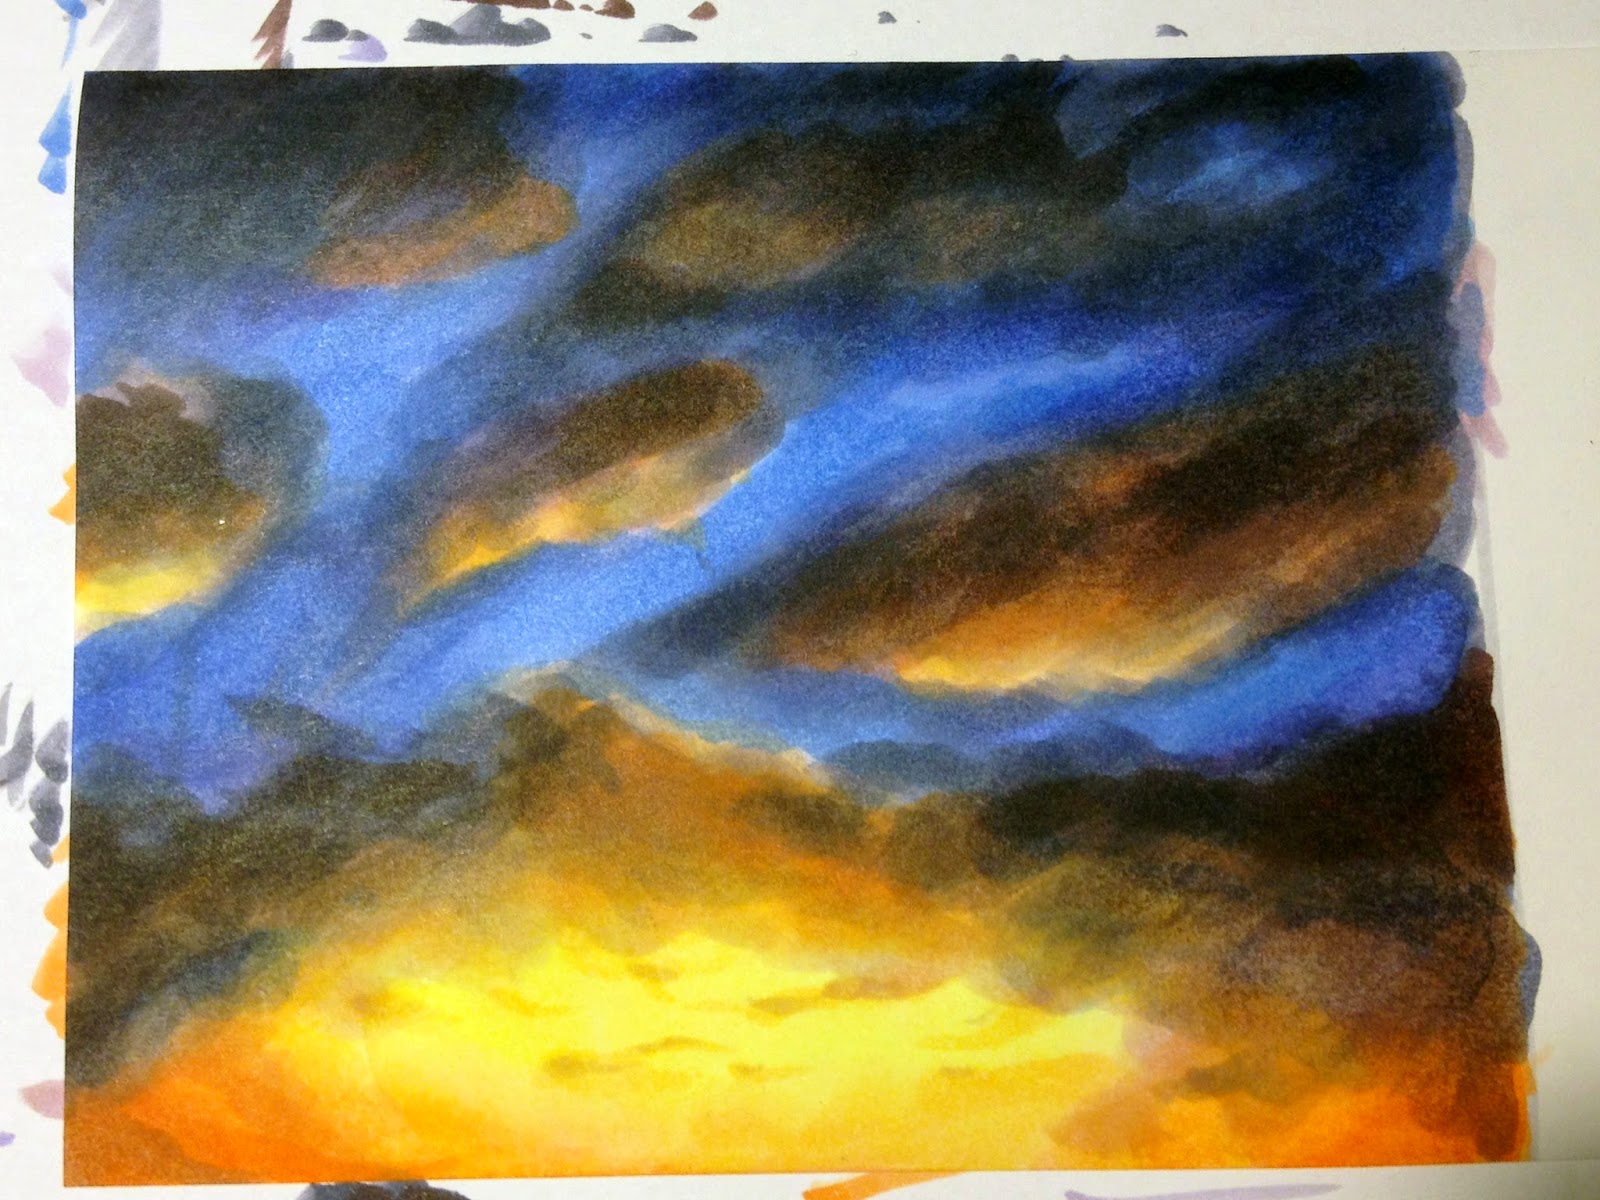
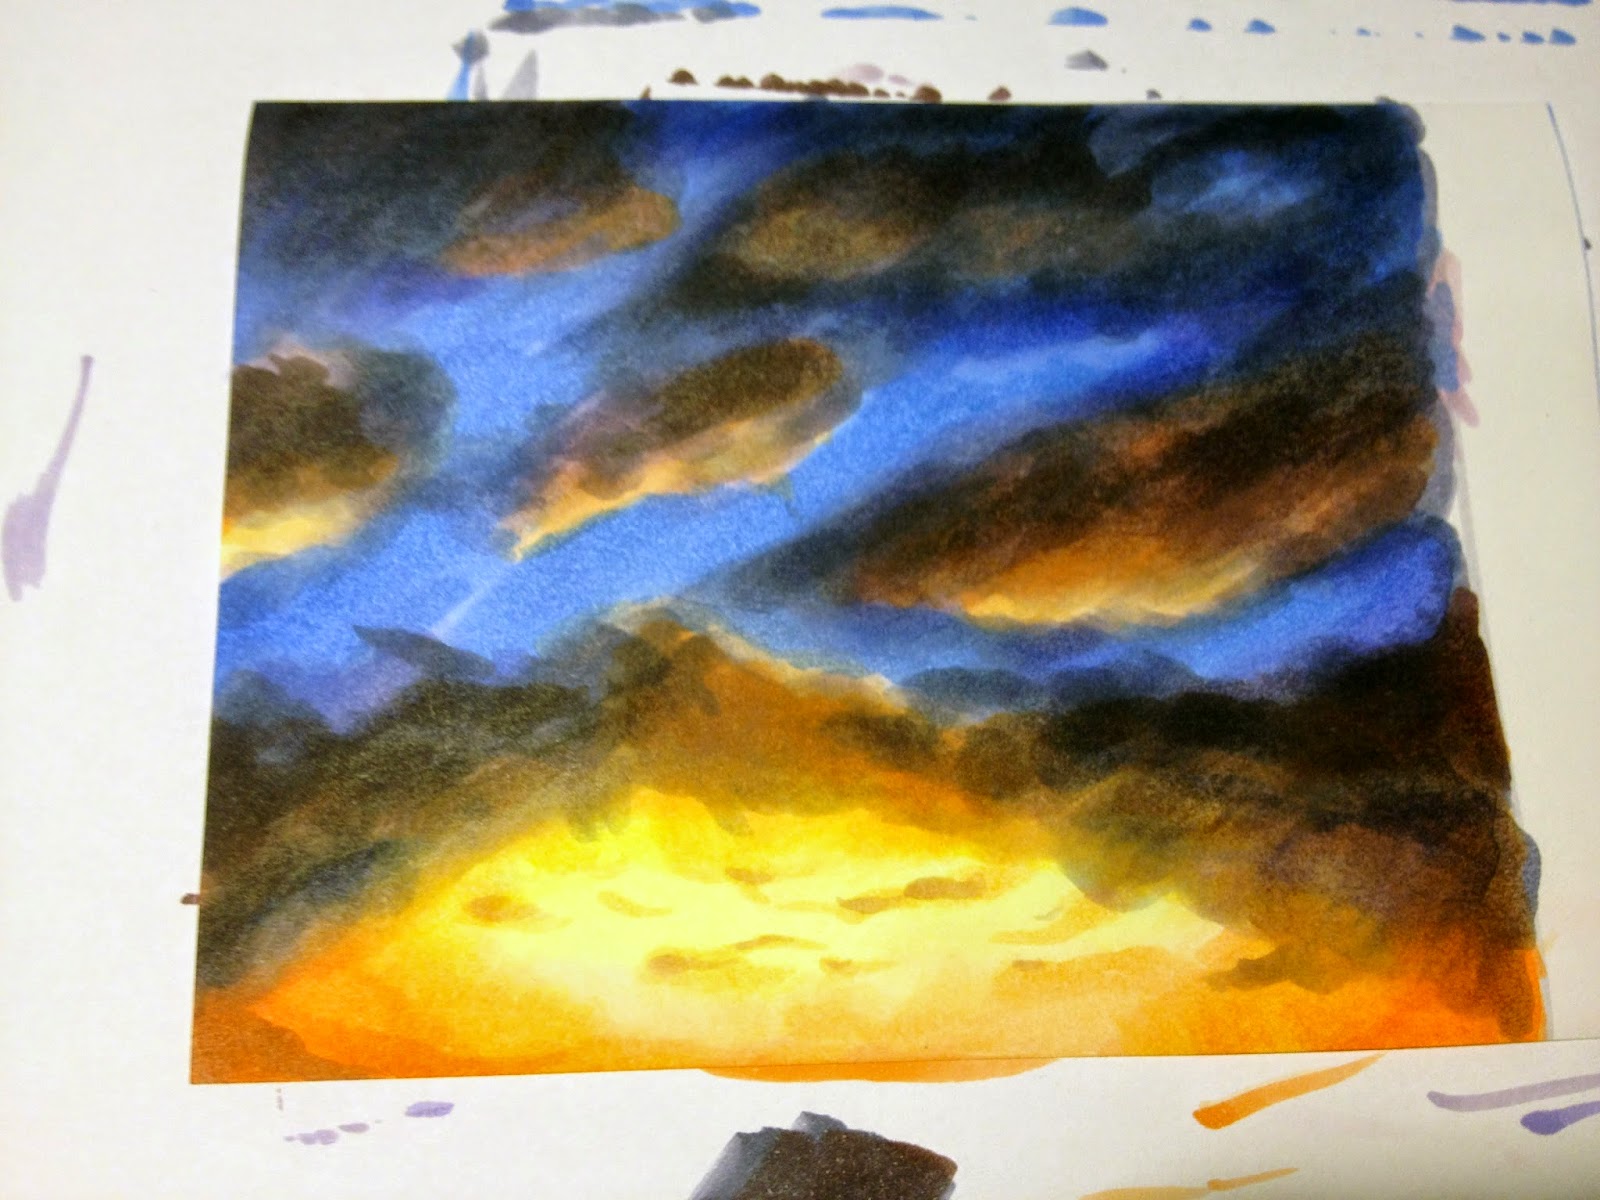
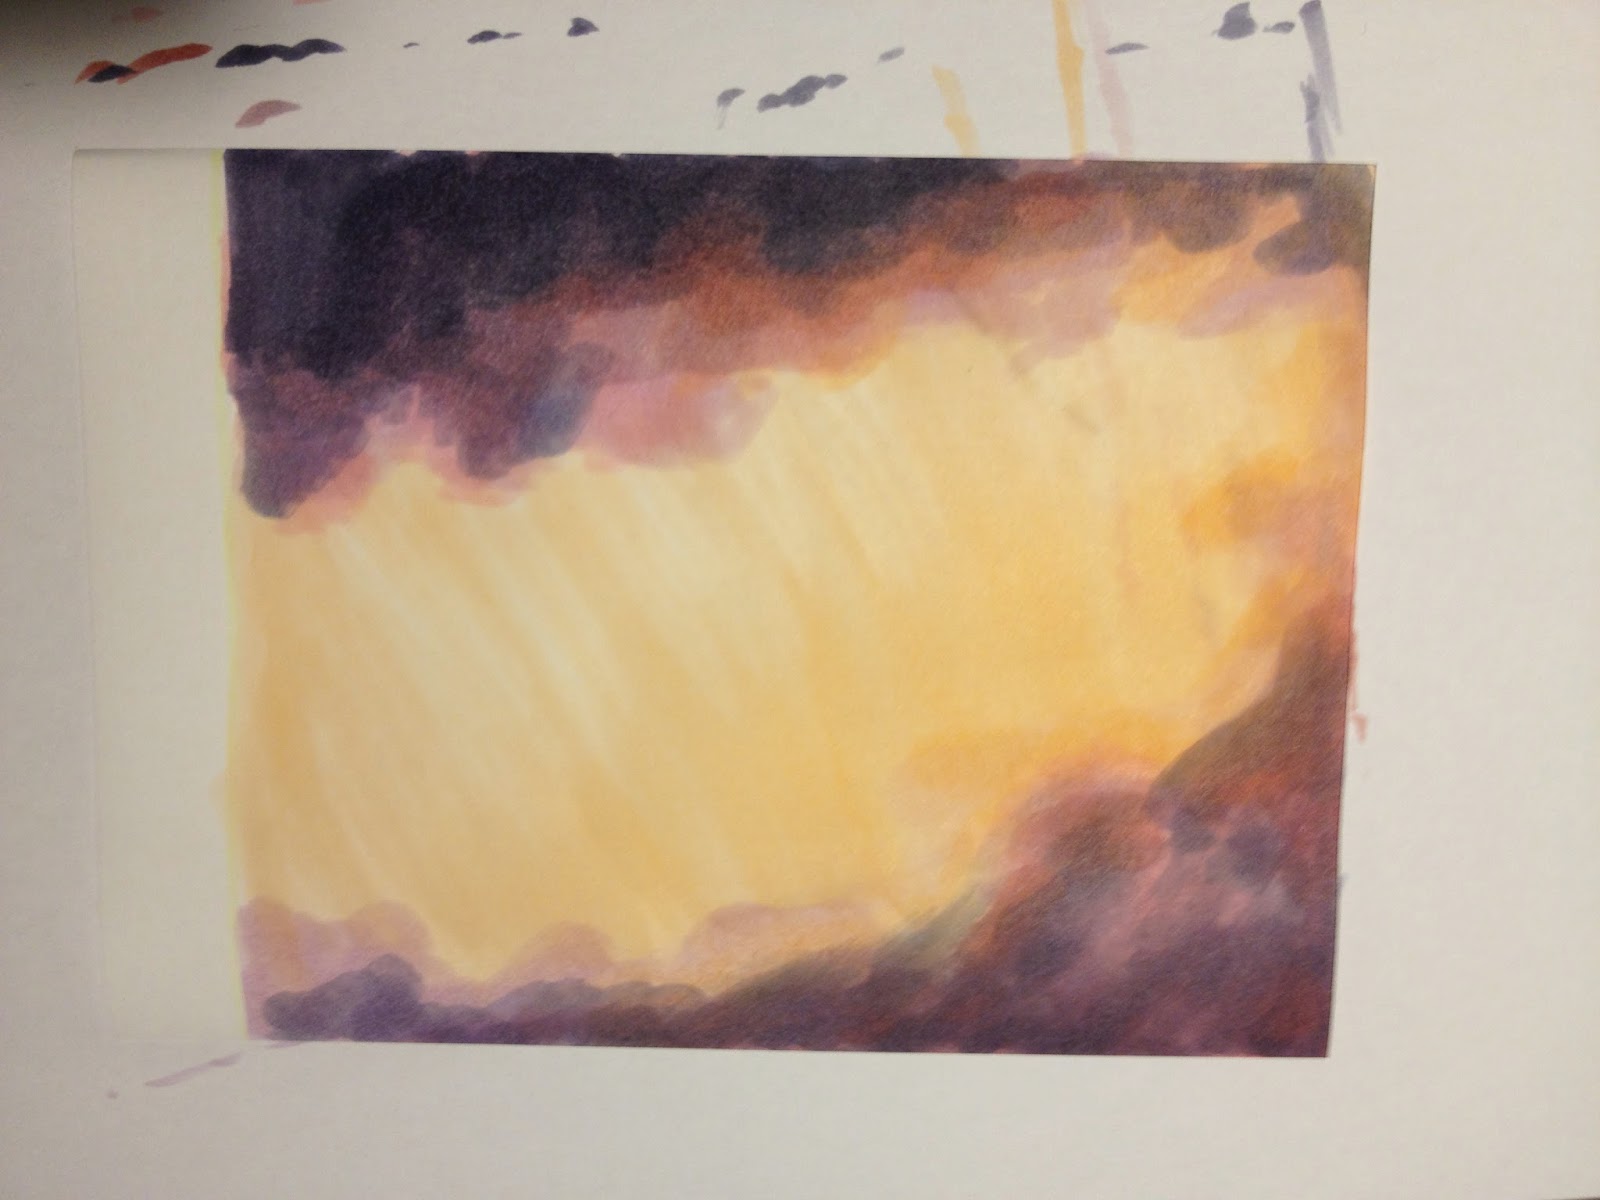
The next one is a little bit mor complicated. It's a dawn sky

1.Start with tagging the background area with a yellow and blue  colour tone


2. Be careful to keep space between yellow and blue and start tagging the clouds with BV25-23 

3.Choose a drawing direction. Start colouring with wiping movements (steadily decreasing pressure)

4. Roughly define the light and the dark areas. Use YR-tones for the bright areas

5. Start blending by adding new colour levels and mixing them

6.For a soft transition between the lightest and the darkest area use YR-(Layer) and Y(base)-tones and mix them

7. Apply the colour in circling strokes to make the clouds fluffy

8. Continue blending until you're satisfied with the result


Hahnemühle Illustration & Layout Manga Paper
Colours: V99, V20, V01, V0000,BV31, BV25, BV23, BV20,B60,
B32,B23, R20,R02, YR61, YR02, YR01, YR00,Y11, Y00

------------


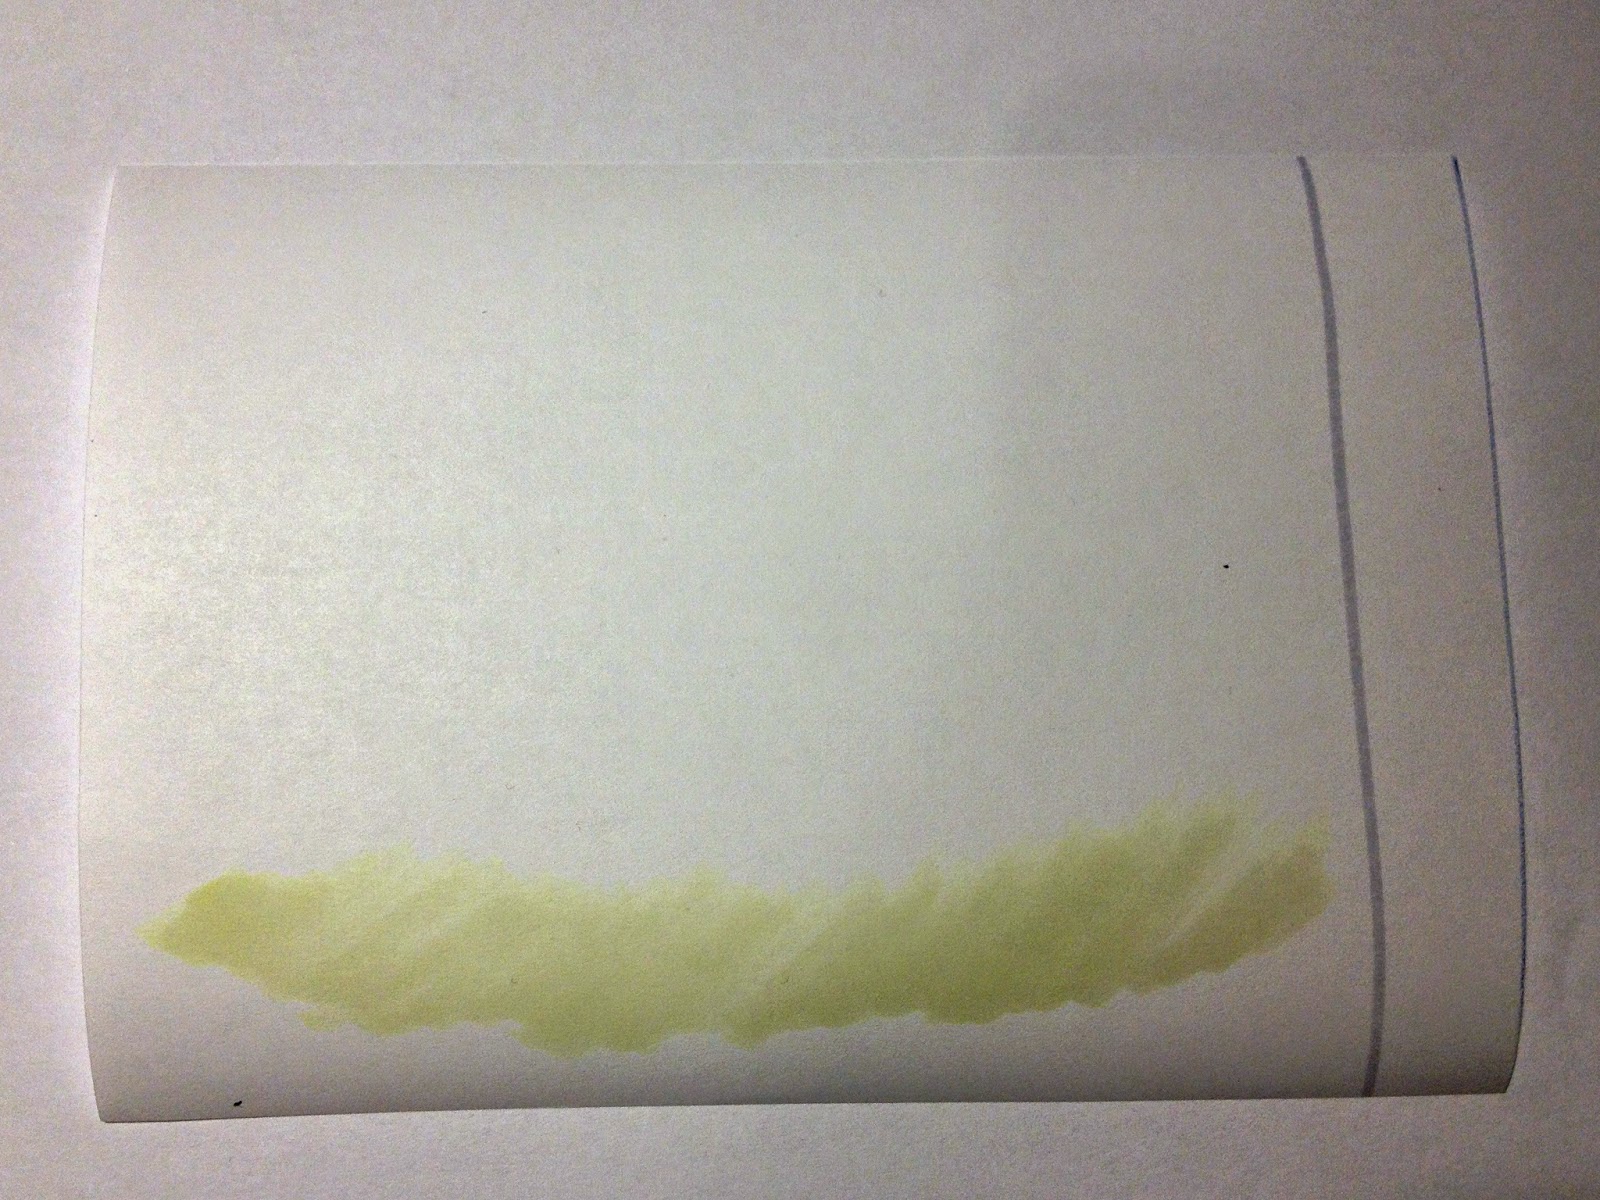
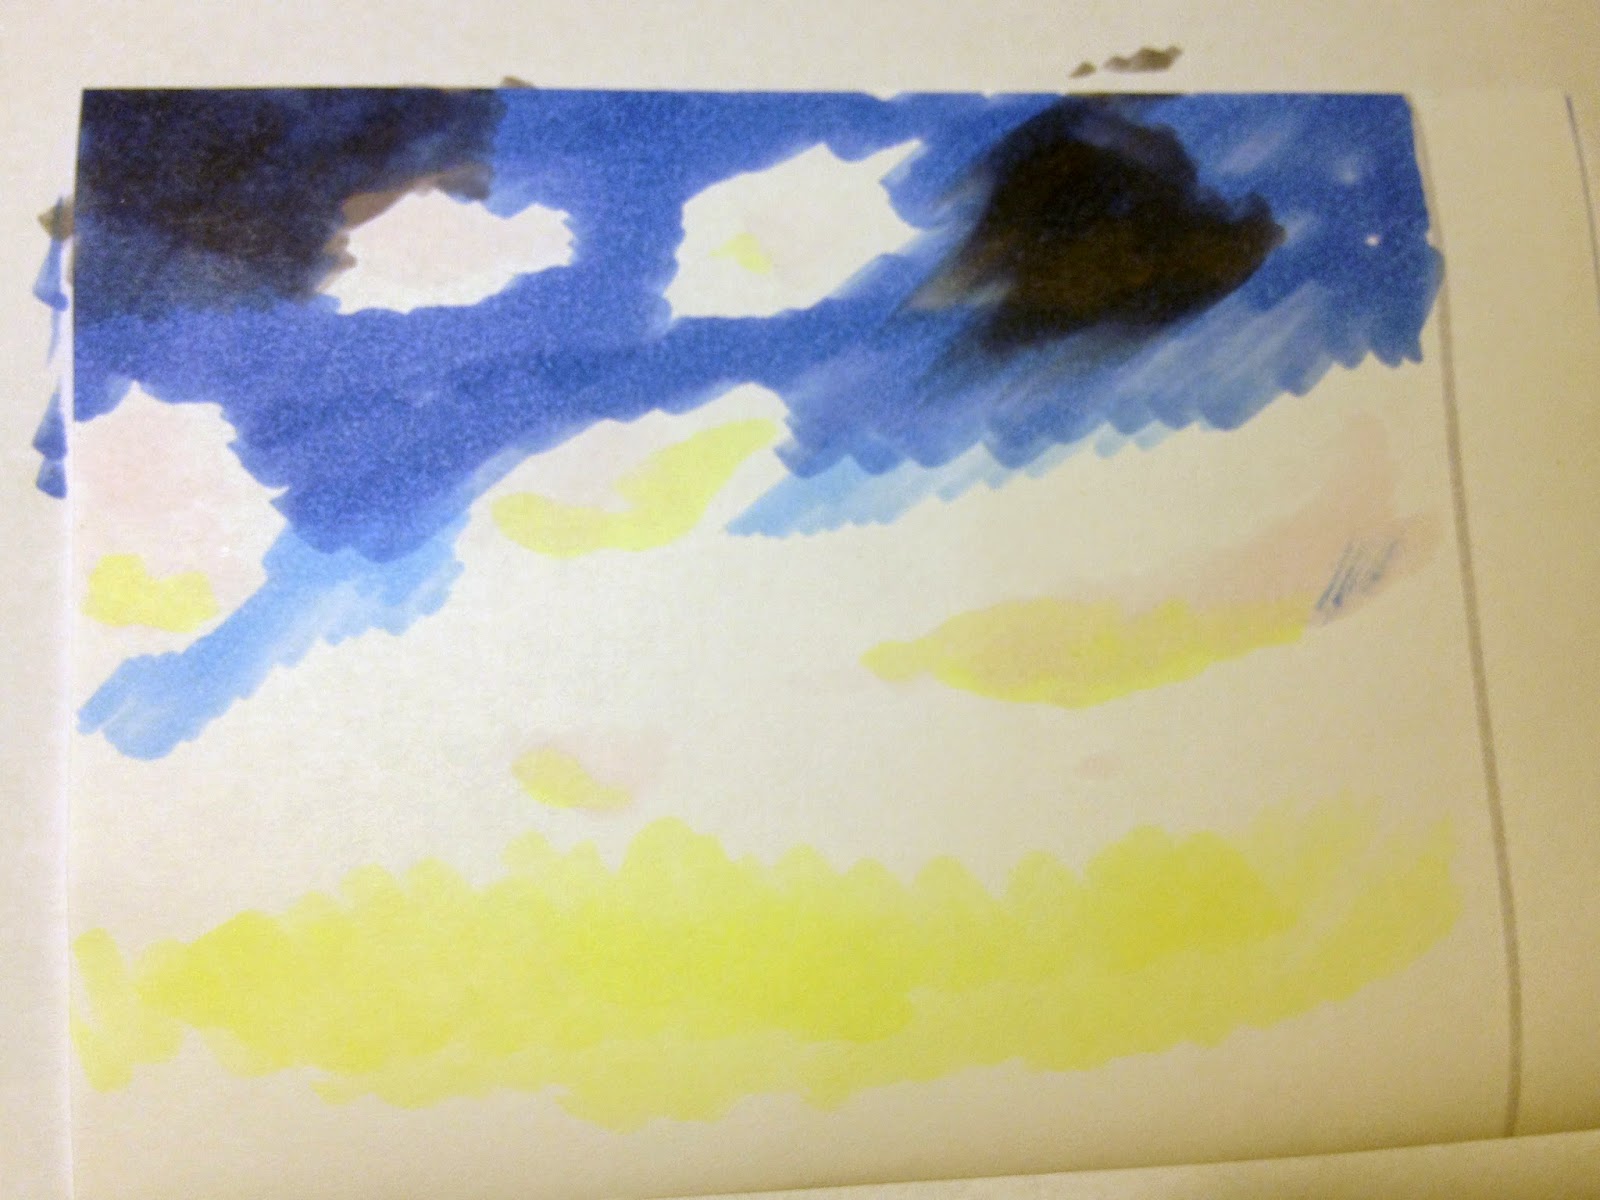
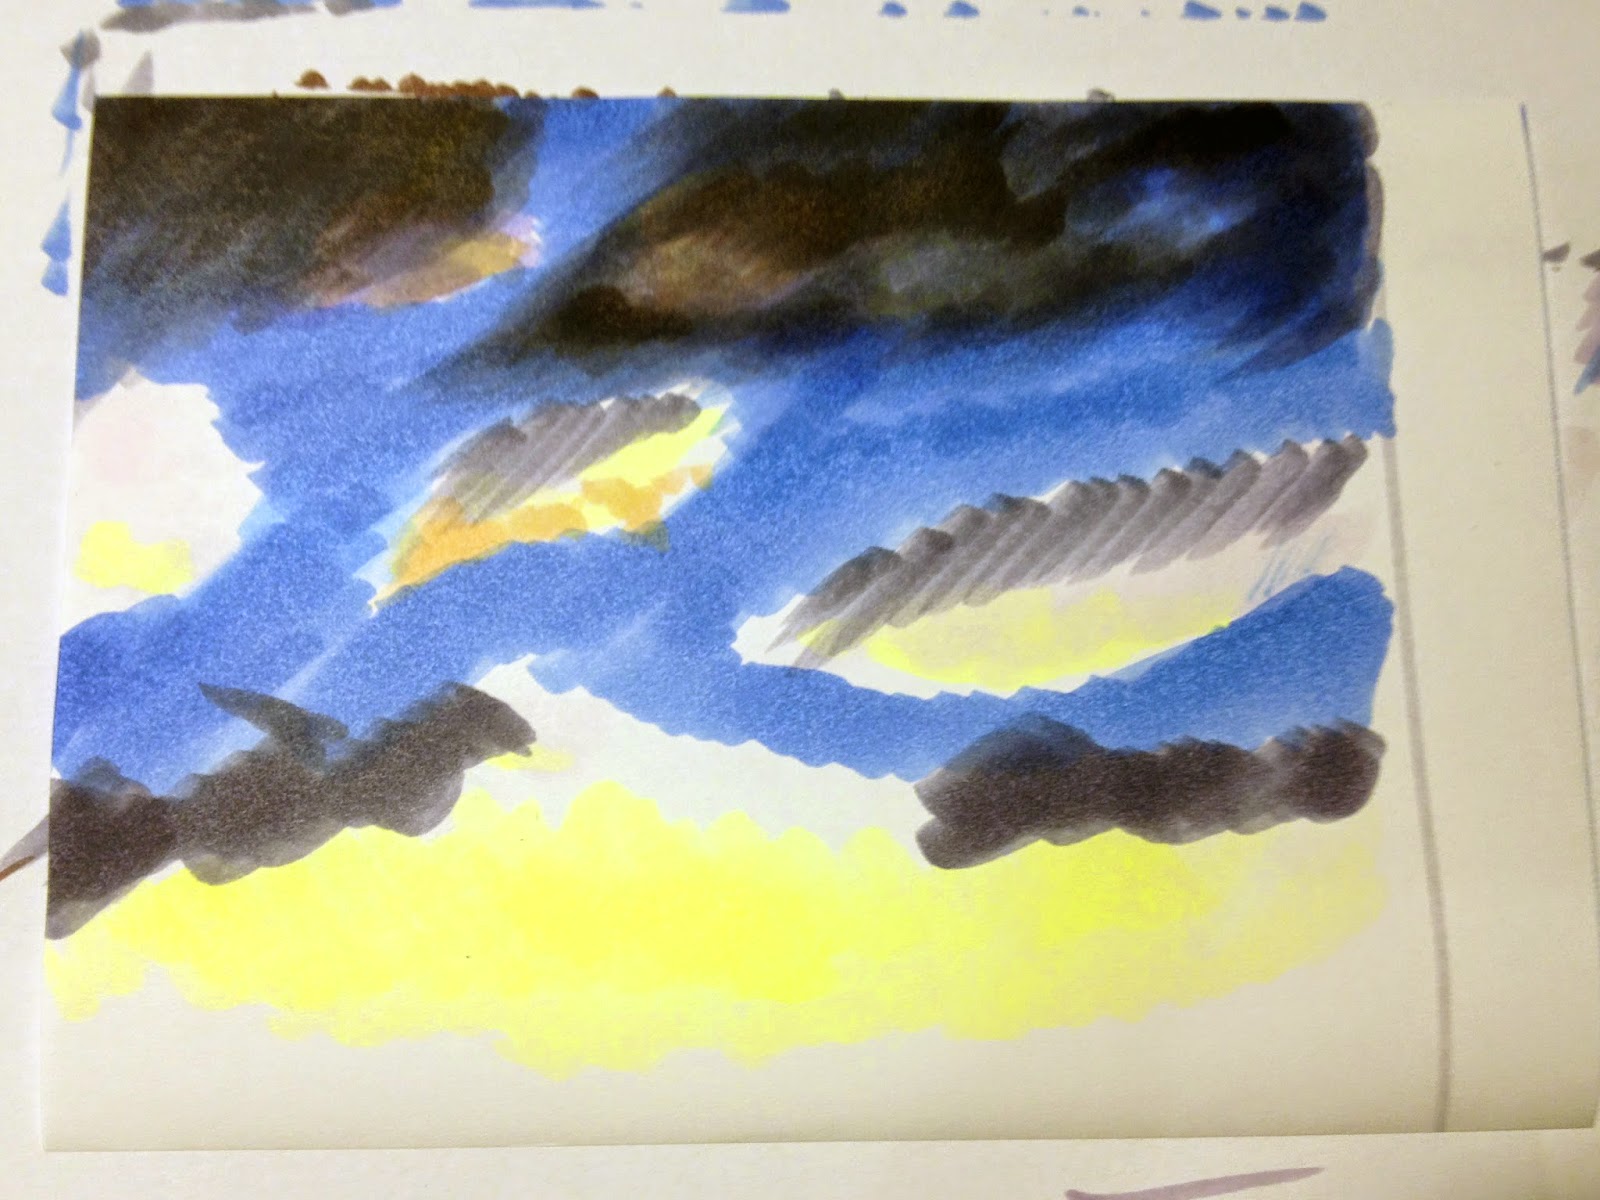
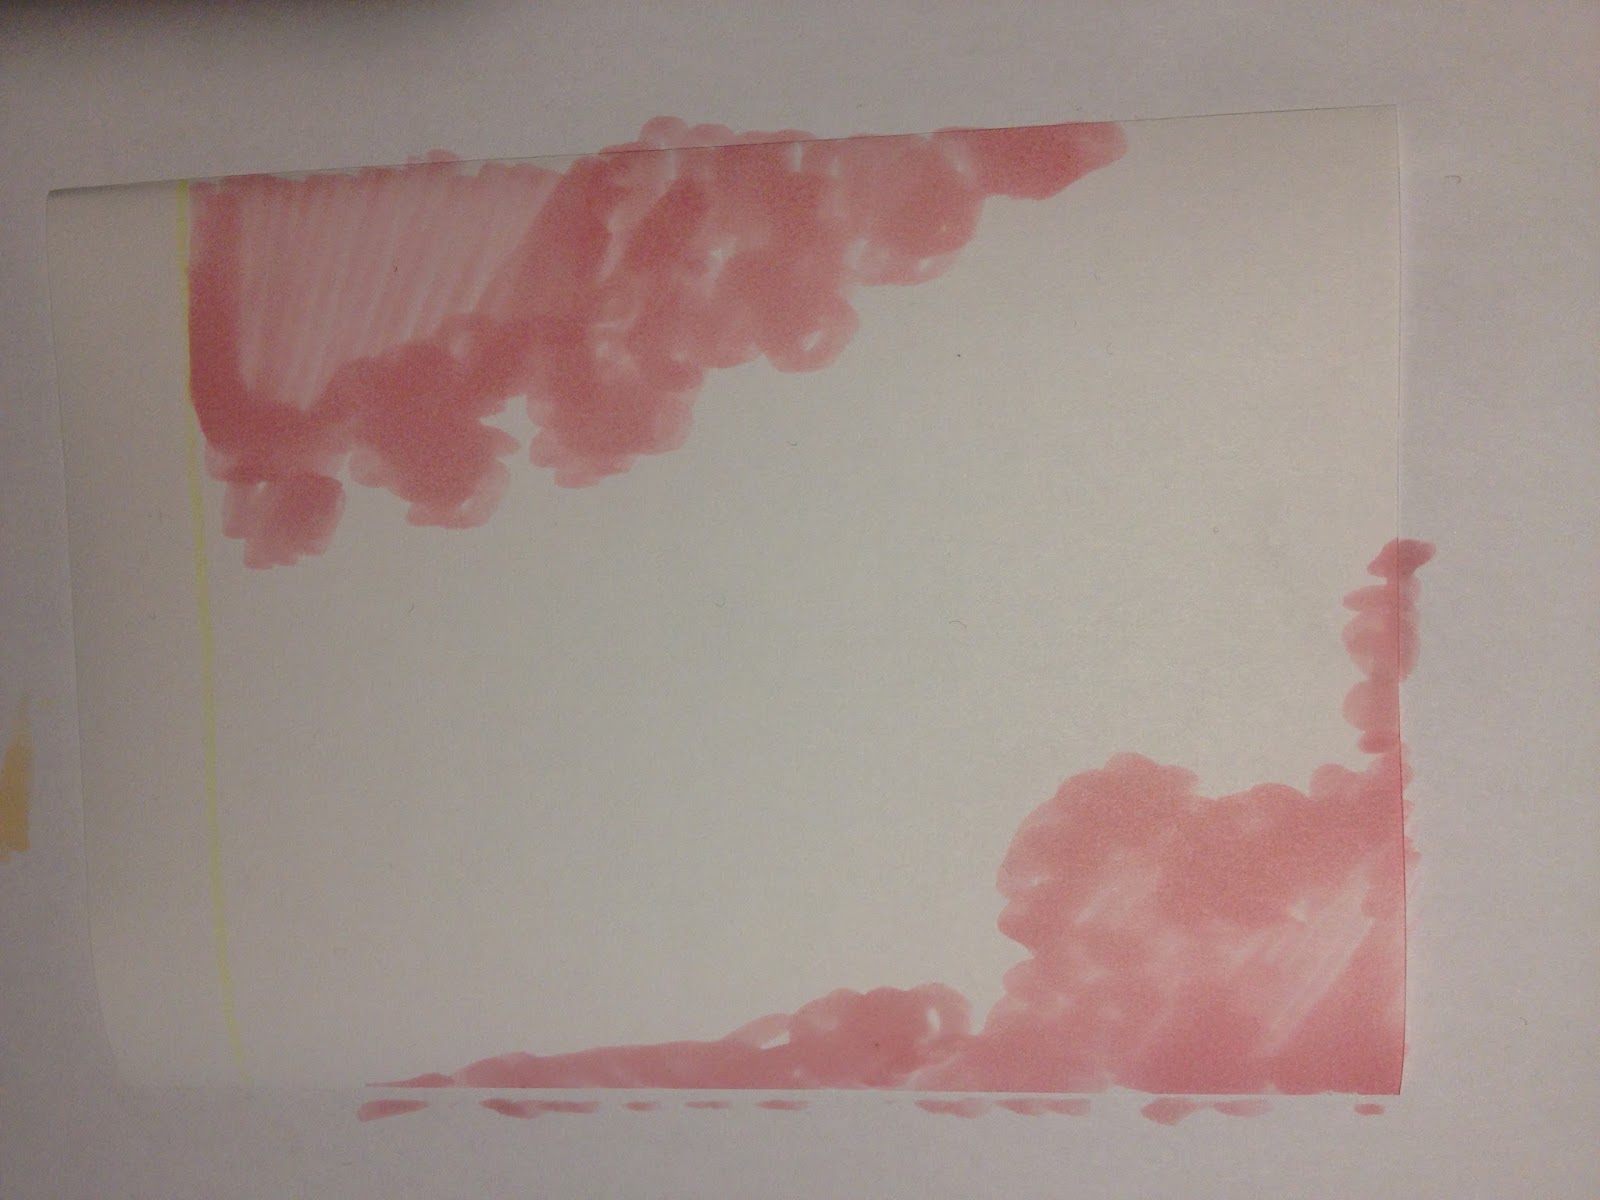
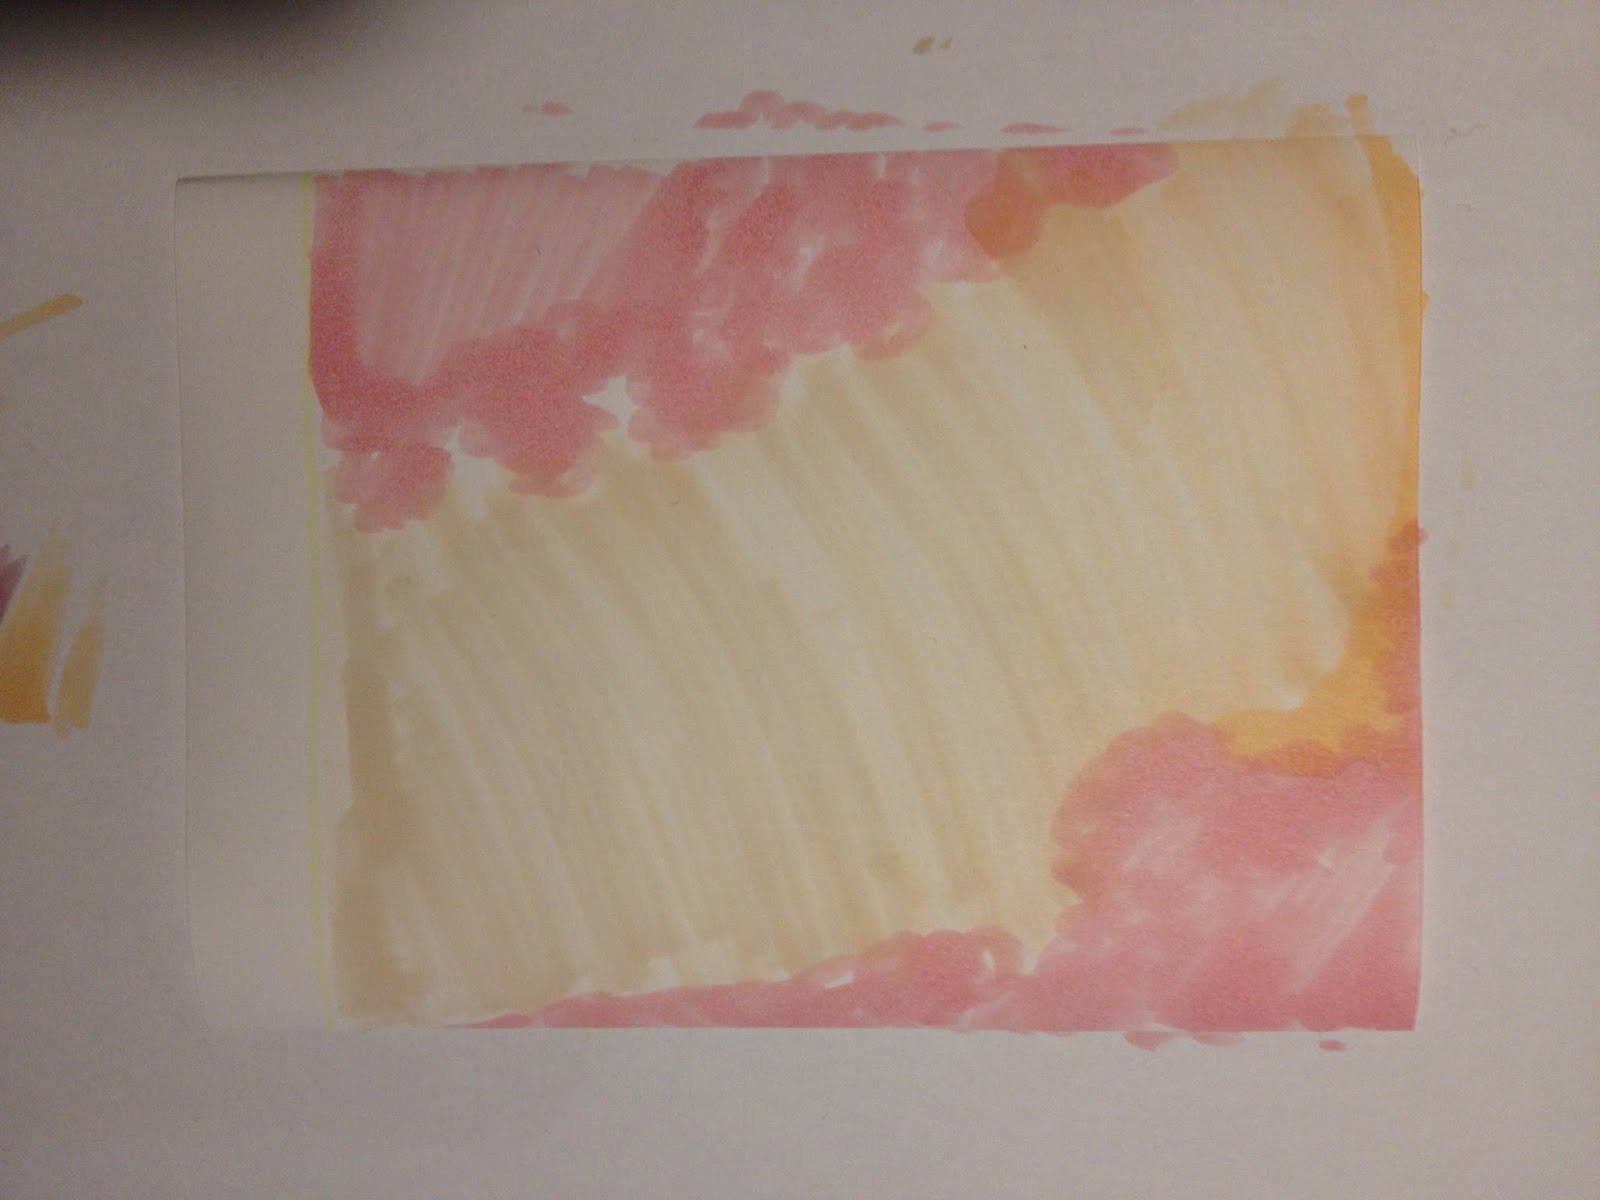
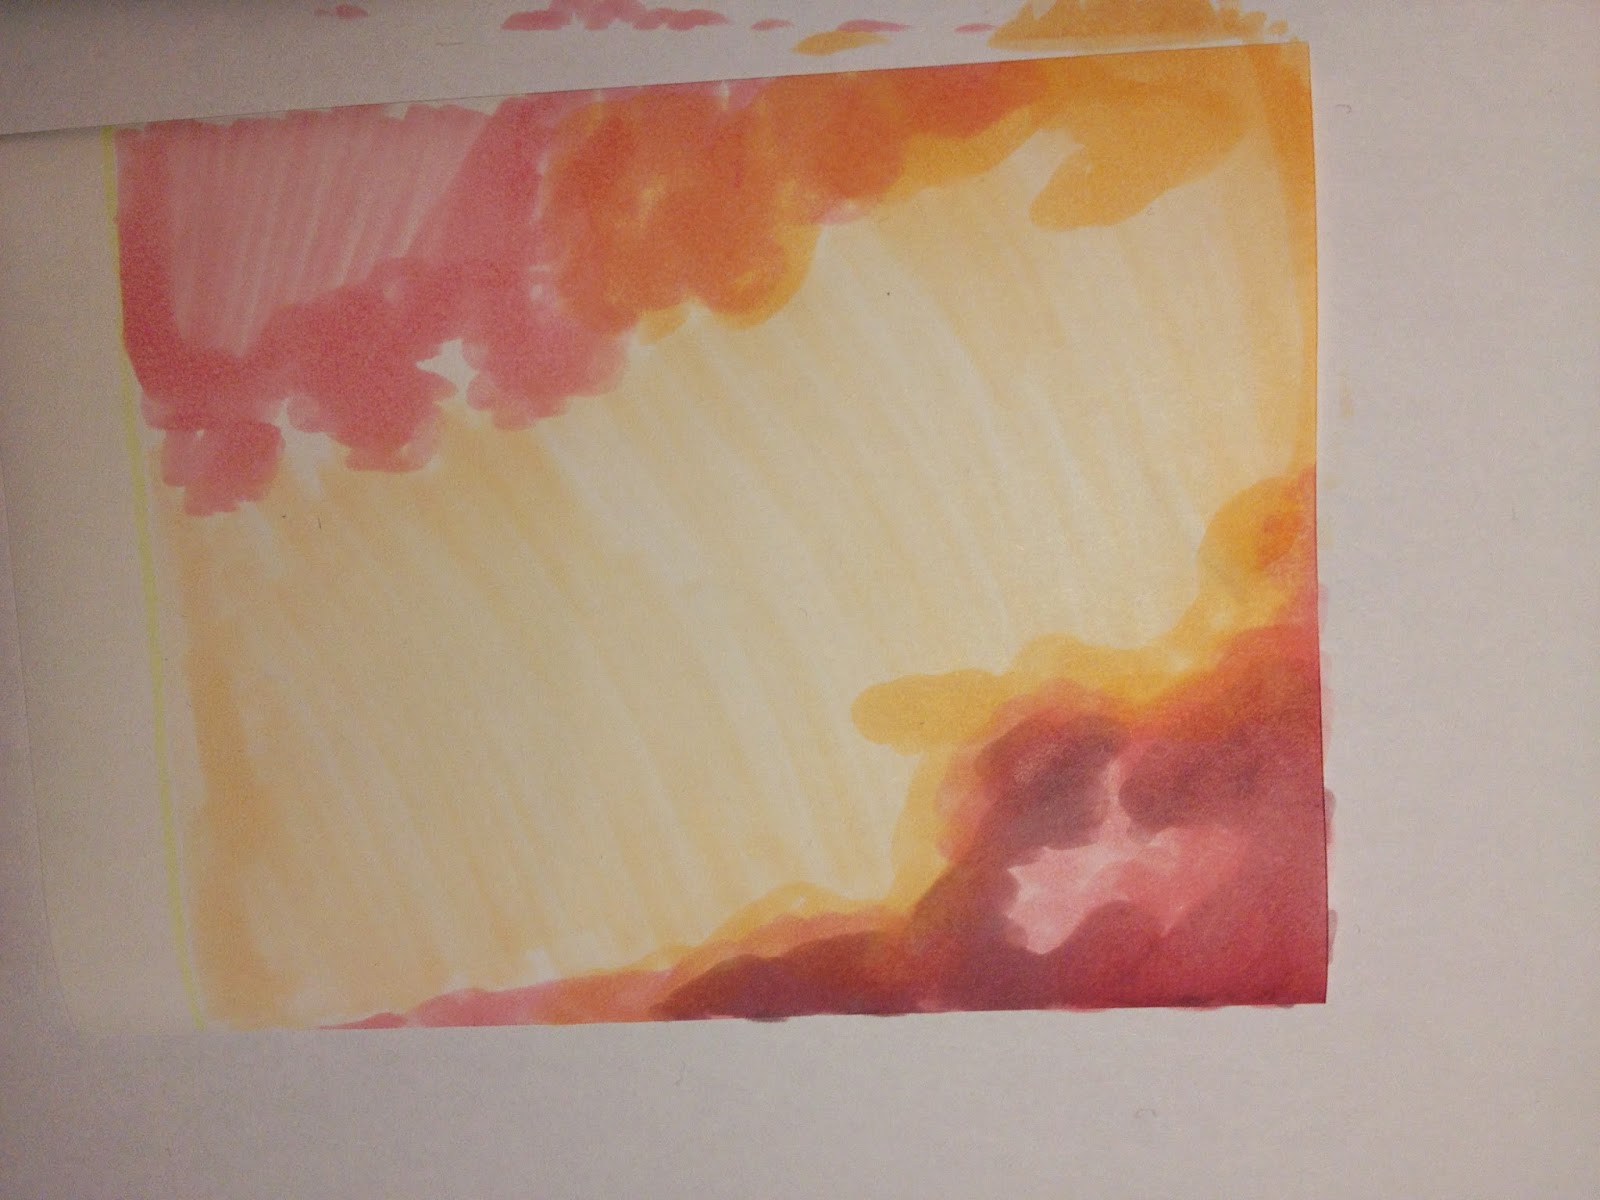
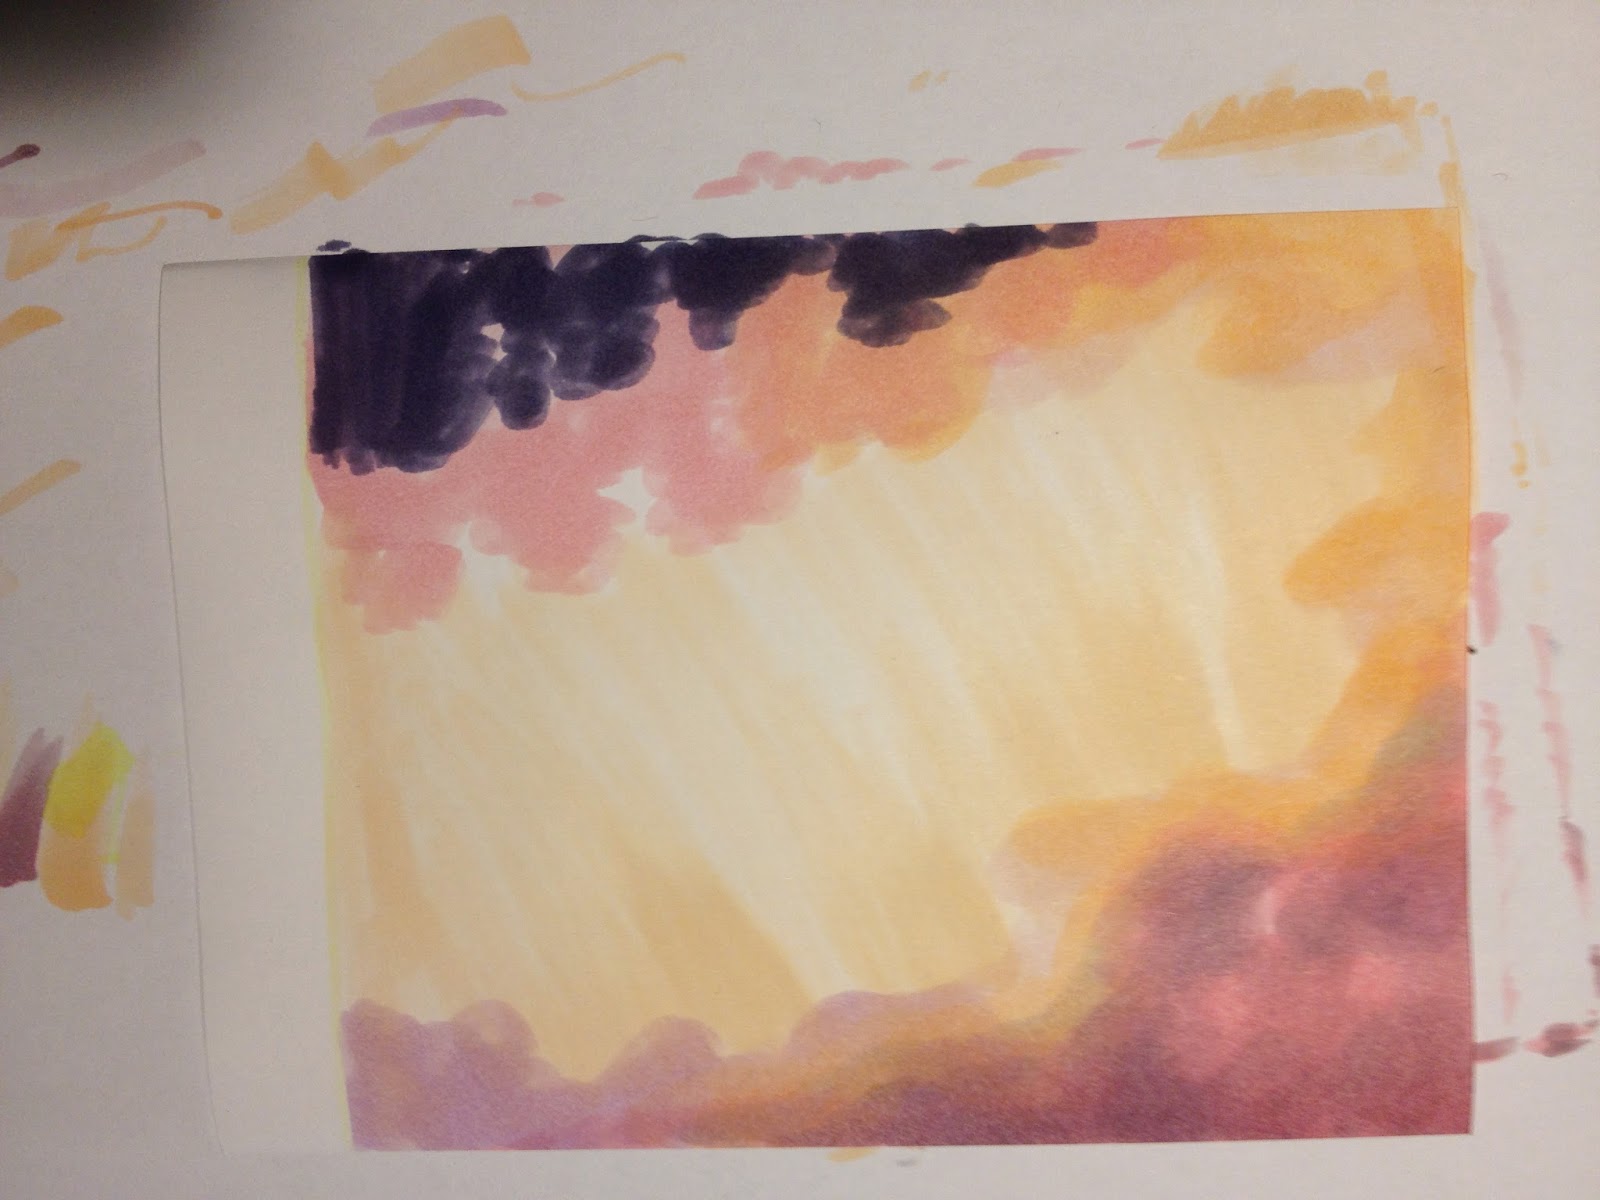
1. Start again with tagging the clouds and you light areas

2.Choose a light background colour and draw in one direction

3. Highlight the light areas with a YR tone


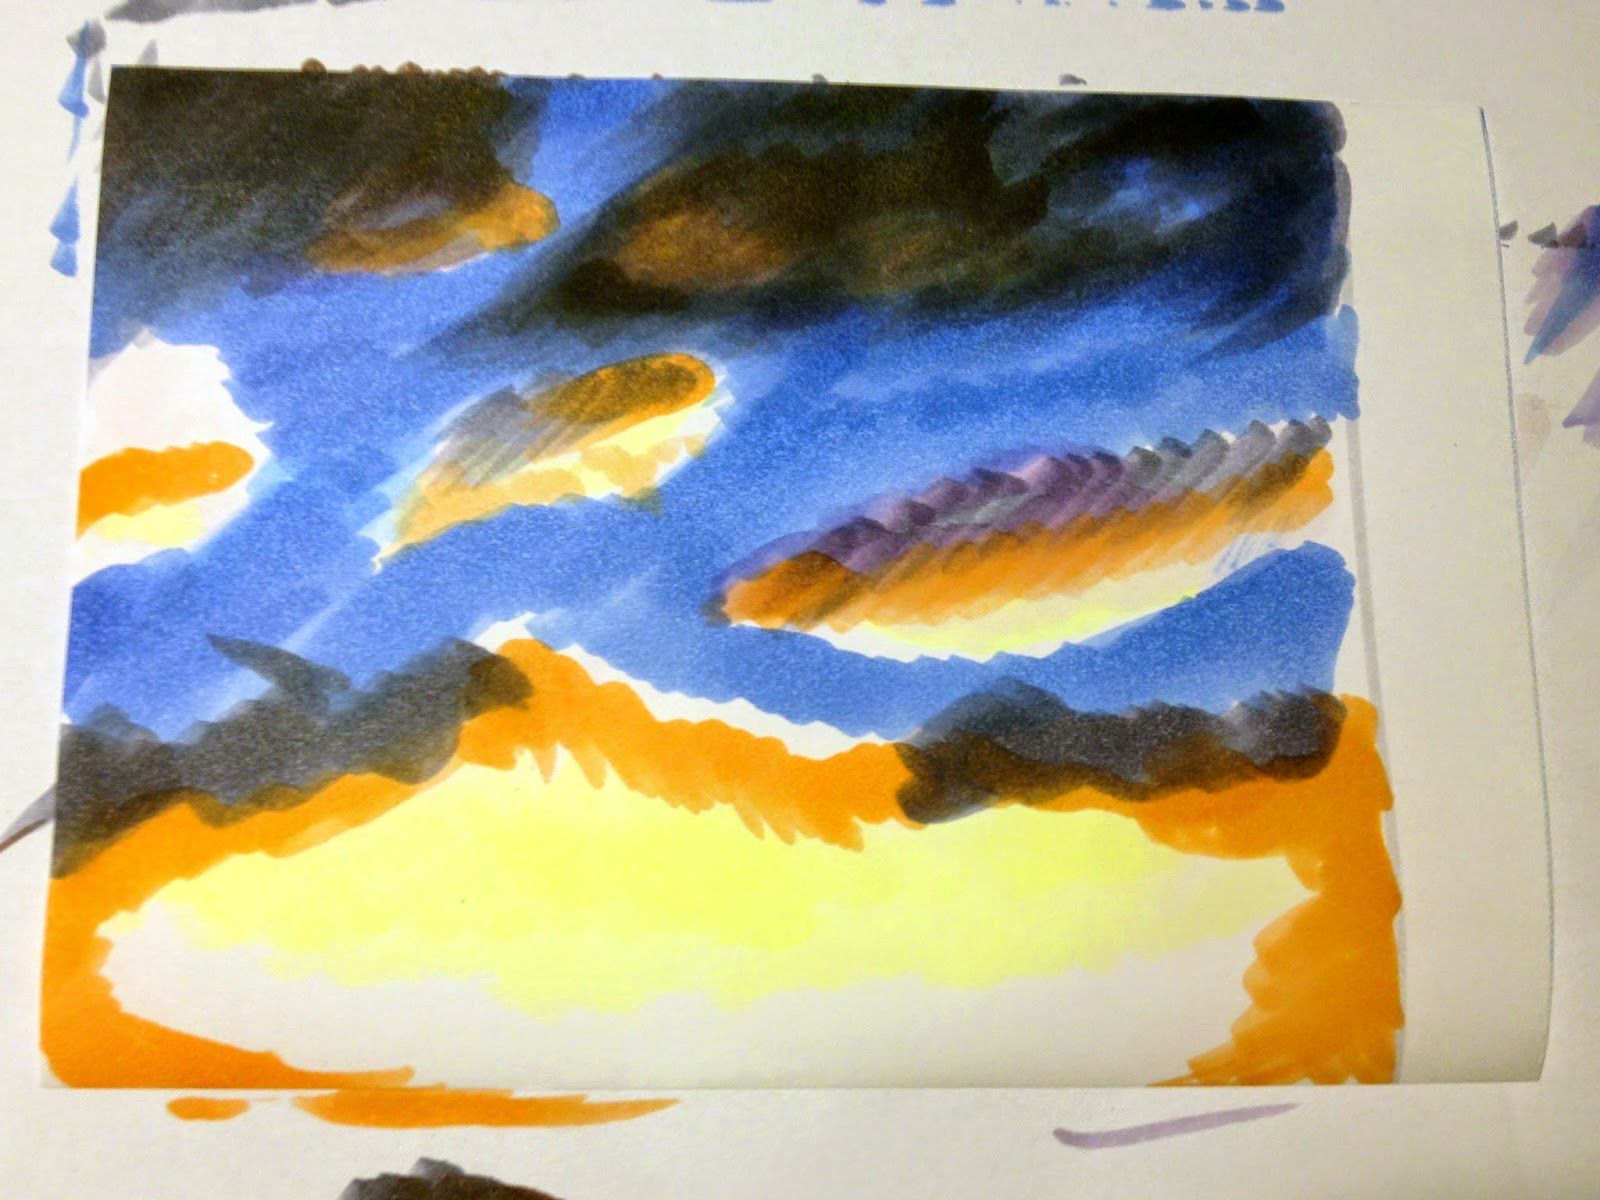
Apply the colour in circling strokes to make the clouds fluffy. Use BV 24-23 for the dark parts


5. Step by step ad another layer with circling strokes. 


Hahnemühle Illustration & Layout Manga Paper
V95, Rv91, Rv32, R20, R00, E00, E000, E04,B60,,BV31,BV25,BV23,BV20,BV00,YR61,YR20,YR02,YR01


I hope my tutorial was helpful.

Kind regards,
Yunu

Tuesday, September 9, 2014

Dark skies

Hi everyone, Åsa here today with some copic inspiration.

Its already September. Cant imagine how fast the summer went by.
So - have you started on your Christmas cards yet?

I know - still lots of time.
But I have started, just a little bit.


I have used papers from Maja Design - Vintage Frost Basic, and colored all the edges with Distress Ink.

When I have an image that includes lot of "white spaces", as in snow etc, I tend to choose to colour the sky dark. I think it gives the image more effect. Otherwise it tends to make everything blends into each other, As in this cute little image from Wee Stamps, with lots of snow and polar bears.


I have used the following colours:

Sky: B99-97-95-93
Snow: N4-2-1-0-B000-0000-Blender
Polar bear: T6-4-3-1-0
Present: R59-37-35/BG95-93-91

The stars are made with an white ink pen.


I dont know if you can see it in the picture, but its all sprayed with Glimmer Mist to make it sparkle and shine.

Hope you like it. Have a wonderful week.