Followers

Thursday, August 10, 2023

Winter is coming with AALL & Create


Hello everyone! It's Delphine here today :) I'm in the mood for Christmas so created a wintry card for today's post! I have coloured stamps from two AALL & Create sets by Janet Klein, #949 for the trees and #944 for the cute characters. You will first see the trees which can give different green combo ideas and easy blending, which I thought could be useful for beginners - and the characters including how to colour white / snow. 

Here is my final card:

I used my old basic Spellbinders dies for the shape, and the background sky is watercolour. I added touches of Posca and glitter pens here and there and Stardust Stickles. 

The video of the colouring process of the stamps can be watched below:

Here is a close up of my card and a recap of all the Copic markers I used:

Trees: C7, E37, 59, G28, 99, YG00, 03, 17, 23, 67, 91, 95
Snowman: B000, BV00
Nose: E37, Y11, 38, YR07
Clothes: B05, 18, 39, G28, Y11, YG17
Reindeer: E31, 33, 35, 37, 41, 43
Clothes: G28, Y11, YG17, R35, 37, 59

Thanks for stopping by today, have a fab day! Hugs,
Delphine xx


Friday, July 28, 2023

Aloha Paradise

Hi there!
Helen here today and I have colored an image from The Greeting Farm - Aloha Paradise, to show you.


As always, I stamped my image on some Perfect Colouring Paper used Memento Ink.


I sketched in the background used C0 because it´s so light it will disappear by layering other colours on top.


Started with the sky.
Y0000 - Y000 - Y02 - B00 - B41


Some clouds: BV000 - C1 - BV00 - Y00 - V000


Greenery: YG03 - YG17 - YG63 - YG 67


Beach: E81 - E84 - E87
Skin: E000 - E50 - E11 - BV20 - R21

Dress: V01 - V04
Hair: B24 - C5 - C7 - C9
Water: B41 - B45 - B97
Palm trees: E44 - E47 - YG63 - YG67

Happy colouring till next time!

Love
Helen

Saturday, July 22, 2023

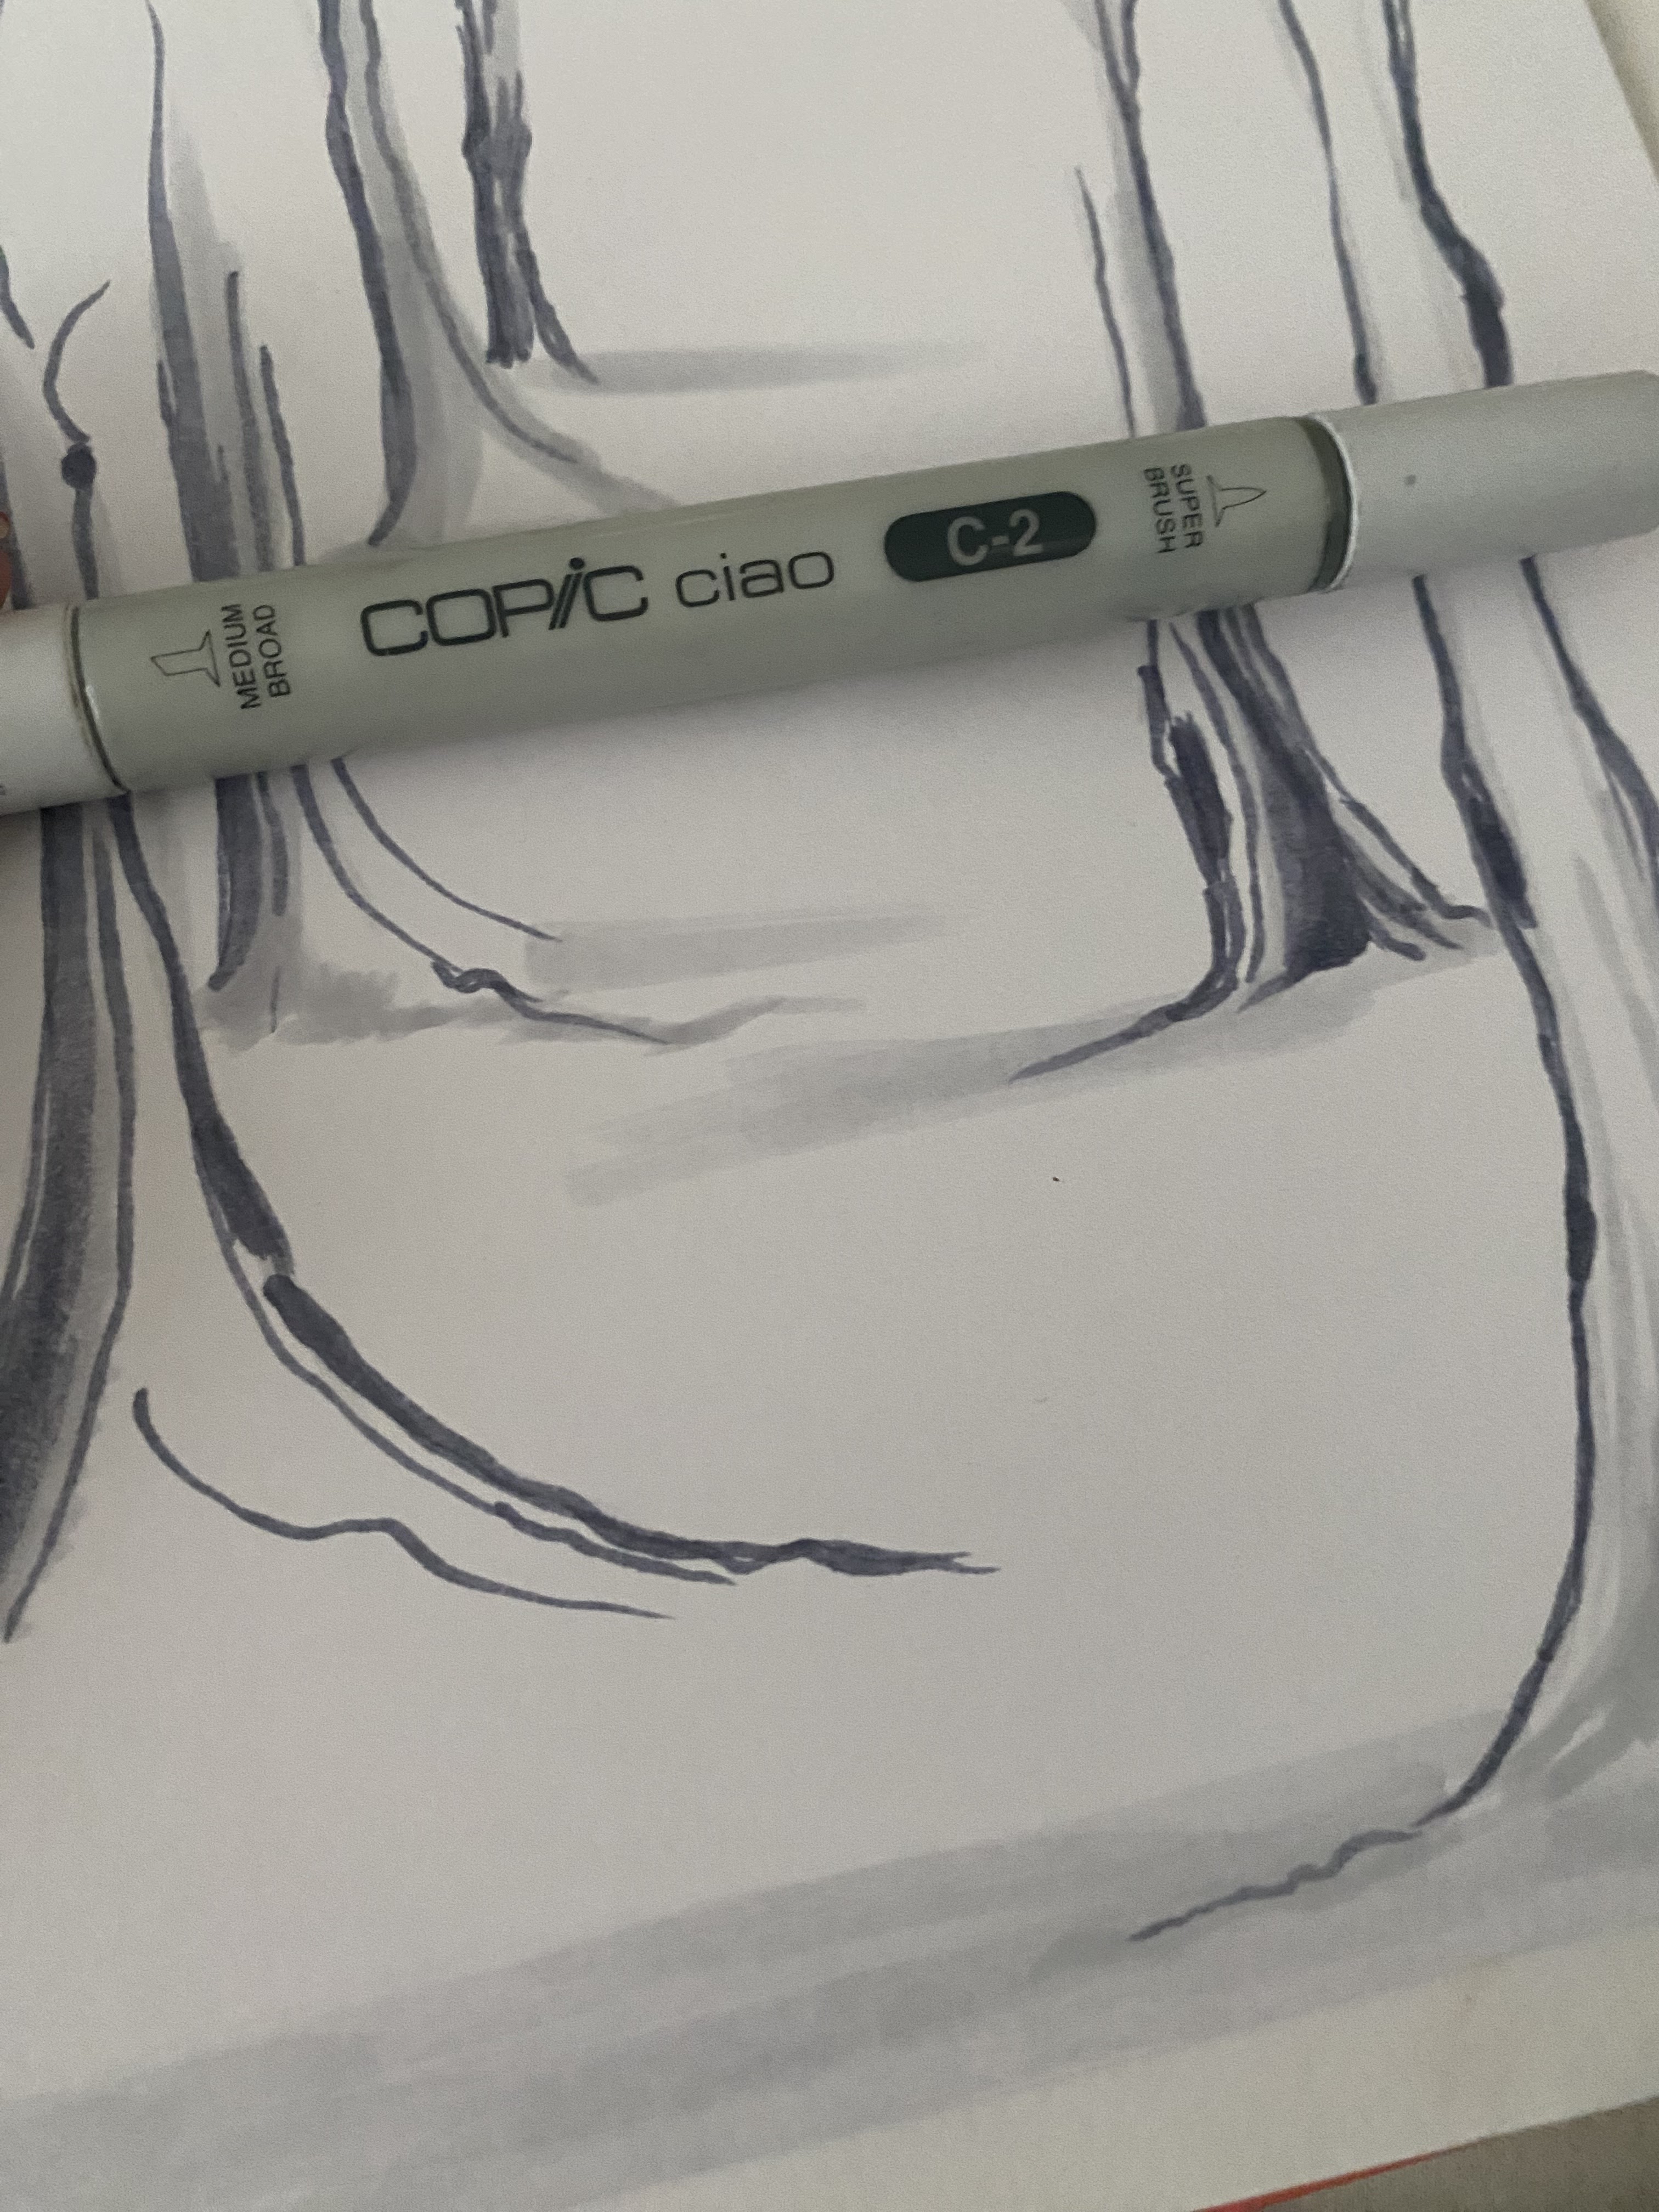
Cicci Makes a Forest

 Hi COPIC lovers !!

Nice to see you pop over at the COPIC Europe blogg.

Cicci here  posting from Sweden:) 

Have you ever been in a forest late at night? 

Very dark colors of course, but today I mixed some other colors not  just black or dark grey 

Step 1 

Draw some  trees with C2


Step 2
Add B29 

Step 3 
Blend with C2

Step 4
Add V09


Step 5
Add V09 and blend with V04


Step 6
Add more  V09 and blend with V04 

Step 7
Add V26 and  09

Step  8 
Blend with V04  

Step 7 
Add Y08

Step 8 
Add BG07 

Step 9 
Add and blend with BG 11 


Step 10 
Add BG02 and blend 

Step 11
Add Y08


Step 12  
Add BG11and blend 

Step 13 
I blended with R12 over the hole coloring 
and I used BG11 for this step.
I have no photo for this step. 

Step 14 
At the end I added some highlights and 
some fog with a white gele-pen sakura 
DONE;)


Thank you for visit us today and see you next month
Happy coloring from COPIC Europe blog 

HUGS and SMILES!!  


Tuesday, July 18, 2023

Enjoy the Summer Days

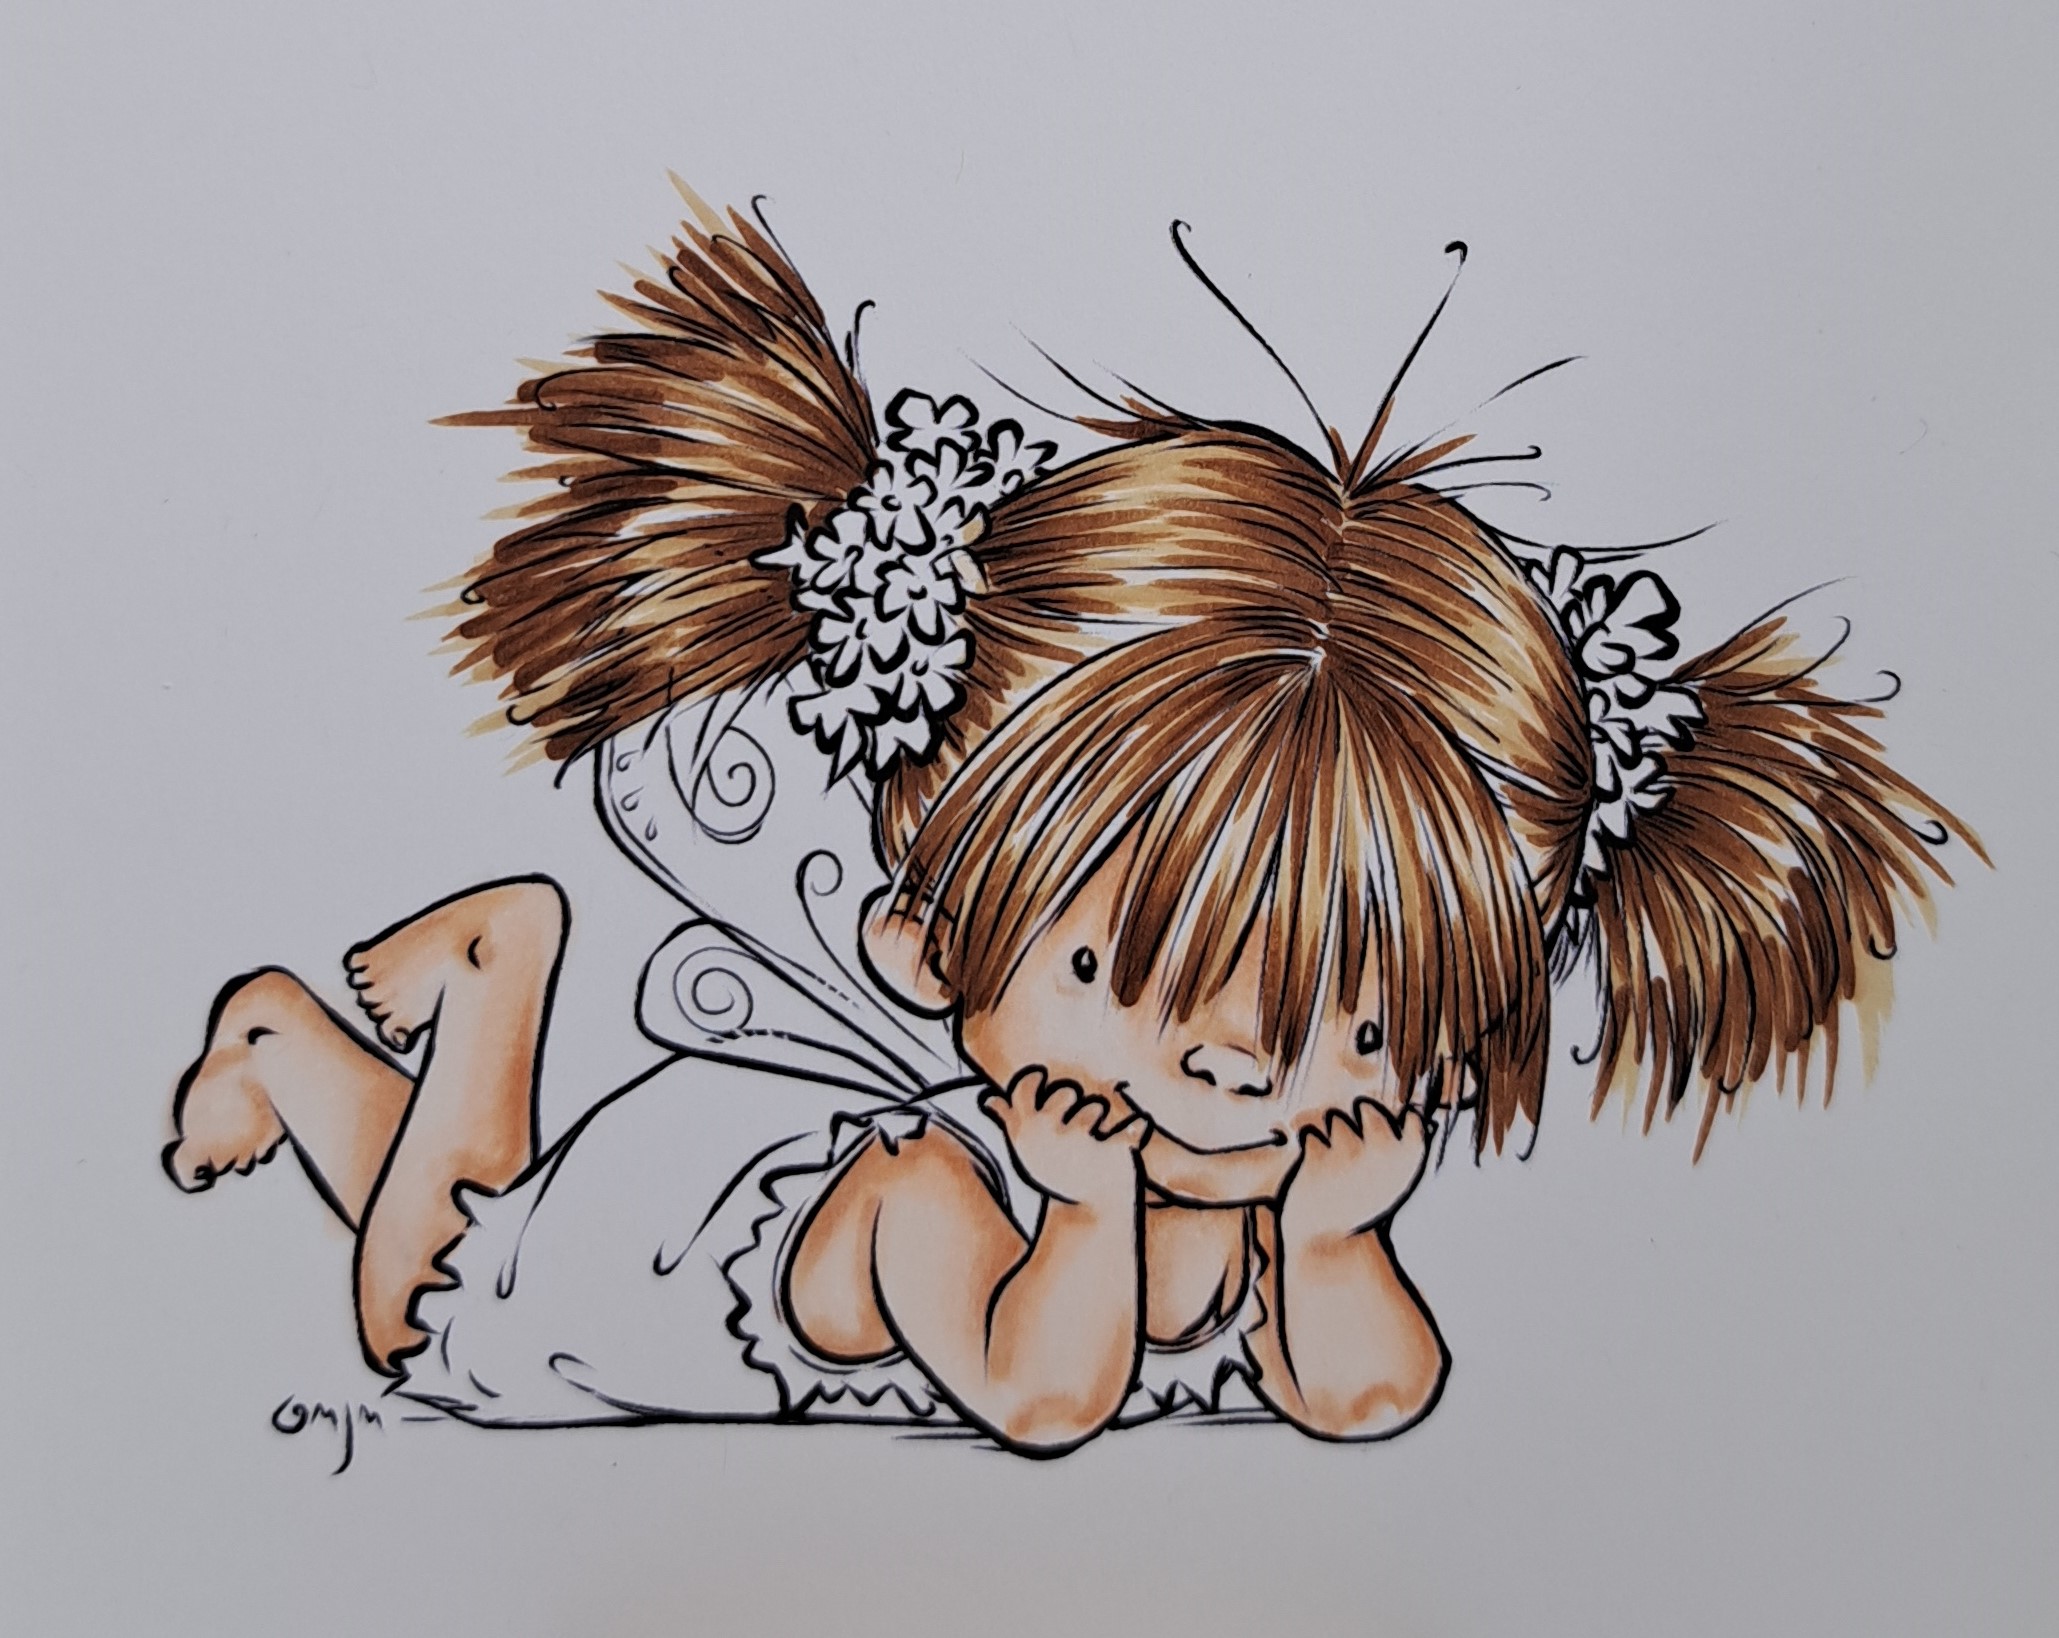
Hello everyone, Rosi here! I'm here today with a sweet little Summer Fairy.

This one is from the digital stamps selection from Mos digital pencil stamps.
My skin color combo is E0000, E000, E00, E11, E21 . I always start with E0000 all over the skin.
I go over my E11 with E21 in order to darken my shadows.


Her hair is colored with E51, 53, 55, 57.
I do color the hair always with the stroke technique, from light to dark colors.


It is time to put some colour on her dress and hair flowers.
I used markers from the RV and Y families.
RV000, 52, 55 and Y02, 06, 35.


Her wings are colored with BG70, 72, 000


I added a grass field and some clouds in the sky.
For the grass I used G46, 21, 24.


I also added some shadows with my cool grays around the image. I used C00, 02 and I blended with Colorless blender.


So that's all from me for today. Have a wonderful chilling summer. 
See you soon!
Rosi

Friday, July 14, 2023

Card Pop-Up

 Hi everyone!

For the month of July I created a card using Hello Bluebird stamp, that recalls the summer and the sea.


For the fox YR68 and R05, for the cheeks RV10.
For the lifebuoy BG11 and BG15


For the fox YR68 and R05, for the cheeks RV10. 
For the armrests B000 and BG15. 


For the rabbit W1 and W3, for the cheeks RV10. 
For the shorts B000 and B32.


After coloring and cutting them, I glued them to the pop-up card. 

This is the final result. 
Thanks for looking
Bye bye 
Antonella

Wednesday, June 28, 2023

Little Nurse Graduation

 H e l l o !
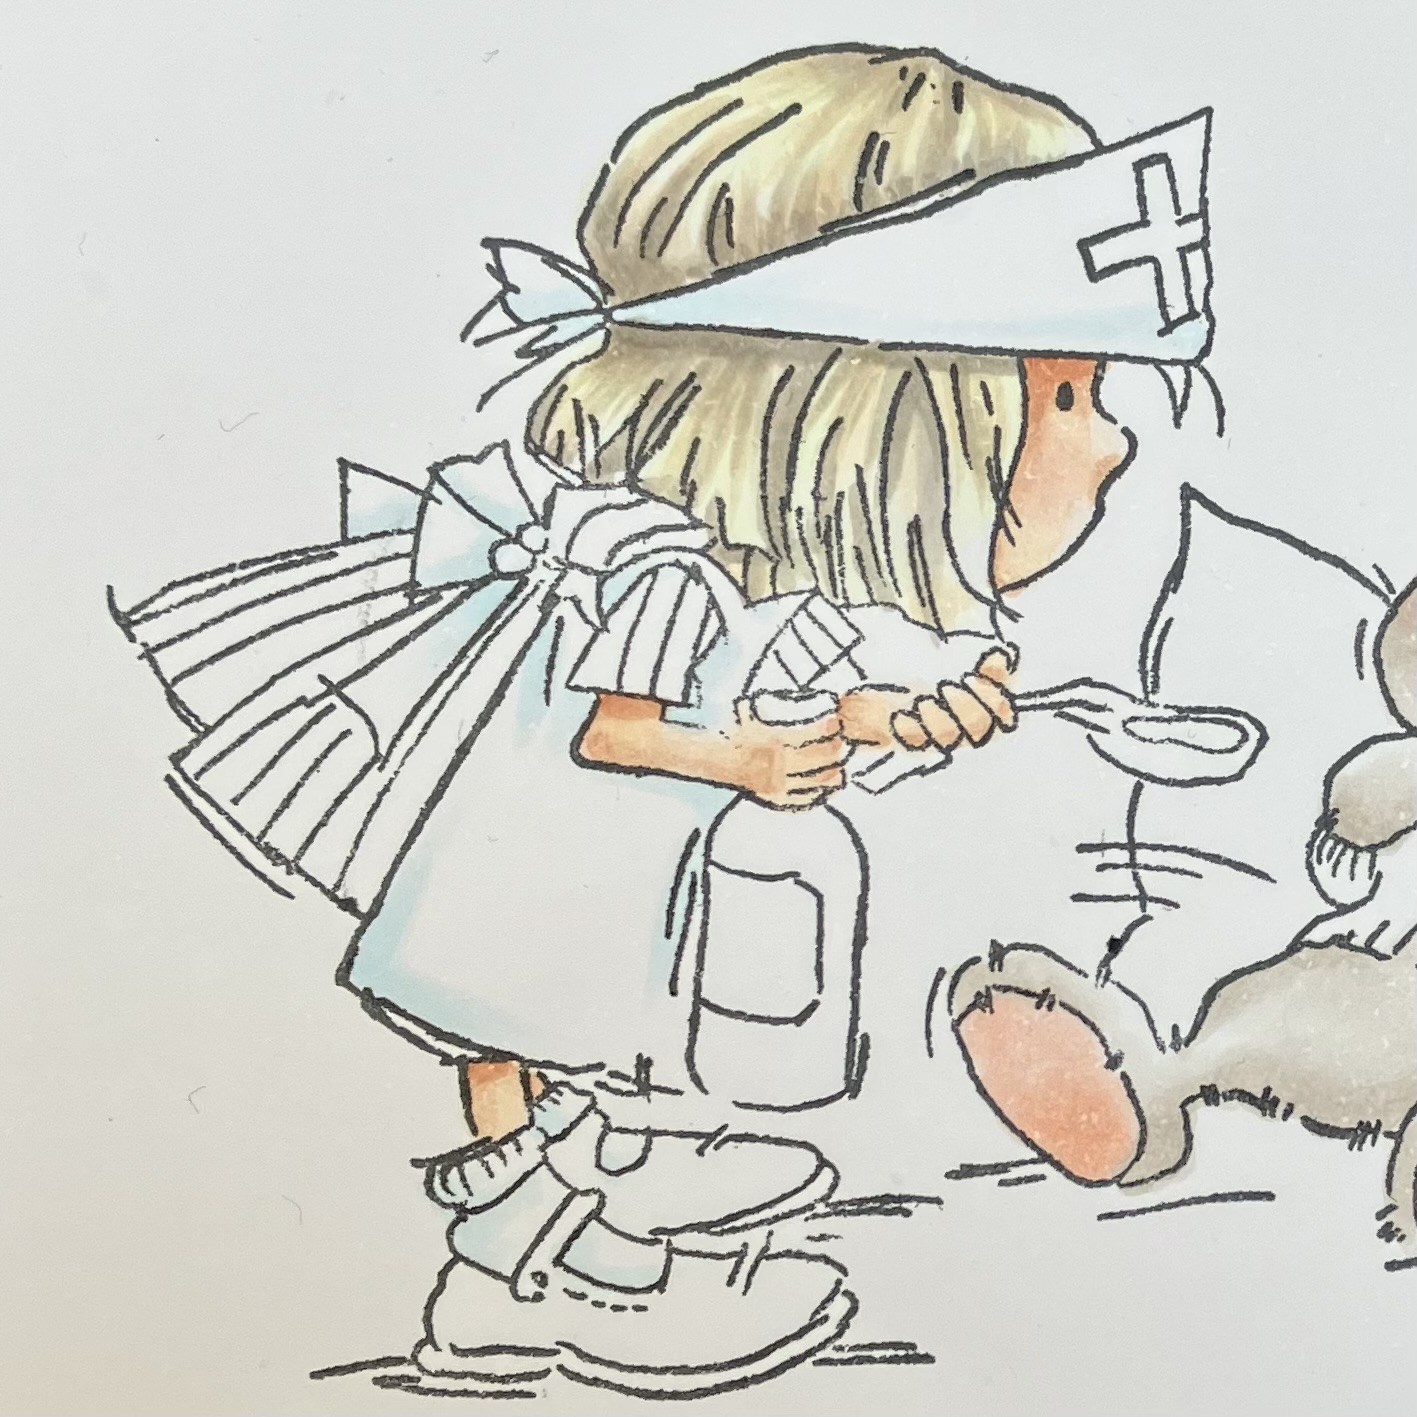
Helen here and today I will show you one of my favorite brands of rubber stamps, Lili of the Valley.
 I just love, love, love their designs. They bring out the playfullness in me and my colouring and it feels like it takes no time to color a design. I love to by my rubber stamps used and I´m always looking for LOTV stamps as I collect them.


As always I stamped my design on Perfect Coloring Paper with some Memento Ink.


I often start with the skin, I like to see the character pop and come to life.
My go to for skin is: E000 - R00 - E11 - E50.

In the beginning of a colouring it can be difficult to understand every line in the image, as you can see here, I didn´t colour her left upper arm.


This little fellow is so cute!!
His colour is: W1 - W0 - R00 - R11.

This is one of those time I´ll start with the darker shade, as I did between his eyes to push that area back and to get the nose to stand out.


I wanted her apron to have crispiness, it should look clean and that's why I used blue shades for the shadows and not a cool gray shade.
The shade for the apron and socks is: B0000 - 0 Blender

Her hair colours are: Y000 - W00 - E30 - E42 - W3.


The red shades is: R24 - R35 - R37.
The shadows in the white stripes are: C3 - 0 Blender

The pillow got gray shadows: C00 - C2, and to make it look clean
I went in with some blue as well, used B0000 - 0 Blender

The sticking plasters shades are: E30 - E31 - E33.


Her shoes got the same red shades as the dress, but the grays are: C3 - C5.

The bottle got: BG90 - BG93 - BG96, and the label: E42- E41.

The spoon got:  C0 - C1 - C3, BG93.


The teddys cardigan: BG10 - BG13 - BG11

The shadows on the ground: C0 - C1 - C3

Added some shadows.
The socks: N3
Kerchief and apron: B91
In the dress: T5

To make the characters even come more to life, you might fill in the eyes and the nose of the teddy with a black liner pen. It will give them more intensity. And then you´ll add some highlight in that areas with a white gelly pen as well. But I haven´t done it here.

I really enjoyed to not make a  background colouring this time. To give the design total focus.

Hope you all will find time to relax and enjoy some colouring this summer.
Happy colouring til next time!

Love Helen