Followers

Showing posts with label Fur. Show all posts

Wednesday, August 3, 2022

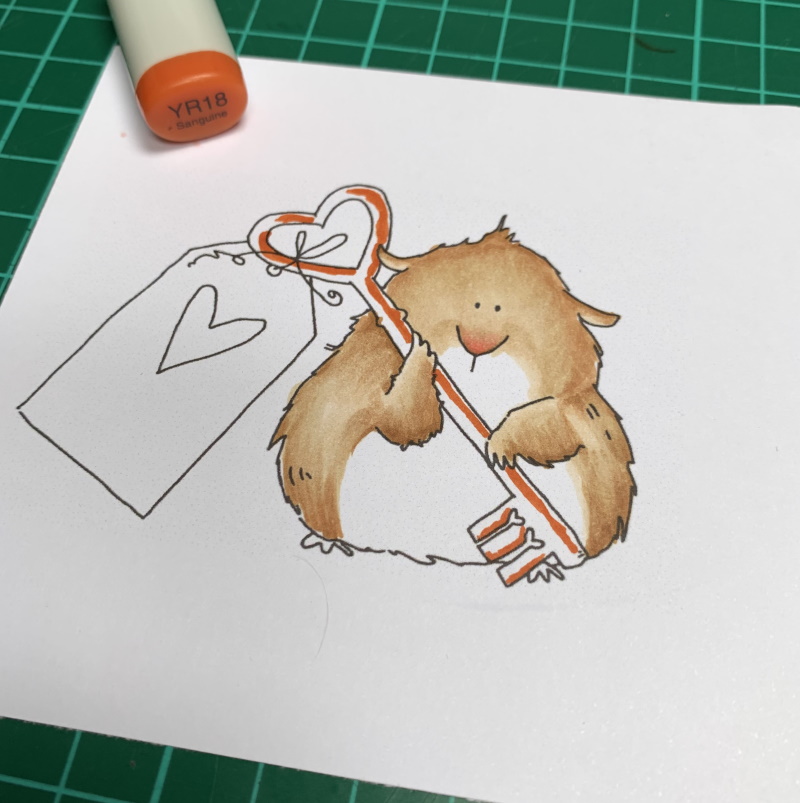
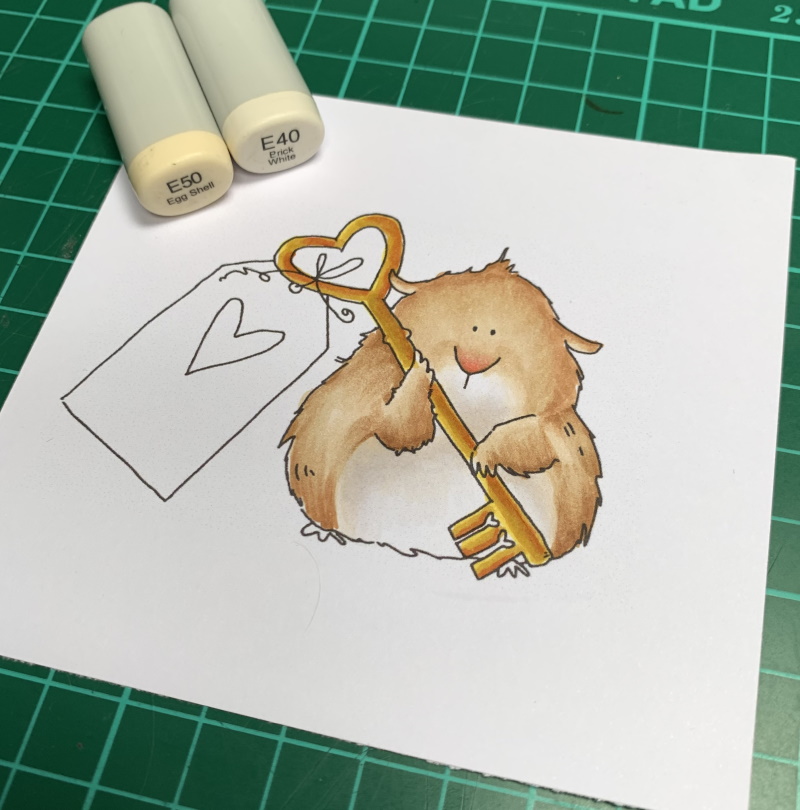
Guinea with a Key

Hi everyone! Today I'm sharing how I coloured this super cute Guinea pig image from Stamping Bella called Guinea with a Key


I stamped the image onto Holtz colouring paper using Memento Tuxedo Black ink. 


I started with E35 to mark out where I wanted the darker areas. 


I then pulled out the E35 with E33


and then E31


I filled in all the white areas on the fur with E30


For the nose I applied a touch of R22 and blended out into the fur with E21


On the key I started with YR18, then Y26 and finally Y15


To create some shadow on the white area I used E40 and E50

On the feet I used R21 and R30


The tag is coloured using E40, E41 and E42. I blended the colour out with the colourless blender, 0


R32, R35, and R37 for the heart


I then went back in with the E30's and added more colour until I was happy with the fur 


Finally, I grounded the Guinea using W00, W1, and W3 


Thanks for popping in today, I hope you are inspired to take out your markers. Check out our Instagram for more colouring inspiration. 

Sandie 
xXx


Wednesday, May 18, 2022

Blossom Panda

Hello Copic addicts !

Today is my turn to get you inspired by using Copic markers!

I would love to see you following me on my Instagram and Facebook.

Today I am sharing my colouring of the super cute Panda sleeping on blossom by Lee Holand .
I tried some unusual color combos for the blossoms RV 95,R37, RV 63 ,RV 52, RV 000.

I started with RV 95 in the middle of the blossoms.


Then I went over with R37.


I blended with RV 63.


Blended further away with RV 52 and RV000. The leaves are colored with G46 and G 43


I started coloring this cute panda 🐼 with C2 .


C5 where the darkest places should be.


I added C7 with strokes to add some fur texture.


Some more texture with 100


And I blended all with C2


I added some details with Copic multiliner cool gray 0.1 and black 0.05


For the tree I started with E 30


I added some E33.


Darkening with E37


At the end I blended all with E30.


That's all friends, I hope you are inspired! See you soon and happy happy crafting!
Rosi

Monday, January 11, 2016

Harry the Stuffie


Hi Everyone, it's Faye here today :)

Well, that's Christmas out of the way for another year. And what do we all think about after Christmas? Valentines Day. It'll be here before we know it, so I thought this cute little puppy from Stamping Bella would be perfect to get me warmed up for the season of luuuuurve!


You can't really tell from the photos, but I've coloured this image on cream cardstock, I was pleased with how it came out. Maybe I'll venture onto other colours next...

 
Copics Used...
Fur; E41, E42, E43, W3, W5
Nose; W3, W5, W7
Ground; W1, W3, W5
Envelope; E40, W1, W3
Heart; R56, R59, W7

Thanks so much for stopping by... Have a great day.

Saturday, June 20, 2015

How I Colour Fur

Hi, everyone!
Here's Vili and today I'd like to show you the way I colour fluffy fur. I chose a really cute Silviya Zet's stamp - Fluffy Hanging There, which, sadly, can't be found digital anymore.


I decided to make my Fluffy not in the traditional "forest" colours but in more unusual ones. I chose the Warm Grey range of colours and started colouring the whole fur with the lightest one:


Then it comes a little bit darker one, and I mark the places of the shadows with it:


And the darker one:


And the darker ones:


I've said many times that after I've put the darker colours I return to the two lighter ones and I go over with them again:


Now I need my Copic Classic markers because they have fine nibs, useful for fine details:


After the darker spots are ready I put in the darkest colour:


 I leave out the other steps of the colouring because this post will become too long but my Fluffy is almost ready:


Now it's time to highlight the lightest spots, using white gel-pen:


And Fluffy is completely ready:


Copics used:
Fur: W0, W1, W2, W3, W5, W7, W9
Flowers: RV52, RV55, W3
Background: V20, V22, V25
Earth: E50, E51, E53, E55

Have a lovely day and thanks for stopping by!

Vili M. xxxx

Thursday, June 4, 2015

Fur is fun!


Hi Everyone. It's Faye here today :)

With Father's Day just around the corner, I thought it might be a good idea to colour an image with a slightly more masculine feel. This sweet chap is a fairly new release from Little Miss Muffet Stamps, called Father's Lion. I think he'd also make a great card to celebrate the safe arrival of a new baby boy too. 


I love the challenge of colouring fur, it's certainly very easy to add texture. Keep your colouring rough and messy, dot your colour on in layers, and you can use the Colourless Blender to your advantage too. If you're not confident adding texture with your Markers, you could use a piece of scrunched up kitchen paper, material, hessian, anything with texture, that you can add a few drops of Colourless Blender to. Then dab your texture cloth onto your image. Just remember to do this, before you colour the parts of the image you do not want texture on!


Markers Used...
Lion; E30, E31, E33, E71, Y26, N3, N5
Lion's Nose; N3, N5, N7
Blue; B00, B01, B04, N3, N5
 Green; G82, G85, N3, N5

Thank you for stopping by today, have a great day.

Faye xx