Followers

Showing posts with label Background Various Ink. Show all posts

Tuesday, May 12, 2020

A special mixed media gift midori & card


Hi all Copic friends,

How are you?
Here in Italy we still have to stay at home so I have done a lot of colouring lately :) 
and have tried new things too. Today I show you one of these "new"  things.

I have a fun die from Studiolight to make booklets/album or midori, instead of leather for the cover  I wanted to try something different .
So I have used the Transotype Synthetic Paper !!


With the die I have cut the shape

+

On the TSP I have used a pretty butterfly stencil from Kraftin Kimmie and with a spatula I have added some glitterpaste. ( Ferrario -  malta glitter iridescent ).

After drying I have played around with some Various inks ( refills ), just let drops of ink and blender fall on the TSP  and with a little tool I have blow the ink. You could also use a hairdryer ( cool air ).


this was the result

When everything was dry I have added some paper on the outside and inside, ribbons and an elastic cord to keep everthing together.


It almost looks like a little purse , doesn't it? 

Please watch the video to see the rest....


Copic used :
Refills ( Various Ink ) : V 12, E 70, RV 10, R 81, blender "0"

Card : 
Animal : E 70, E 71, E 74, E 79, W 7
Cheeks /inside  ears : E 04, E 70, E 71
Accents : gelly roll white
Background : B 000, B 02, B 05, RV 10, RV 13, V 12
Edges : E 70, E 74, E 79
Grass : YG 91, YG 94
Flower : RV 10, RV 13, YG 91, YG 94

A sweet gift idea..hope this post will inspire you to try something like this too!

Thanks for your visit here on the blog, in case you would like to see more videos from my cards and creations. I suggest you to follow me on you tube: blankinacreations on video

Hugs Blankina

Sunday, August 18, 2019

Playing with ink!


Hello everyone! It's Delphine here today to share an inky post ;) I decided to have a play with my Copic Various Inks, I find it soooooo relaxing to just add drops of colour to paper and watch them mixing - I love it!


I used Transotype Synthetic Paper and put drops of BG09, 15, B04, 69 on it - I just let them act the way they wanted :)


Here is the result - I just keep playing until I like what I see. As you can see, I also usually use a piece of synthetic paper larger than what I really need, so that I can choose the part of the paper I like the most.


I cut my background and glued it to a white card base.


To decorate my background, I picked some Make it Crafty Chipboard - a Wreath Circle Frame, a Christmas Layered Word and a word from the Celebrate Adapt A Word. I coloured them using metallic pens for a bit of sparkle and white acrylic paint. I then covered them all in Star Dust Stickles.


I then glued everything to my background using Glossy Accents - and decided to add "It's" to have a well-balanced sentiment.


Thank you very much for your visit, have a great Sunday! Hugs,
Delphine xx

Tuesday, February 12, 2019

A romantic Gel Press Various Ink card

Hi all,

In a few days it will be Valentine's Day, 
so I have made a romantic card to get you in the mood.
Actually I am a romantic type all year long :) .

I have used my Copic Various Inks ( refills )
 together with a Gel Press to make this background.

Did you know there are different sizes and kind of Gel Presses?

For this type of card, a small shape Gel Press will do,
 as I like hexagons to make patchwork cards
 I have chosen a small hexagon shaped Gel press.


Here is a detail of my finished card,
first I wanted to add a sentiment on the front 
but I think it was so romantic and delicate without 
that I have decided to add the sentiment inside instead .


I have started like this…


Here you can see some of the prints I have made..

Perhaps the best way to get an idea
 of the making of this card 
will be to watch my little video,
posted below.

And ?
Might it be something for you to do?

Enough colours to try I would say, 
a fantastic range of 358 Copic Various Ink colours
 are waiting to be used on the Gel press!


I have used : 

Copic Various Ink : R 83, R 85, YG 91, E 34
Gel Press : Petites , Hexagon 3" ( 7.62 cm )
Gel Press brayer
Acrylic paint white 104
stamp Magenta
 die stencil chevrons cut MFT
die flowers Precious Marieke
die hexagons Action
flower foam Leanne Creatieve ( pink )
crystals

Hugs Blankina

Wednesday, December 12, 2018

Trios of Various Ink cards, no stamps required


Hi Copic friends,

Today I have three different cards for you.
Made with the same technique but different styles of cards and colours.

No stampes required :) 
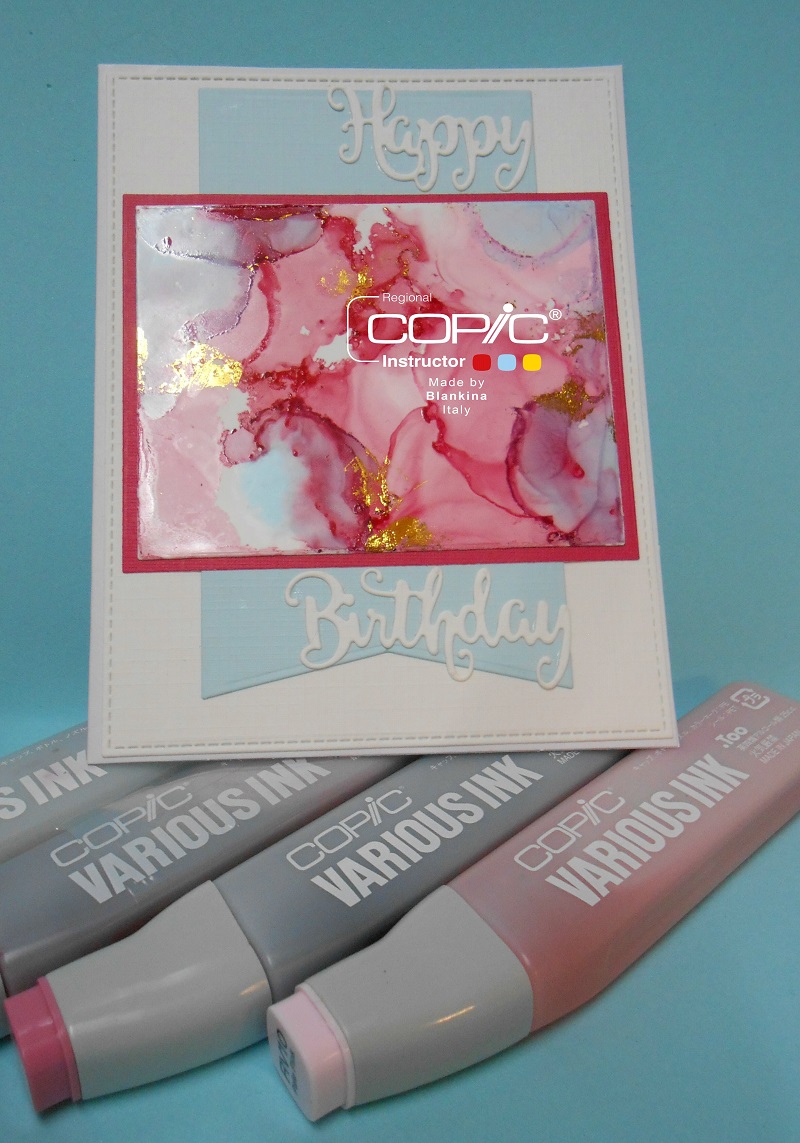
I have used YUPO paper for the background with Various Ink.

Various Inks ( refills ) are not only to fill your dry Copic markers,
there are many other fun ways to use them.

For this technique, fluid art,
you will need several Various Ink colours including the blender "0",
a straw and a dropper. 

The straw is to blow the wet various ink on the YUPO paper
to make the ink flow.
 The dropper to let drops of blender fall onto the ink to create fun effects.


GREY CARD

Okay my first card, the grey card was made with:

VARIOUS INK :"0" ,W00, W 3, B 000 , 
fab foil gold, 
a Krafty Kimmie stencil, decoglass volume : moon dust, 
YUPO paper,
dixi die, Modascrap die ,
foam sheet : white


Please follow the step by step photos


you can follow my photos to get an idea of the process, 
I have started with W00


afterwards with W 3 and blender "0"


and B 0000


Adding some gold too ,with the fab foil,
just rub the foil unto the background ( over the sticky bits ) .
The Golden side of the foil must be facing up.


I have die cut the reindeer from the background,
to the die cut reindeer I have added two layers of white foam sheets to 
give a 3 d effect. Then I have glued it into the die cut space.


BROWN CARD

For the brown card I have used :
VARIOUS INK : "0" , E 33, E 51, E 37,
 Marianne Design die , MFT die
fab foil : gold , 
YUPO paper,  avec paper 


Please follow my step by step photos...


I have started with E 51


afterwards with  E 33


and E 37


and blender "0" , drops onto the background


some gold..with fab foil


PINK CARD

To make this card I have used ;

VARIOUS INK : R 81, R 85, RV 10, "0" , B 00
YUPO paper, avec paper , 
creative expressions die , MFT die, 
fab foil : gold, 


I have started with R 85


afterwards with RV 10


R 81


RV 10 again


and a few drops of B 00 too..


again some gold with the fab foil

So these are the three cards I have made,
below you can find the VARIOUS inks used for each card.


VARIOUS INK : R 81, R 85, RV 10, "0" , B 00


VARIOUS INK :"0" ,W 00, W 3, B 000 , 


VARIOUS INK : "0" , E 33, E 51, E 37,

Which card do you like most ?
It is almost like three seasons cards, summer, autumn and winter :) .
CAS cards with Various Inks  , fun to make, please try it yourself too !

Hope you have enjoyed watching this step by step tutorial,

hugs Blankina