Followers

Showing posts with label pleats. Show all posts

Tuesday, December 5, 2017

Colouring Folds and Pleats

Hi everyone! It's Sandie here and today I am sharing how I colour folds and pleats. 


Many character stamps have the folds and pleats already included in the line art but there are some instances when you need to add them yourself, or you just want to add more to the image you're working with. This is the case with the stamp I'm using, Stamping Bella's Uptown Zodiac Girl Cancer. 

The image is stamped onto Holtz Perfect Colouring Paper using Memento black ink. 

First I start, as always, by colouring the skin. 
My go-to colours are E000, E00, E11, E04, and R20 for the cheeks. 
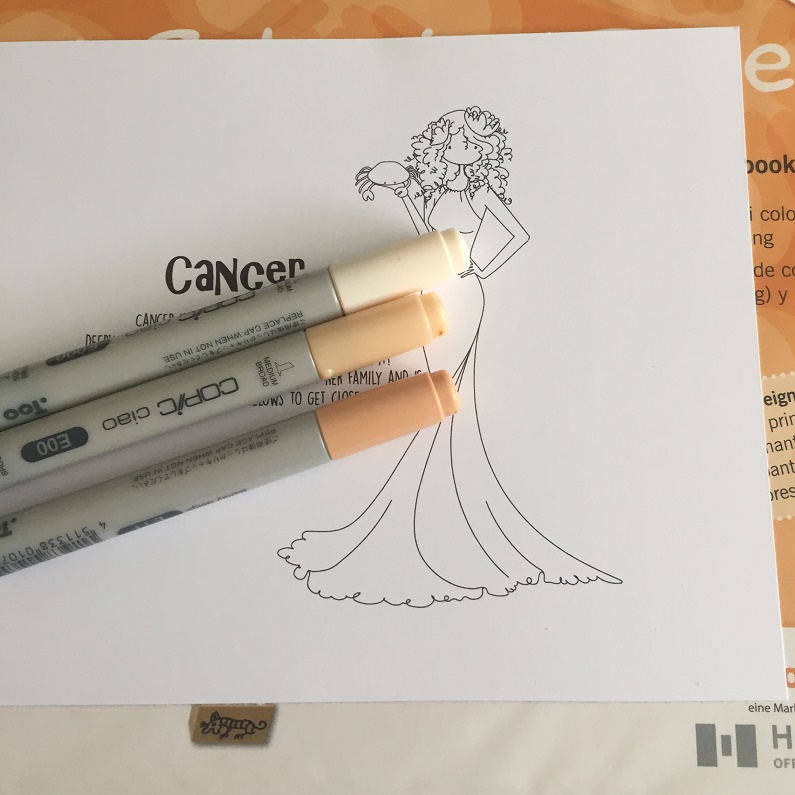

First I lay down some E11 along the edges and then E04 for very dark shadows. 


I blend out the E04 with the E11.


then I use E00 and E000 to finish the skin. I sometimes go back over the darker areas until I am happy with the shading. 


For the hair I like to use E50, E53 and E33. 


On this dress I am going to use the BG family. 
BG10, BG11, BG13, BG15 and BG18.


I take the BG10 and map out the folds, and also any extra folds or pleats I want to add. Then I go back over them with BG11. 


Next I go in with BG15, which is not my darkest colour.


I blend out the BG15 and fill in more of the white space with BG13. It's a little bit messy looking at this point but it will smooth out by the time it's finished. 


I blend with BG11. This will lighten all of the colour but we are going to go back in with our darker shades, BG13 and BG15.


To finish off the dress, apply BG18 for the darkest shading. Keep building colour using your makers until you're satisfied. 


The finished dress, with extra folds added. 


Now to finish the whole image. I used R32, R35, and R37 for the crab. 


R81, R83, R85 for the flower in her hair. 
And that completed the image. 


 I made a very clean and simple card which gave focus to the coloured image. 


Thanks for dropping in today
Sandie
xXx

Friday, January 20, 2012

Colouring Pleats - A Video Tutorial

Hi
Hallo!

Today I would like to share with you a video that I have made showing how I colour pleats / folds in clothing.
Heute möchte ich hier ein Video einstellen, in dem ich euch zeige, wie ich Falten in Kleidung coloriere.


Here is the card I made using the image from my video:
Hier ist die Karte, die ich mit dem Motiv aus dem Video gemacht habe:


I made a card with a cross over front and an insert, here's the insert:
Ich habe eine Criss-Cross-Karte mit einem Einstecker gemacht:


I used the following Copic Markers to colour the image:
Ich habe die folgenden Copic Marker für die Coloration des Motivs benutzt:

Skin/Haut: E0000, E00, E21 R20
Hair/Haar: E50, E31, E37
Shoes/Schuhe: E40, E43, E44
Clothes and Balloon/Kleidung und Ballon: B0000, B000, B00, B02 and Colourless Blender
(I used the same colours for the smaller image on the insert)
(Ich habe die gleichen Farben für das kleinere Motiv auf dem Einstecker verwendet)

Here's a close up of the finished image:
Hier ist eine Nahaufnahme des fertigen Motivs:


Items used to create card: 
Sonstige für die Herstellung der Karte verwendete Dinge:


Stamps/Stempel: Magnolia Tilda with Balloon (Standard Size and Mini)
Papers and Card/Papier und Cardstock: From my stash
Tools/Werkzeuge: Nesties Large Ovals, Nellies Multriframe Hearts and various Magnolia Doo Hickeys
Ink/Stempelfarbe: Ranger Distress Ink in Walnut Stain
Flowers/Blumen: From Wild Orchid Crafts
Cord/Kordel: From my stash


Thanks for stopping by.  I hope you enjoyed my video.
Danke, dass ihr vorbeigeschaut habt. Ich hoffe, mein Video hat euch gefallen.

Hugs
Penni
X