Followers

Showing posts with label Scene. Show all posts

Thursday, November 14, 2024

The magic of Studio Ghibli

Hi everyone

For the November post I drew and colored a scene from the film Totoro. This is a sweet image of Totoro and May.

Tutorial:


Drawing with Copic multiliner


This time I started coloring the background with:
G99, YG23, G21, YG41, BG72, G07, BG15, G29, 100, G02, BG75 and W9.


May : C0, Y08, YR31, RV06 and RV19 for the dress.
R35 and R59 for the hair clip.
YR000 and YR00 for the complexion.
R20 for the cheeks.
E15 and E18 for the hair.


Totoro : C1, C3, C5, E41 and E43.


This is the final result.

Thank you
Bye bye
Antonella

Tuesday, December 12, 2023

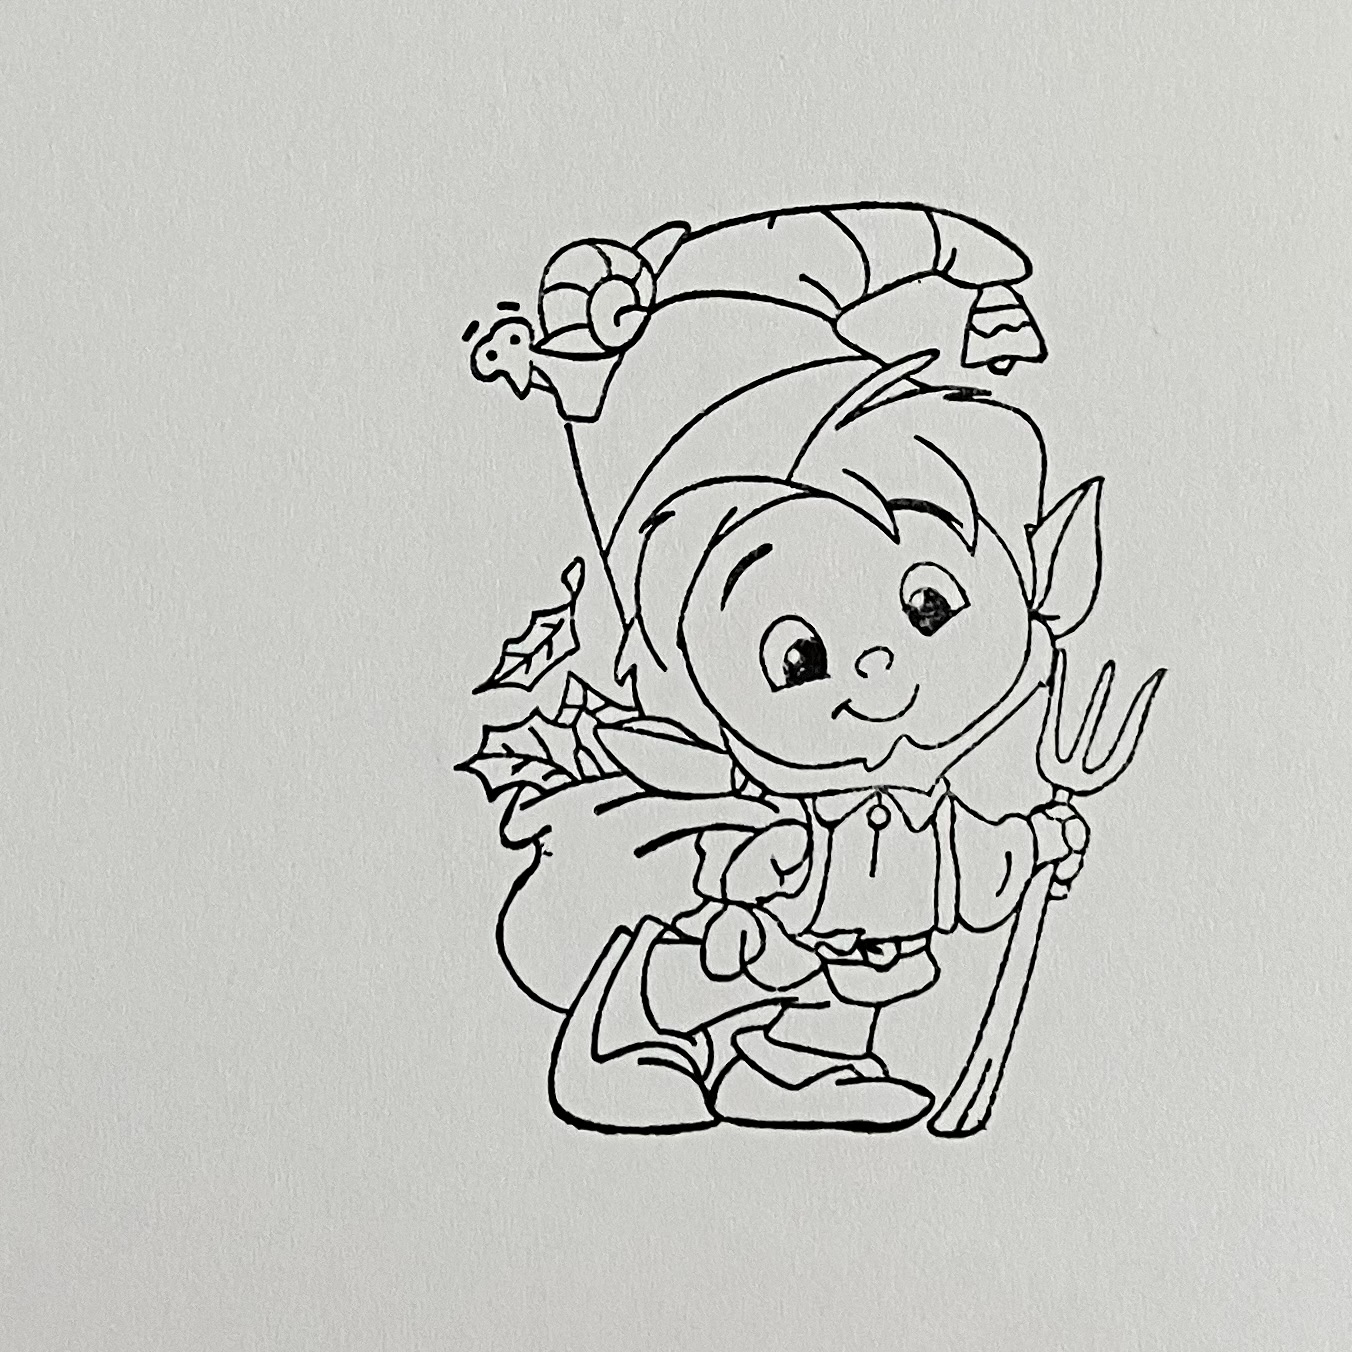
Gnome for Christmas

Hi!
Helen here today!


When I see this little gnome uncoloured, I see an Irish one, with green clothes, read hair and beard.
But I wanted him to fit in to my colour preferences so I made other choices for my colouring.


Moon: Y000 - BV0000 - Y0000 - BV000
Path: B0000


Sky: B91 - B93 - B95 - B97


Pine trees: BG75 - BG09 - BG96 - BG99 - G29 - T7
Snow: B52 - B45 - B41


Skin: E000 - BV20 - E11 - R02
Hair and beard: W1 - W00
Top hat, vest and shoes: R35 - R37 - R89, C3 - C0
Pants: C3 - C5 - C7
Sack: E31 - E35 - E37
Leaves: G24 - YG67
Bell: Y21 - Y26
Snail: E70 - E74, YG91 - YG93
Pitchfork: C3 - E70 - E71 - E74


I didn´t make a blizzard because the moon is up and you can see the stars.

Wish you a bright colourful day!

Love
Helen


Thursday, March 5, 2020

Through the Window | Making a Scene

Hi everyone! Today I'm sharing my colouring of a little scene I created using some masking to bring two stamps together. I used Fall Window and Gnome Backdrop and changed the scene outside the window. 


To change the scene was an easy process, but I didn't take any pictures of it so I will explain. 
First I covered the centre part of the Fall Window stamp with a piece of card while I inked it up. No ink got on the centre part. I stamped the window onto Perfect Colouring Paper using memento black ink. I stamped the window again onto some regular copier paper, I cut out the centre piece, leaving a hole, and placed the paper over the original stamped image. Then I stamped the gnome backdrop. As all the image was covered with the copier paper, except for the centre part, only part of the image transferred. 

Once I had the images merged I started the colouring process, beginning with the grass. 
I tried a different combination of YGs on this one, I normally use G's and finish with YG03. 

I started with YG17, which is quite dark, and I went around the edges and under the toadstools. 


I then applied YG23 dragging out some of the YG17 too. 


My lightest colour was YG13. 


For the ground I used E41, E42, and E43
When I had all the colours down I dotted the E42 and E43 to add some texture. 


On the flowers I used 2 shades of blue and 2 shades of pink. 
B91, B34. R81, R83 


For the toadstools I first coloured the underneath and the stalk using E41, E42, and E43. Then I coloured the top using R35 and R37. 


I coloured the sky using B01 and B00. 
When using red I would normally first colour around the element I'm going to colour in red as red is easily transferred onto lighter markers and gets dragged out. So when going around red, be very careful not to hit the tip of the marker off of it. 


I left the window white, I simply applied C1 and C3 for shadow. 


I coloured all around the window using R12, and applied E97 for darker areas. 


Behind the window, to give the appearance of frosted glass, I first coloured in R01. I then went over the R01 with BG10, and then went back in with R01. I applied R12 for shadow, and finally some BG11. 


Lastly, I went around the window with E93


That's it from me for today. 
Thanks for dropping by. 
Sandie


Monday, November 12, 2018

Sweet November "thanks" card with 3d elements


Hi all Copic friends,

Today I have prepared a "thanks" card,
with some 3d elements.

I dedicate this card also to all kind readers of this blog.
(and people that leave comments, it is always nice to get feedback) 

Are you ready ? Please sit down and relax watching.
Here we go!


To start I have printed the digi with the fairy twice.
This was an exclusive digi designed by Amy Young (not only an excellent colorist).

 I have also cut a sheet of Perfect Colouring Paper with a ticket die.
 (this will become the background).

Now I have put the die cut piece of PCP onto my stamping tool, 
and the hand cut fairy was put on to that piece of paper with some magnets.

Now I have stamped my clear stamp with some little toadstools
 onto the paper with fairy with grey ink.

On the wings of the fairy some small details of the toadstools will show with grey ink.

Once the fairy was taken off the sheet I have repeated to stamp the toadstools but now with black ink.

In this way you will have a black version on the sheet
 and a grey version on her wings to make the wings look transparent.


One fairy was hand cut in one piece.

Okay now it is time to take the second fairy and cut just some pieces of the fairy.
(the pieces you want to lift later , to create a 3d effect).

I have chosen her arm attached to her head as one piece,
and a piece of her skirt.

You can put these pieces aside until later.


I have first started to colour the background.
The toadstools were coloured with the november colours 
E 37, R 37 and G 99.
I have seen these colours on the american Copic site.


I have also coloured the cloudy sky,
 using B 21 and B 23, C 2 and C0 and the blender.
In the wings I have used the lighter colours B 21 and C 0 in this way the wings seem to be transparent.
The same with the toadstools in the wings I have chosen not to use the brown but only red.

The grass was coloured with G 94 and G 99.


Time to colour her face, 
of course I will only completely colour the separate face that will be layered on top. 
The face of the complete fairy will only get some colour on the edges.

skin : E 00, E 11, E 13, E 95, E 04


Green eyes with YG 91 and YG 95


Now it is time for her dress,
again you have to colour the pieces that will be on the top layer only.
Here you can see her arm, the top piece of her shirt and the "skirt",
the lower pieces will only get some colour on the edges.

Love these colours from the YR family : YR 23, YR 24, YR 27
and for a dark shading I have used E 18.


The wings got some YR 23 on top of the sky and toadstools,
after I have added some deco glass pasta "moondust" with a pencil to the wings.

Under the skirt I have added some small foam pads and glued it to the fairy.


Here you can see that the fairy is not flat.
I have attached some foam pads under the "skirt",
some on the right side of her head and on her left shoulder,
the hand was glued onto the lower hand.

I have also coloured her hair with
E 23, E 25, E 47, E 49
this was a suggestion of Amy the designer of this cutie.


The dots of the toadstools and her hair decoration got some extra sparkle,
on top of the glue I have added some glitter.
Later I have decided to give an extra sparkle to the wings too.

Thanks, Grazie, Bedankt !


Digi stamp : Sweet November exclusive digital stamp by Amy Young 
Clear stamp : Studiolight Diny's Signature Collection, 
Dies : Studio Light

Copic :

skin : E 00, E 11, E 13, E 95, E 04
hair : E 23, E 25, E 47, E 49
clothes : YR 23, YR 24, YR 27, E 18
toadstools : E 37, R 37 ,G 99, E 00, E 31, E 18
grass : G 94, G 99
sky : B 21, B 23, C 0, C 2, "0" blender
tags : YR 23, YR 27

Thanks for your visit,
hugs Blankina