Followers

Sunday, October 8, 2017

Furry Reindeer...

Hello everyone,
It's Sue here today and I've been colouring one of my favourite images - a reindeer! 
For a long time I avoided colouring furry animals because I wasn't confident about colouring their fur!  If you are feeling bit unsure about it as well then hopefully this tutorial will help.

Now, today I am going to be using a really strong Copic red combination so it is really important that my markers are clean.  (To be honest It's always important to have clean markers but with reds even more so)!
I have chosen an image which I think shows off the technique to colour textured fur perfectly.  It is also quite beautiful - Rednosed Mousedeer by Di's Digi Stamps.
To colour textured fur I am basically going to make a lot of dots on the image with the brush nib of your marker.  It is important that the dots are randomly placed and of different sizes.
First I covered the whole of the image which would be textured fur with dots using E41...
...then I added dots of E42 where I wanted the darkest parts of my image to be...
and I went back over the whole area again with E41.
I then coloured the darkest areas again with E42
Next I used E43 to colour the darkest area...
...followed by E44.  (Don't panic - I know it is starting to look dark but adding the lighter colours shortly will even it all out)!
Next, I coloured with the same markers, in the same areas in reverse order...
E43
E42
E41 (all over)
To smooth out the area which goes from dark to light, I used a combination of E41 and colourless blender (but only use the colourless blender sparingly or you will end up with bald patches)!
Using the same markers, I carried on adding dots until the area was completely covered, the transition from dark to light looked 'smooth' and I had achieved a result I was happy with.
Using W00, W1, W3 and W4 I used the same technique to colour the fur on the mice.
Their ears are smoothly coloured with R11 and E81.
I finished colouring this lovely image with Copic markers as follows...
Bells - Y35, Y15, Y11
Bow, bauble and beautiful nose - R59, R56, R46, R24
Bauble - YG67, YG17, YG03
I really enjoyed colouring this cute reindeer!  I hope you found this tutorial useful.
It would be great if you could try this technique and show your cards to us at 
Copic Marker Europe on Facebook.
To find us just follow the link

Thank you for popping by.
Happy Copic colouring
from Sue...xxx


Thursday, October 5, 2017

Halloween Haunted House Scene

Hi everyone! It's Sandie here and today I am sharing a Haunted House scene I coloured. 
The stamp is by Stamping Bella. 


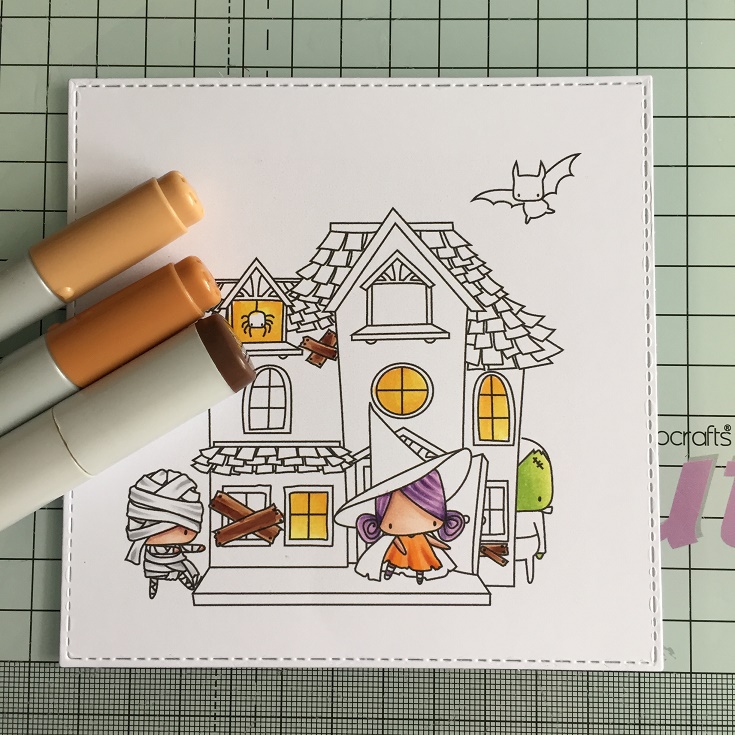
I started this image as I start all my images, and that is with colouring any characters, specifically the skin.

The colours are E00, E11, E04

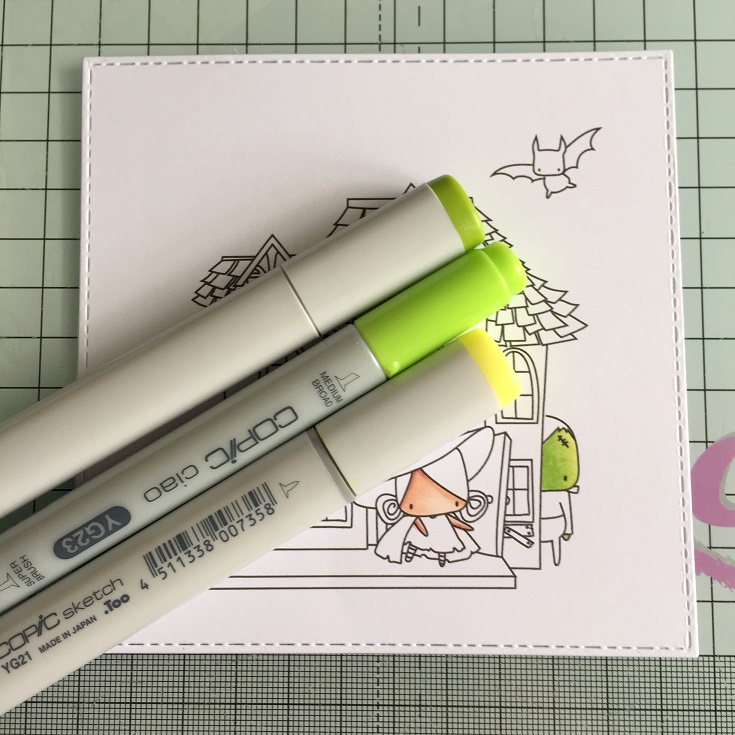
For the green skin I used YG21, YG23, YG25


I gave the witch purple hair using V12, V15, V17


Dress: YR12, YR14, YR16, YR18


I coloured some of the windows with light in them. 
Y13, Y15, Y17


For the Mummy I used N1 and N3 and blended them together using the colourless blender. 


On the wood I used E21, E33 and E27


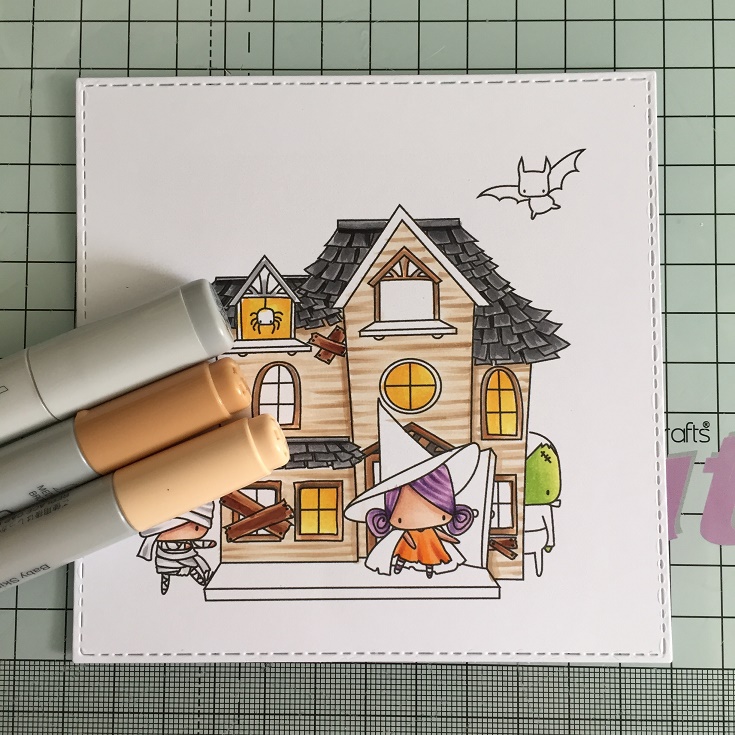
For the roof  I started with N3 and then laid down some N5 for the shadows. At the very end I applied N7 in the darkest areas. 


I gave the house a wooden effect using E41, E42, E43 and pulling the lines in from the outside edge towards the middle. 


For the window and door frames I used E21 and E33 and then added some shadow with N3 and N5


To complete the image I coloured everything else in black, using N1 through to N7


For the background I started with the ground, laying down some W1 and then building up with W3 and W5. 
Keep layering the colours until you're happy with how it looks. 


I decided to add a moon to the night sky, behind the bat, so I drew a circle with B000 as a guide for the sky. 


As with the ground, I started the sky with the lightest colour B02 and then added darker colours to build up depth - B23, B24, B26


Finally, for the moon, I used Y00, Y11 and some YR23 to add lines. I also applied some Y11 into the night sky around the moon, going back in with the blues to build up the colour again. 


Thanks for dropping by today
Sandie

Thursday, September 28, 2017

Autumn

Hi Copic lovers; welcome to the Copic Marker Europe Blog.


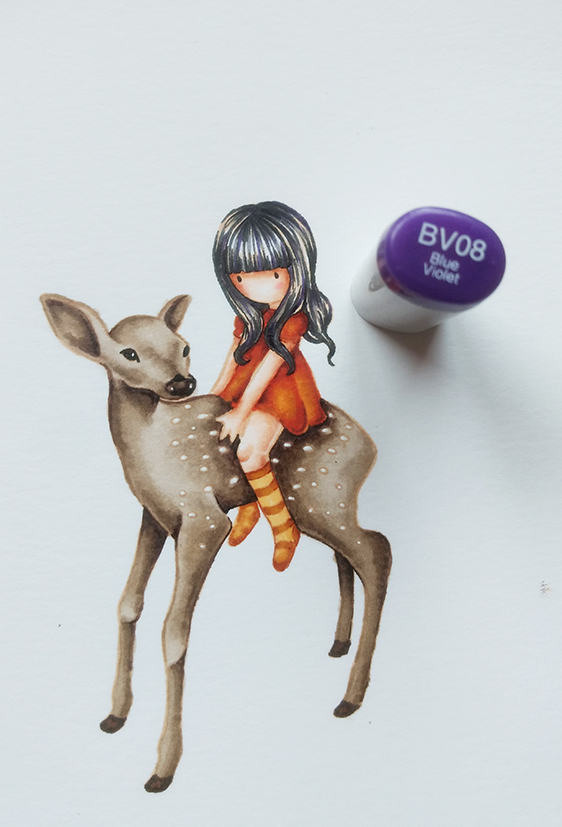
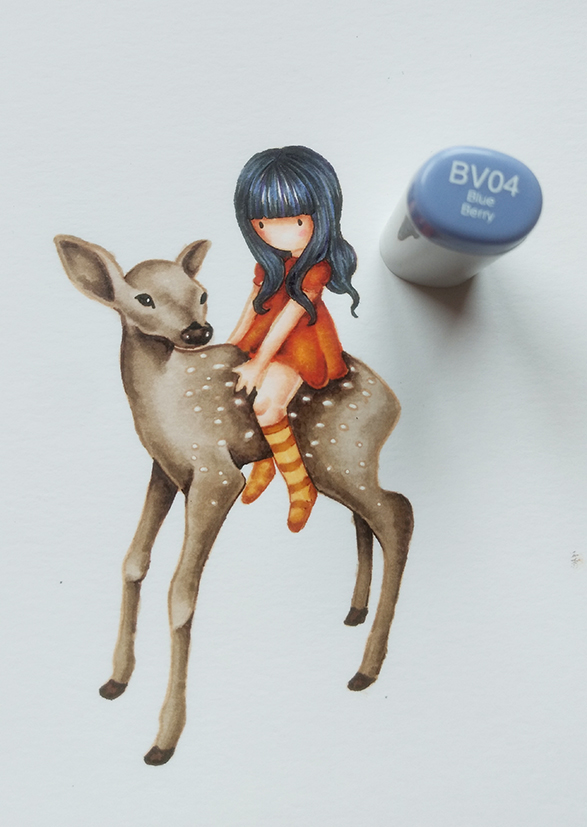
For my DT inspiration, I made an autumn inspired mini album using one of those super fabulous old Gorjuss stamps I own, using the "No Lines Colouring Technique" again.


I stamped my image with Memento Desert sand.


This is the finished project, but after that, you've got a little step by step picture video to see how I coloured the background and at the end of the post, a few step pictures on how I coloured the image.


The background is made by spattering with an old brush and Copic Refills.
This is only how I've done it; there is no right or wrong way, but your finger will be dirty at the end.

If you colour the grass and the sky first I think it will look better.


Here is the list of markers I've used to colour the background:
Refills:
G82, YG63, 21, 03, G94, Y38, YR07, E15
Markers:
YG63, 25, G43


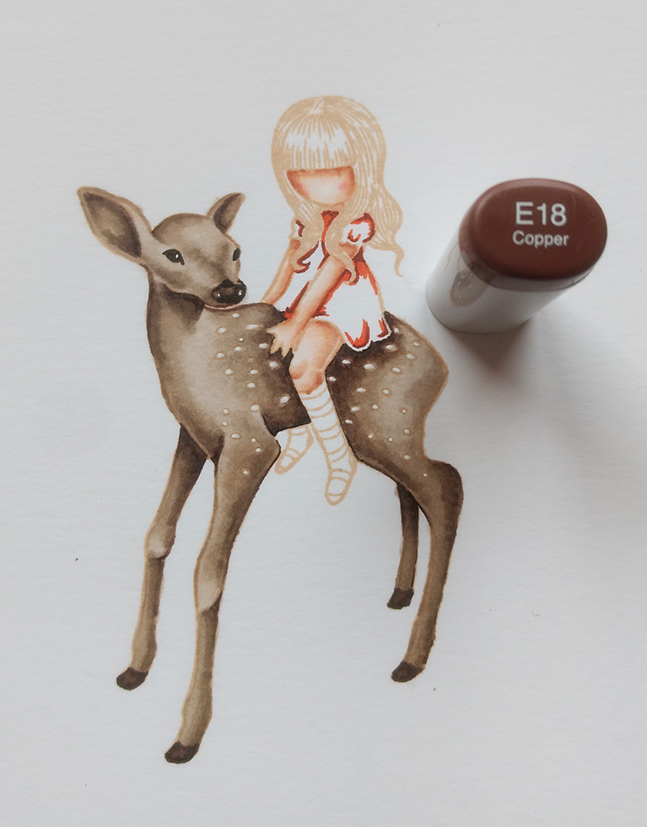
And here's how I coloured the image step by step:


Here is the list of markers I've used for the image:

Deer: E40, 42, 43, 44, 47, 49
Skin: E0000, 00, 21, 11, 13, R20, 22
Girl's hair: N9, 7, 5, BV08, 04
Dress: E18, YR09, YR27, 21


Finally, I fussy cut and mounted the image on foam to emphasize her on my project.


I hope you found this post inspiring.
Thanks for sticking with me to the end!