Creating a background either for a layout or card with airbrushing is always interesting. In my last tutorial, I have shown an airbrushed background with a silhouette image using the Fluorescent Colors.
Masking Technique is one of the essentials in airbrushing. There are several variations to mask an image: Masking Sheets, Masking Tapes, Draft Tapes, Frisket Film and few others that are available in the market. Stencils, templates, and other forms are also used in order to create the desired background in a project.

Es ist immer interessant, einen Hintergrund entweder für ein Layout oder eine Karte mit der Airbrushtechnik herzustellen. In meinem letzten Tutorial habe ich mit Leuchtfarben einen Hintergrund für einen Silhouettenstempel erarbeitet.
Beim Airbrushen ist die Maskierungstechnik sehr wichtig. Es stehen verschiedene Arbeitsweisen/mittel zur Verfügung um ein Motiv zu bearbeiten: Platten, Abdeckbänder, Draftbänder, Frisket Film und einige andere Hilfsmittel, die auf dem Markt verfügbar sind. Matrizen, Schablonen, und andere Formen werden auch verwendet, um den gewünschten Hintergrund zu schaffen.
Lasst uns einen Hintergrund für eine Layout-Seite erstellen.
Sample 1
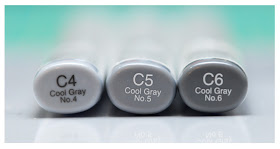
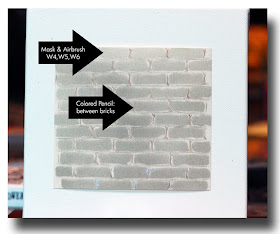
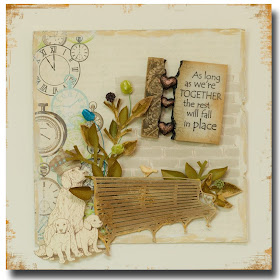
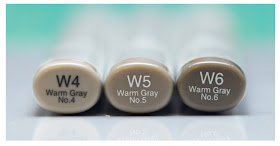
I used a 5 x 5.5in cardstock and a mini bricks template. The sequence of my colors are W4,W5, W6 markers and final touches with W4. Then I used colored pencil to emphasize the lines between the bricks. Assemble the rest of the elements on the page.

Ich habe Cardstock in 5x5,5" und eine Minibacksteinschablone verwendet. Die Marker habe ich in der Reihenfolge W4, W5, W6 und W4 benutzt. Dann habe ich mit einem Buntstift die Fugen zwischen den Backsteinen betont und den Rest der Elemente auf der Seite zusammengefügt.
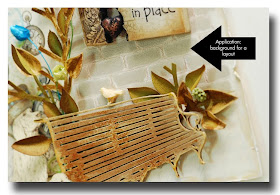
Sample 2
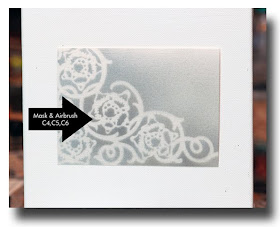
I used a 5 x 5.5in cardstock and a flower mask. I used W4 and W6 markers and then used the Mask-It to cover the whole image. I only cut few flowers from the image that I want to color.

Ich habe Cardstock in der Grösse 5 x 5.5" und eine Blumenschablone verwendet. Als Erstes habe ich die Marker W4 und W6 benutzt. Dann habe ich mit einer Maske aus Mask-It das gesamte Motiv abgedeckt. Ich habe nur wenige Blumen des Motivs ausgeschnitten, das ich verwenden möchte.
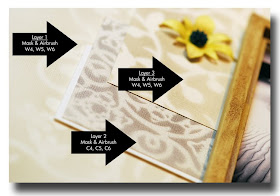
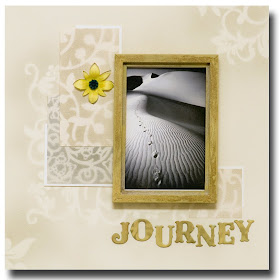
I used a 12x12in cardstock and 2 different flower masks. I used W4, W5 and W6 markers … I want to have a subtle and soft effect on my background. Then I attached the 5 x 5.5in and the rest of the elements.

Ich habe 12x12" Cardstock und 2 unterschiedliche Blumenmasken verwendet. Um eine feine und weiche Wirkung des Hintergrundes zu schaffen, habe ich die Marker W4, W5 und W6 genommen. Dann habe ich die 5 x 5.5"-Karte und die restlichen Elemente hinzugefügt.
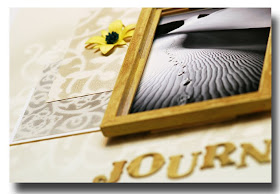
Now it is your turn … explore and play around the technique … then slowly combine it with other mediums such as acrylic, pastels and colored pencils.
Jetzt ist es an euch, die verschiedenen Techniken auszuprobieren und sie mit anderen Medien wie Acrylfarben, Pastellen und Farbstiften zu verbinden.
Be Inspired … with Warm & Cool colors!


Hi Jing,Jing, nice to see you back in action. Great tutorial, need to try this. Thanks for sharing with us. How is live in the UAE?
ReplyDeleteGreatings Diny
P.s. The Norwegian blog will go online on Thursday the 15 september.
just beautiful.
ReplyDeletegreetings karin
Hi Jing! Thanks for this great tutorial!!!
ReplyDeletegreetings Barbara
Great tutorial, thanks for sharing.
ReplyDeleteHugs, Ingrid
I really love this. Great job you did.
ReplyDeleteHugs